Autism Awareness Ribbon Interactive Card is what we have for you today. This is a really cute way to add a little bit of movement on a card for Autism Awareness Month. This card technique can be used over and over again to create all different occasion cards. Are you ready? Let’s get started!
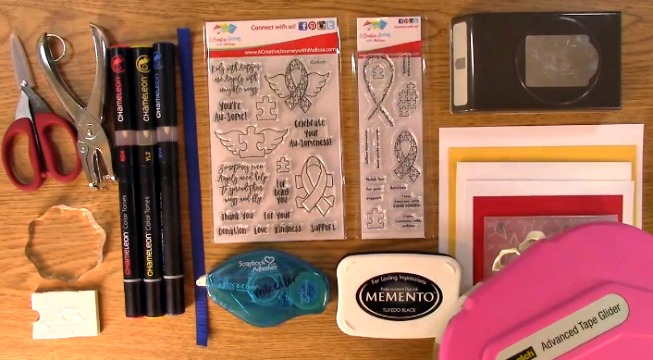
Supplies Needed
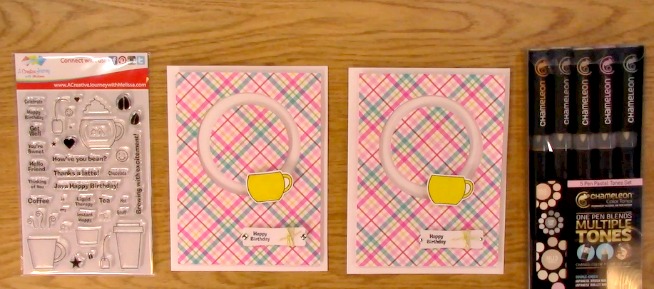
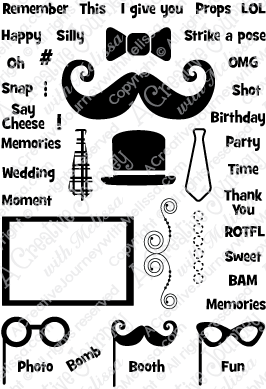
A Creative Journey with Melissa Awareness Ribbon Set #6 – Angels with Autism Stamp Set
A Creative Journey with Melissa Awareness Ribbon Set #4 – Autism Awareness
Scissors
Hole Punch
Stamp Block
3-D Foam Dots
Chameleon Pens
Adhesive (I also used my ATG Gun)
Black Ink
Punch
Ribbon
Card Base
Paper to Stamp on
Phrase paper Mat
Paper to mount sentiments on
Back Mat of the red paper for ribbon flow
Embossing Folder
Manual Die Cut Machine

This is the creation we are making today. The Autism Awareness Ribbon Interactive Card is movable by pulling the ribbon up and down.

You can grab it from one end at a time and pull so that you can see the “Autism Angel” flying.

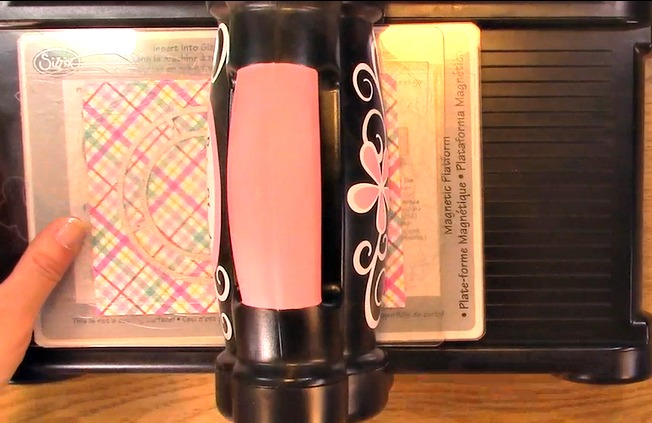
Take out your manual die cut machine, platforms, paper and embossing folder.

Place your paper inside the embossing folder.

Sandwich your embossing folder in between the two clear platforms and on top of the sizzix main platform.

Turn the handle and run through the embossing folder through the die cut machine.

This is a close up of what it will look like once it has been run through. I love the texture on this!

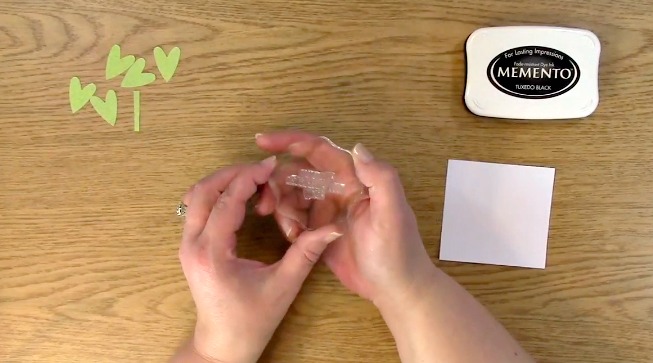
For the next step in creating your Autism Awareness Ribbon Interactive Card, take out your A Creative Journey with Melissa Awareness Ribbon Set #6 – Angels with Autism Stamp Set, stamp block, ink and paper to stamp on. Place the puzzle piece with wings on your block.

Ink your stamp image and stamp it on the paper.

Take out your A Creative Journey with Melissa Awareness Ribbon Set #4 – Autism Awareness. Take off the connected puzzle pieces image and place them on your stamp block.

Ink and stamp the image on your paper.

Take out your BV4 Chameleon Pen.

You will color the puzzle piece on the puzzle piece with the wings image blue. Color the puzzle pieces on the connected puzzle pieces blue.

Take out your RD Chameleon Pen.

Using your RD4 Chameleon Pen, color the puzzle pieces on the connected puzzle pieces red.
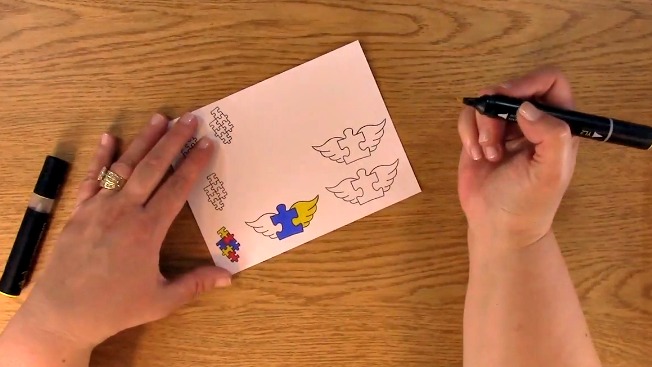
Take out the YL2 Chameleon Pen. Color the angel wings yellow.

Color the remaining puzzle pieces with the YL2 Chameleon Pen.

Here is a close up of the finished coloring.

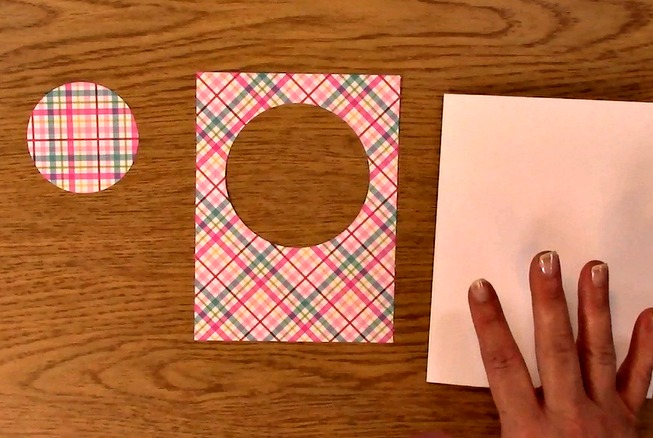
I used my Brother Scan and Cut 2 to cut out my images. If you do not have one or another electronic die cut machine that you can cut your images out with, fussy cut around your image and make a matching set for a duplicate piece.

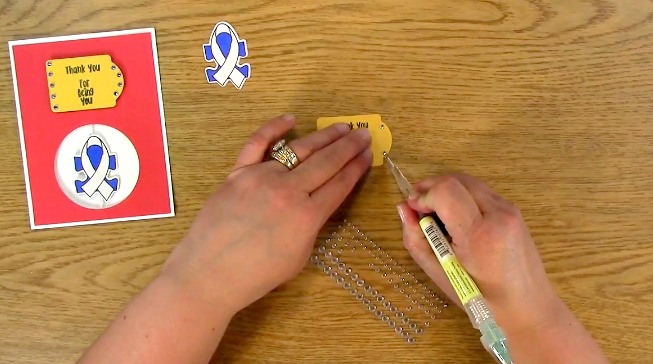
Take out your embossed red piece of paper and punch one hole on either side or the right side of your paper as shown set aside.

I used approximately 10″ of ribbon for an A2 card. I did end up cutting some off but better to be safe than sorry.

Using my ATG gun, I applied adhesive to the two puzzle piece collections – front piece and back piece.
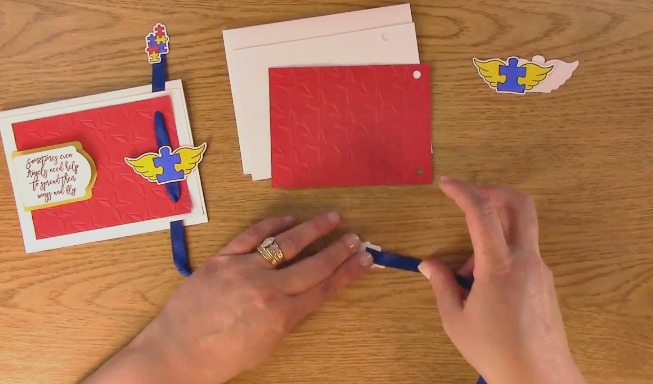
Place the back piece underneath the ribbon so the ribbon is showing on top of the cut out paper.

Now, you will put the puzzle piece collection colored image on top of the ribbon to make a “sandwich” of the two pieces of paper and the ribbon in the middle.

This is a close up of what it will look like once it is done.

**HELPFUL TIP**
Be sure when you are hole punching your bottom white paper that you don’t punch the hole too far off toward the middle or the ribbon will not pull correctly and you will have to re punch it with a new piece. Lesson Learned… LOL!

Punch holes in your white paper that will be used as a mat for the red embossed paper.

Carefully add adhesive to the red pieces of paper. DO NOT PRESS FIRMLY OR IT WILL STICK AND YOU WILL HAVE TO START OVER.
Take your ribbon that has the puzzle pieces attached to it. Starting at the top hole at the back of the white paper, feed your ribbon through the back and through the red embossed piece of paper.

Pull your ribbon through so it is on the outside of the red paper then to through the red paper.

Take the ribbon and continue it through to the bottom hole down on the white paper and push through.

Line up the paper ensuring the adhesive is not on the ribbon and the ribbon moves freely.
Adhere the red paper to the white paper taking extra caution for the sides of the red paper and it’s adhesion.

Take out your puzzle piece with wings and back piece.

**TIP**
I cut off the head part of the back pieces of the stamped image. This will allow the puzzle pieces with wings to move all the way to the top. Be sure whatever image you use, it doesn’t interfere with where you are going to be putting your ribbon.
Apply adhesive on the back of the colored image and the front of the copy. Place your image under the ribbon at the bottom. This will give you an approximate idea how it will look. Once you are comfortable with it, adhere it to the back side of the blue ribbon as shown above.

Adhere the front of the image making a sandwich of the two images with the blue ribbon in the middle.


Pull the ribbon up and down ensuring that it flows properly.

**THIS IS OPTIONAL** Apply adhesive to the back of the colored puzzle pieces and the front of the copy. Adhere the front of the puzzle pieces to the back of the blue ribbon as shown. Above you can see both ways I made it.

Apply the colored puzzle pieces to the front making a sandwich with the blue ribbon in the middle.
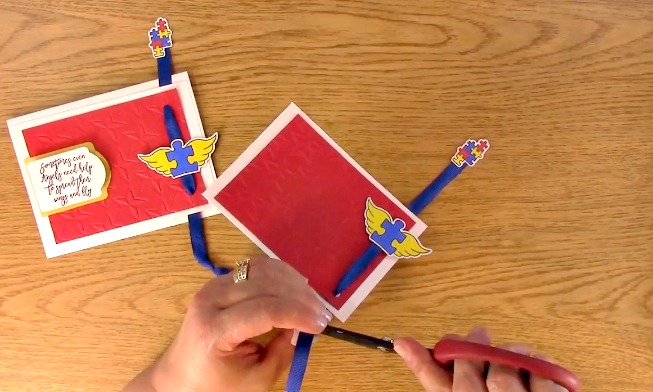
If you would like to have the ribbon end sandwiched between the two papers, trim the ribbon so it does not continue through the image. Make sure you pull it all the way up before cutting to ensure plenty of ribbon for the Autism Awareness Ribbon Interactive Card creation.

This is what it will look like once it is done.

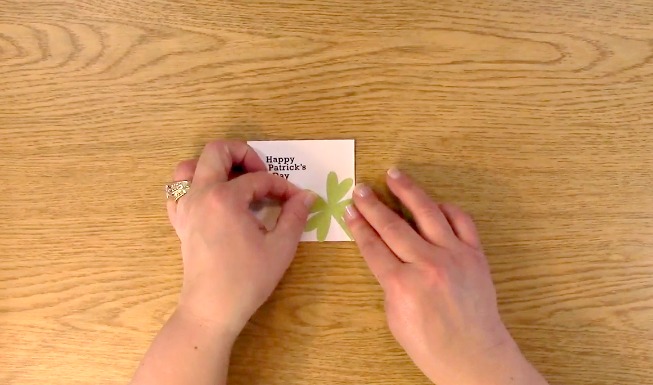
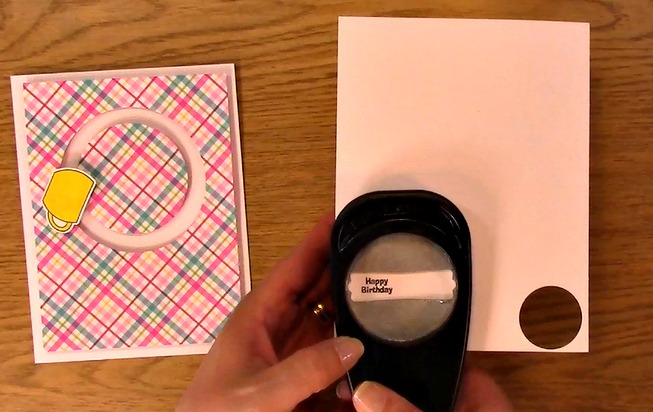
Take out the phrase from the A Creative Journey with Melissa Awareness Ribbon Set #6 – Angels with Autism Stamp Set.
Place it on your stamp block and ink it.

Stamp your phrase on the paper.

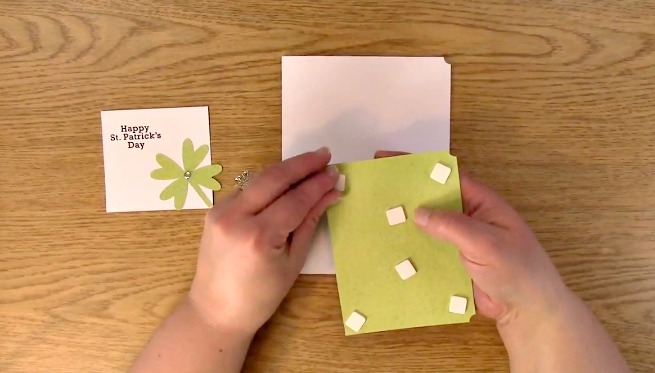
Using your choice of punch, punch out the phrase.

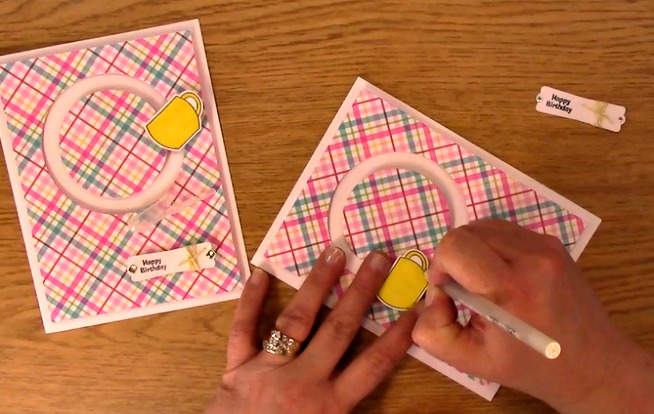
Mat the punched out phrase on a pieces of paper. Cut around it so it shows a little bit larger punched shape for a mat of the phrase. Take out your 3-D foam dots and adhere to the back of the phrase.

Apply your phrase to your mat paper.

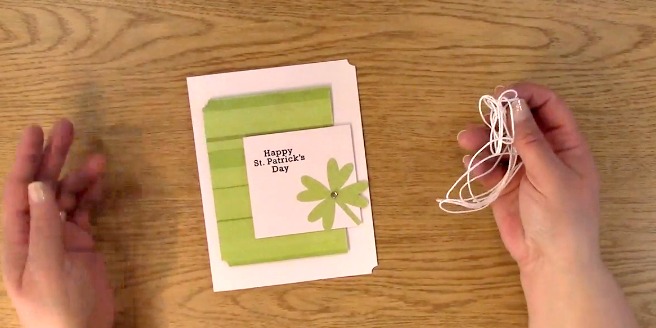
Apply adhesive to the card front and apply your matted sentiment on the card front.


Check to be sure your ribbon moves freely on your Autism Awareness Ribbon Interactive Card creation.

You are finished creating your Autism Awareness Ribbon Interactive Card.

Now, for the GIVEAWAY!
This week for our Giveaway, we are giving away the American Craft Creative Zen markers from last weeks haul!
To qualify to win, you must be BOTH:
A follower on YouTube, subscribe to our mailing list/blog posts and you may also comment on this blog post for an additional entry to win!
If you do not contact me within two weeks of the announcement of winning, you will unfortunately, forfeit your prize and it will be placed back in the giveaway stash for a future giveaway. Thank you for your understanding.
NOTE: Be sure you are not subscribed with two different names. If I am unable to match you with your subscription to both the blog and the YouTube Channel, you will miss your chance to win a prize. If I can’t decipher if you are a matching subscriber (if your profile doesn’t show publicly who you subscribe to) and I can’t confirm you have subscribed to both, I won’t be able to enter you in for the prize. **DO NOT COMMENT WITH YOUR ENTIRE EMAIL ADDY. Only give me the first 6 NOT INCLUDING YOUR HOST. Just enough for me to match your name will work perfectly. Your understanding is appreciated.


For last weeks giveaway of the Elizabeth Craft die set
Jean Truchan is the winner!
Jean Truchan, please send me your contact information via contact page on our website, which post you are a winner from and I will get your certificate prize out to you! Thank you so much for being a YouTube follower and subscribing to our mailing list/blog posts!
We hope you enjoyed our Autism Awareness Ribbon Interactive Card tutorial! Have a wonderful week and thank you for going on A Creative Journey with Melissa. 


 Now for last weeks WINNER!!