Tag Archive for: alcohol Ink technique

Marbleize Paper using Shaving Cream

Marbleize Paper using Shaving Cream is what we have for you today! This technique is not only cool but has awesome results! Great ready to get creative and messy!

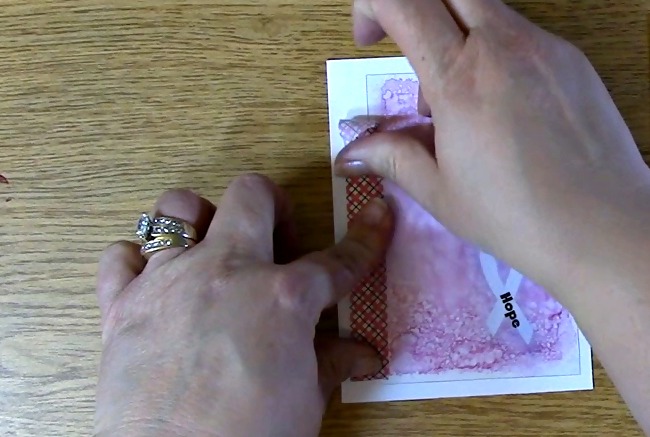
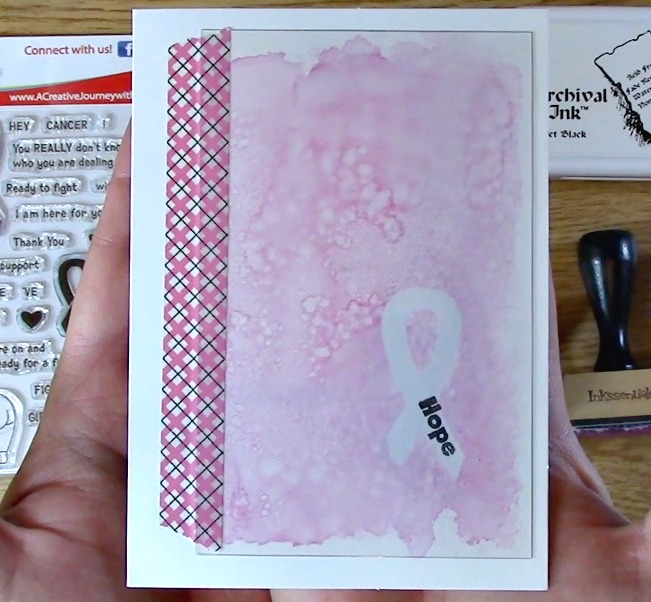
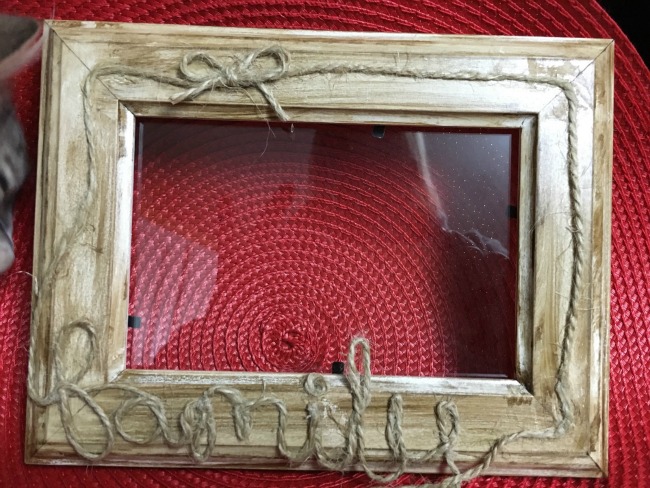
This is the creation I made. We will be creating the Marbleize Paper using Shaving Cream background paper.

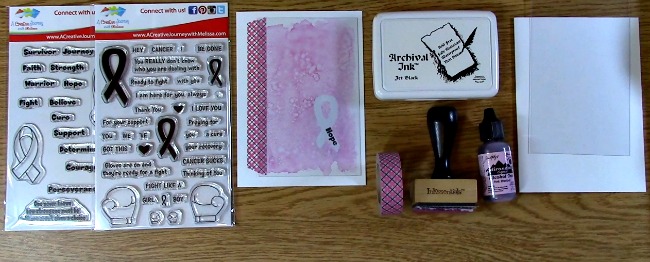
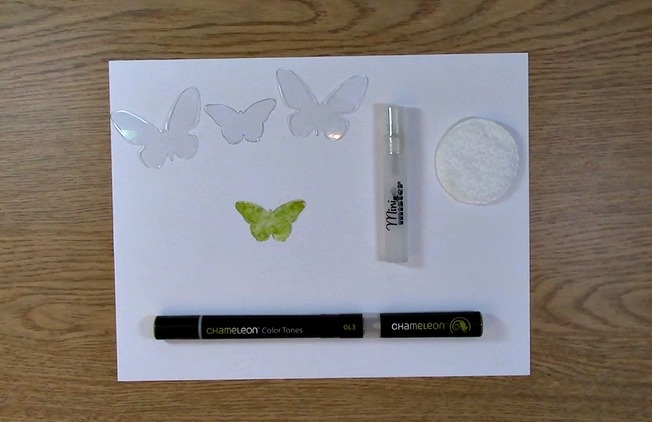
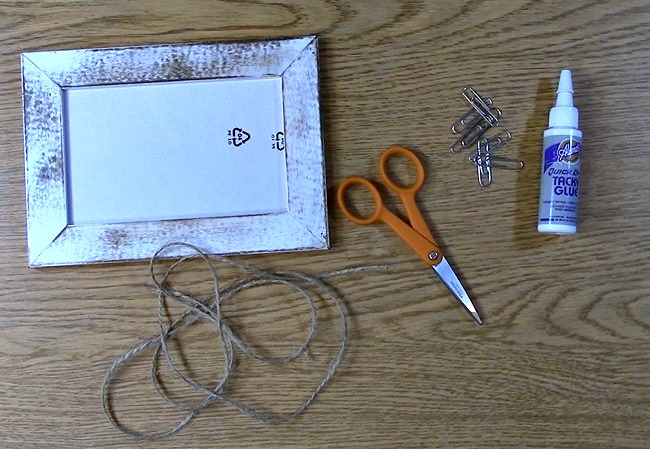
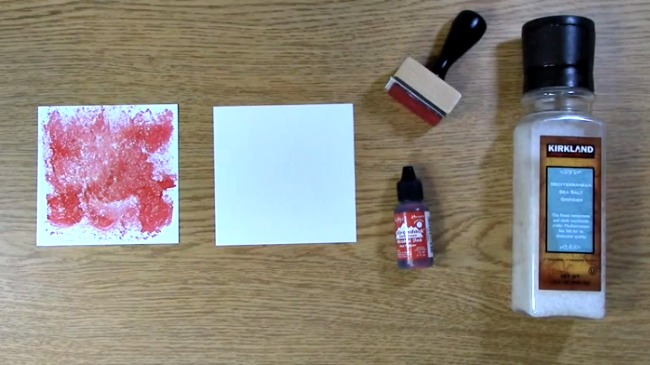
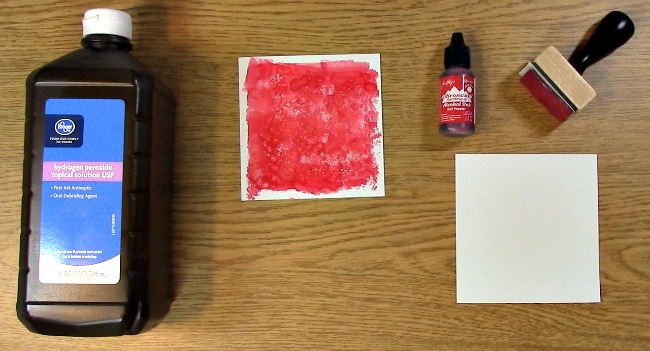
Supplies Needed for the Marbleize Paper using Shaving Cream project

A Creative Journey with Melissa Sign Language Sentiments 2

Hazelnut, Oregano and Mushroom Tim Holtz Adirondack Ink

Shaving Cream

Paper Towels and lots of them

Platter or tray

Toothpicks

Popsicle sticks

Photo Paper/Glossy Paper

Isopropyl Alcohol for clean up

You can use regular card stock for this technique (on the right) however, I prefer the glossy paper (on the left) because I think it looks more vibrant.

Take out your platter and shaving cream.

Put shaving cream all over your platter.

Spread the shaving cream on  your platter all over the bottom of the tray. I used a popsicle stick to spread the shaving cream. This will allow for two pieces of paper to fit onto the tray at the same time.

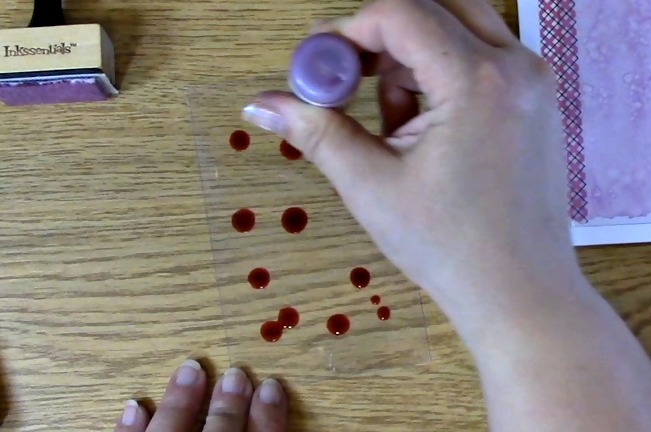
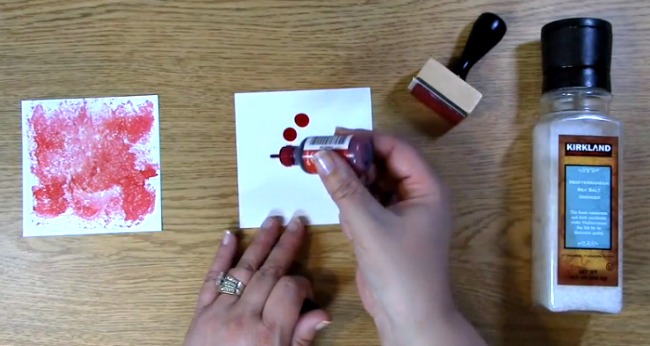
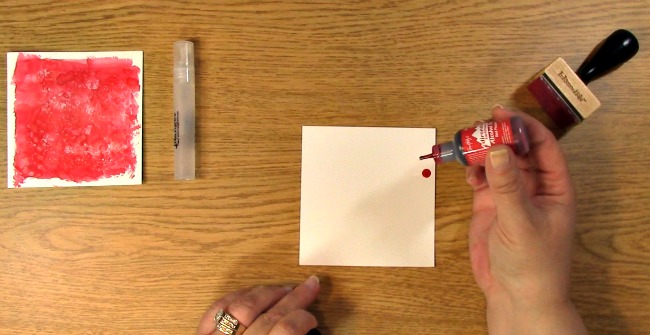
Add the hazelnut ink to the shaving cream. I added lines of ink to the left side and dots on the right to get two different looks in the same tutorial.

Oregano is the second ink you will add to your shaving cream.

Add Mushroom to your shaving cream.

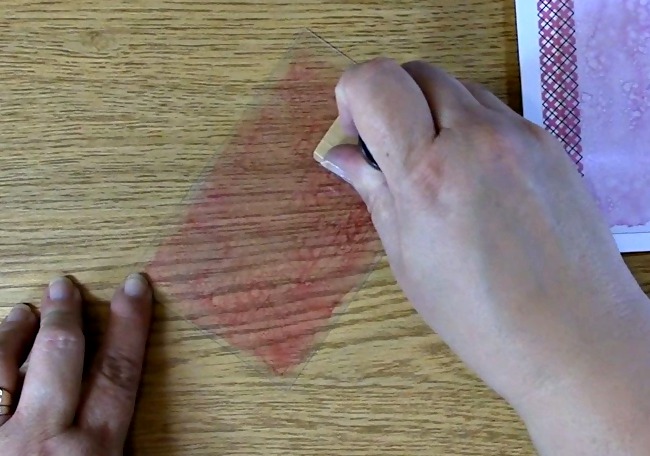
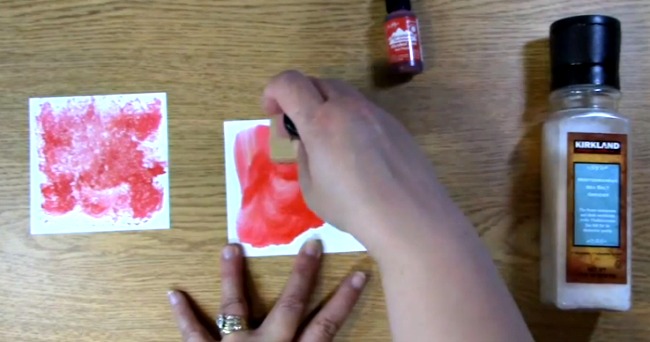
Using a popsicle stick, spread the ink so it is mixed up. You can do this as much or as little as you want depending on the look you want.

On the right I used the toothpick to give a different look and texture to the shaving cream mix.

I decided to add a little more ink for my Marbleize Paper using Shaving Cream project so if you choose to do the same, YOU CAN!

Mix it up to your liking!

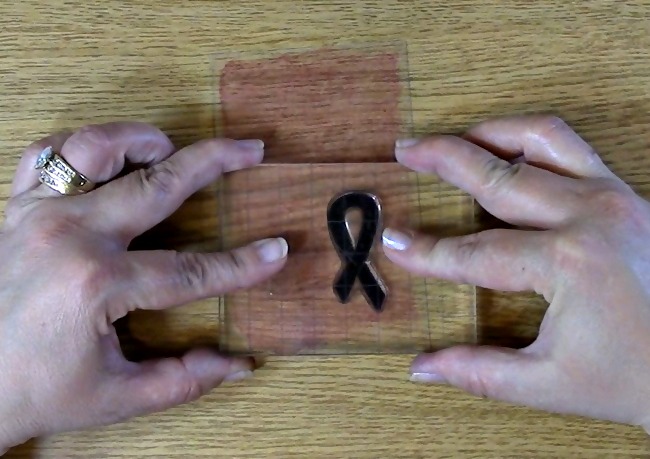
Take out your glossy paper. Place your paper on top of the right colored area.

In this case, we had two areas I wanted to focus on. Place your second piece of paper in the area in which you want the color from.

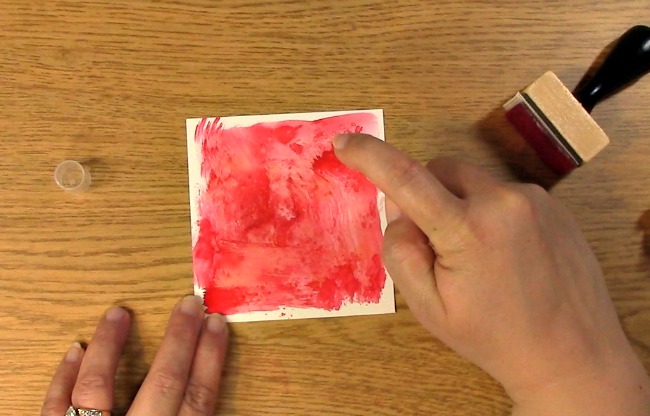
Push the paper into the shaving cream to get a little more color and effect to the paper.

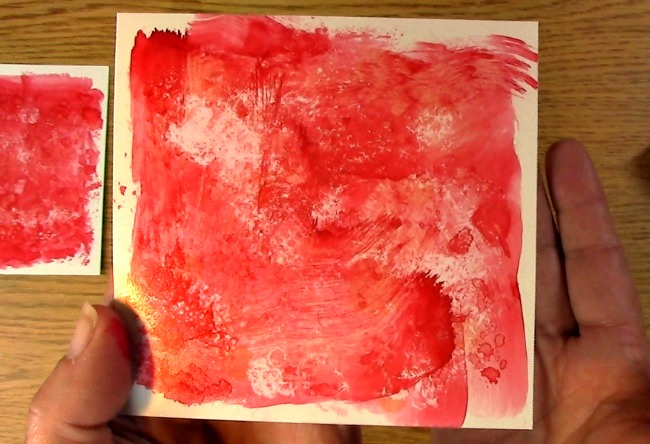
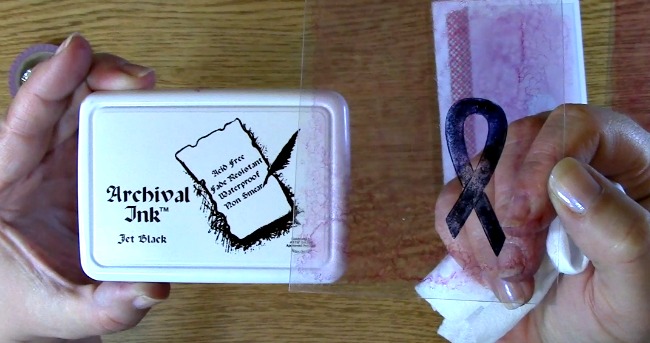
This is what it looks like once you have removed the paper from the shaving cream. You see why it’s messy now right? LOL

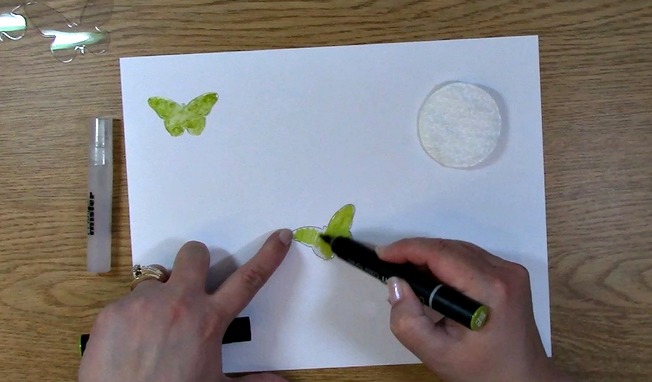
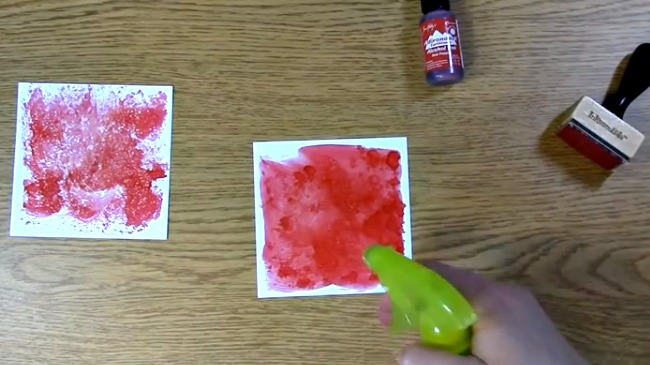
I decided I am going to add even a little more color so here I go adding some dots of alcohol ink!

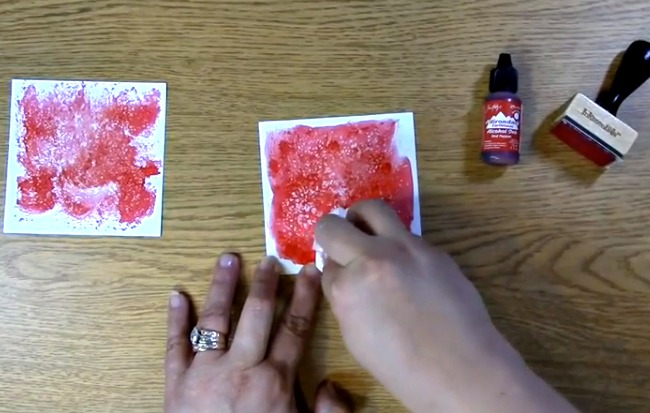
This is what it looks like after I have added more ink with the shaving cream!

NOTE:Typically, I will do a lot of these at once so I only have to clean up once. If you are doing multiples, I would suggest you do all of the shaving cream and then go back to each step all at once for each creation.

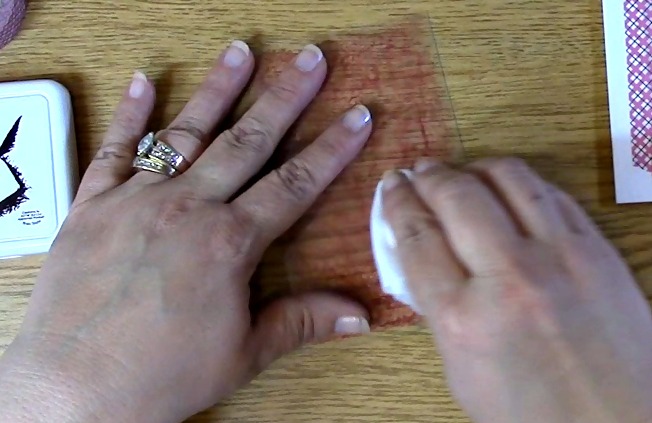
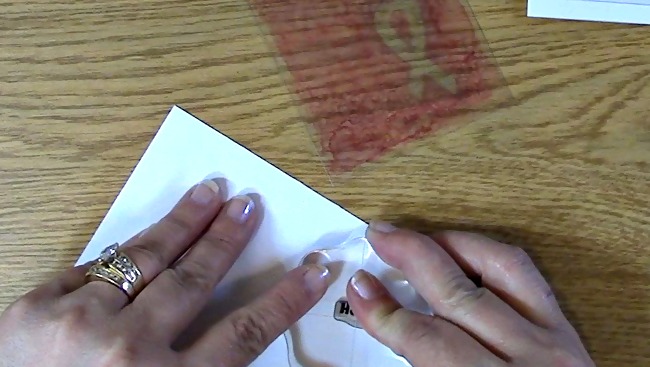
Now it is time to clean off the paper. Place a few paper towels on your work surface. Place your shaving cream colored area face down on the paper towel. Fold the paper inside the paper towel to cover the whole thing.

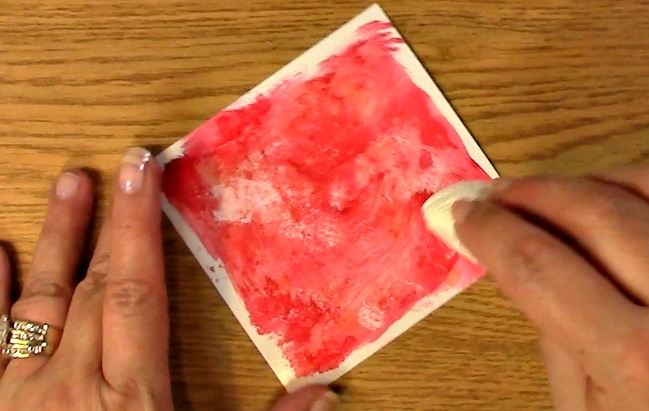
Starting from the inside toward the outside, smooth out the paper allowing the shaving cream to go to the outside edges.

Open up the paper towel.

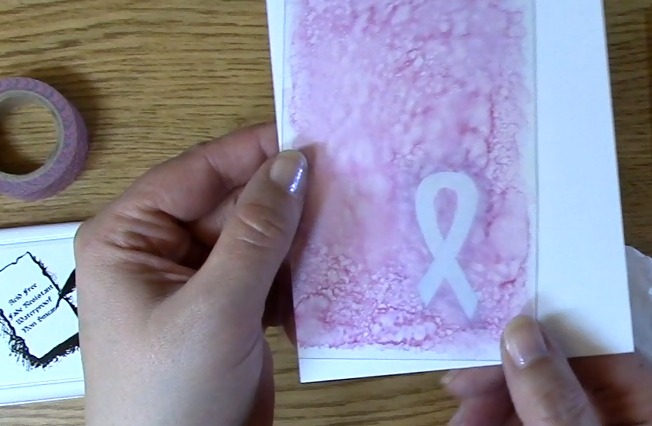
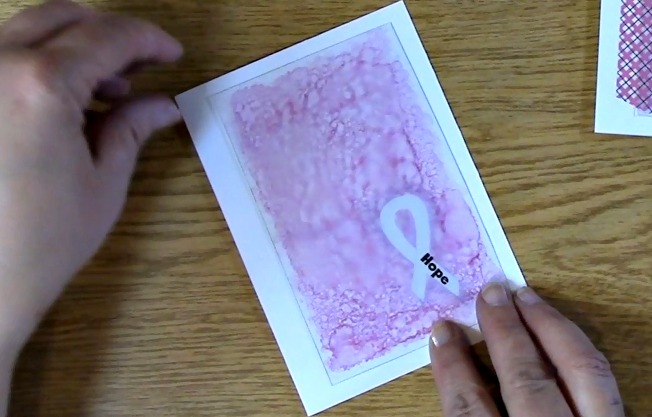
This is what it looks like once removed from the paper towel.

Wipe off any excess shaving cream or ink from the back of the paper as well.

I love how the paper that I added more ink to turned out. This looks like a piece of granite to me!

You have finished the Marbleize Paper using Shaving Cream project! Here are all of the varieties I create using the same ink and shaving cream. All I did was create different patterns! Pretty cool, huh? What do you plan on creating using this technique?

Now, for the GIVEAWAY!

 This week we are giving away the A Creative Journey with Melissa Sign Language Sentiments 2 as featured in this post and the above video!!

To qualify to win, you must be BOTH:

A public follower on YouTube, subscribe to our mailing list/blog posts and you may also comment on this blog post for an additional entry to win! Winners will be announced next week on our Mondays with Melissa blog post!

If you do not contact me within two weeks of the announcement of winning, you will forfeit your prize. Thank you for your understanding.

NOTE: Be sure you are subscribed with matching names. If I am unable to match you with your subscription to both the email list and the YouTube Channel, you will miss your chance to win a prize. If I can’t decipher if you are a matching subscriber (if your profile doesn’t show publicly who you subscribe to) and I can’t confirm you have subscribed to both, I won’t be able to enter you in for the prize. **DO NOT COMMENT WITH YOUR ENTIRE EMAIL ADDY. Only give me the first 6 NOT INCLUDING YOUR HOST. Just enough for me to match your name will work perfectly

.

Now, for the last weeks GIVEAWAY the A Creative Journey with Melissa For My Boys Stamp Set ! The winner is Angie!

Angie, please send me your contact information via contact page on our website, which post you are a winner from and I will get your certificate prize out to you! Thank you so much for being a YouTube follower and subscribing to our mailing list/blog posts!

 We hope you enjoyed our Marbleize Paper using Shaving Cream Project! Have a wonderful week and thank you for going on A Creative Journey with Melissa.  


Sympathy Card Part 1- Custom Coloring your Embellishments

Sympathy Card Part 1- Custom Coloring your Embellishments is what we have for you today. Sadly, I needed to make a few sympathy cards due to a death in the family. In the first part of this two part series, I am going to show you how to color your clear embellishments to create a custom color for your embellishment.

Sympathy Card Part 1- Custom Coloring your Embellishments a

Supplies Needed for the Sympathy Card Part 1- Custom Coloring your Embellishments project

Sympathy Card Part 1- Custom Coloring your Embellishments c

Clear Embellishments

Sympathy Card Part 1- Custom Coloring your Embellishments g

Chameleon Pens – OL3

Sympathy Card Part 1- Custom Coloring your Embellishments f

Make up cotton pad or applicator

Sympathy Card Part 1- Custom Coloring your Embellishments e

Alcohol Blending solution or Alcohol preferably in a small sprayer

Sympathy Card Part 1- Custom Coloring your Embellishments h

Take out your clear embellishment and your OL-3 Chameleon Pen

Color your clear embellishment with your OL-3 Chameleon Pen.

Sympathy Card Part 1- Custom Coloring your Embellishments i

Take out your cotton make up pad and alcohol blending solution sprayer.

Spray the pad with the alcohol lightly.

Sympathy Card Part 1- Custom Coloring your Embellishments j

For the Sympathy Card Part 1- Custom Coloring your Embellishments, you will gently pat the colored embellishment with the alcohol sprayed cotton pad until you get the desired texture and look on the embellishment.

Sympathy Card Part 1- Custom Coloring your Embellishments k

This is what it will look like on the pad. You are basically taking off some of the ink from your embellishment to give it texture. If you want to take more color from it, add more alcohol to the make up pad and you can continue to do so to get the desired effect.

Sympathy Card Part 1- Custom Coloring your Embellishments l

Here is a closer look of the embellishment once I applied the alcohol on the pad to the colored embellishment.

Now that I have created the embellishment be sure to stay tuned for next weeks video on creating the sympathy card that will have this embellishment on it as part of the card design.

We hope that you enjoyed this tutorial and we appreciate that you took the time to visit us today. Please be sure to subscribe to our blog and our YouTube channel for future tutorials, awesome craft hauls as well as product reviews and giveaways!

Thank you for joining us and we hope you enjoyed going on A Creative Journey with Melissa.

melissa-written-signature

Weathered Wood Frame in Minutes using Alcohol Ink Part 2: Personalize it with Love

Weathered Wood Frame in Minutes using Alcohol Ink Part 2: Personalize it with Love is what we are doing today. If you haven’t seen our first video on how to make your own weathered wood frame please go here to check it out. Today, we are going to put the word LOVE on your frame with jute twine. If you haven’t done this before, it is easy with fabulous results! You can check out our video above or our step by step instructions below or BOTH! Let’s get started!

Supplies Needed

Frame

Jute Twine

Liquid Adhesive

Scissors

Paperclipssupplies 1-4-16

To start Weathered Wood Frame in Minutes using Alcohol Ink Part 2: Personalize it with Love, get out your jute and liquid adhesive. I used Aleene’s Quick Dry Tacky Glue.

Aleenes Glue

Take your jute twine and be sure to leave enough on the ends so that you can have some play if you wish to embellish more on your frame. For every letter, be sure you do a practice run to see how it will look before applying adhesive.

figure out first letter
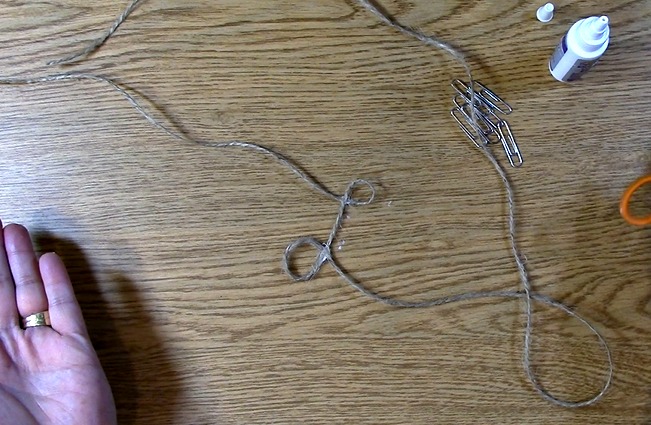
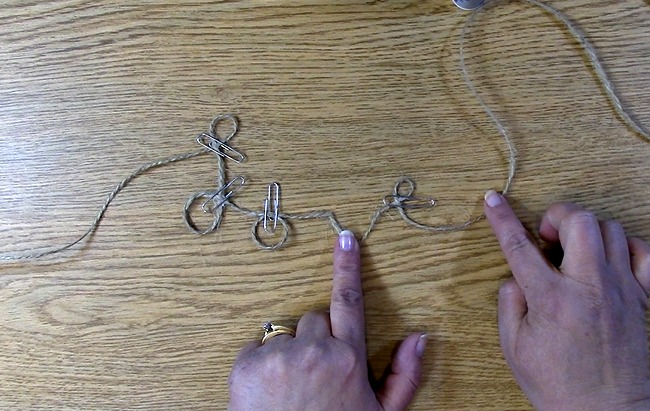
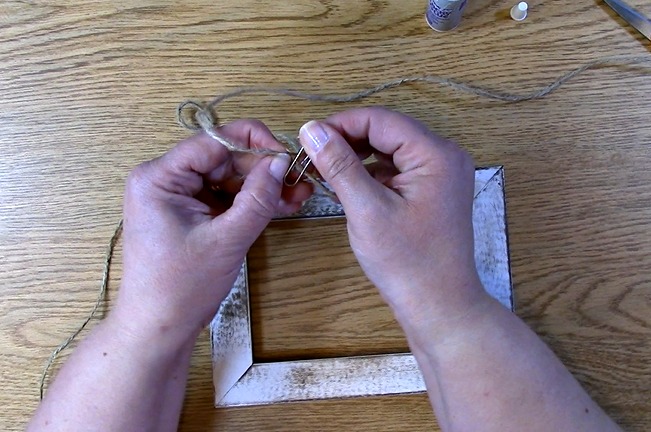
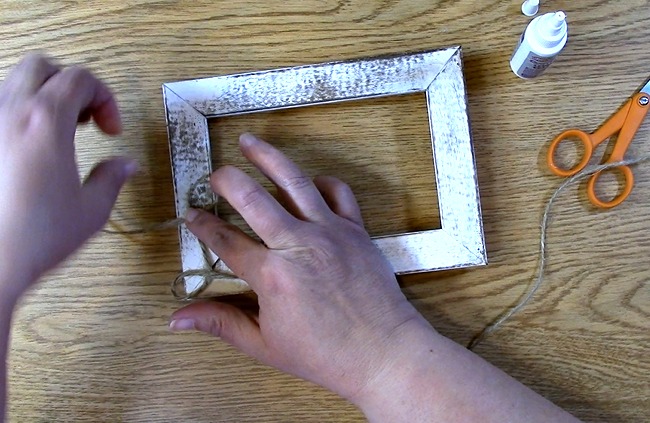
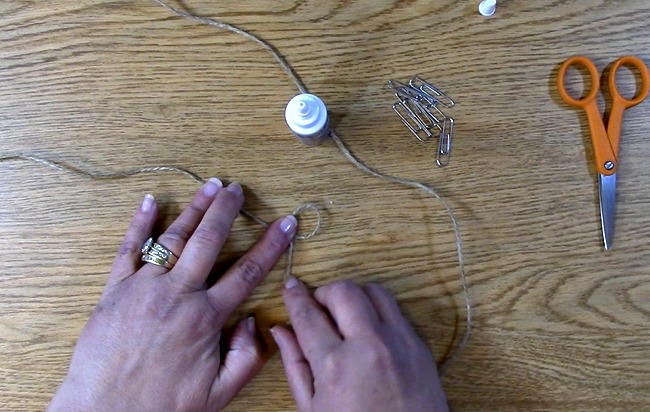
Apply your adhesive to your first letter “intersection” or where the jute crosses for the letter.

apply glue to twine
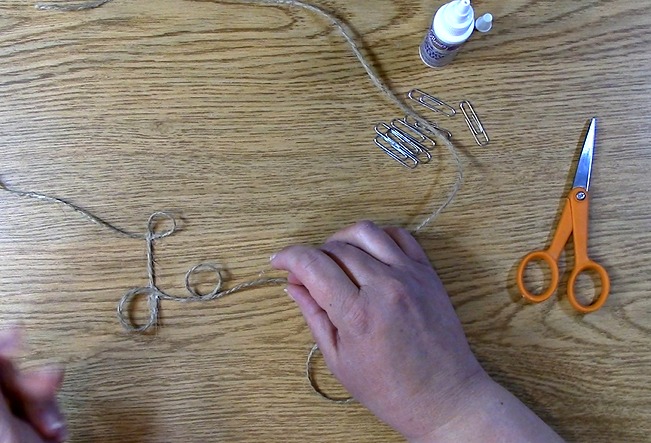
Create your letter and press down on the area where the adhesive was placed. Get out a pair of scissors or an item you can use to place pressure safely on your twine.

use scissors or an object to press the twine together with the adhesive
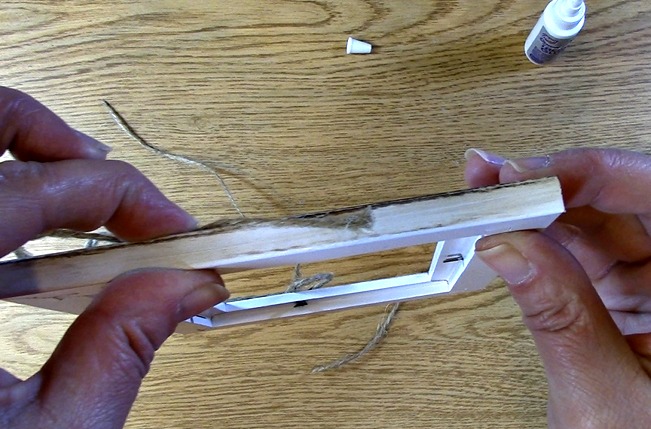
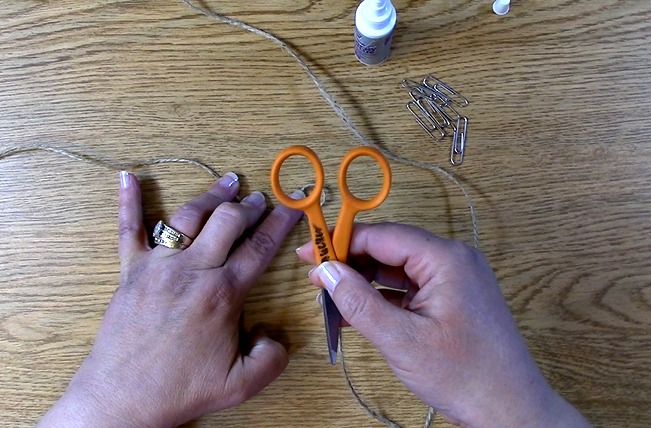
I used the back of my pair of scissors or you can use any item that you can place pressure on the area safely in which the adhesive was applied. This will help to get the adhesive in the fibers to ensure adhesion.

use the back of the scissors

Apply adhesive to the second area of the letter “L”. Apply pressure as instructed above. This is what it looks like once that is done.

the first letter is complete

Repeat the gluing process for all of the letters.

letter o

For the letter “V” I pinched the areas simply with my fingers to create the angular areas for the letter.

pinch the v areas together for a better angle

Once all of the gluing is done (or you can do this after each letter is glued) place paperclips on the areas that were glued to ensure pressure on those areas. Set aside to dry for 1-2 hours or more depending on how much glue you have used and how much time you have.

Paper clip all areas
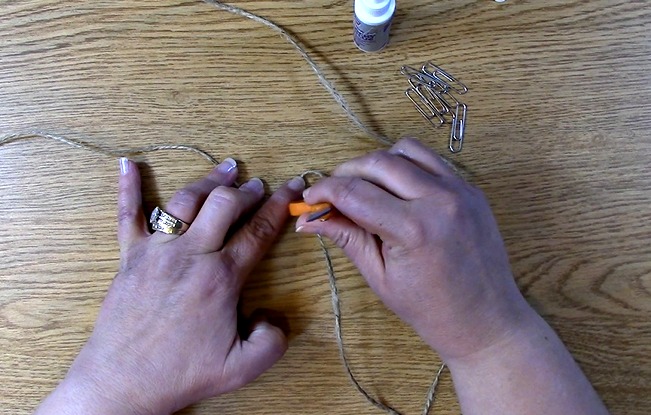
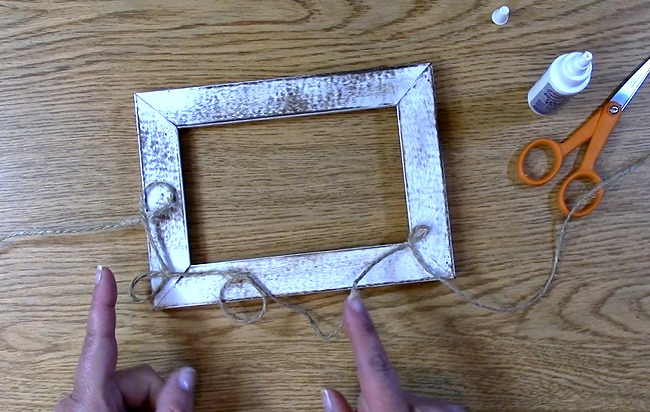
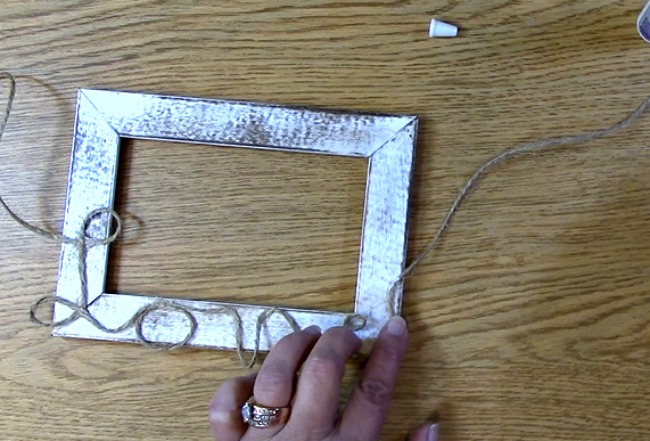
Take out your frame. Take out all of the inside pieces and glass so that you are left with only the frame.take all of the inside glass and mats out of the frame leaving the frame by itself

Take out your jute twine word creation. Check to see if dry. If it is, remove the paperclips from the twine.
remove paper clips

Loosely place the word on the frame to check out the placement of where it will go.

place twine on frame to layout placement

Take the adhesive and place some on the back of the word “intersections” where it had been glued previously. Press down on the letter onto the frame.

apply pressure to l onto frame

Continue to adhere the letters onto the frame holding it in place to ensure its adhesion.

apply adhesive to the e

Take the ends of the twine and trim so that it fits for your end result. I wanted the word to end on the side of the frame so I trimmed accordingly. Spread the ends of the twine so that there is a little bit more for the adhesive to adhere to. Place adhesive on the first end and adhere to the side of the frame.

adhere the twine to the side fo the frame

Adhere the other side of the twine to the other side of the frame.

other side of the frame

Apply pressure to any areas that may come loose. Add more adhesive where necessary. Your project is complete!

finished frame

Set aside to dry for 1-2 hours or longer as you feel necessary.

Here are the frames I made for my sister. I totally forgot to take pics so she was sweet enuf to send them to me.

IMG_1741

IMG_1737_1

Thank you so much for joining us today for Weathered Wood Frame in Minutes using Alcohol Ink Part 2: Personalize it with Love. We hope you enjoyed the project today and be sure to subscribe to our YouTube channel as well as our blog. You will want to stay tuned as we will be reporting on our visit to CHA next week and will be having giveaways as well!

Thank you for going on A Creative Journey with Melissa 🙂

melissa-written-signature

Salt and Alcohol Ink Texture Technique

Salt and Alcohol Ink Texture Technique? YES! And the texture you will get is awesome! I love texture and love to add a little something different to my creations. This technique is easy, fun and gives a great look!

Supplies

Alcohol Ink

Applicator, Make Up Sponge or Cotton Ball

Spray water bottle

Glossy or Photo Paper

Kosher Salt (large granules versus table salt for better texture)

Supplies

Place drops of alcohol ink on your glossy paper. I used photo paper.

add ink

Use your chosen applicator and spread your ink on your paper.

Spread ink on paper

Check to see if your ink is wet enough on your paper. If not, add a slight spritz of water to re-wet the surface.

add water

Sprinkle your kosher salt on your ink covered paper. Wait approximately 5-10 seconds.

Add salt
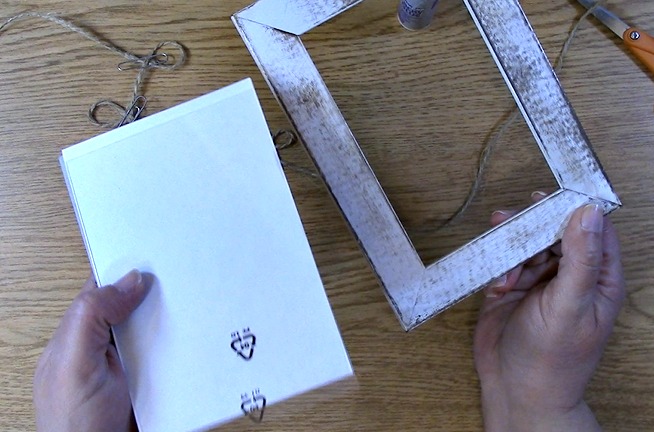
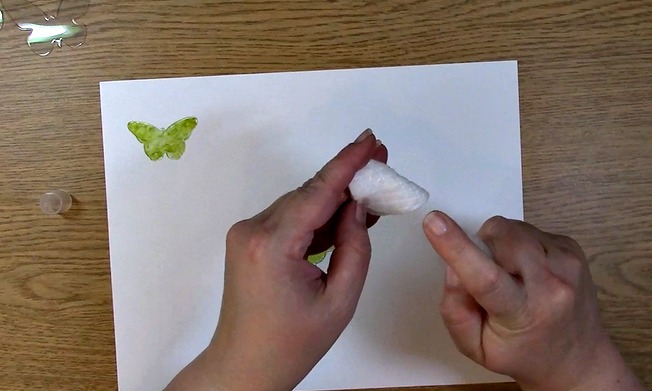
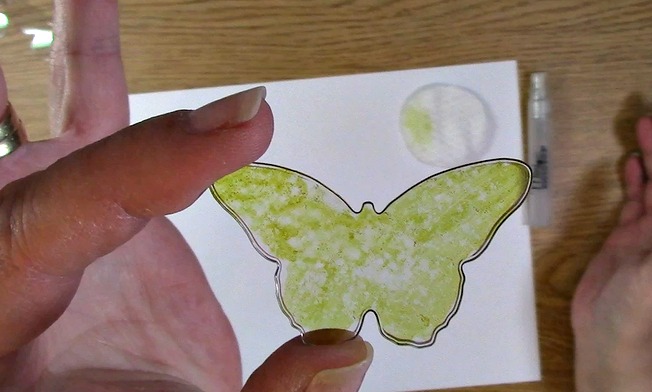
This is a close up of what it will looked like when I added the salt.

close up of salt

Tap off as much of the salt you can preferably over a garbage can. Then, take a DRY paper towel or towel and dab off (tap from the paper off) the salt from your paper.
wipe of salt

You are done! Check out this amazing result! Imagine how great it would look if you had done multiple colors? Try it and be sure to let us know how it came out!

Thank you for taking the time to visit today and I hope you enjoyed going on A Creative Journey with Melissa.

signature

Peroxide with Alcohol Ink for a Textured Look

Peroxide with Alcohol Ink for a Textured Look? Yes, it’s true and really cool! I love to make different textures with my creations and what better way than to add peroxide to alcohol ink! I really love the way this came out.

Supplies Needed

Glossy Paper ( I used photo paper)

Alcohol Ink

Applicator (could be a cotton ball, make up sponge, etc.)

Peroxide in a spray bottle

Paper towel or wipes

supplies

To create this Peroxide with Alcohol Ink for a Textured Look, take out your alcohol ink and glossy paper. Place drops of ink on your glossy paper.

add ink to paper

 Use your applicator to spread the ink around the glossy paper.

spread ink

Take your peroxide spray bottle and spray your inked paper.  Adding Peroxide with Alcohol Ink for a Textured Look can vary depending on how much or how little you use of the peroxide.

spray peroxide

You can blot off the excess peroxide or you can set aside to dry.

dab off peroxide
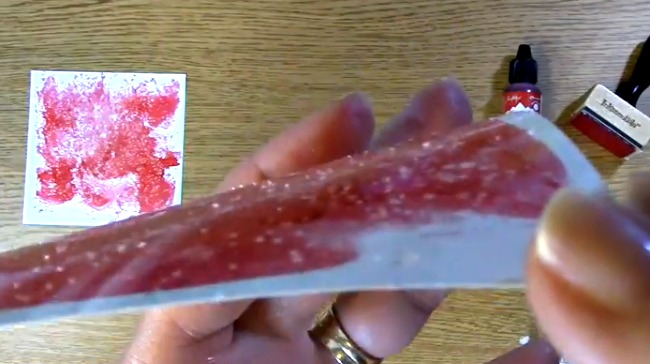
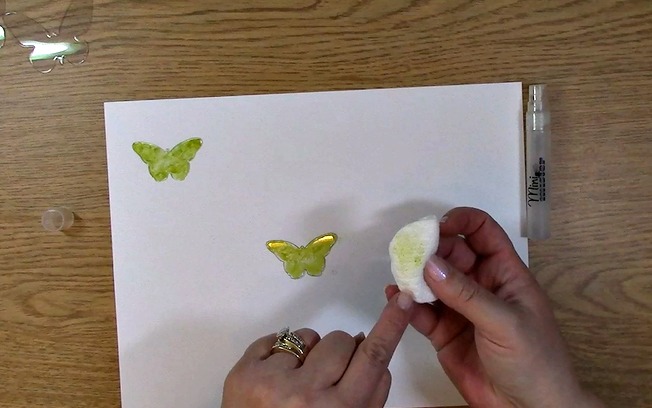
In the video, I blotted it off and some of the texture from the paper towel  shows in the paper. What a wonderful unplanned surprise!

YOU DID IT!

finished paper

I hope you share with us what you created using Peroxide with Alcohol Ink for a Textured Look.

Thank you for joining us today and for going on A Creative Journey with Melissa.

melissa-written-signature


Go Green! Use Recycled Packaging and Remove Alcohol Ink with Archival Ink Technique

Go Green! Use Recycled Packaging and Remove Alcohol Ink with Archival Ink Technique is such a neat technique and I really think you will use this over and over and over again. Did you ever want a little color to your creation or wanted to use the negative space of a creation but weren’t sure how? This will show you how amazing versatile your stamps are and how you can create a negative space that you can remove ink from your creation to make even MORE of an impact! Are you ready? Let’s get started!

If you have watched my videos, I like to reuse packaging material in my creations. What better way to showcase this but with a Breast Cancer Awareness card! October is Breast Cancer Awareness Month and I thought this would be a great way to highlight this cause. WHO doesn’t love shopping, right? Well, when I shop for crafty fun stuff, I love to purchase dies. Many come in acrylic clam shells. I love to cut them up so that I can reuse them later for a project. This is EXACTLY what I did here!

Supplies you will need:

Awareness Ribbon #1 Stamp Set

Awareness Ribbon #3 Stamp Set

Stamp Block

Recycled Clear Packaging or Clear Acrylic Sheet

Ranger Alcohol Ink

Ranger Archival Ink – Jet Black

Ink Tool and Cotton Pad (optional-you can use cotton balls or make up applicator pads)

Washi Tape

Paper Towel or DRY wipe

supplies

First you will want to take out your recycled packaging or clear sheet, your alcohol ink and applicator. Drip 10-12 drops of the ink onto your clear packaging.

add drops of ink to the packaging material

Use your applicator to move the alcohol ink around by tapping, sliding or dabbing so that you have all of the area covered in a design you enjoy.

spread alcohol ink on clear material

You can stamp immediately onto the surface or you can let this dry for 3-5 minutes. If you do it while it’s wet, sometimes the stamped image can smear so be sure you don’t allow it to slip around. To add your image, put your stamp on your stamp block and ink your stamp with archival ink.

Stamp your image onto the clear packaging you have colored.stamp with archival ink

Be sure you use the archival ink for the image to ensure the ink will get the desired effect on the project.

archival ink with stamp

Wait until mostly dry to completely dry (2-5 minutes) Take out your paper towel or dry wipe. Wipe off the black archival ink.

wipe off archival ink

You will be left with the negative image that you stamped. This means that where you stamped your image, it is now clear and the outside colored area remains highlighting your stamped image.

clean off ink results

To put the card together, you will take the card base and stamp the sentiment onto the card base approximately where it will show through the clear space created by the technique.

stamp sentiment on card base

Take the completed technique clear material, place it over the stamped sentiment and line it up.

align sentiment with packaging material

Take a piece of washi tape and adhere the washi tape to the clear packaging material. Line the material up to the card base and adhere the washi tape to the card base.

apply washi tape

Your project is complete!

finished card

Thank you so much for joining us today. We hope we have inspired you and would love to hear what you have done using this technique. Have a wonderful day and thank you for going on A Creative Journey with Melissa.

melissa-written-signature