Breast Cancer Awareness Stamp Set and Card
Breast Cancer Awareness Stamp Set and Card is what we have for you today.
Did you know that approximately 1 out of 8 women in the United States will develop invasive breast cancer in their lifetime? This is approximately 12% of women in the US.
I don’t know anyone that doesn’t have someone they know or a loved one that has Breast Cancer or Cancer in one way or another. Both my Paternal and Maternal Grandmothers had breast cancer and sadly numerous people effected with other cancers as well. PLEASE get your yearly mammograms and go to your doctor regularly for your yearly check ups.
It really makes a difference.
OK, now I am off of my soap box… onto the creativity.. Are you ready? Let’s get started!
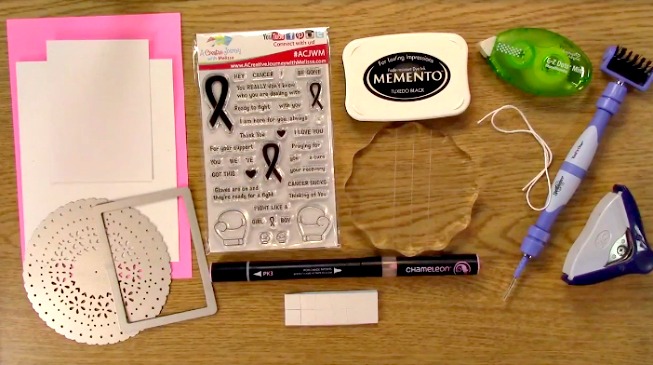
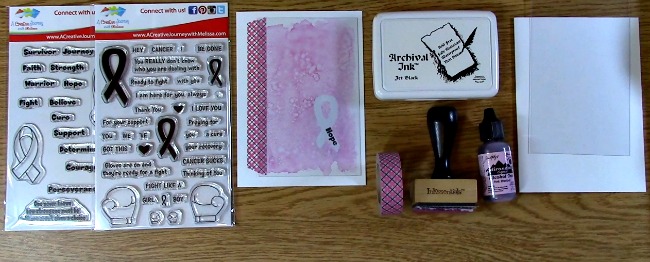
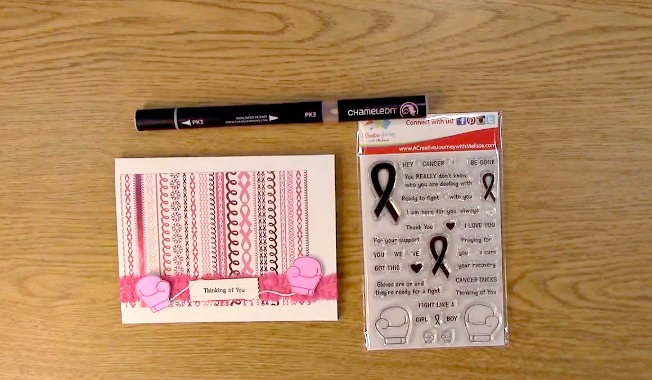
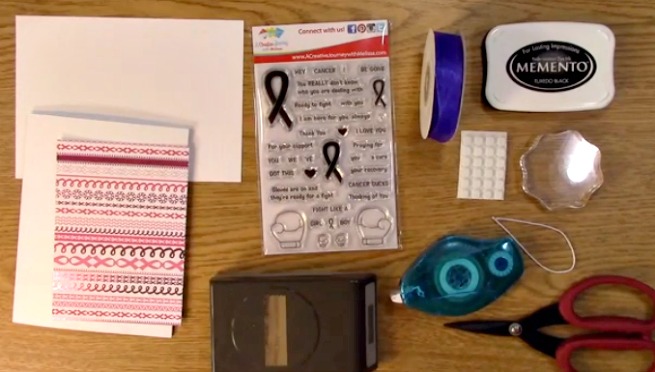
Supplies Needed for the Breast Cancer Awareness Card
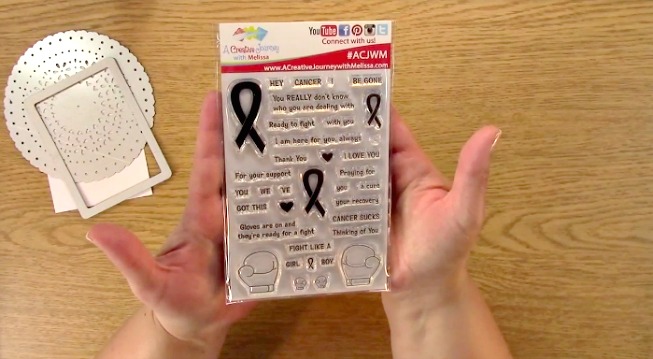
A Creative Journey with Melissa Awareness Ribbon Set #3 – Ready for a Fight Stamp Set
Manual Die Cut Machine
Doily Die By Kaiser Craft
Rectangle Stitched Die by Kaiser Craft
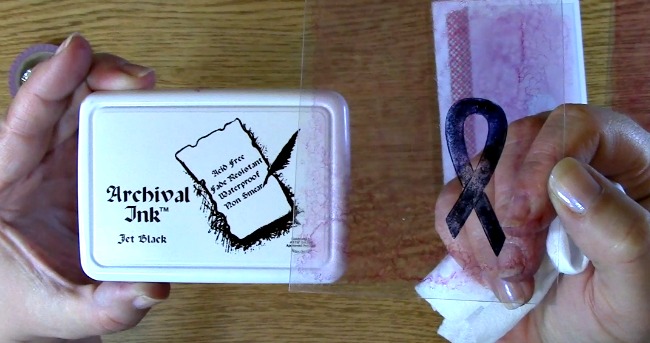
Black Ink
Scissors
Corner Rounder
Adhesive
3-D Adhesive
3 in 1 Tool by Spellbinders
White Twine
Chameleon Pen PK3
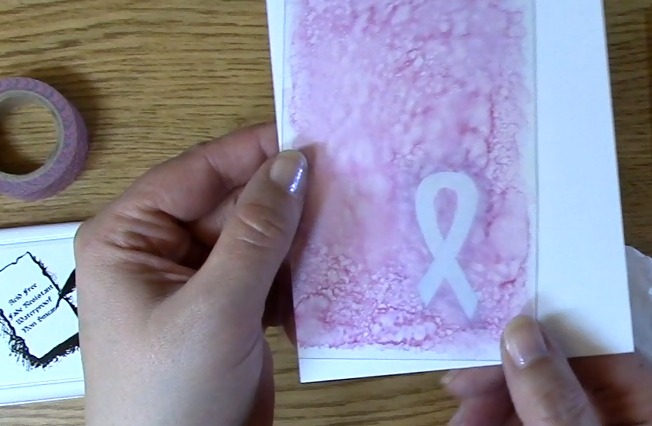
Pink Paper for Doily
White Card Base
White Paper for Sentiment and Gloves
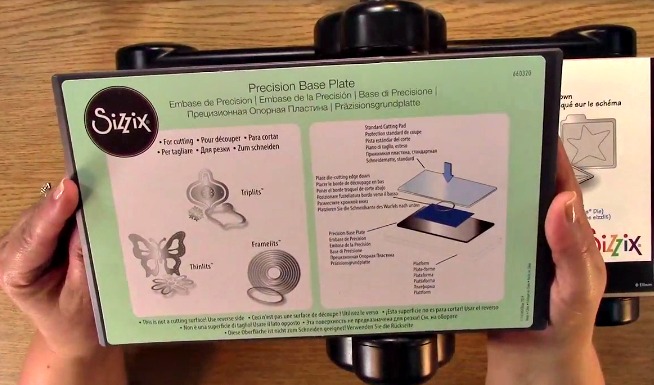
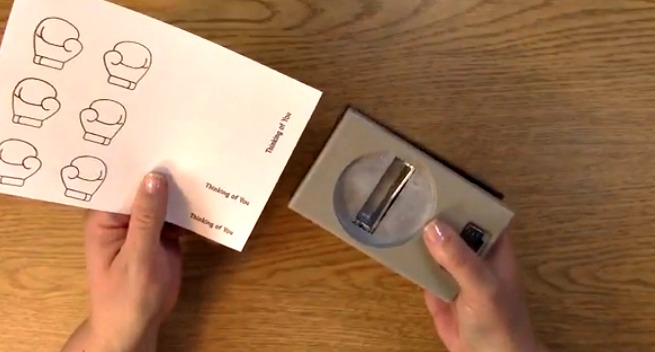
I use this precision platform to help me with the intricate dies.
Previously I had thought it was magnetic, it is not. The magnet I used to test it was though.. Yeah.. I am serious. It has been a fun couple weeks.
Anyhow, this platform has helped with the detailed dies but I am still having to run it through a few times to be sure it has cut. I do seem to have better luck with my magnetic platforms.

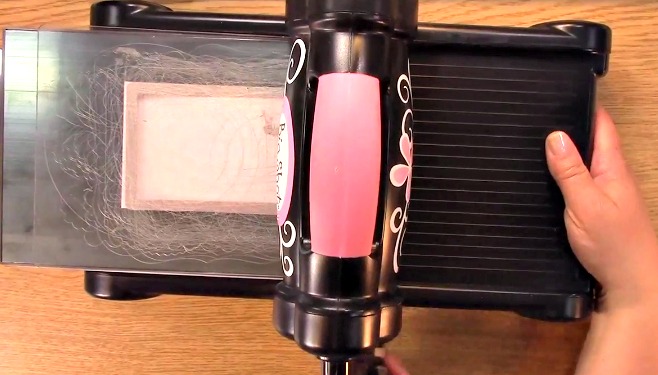
First, we are going to use our Sizzix manual die cut machine and die cut with our two dies. Place your standard platform on your machine and then place your precision platform on top of it.
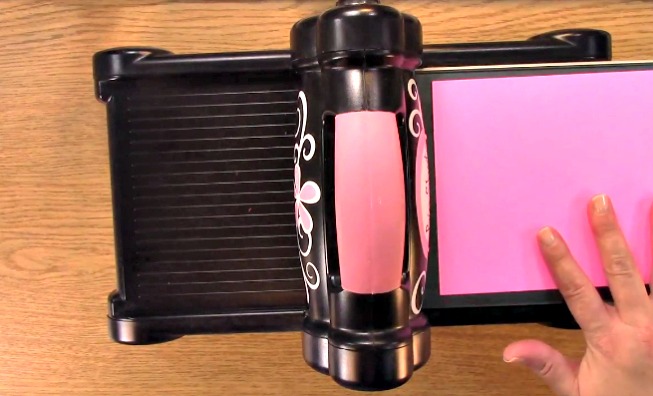
Put the paper you are going to use for your Breast Cancer Awareness Card and place your die cut down on top of the precision platform.
Place your die on top of the paper.

Put your clear platform on top of your die.

Run your die through your machine.

Run it back through your machine just to ensure proper cutting.
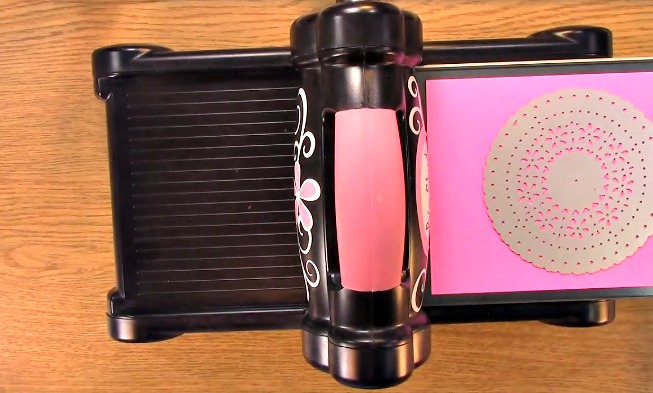
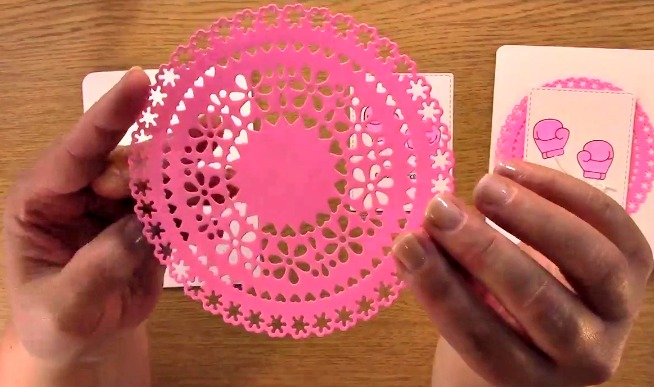
This is what the doily die looks like once it has been cut and removed from the machine.

Here is a close up of the amazing detail of this die. LOVE IT! This will be perfect for your Breast Cancer Awareness Card

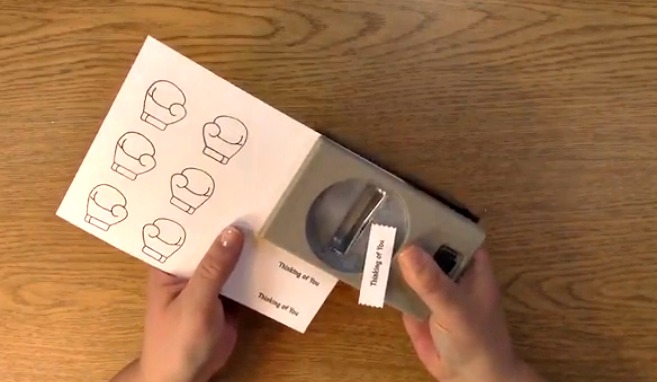
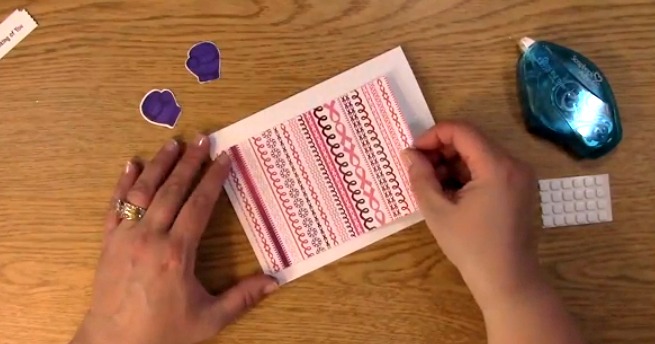
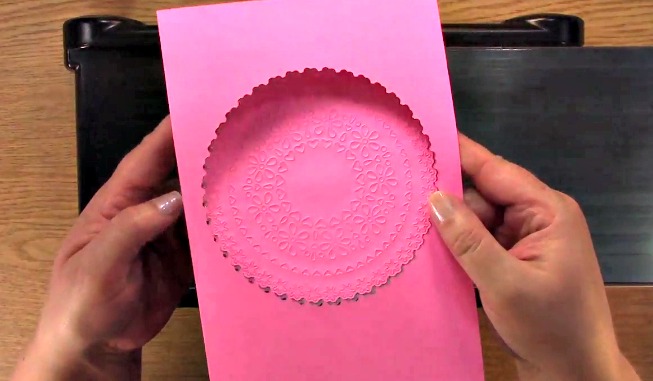
Take out your rectangle die with stitching.

Place your paper under your die, making sure it is centered. Put it on top of your base platform and precision platform on your machine.
Place your clear platform on top of your die.
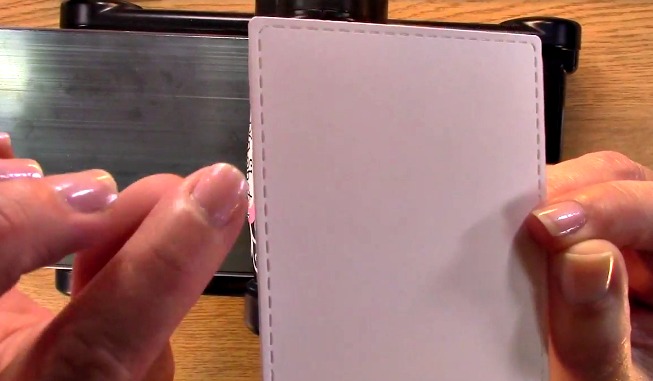
I love the stitched look. The detail is so cool and perfect for your Breast Cancer Awareness stamped images!

Take out your doily die and your 3 in 1 tool by Spellbinders. use the brush side and clean out the pieces from the die.

I was able to get most of the pieces out.

Using the poker part of the 3 in 1 tool, poke out any of the extra pieces you weren’t able to get.
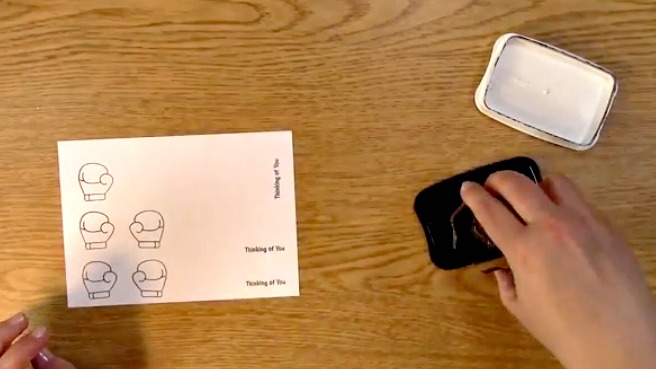
Take out your stitched die cut paper, the gloves and sentiment from your A Creative Journey with Melissa Awareness Ribbon Set #3 – Ready for a Fight Stamp Set

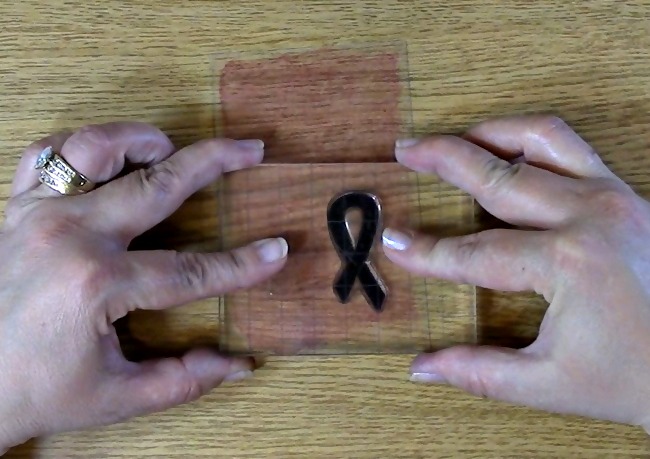
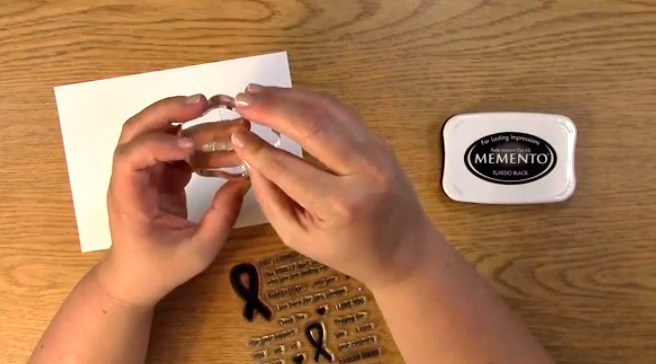
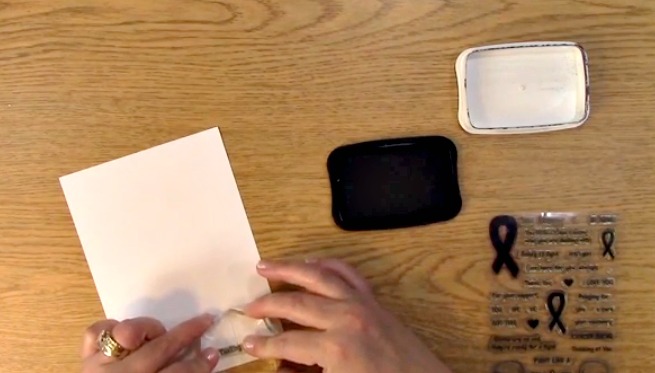
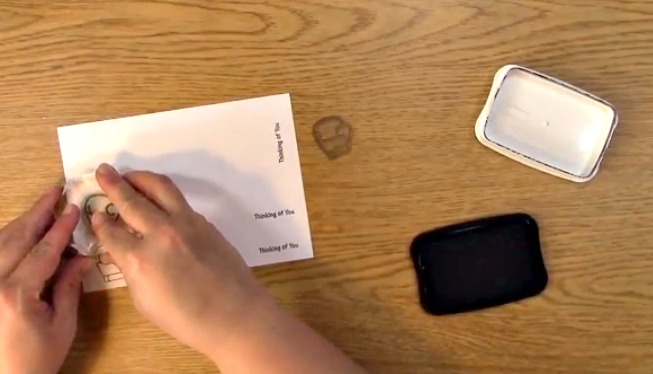
Place your stamps on your stamp block

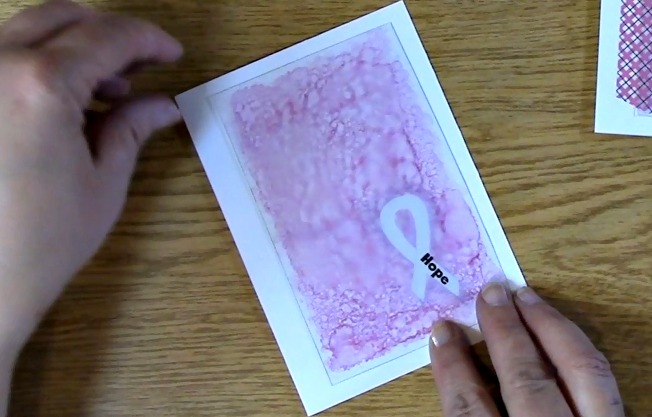
Ink your stamp and stamp your images and sentiment on your paper.

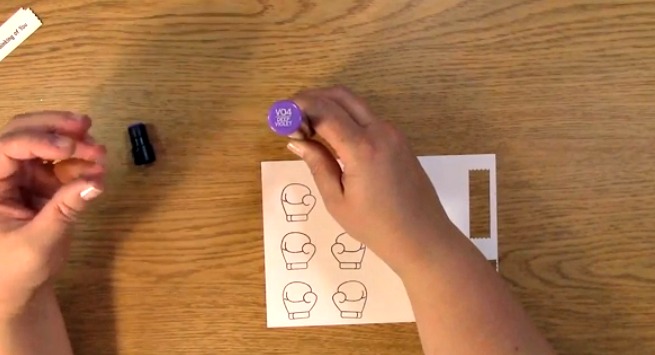
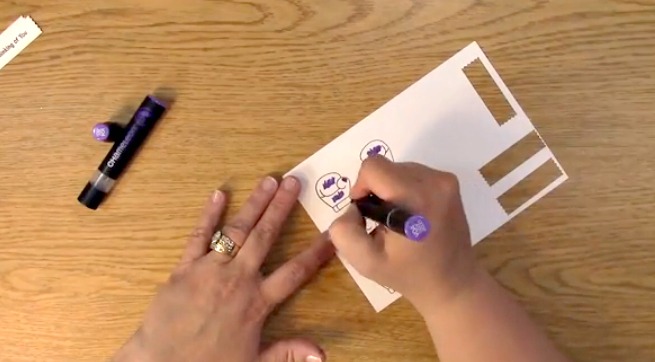
Take out your Chameleon PK3 Pen.

Take off the lid to the nib side of your pen and place your blending solution cartridge on so the nibs are touchign as shown.

Hold the pen so the blending solution cartridge is on top. Wait 5-10 seconds.

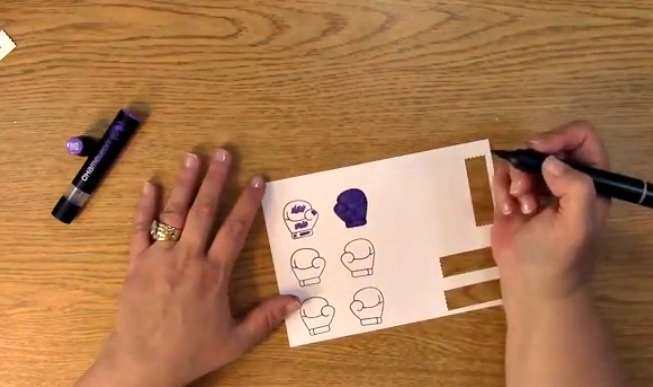
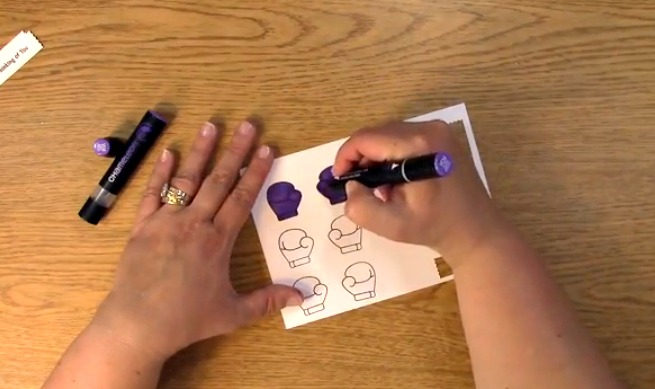
Color the lightest part or light source area of your image first.

Fill in the rest of your image. Color over the lines to highlight the shadowing.

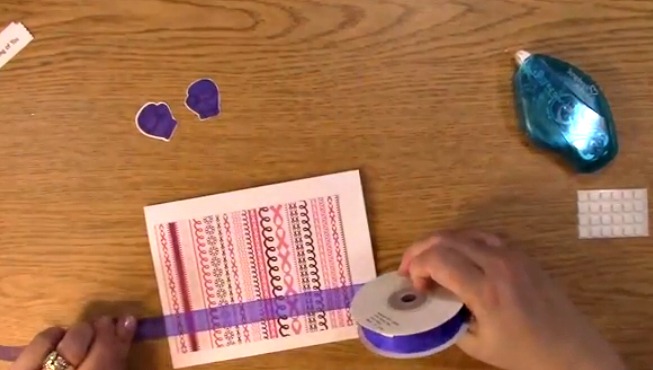
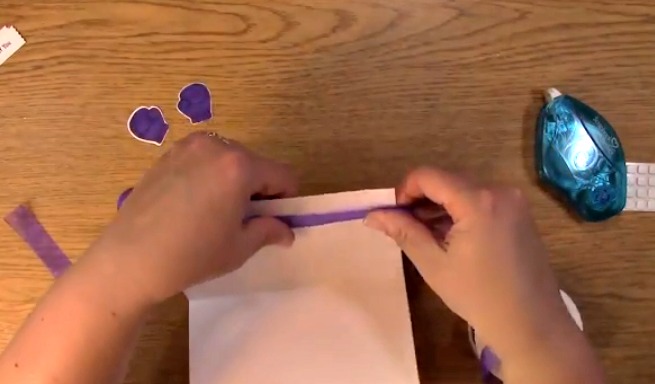
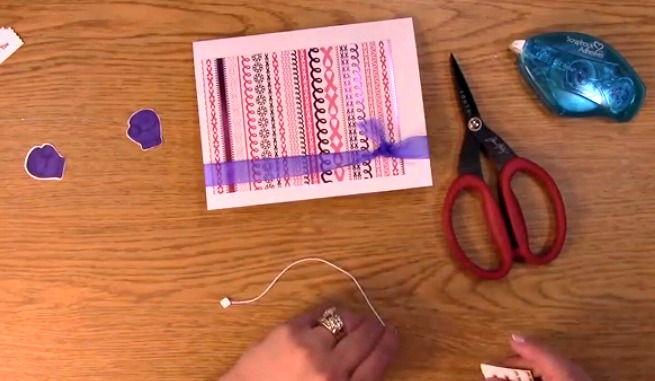
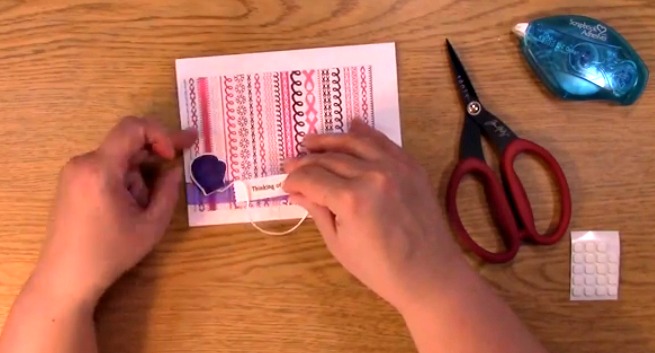
Take out your twine and tie a bow.
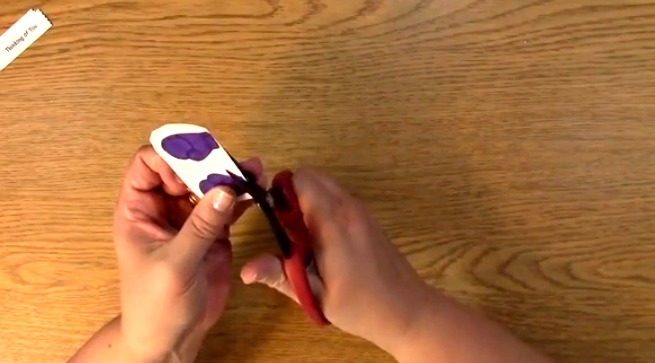
Trim off the edges and cut so you can place on the stamped paper.

Add adhesive to the bottom of the glove where you are going to place your twine.
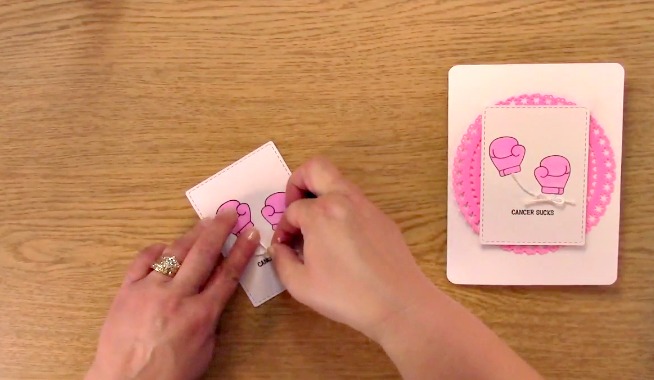
Add the twine to the colored image.
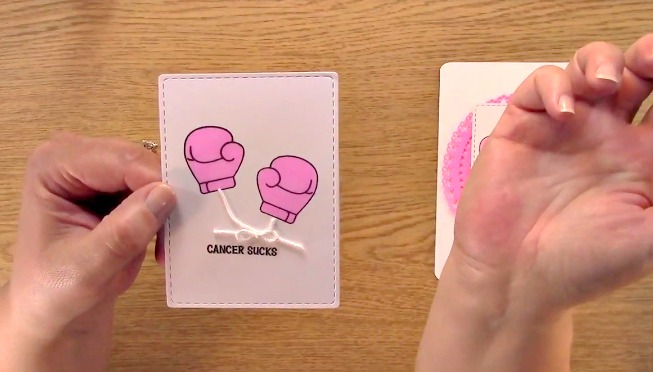
Here is a close up of it after it has been added.
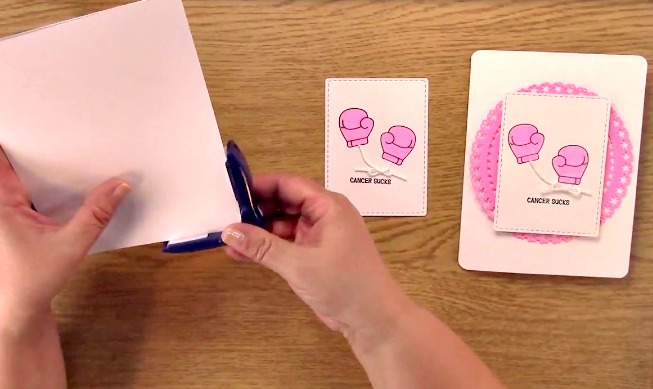
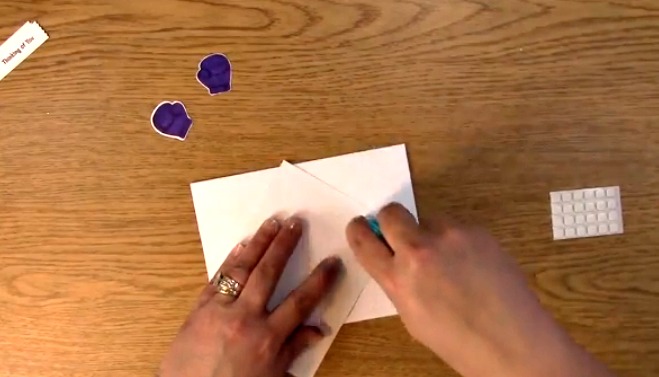
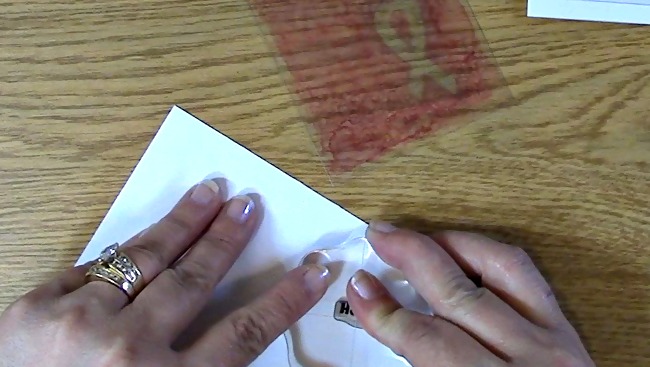
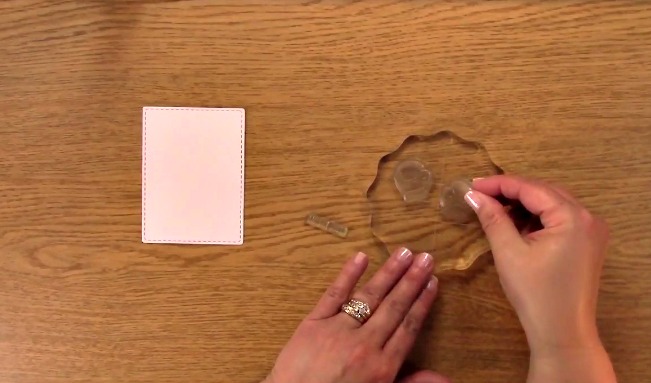
Take out your card base. Using the corner rounder, round all four sides of your card base.
This is what it looks like once it has been done.
Take out your detailed doily die cut.

Add adhesive to the back of the doily die cut.

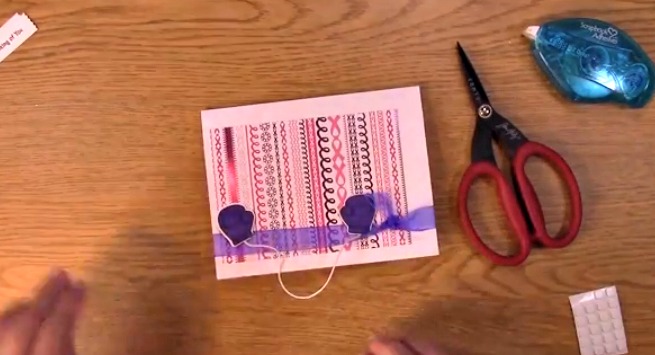
Place your doily die cut in the middle of your card base as shown.

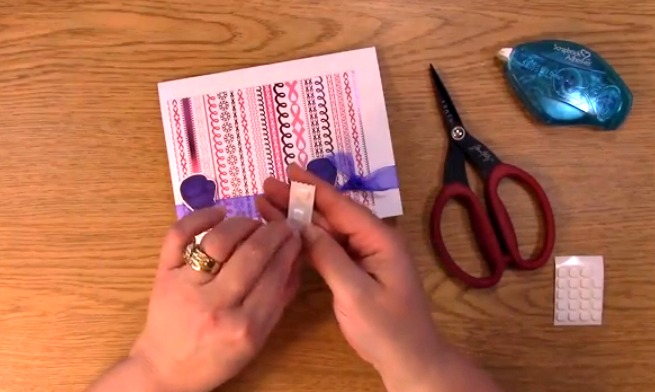
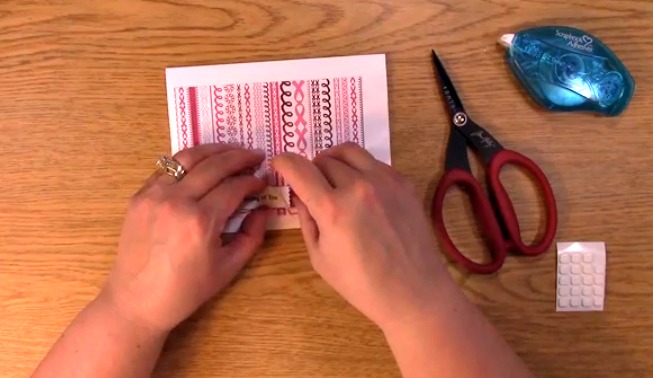
Place your 3-D foam squares on the back of your stamped and colored image.

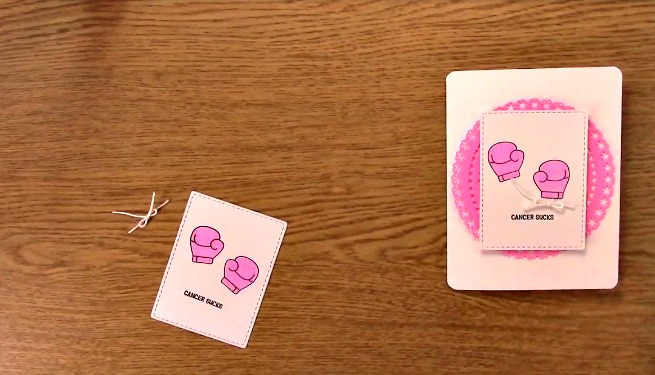
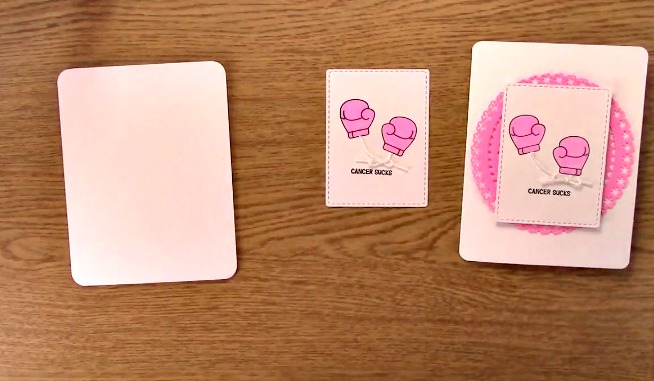
Remove the paper on the back of the foam squares and adhere your image to the middle of your doily on your card base.

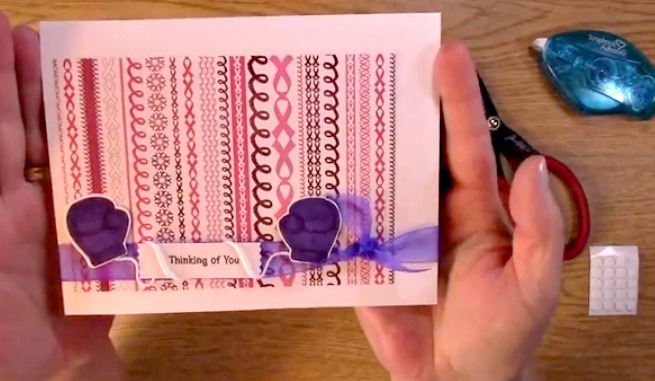
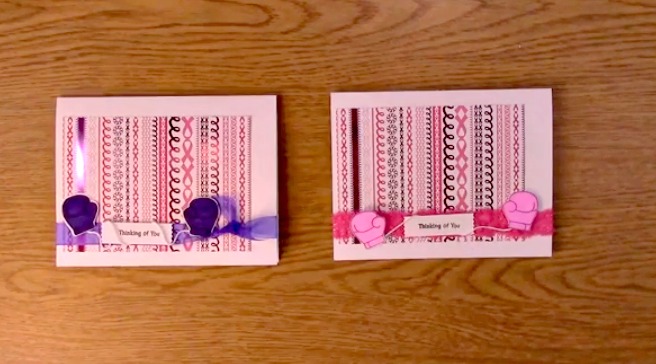
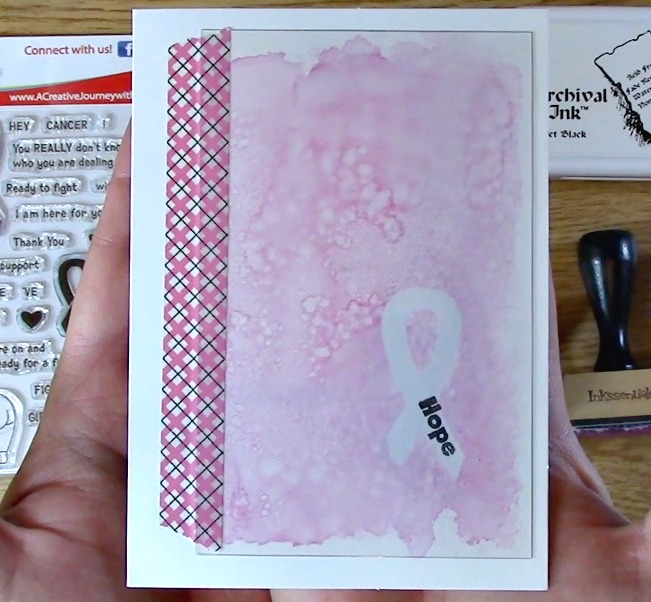
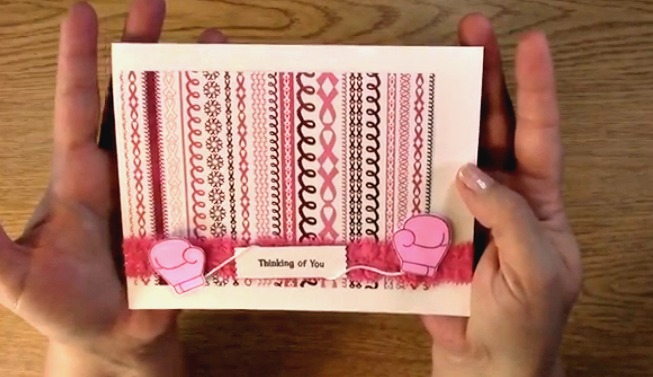
Your creation is complete! Your Breast Cancer Awareness Card using the A Creative Journey with Melissa Awareness Ribbon Set #3 – Ready for a Fight Stamp Set!
Now for this weeks GIVEAWAY!
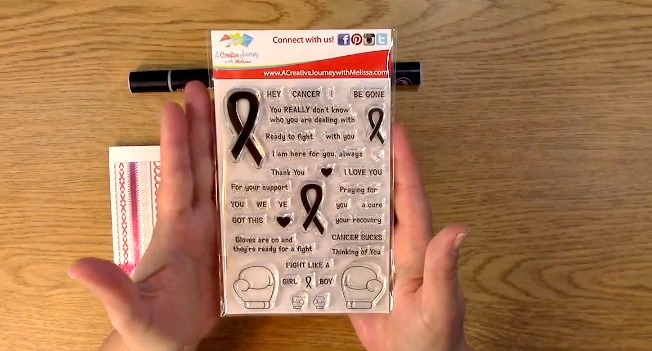
A Creative Journey with Melissa Awareness Ribbon Set #3 – Ready for a Fight Stamp Set is what we are giving away this week!!


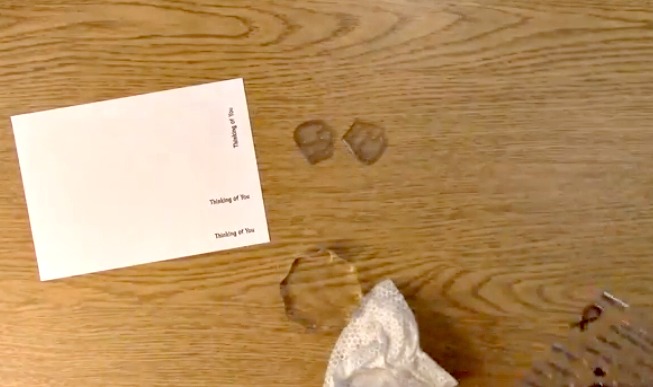
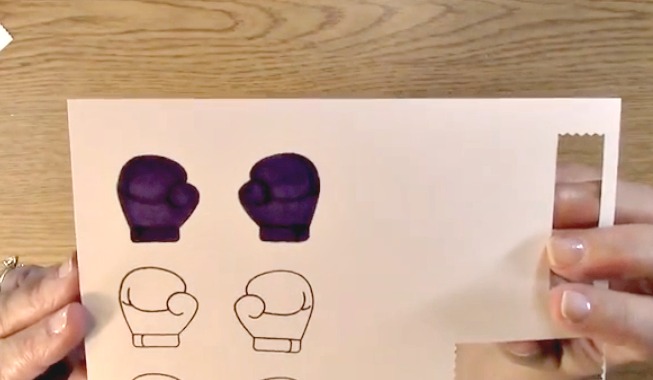
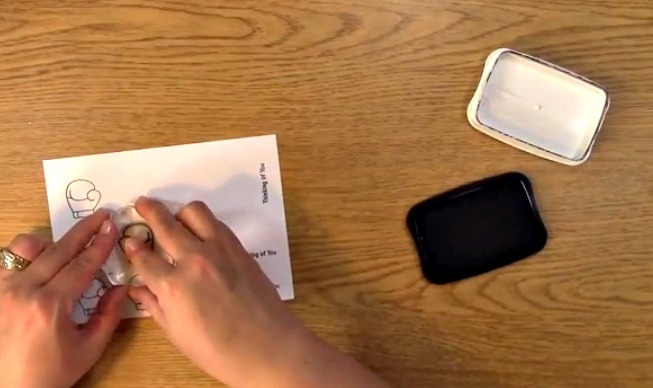
 Stamp your glove onto your paper.
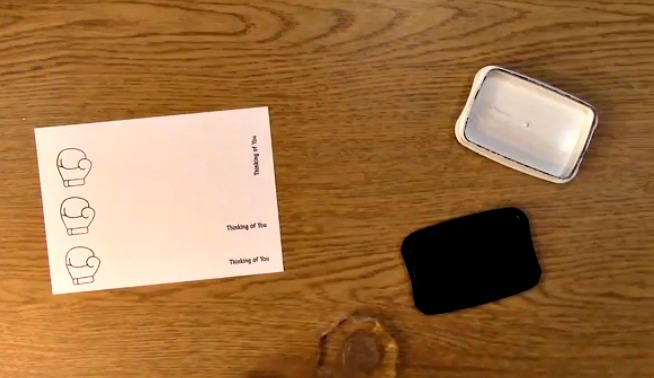
 Stamp the other glove so you have opposite hands for your project.