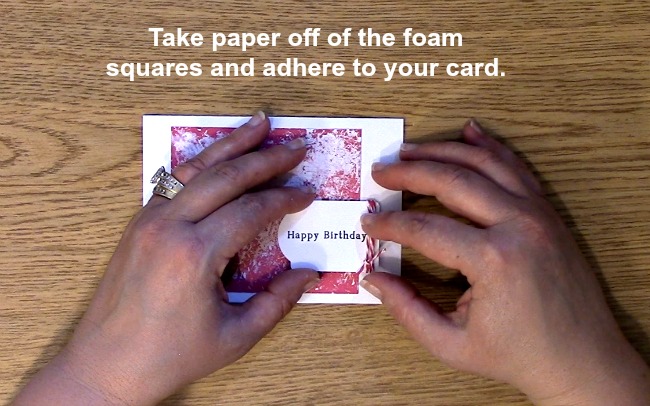
Alcohol and Alcohol Ink Resist Texture Technique
Alcohol and Alcohol Ink Resist Texture Technique? Yes, that is EXACTLY what we are doing today! It is SUPER fast, fun and EASY! My favorite kind of technique to do and show you! Just think of all of the possibilities! You can add different colors for a theme background or just one to make a certain color stand out in your creation! The possibilities are really ENDLESS!!
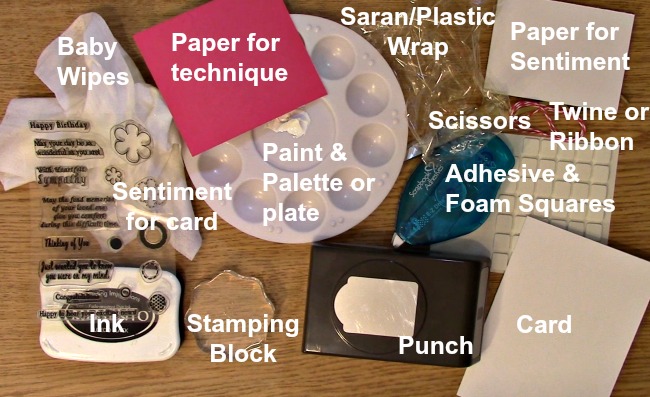
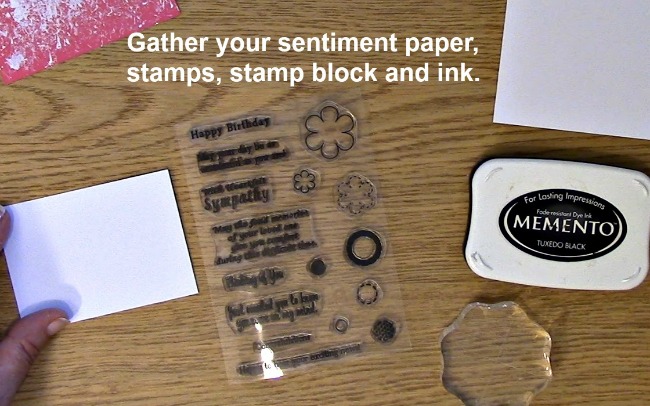
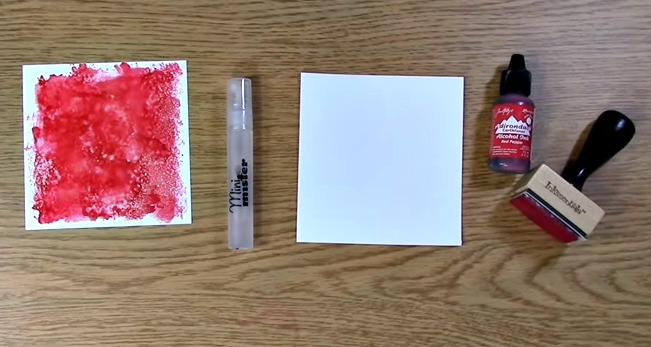
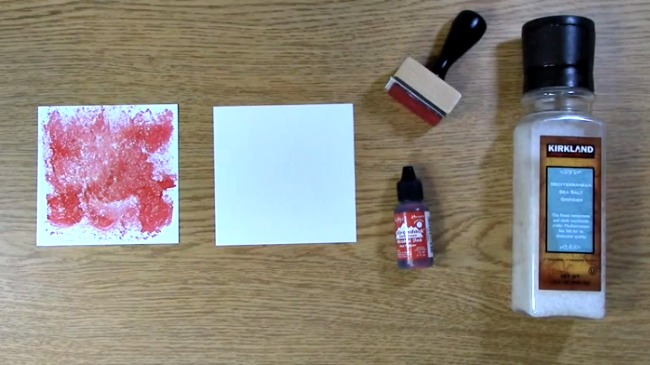
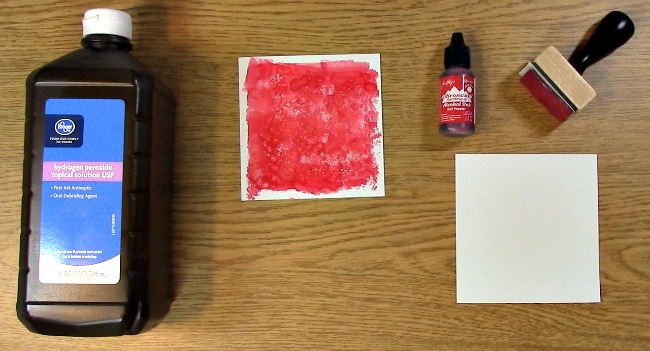
Supplies:
Colored alcohol ink
Colorless alcohol ink in a sprayer
Protected or wipeable/cleanable work surface
Ink applicator, cotton ball or make up sponge
Glossy paper or photo paper – that’s what I used 🙂
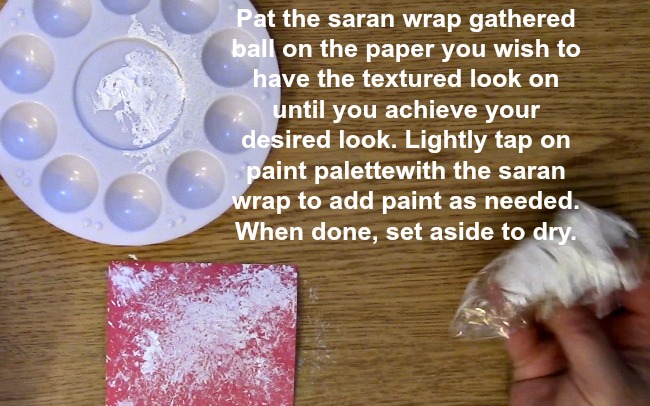
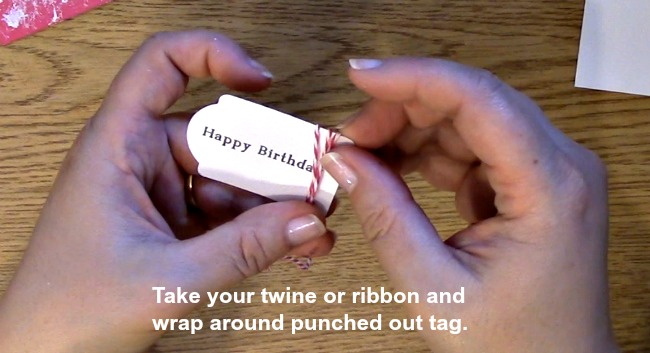
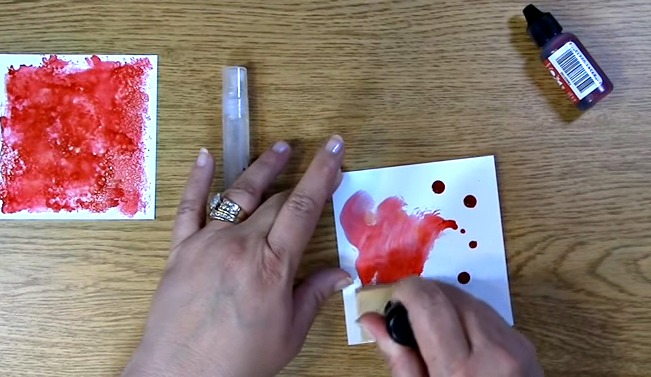
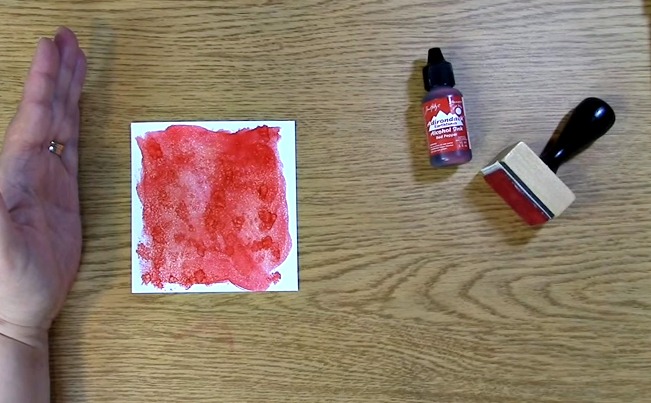
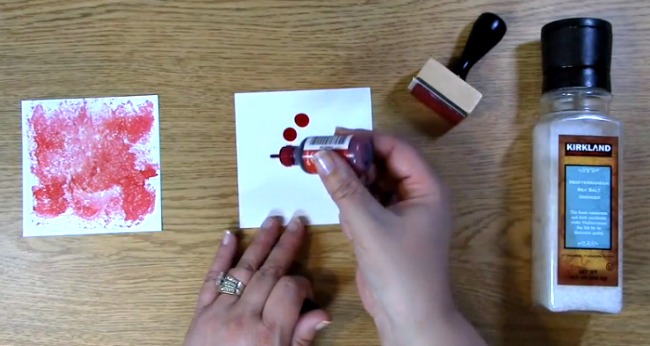
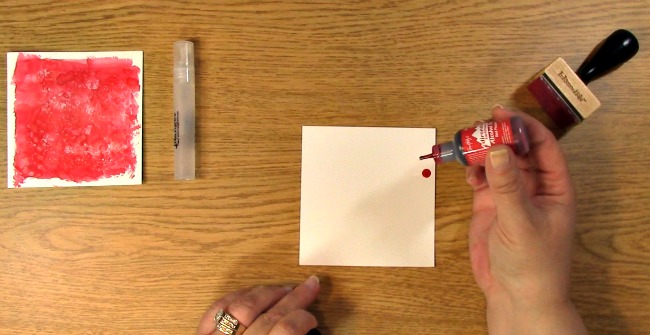
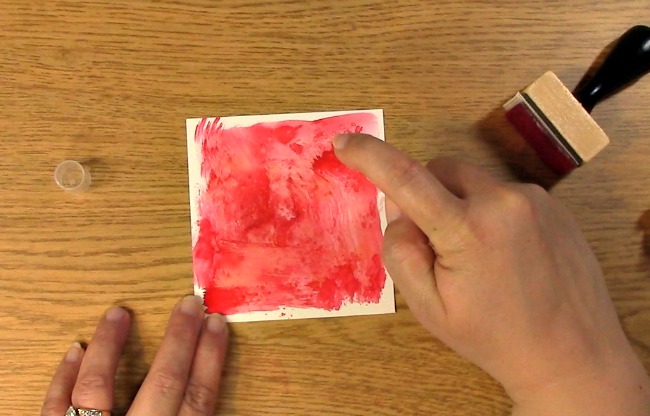
To do the Alcohol and Alcohol Ink Resist Texture Technique, take your paper and alcohol ink out and drip ink onto your paper. Approximately 6-10 drops.
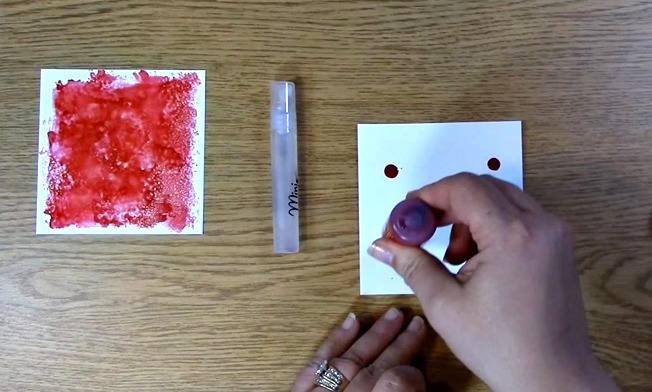
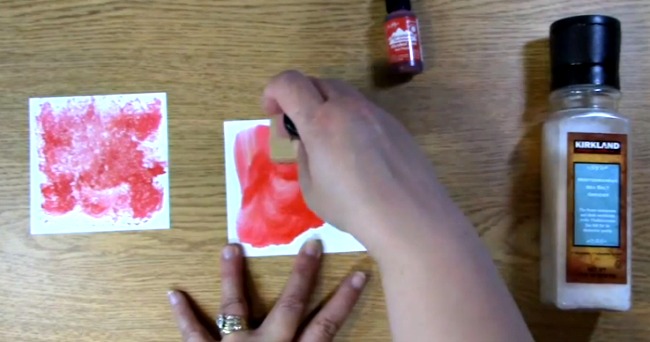
Take your ink applicator and move the ink around covering your paper surface.
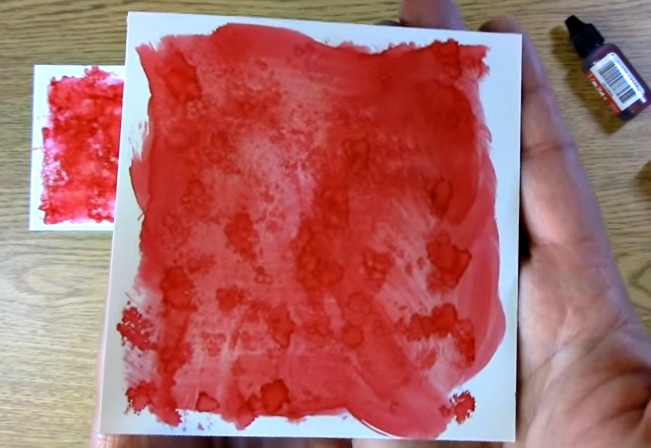
This is what it looks like once it has been covered as desired. I smeared it and blotted it with the ink applicator.
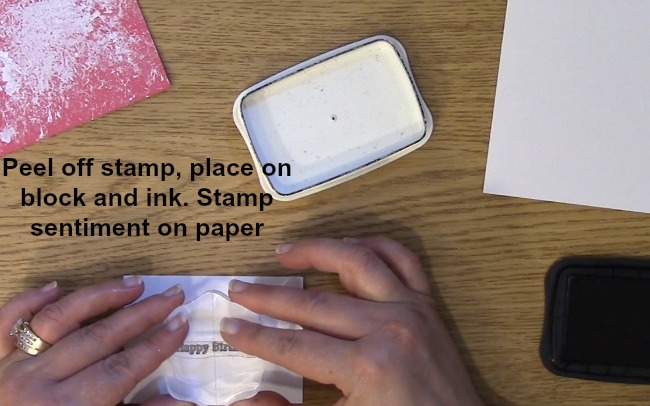
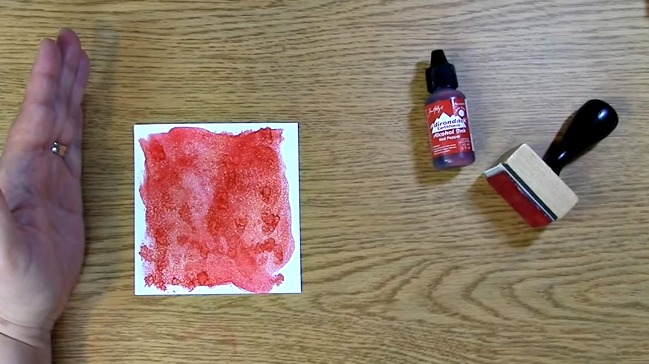
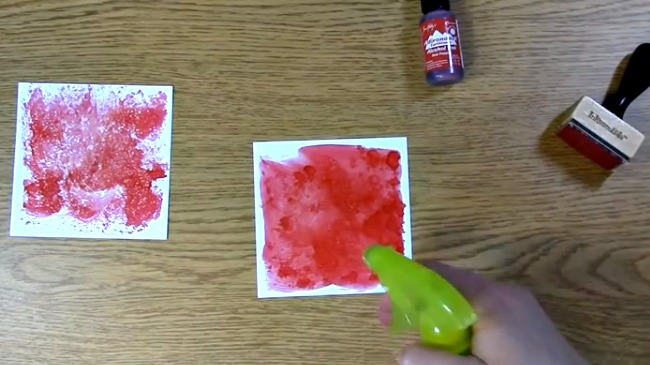
Now take your sprayer filled with colorless alcohol or blending solution. I use the ranger mini misters and fill them with alcohol or blending solution. I love the fine mist they give. The paper to the left is what I did for my first sample. the outside has a small amount of clear alcohol as the inside is saturated to give a more muddled look.
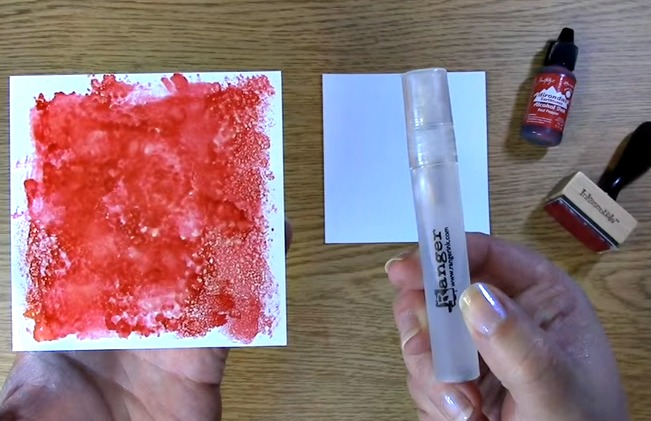
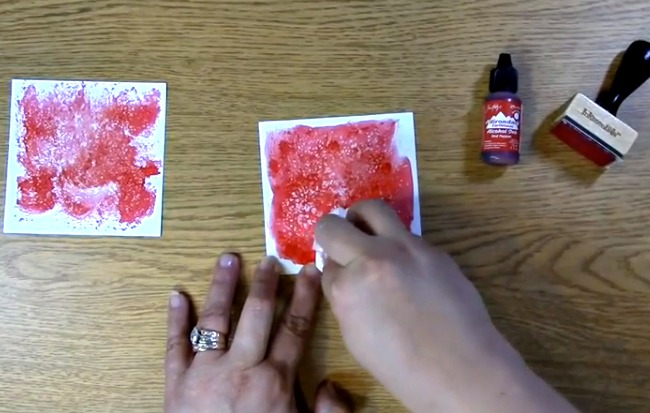
Now to use the Alcohol and Alcohol Ink Resist Texture Technique, keep your mister/sprayer approximately 5-10 inches away depending on your preference of results, spray your paper. This is what it looks like with one spray.
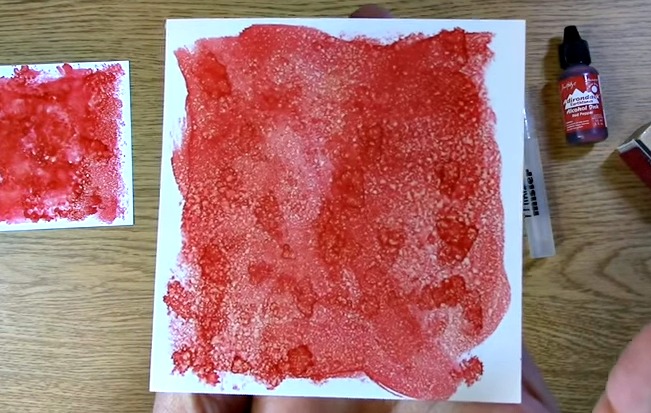
This is after the second spray.
This is after the third spray.
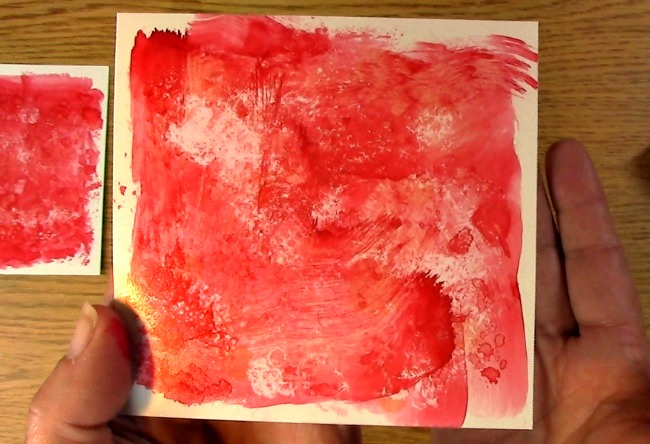
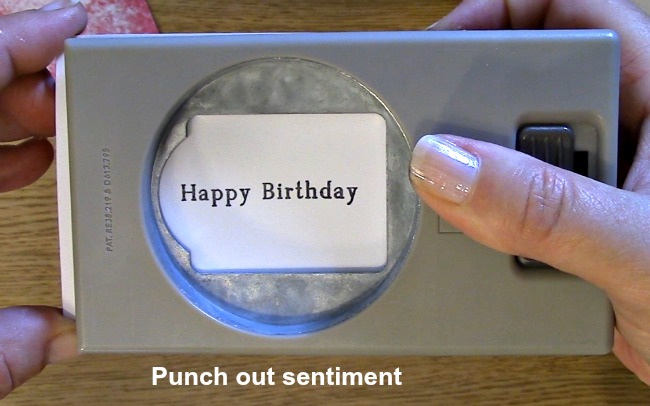
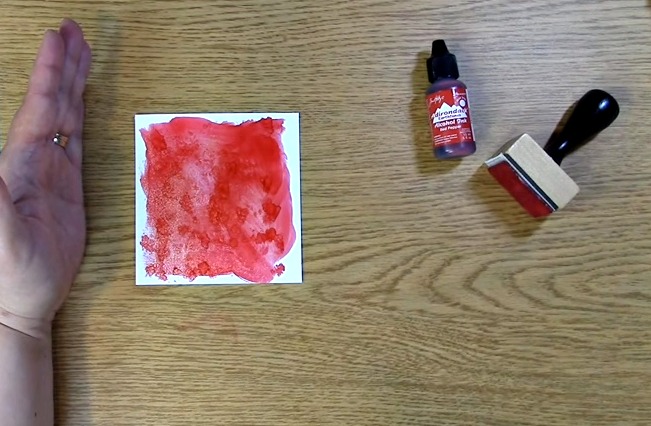
This is a close up of the final results.
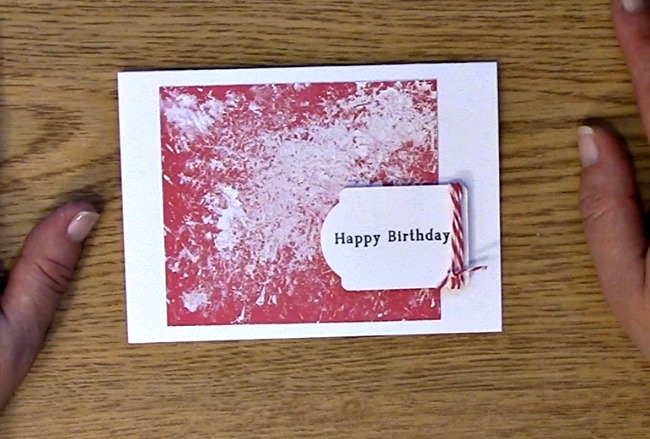
You are finished! You have mastered the Alcohol and Alcohol Ink Resist Texture Technique!
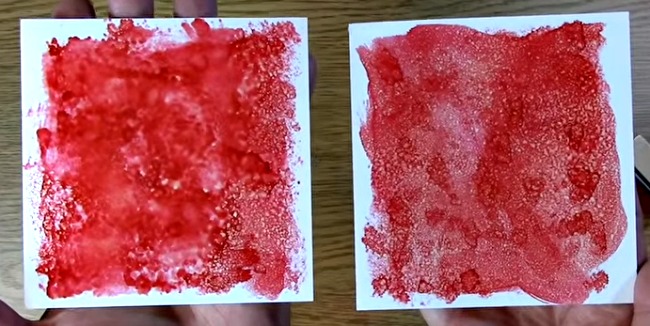
The below shows you the difference between more saturation in the middle and a fine mist on the outside (left) versus just a fine mist (right) and what the difference in results will be.
THank you so much for coming by and checking out our tutorial. We appreciate your time and hope you enjoyed going on A Creative Journey with Melissa.

 This is a close up of what it will looked like when I added the salt.
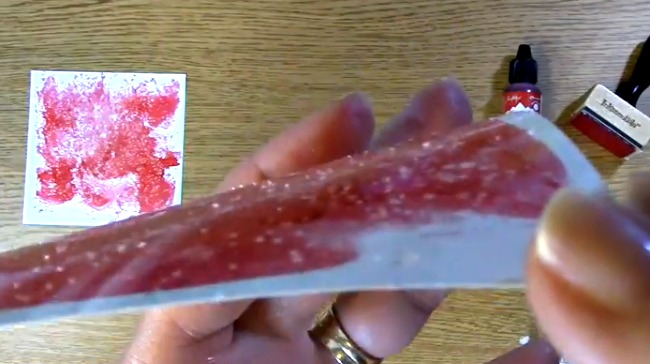


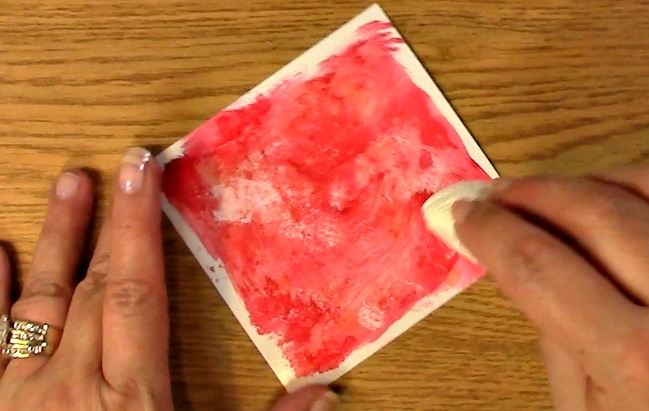 In the video, I blotted it off and some of the texture from the paper towel shows in the paper. What a wonderful unplanned surprise!