
Create Your Own Planner Journal Project – Part 5 – Binding with the Cinch Binding Tool
Today we are Binding with the Cinch Binding Tool. This is our final installment of our Create Your Own Planner Journal Project. This is Part 5 of 5 in the series. If you haven’t seen the previous tutorials in the series, you can see them below.
This video is a little bit longer than my normal videos as I wanted to be sure that you understood how the Binding with the Cinch Binding Tool was executed. Let’s get started shall we?
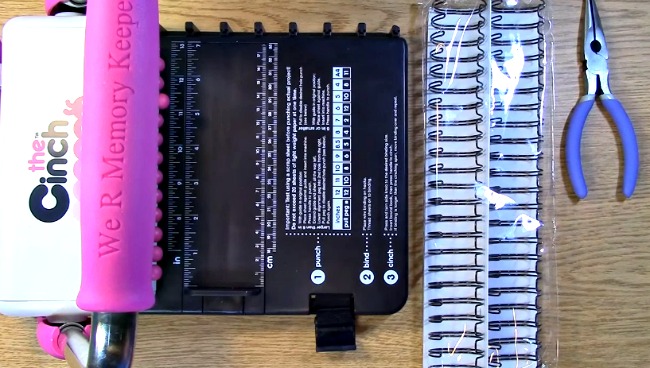
The supplies you will need:
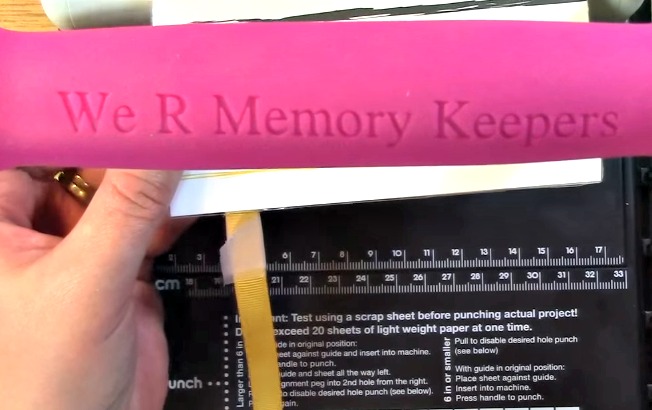
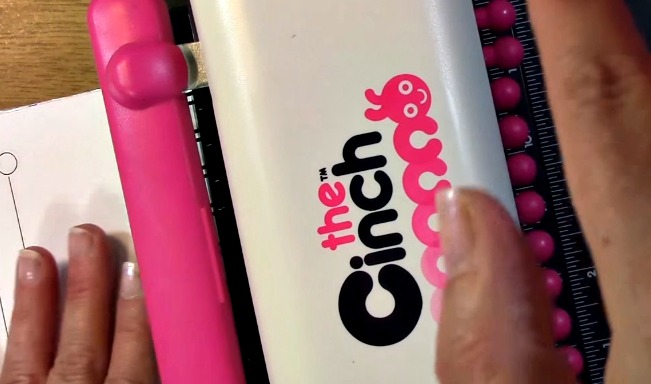
Binding Machine ( I used the We R Memory Keepers Cinch)
Wire
Wire Cutters
Planner Journal Front
Planner Journal Back
Pages for inside planner journal
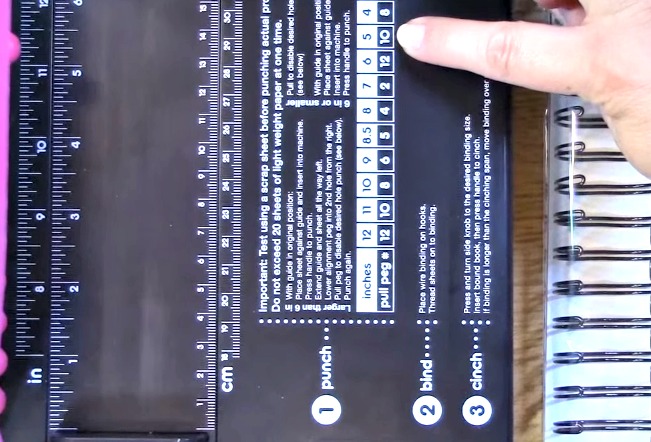
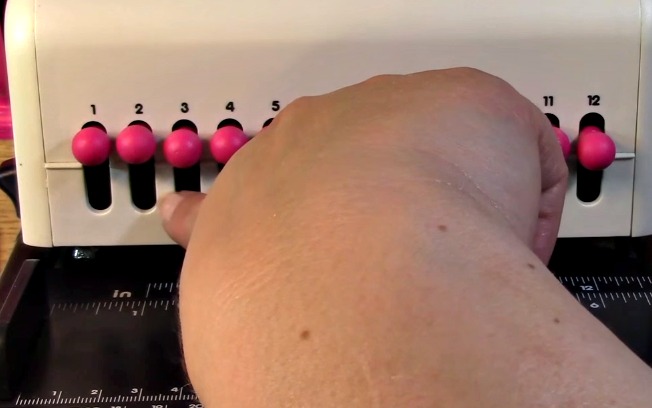
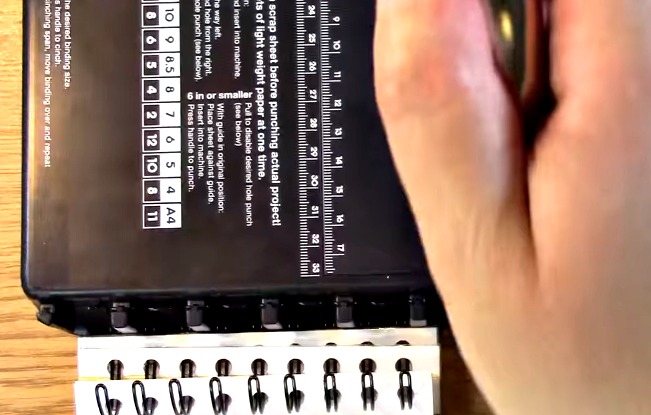
To use the Cinch Binding Tool you will need to decide what size you would like your binding to be. The easiest way to see would be to use the guide on the Cinch Binding Machine. It tells you how many holes you will punch depending on how large your project is. The holes will be the same number of rings you will need.
For this project, our project is five inches wide so we will need to take out the pin in the #10 hole because if we don’t it will only half punch the page and we don’t want that do we?
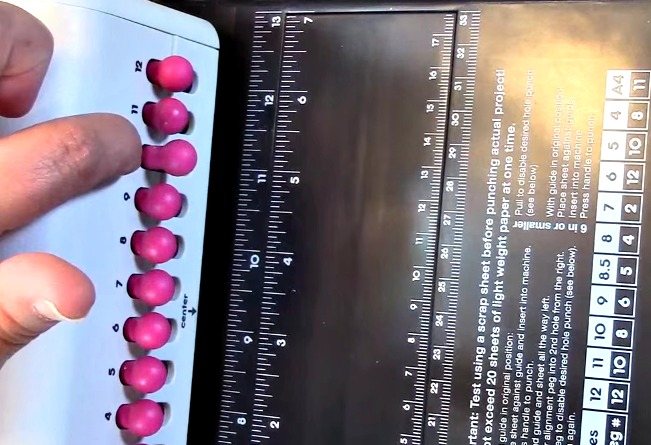
For the planner journal, we need 9 rings to bind it the way I had planned.
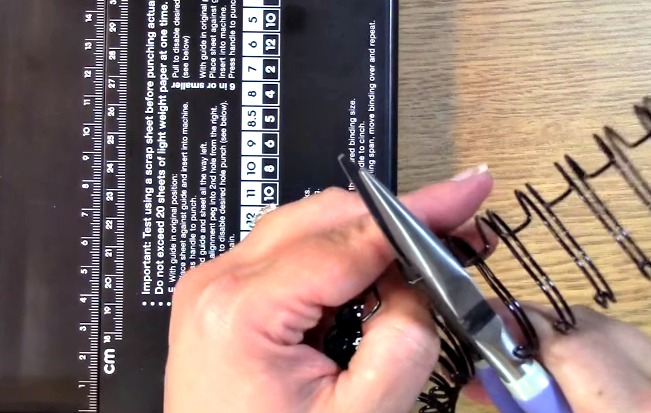
Take your wire cutters and your binding wire and cut so that you have 9 binding rings.

Set your wire aside.
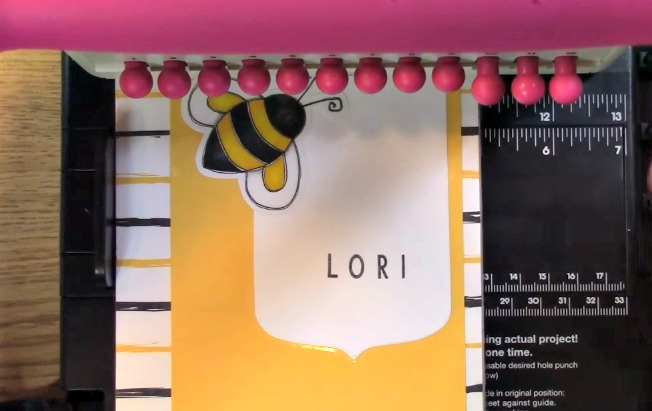
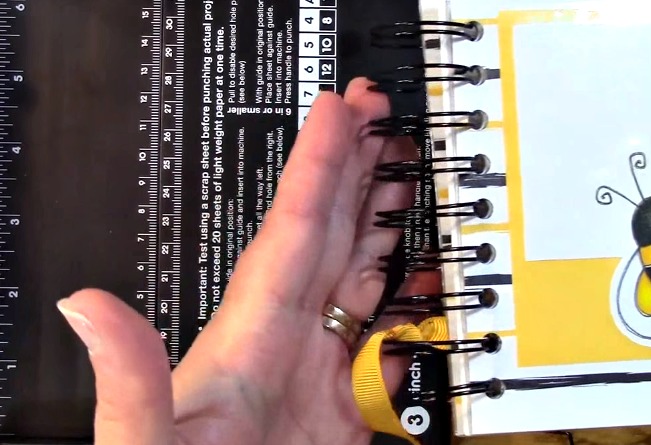
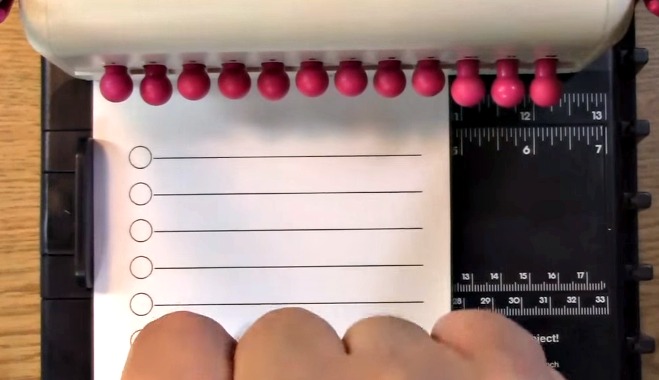
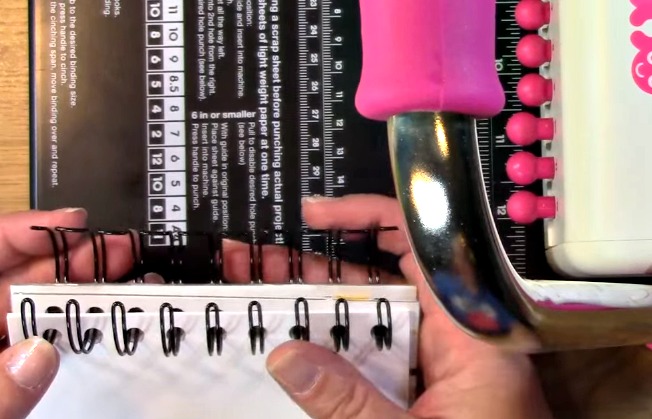
Get out your planner journal front, back and pages. You do not want to bind all of your covers and pages together. There is too much thickness for the machine and it is not recommended to do the covers with the paper due to the different thickness so be sure to do your covers separately from each other and then do your pages ensuring you are using the proper number of pages not to overwhelm the machine. Since you have already pulled out the #10 pin to ensure you won’t cut a half circle on the edge, you are ready to punch holes in your planner front. Be sure it is aligned on the left side and pushed all the way in until you feel a slight resistance.
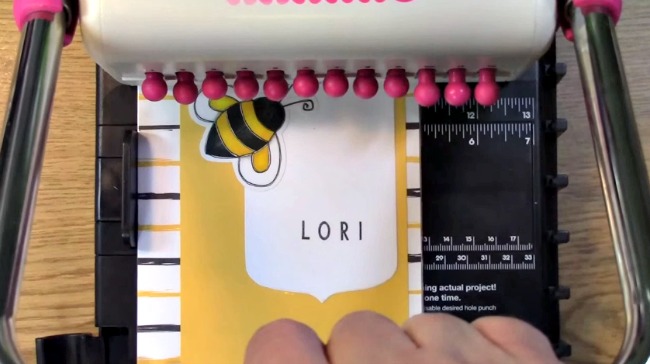
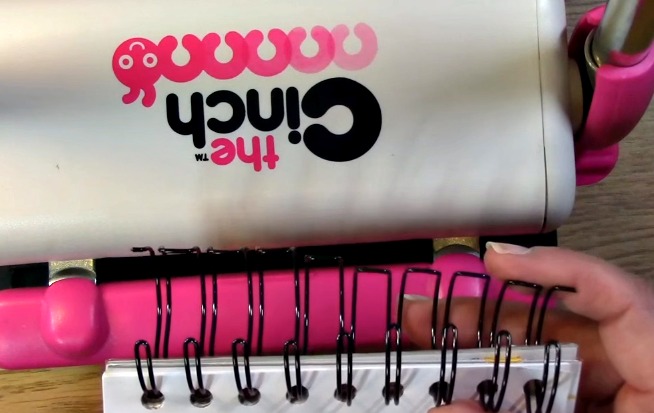
Pull your handle all the way down and then lift up.
Your holes have been punched out!
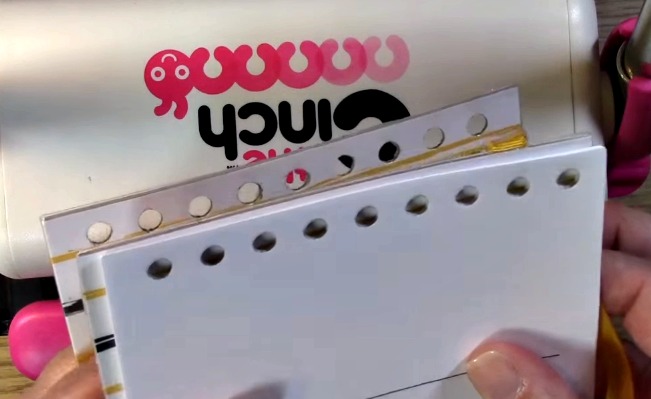
Take the back cover out. Be sure to cover the ribbon you have used with tape as sometimes there can be some oil residue from the machine as well as roll it to make it a little thinner so it doesn’t get a hole punched in it.
**NOTE** If you are using your machine for the first time be SURE to punch paper a number of times so that you use all of the excess oil before binding your project.
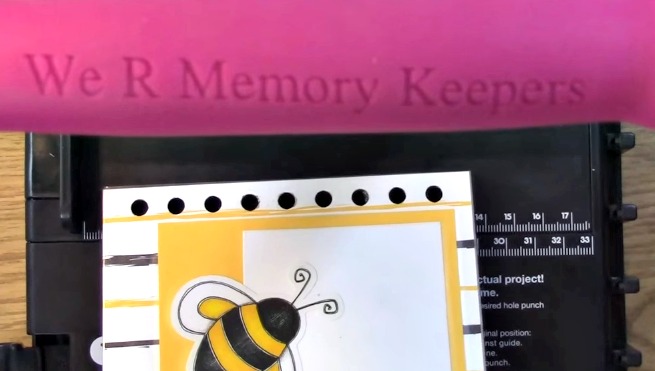
In this case, we are going to line the ribbon up between holes one and two so that we don’t get the ribbon punched as well.

You have punched your holes!
 Repeat these steps for your inside pages as well.
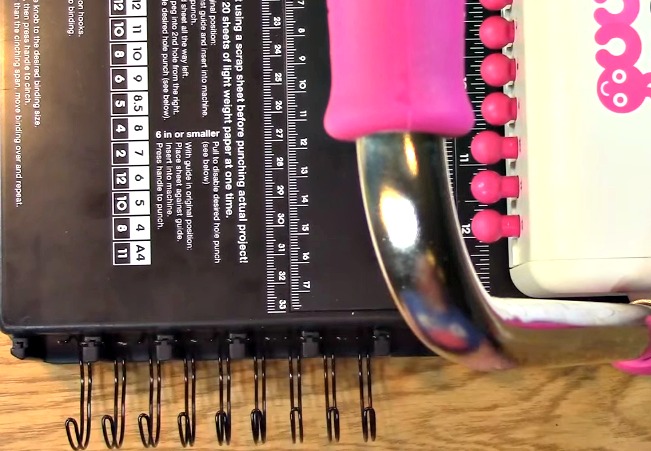
Take out your binding wire. Place it on the wire holder on the machine. This makes it easier to put together.
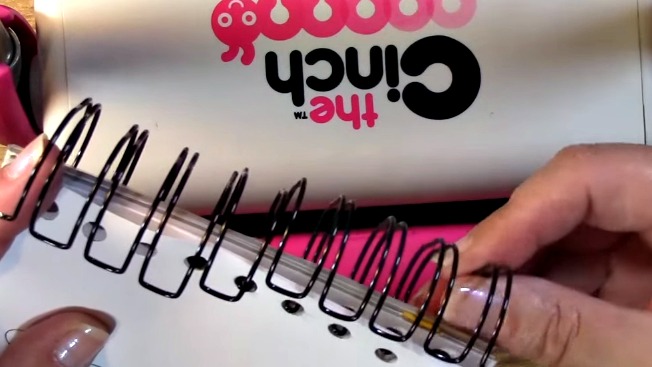 ***SIDE NOTE*** You don’t have to use it as you can see, you can also do it with your hand manually and that works well too.
You will want to place your papers in order before you bind them to ensure proper order. You want your front cover down first facing up, then your back cover facing up then you will place your pages. This gives you a nice clean binding look putting the rings where they connect together inside the cover.
Now you can place your project on the binding ring as shown.
Take off your binding ring project carefully. Carefully set it aside.

Set your binding machine to the correct size binding ring you have used.
Place your binding ring with the binding ring opening toward the machine.
You will want it to be lined up like shown up against the machine. Push down on the handle.
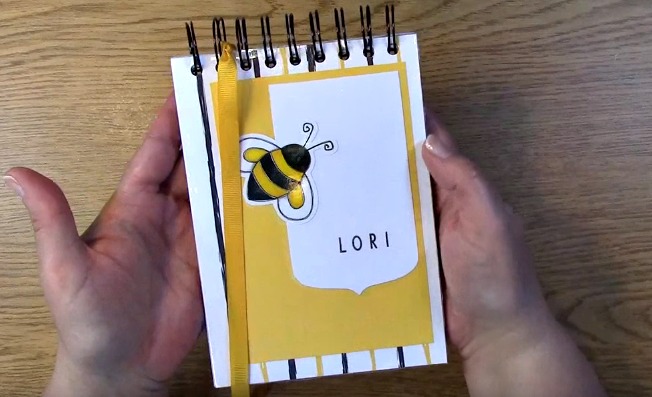
Your project is complete using the Cinch Binding Tool!
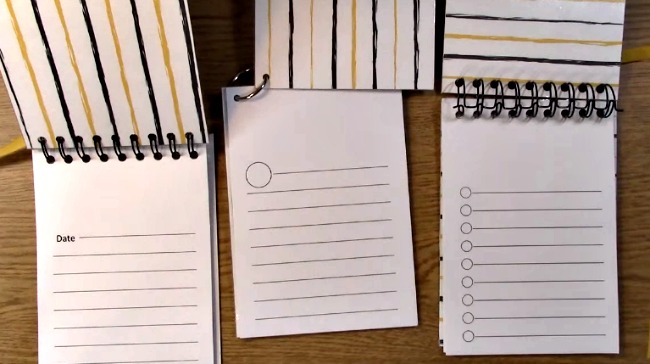
Here are the three Planner Journals I created for my sister. There are a number of things you can do with them. SO MANY IDEAS! I created these pages and cut them to size, hole punched and then bound them using the two different methods!
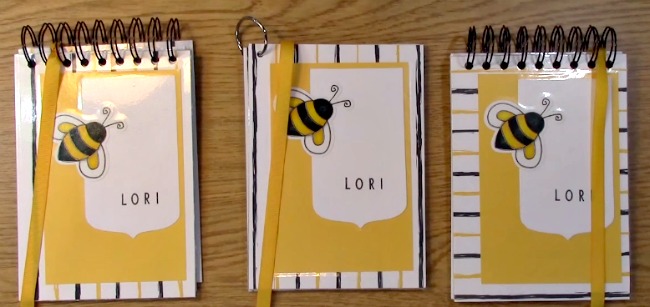
Here are the end results! We hope you learned something with this five part series. It was a lot of fun and I hope you share your ideas with us. Thank you for joining us and for going on A Creative Journey with Melissa.
