Stampin Up Trim Your Stocking Outside of the Box
Stampin Up Trim Your Stocking Outside of the Box is what we have for you today. We have a die that we figured out how to use it for something outside of the box..
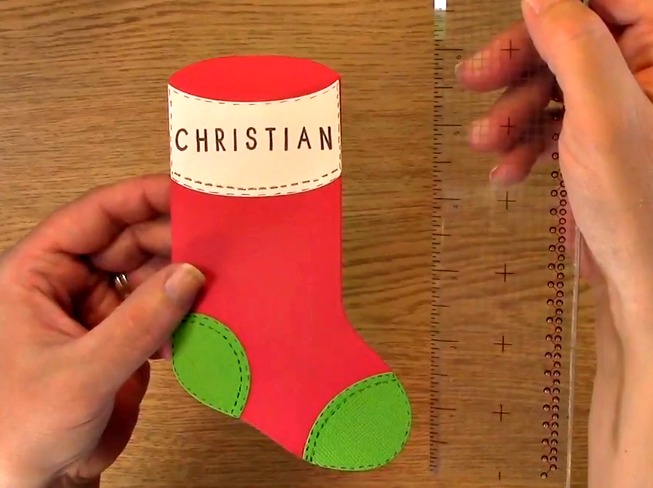
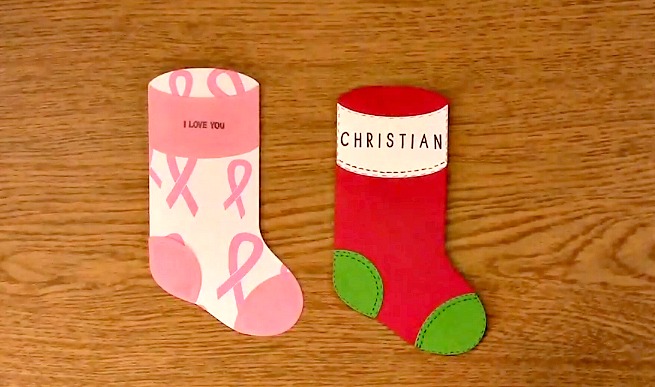
I made what you would expect, a Christmas stocking, with the die set. As you can see, this die is a nice size. It is approximately 6″ in length.

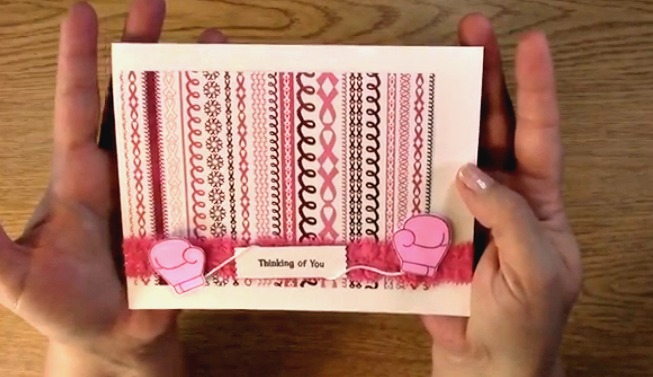
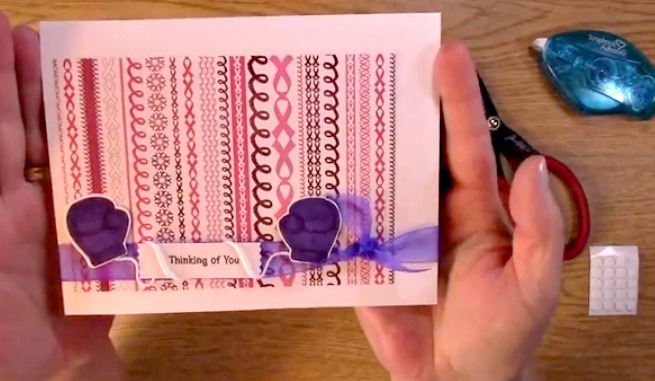
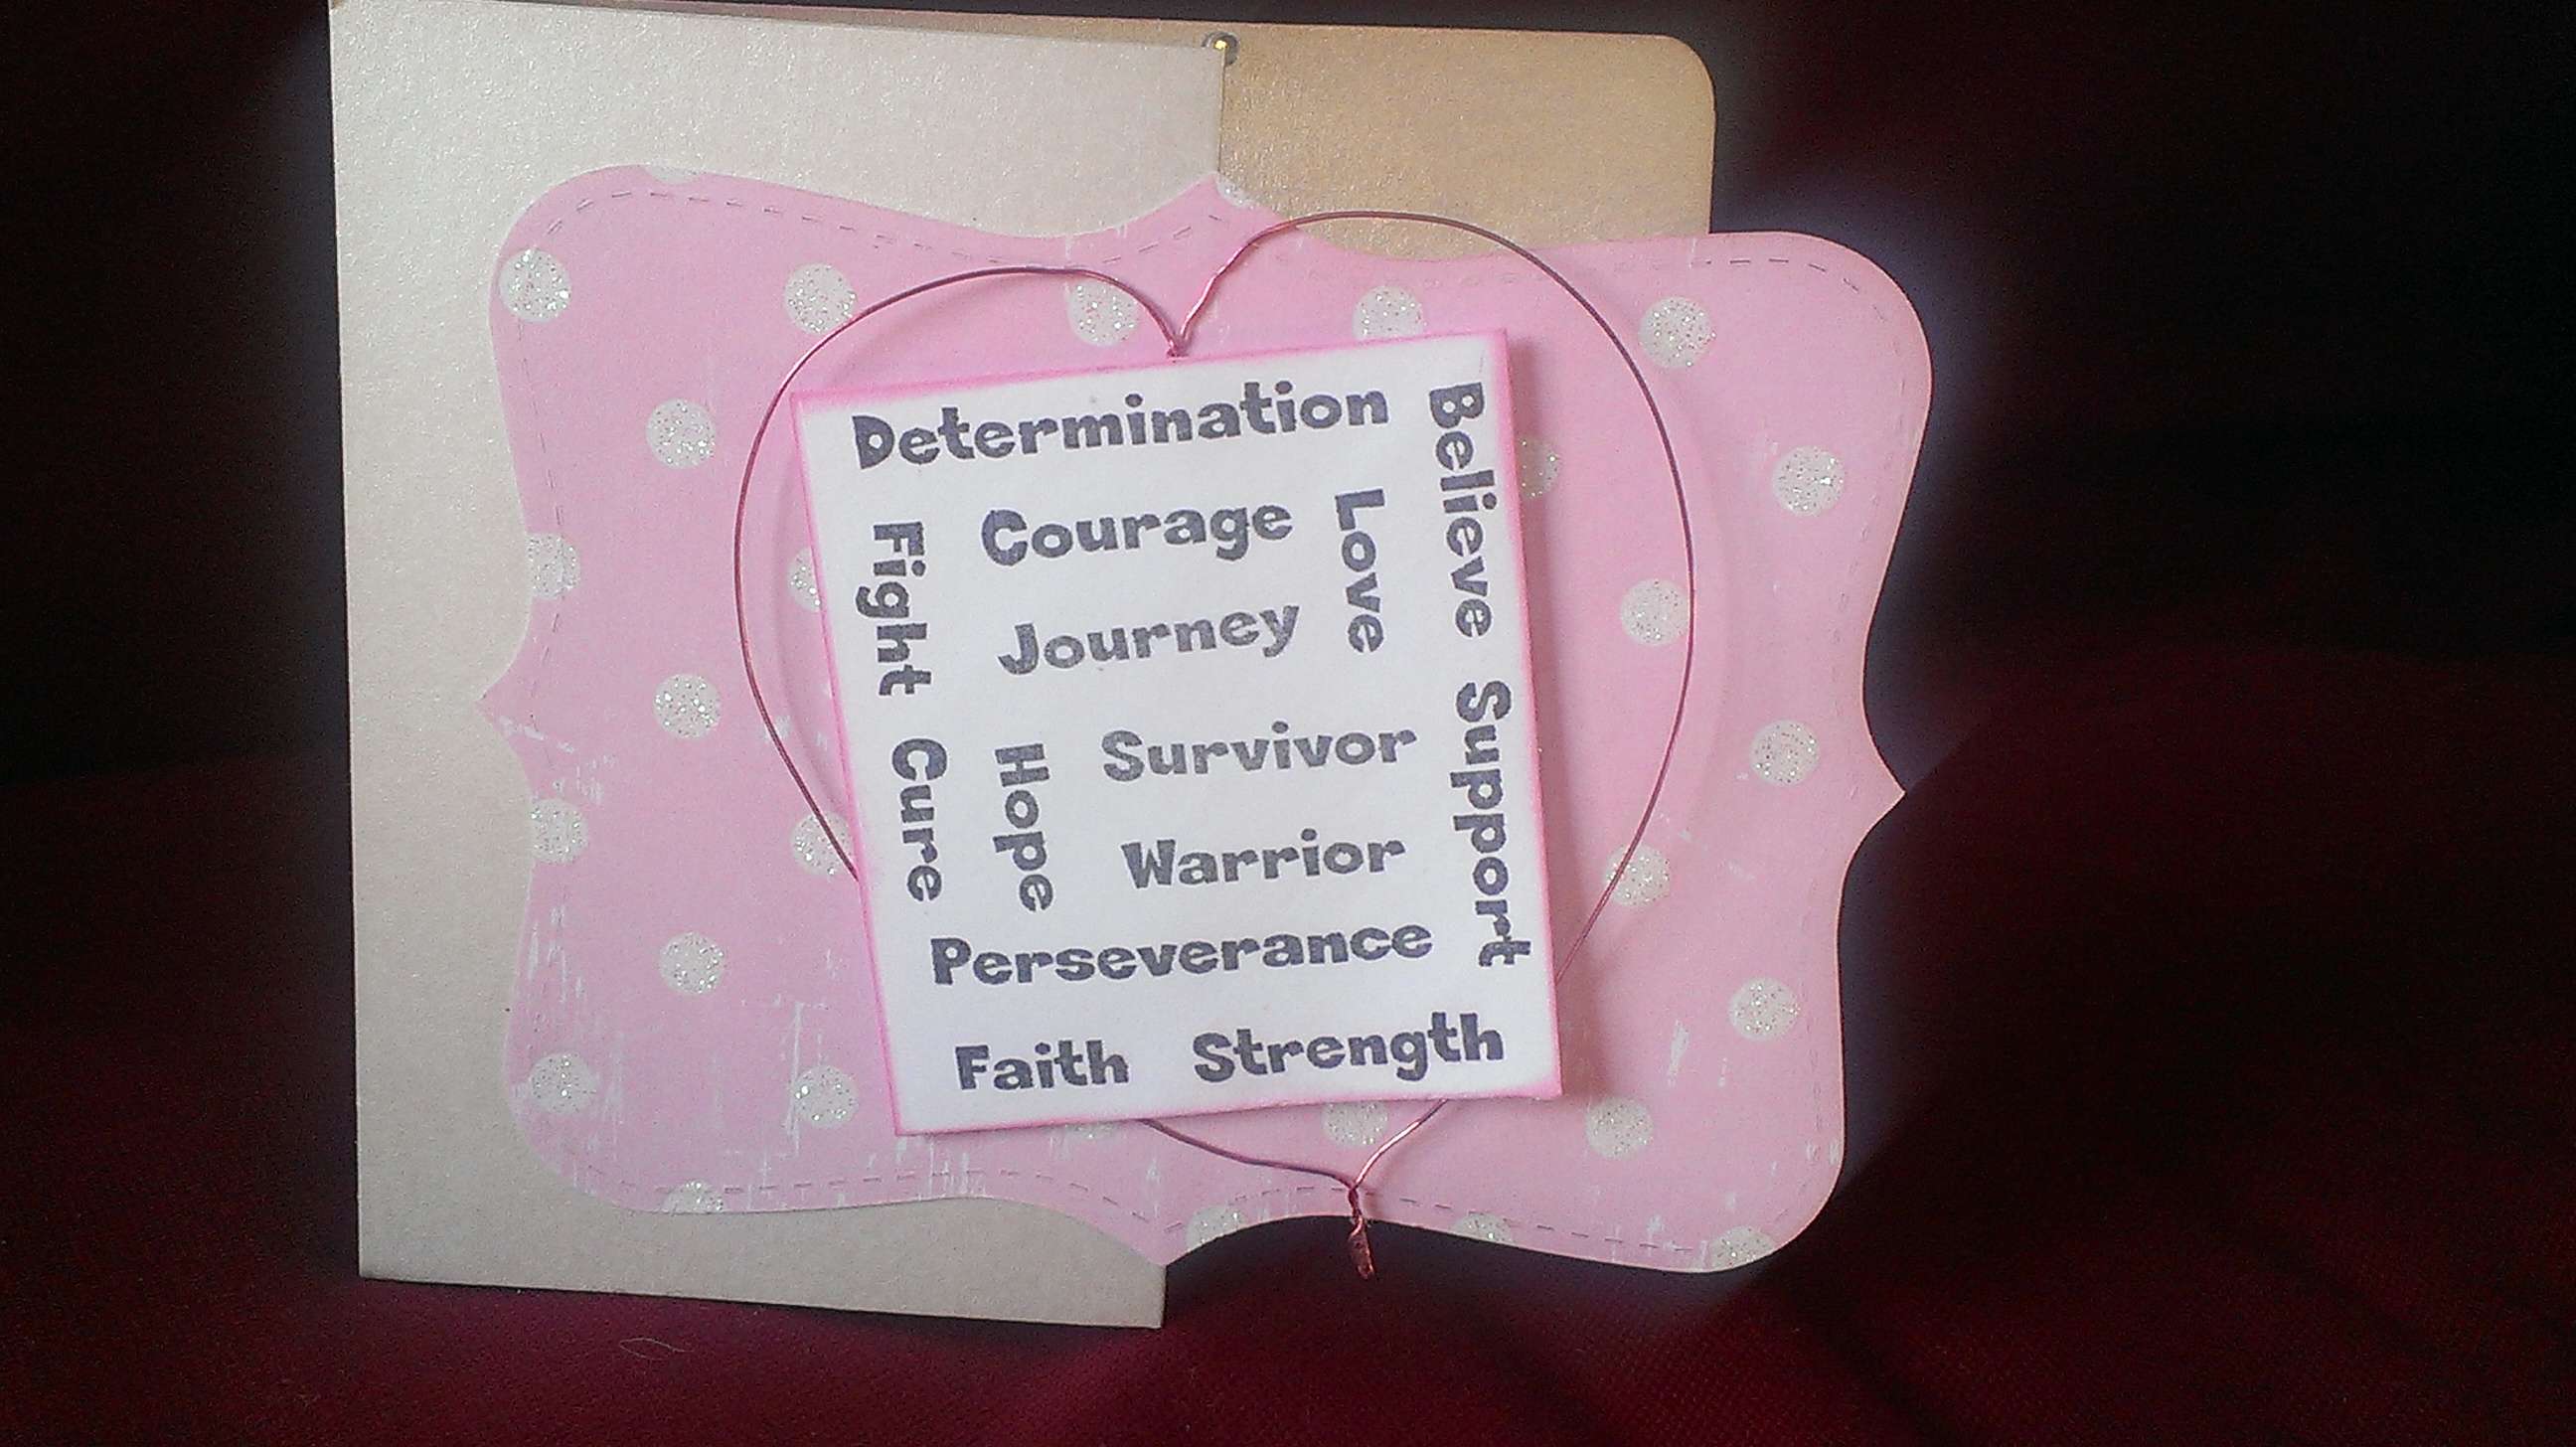
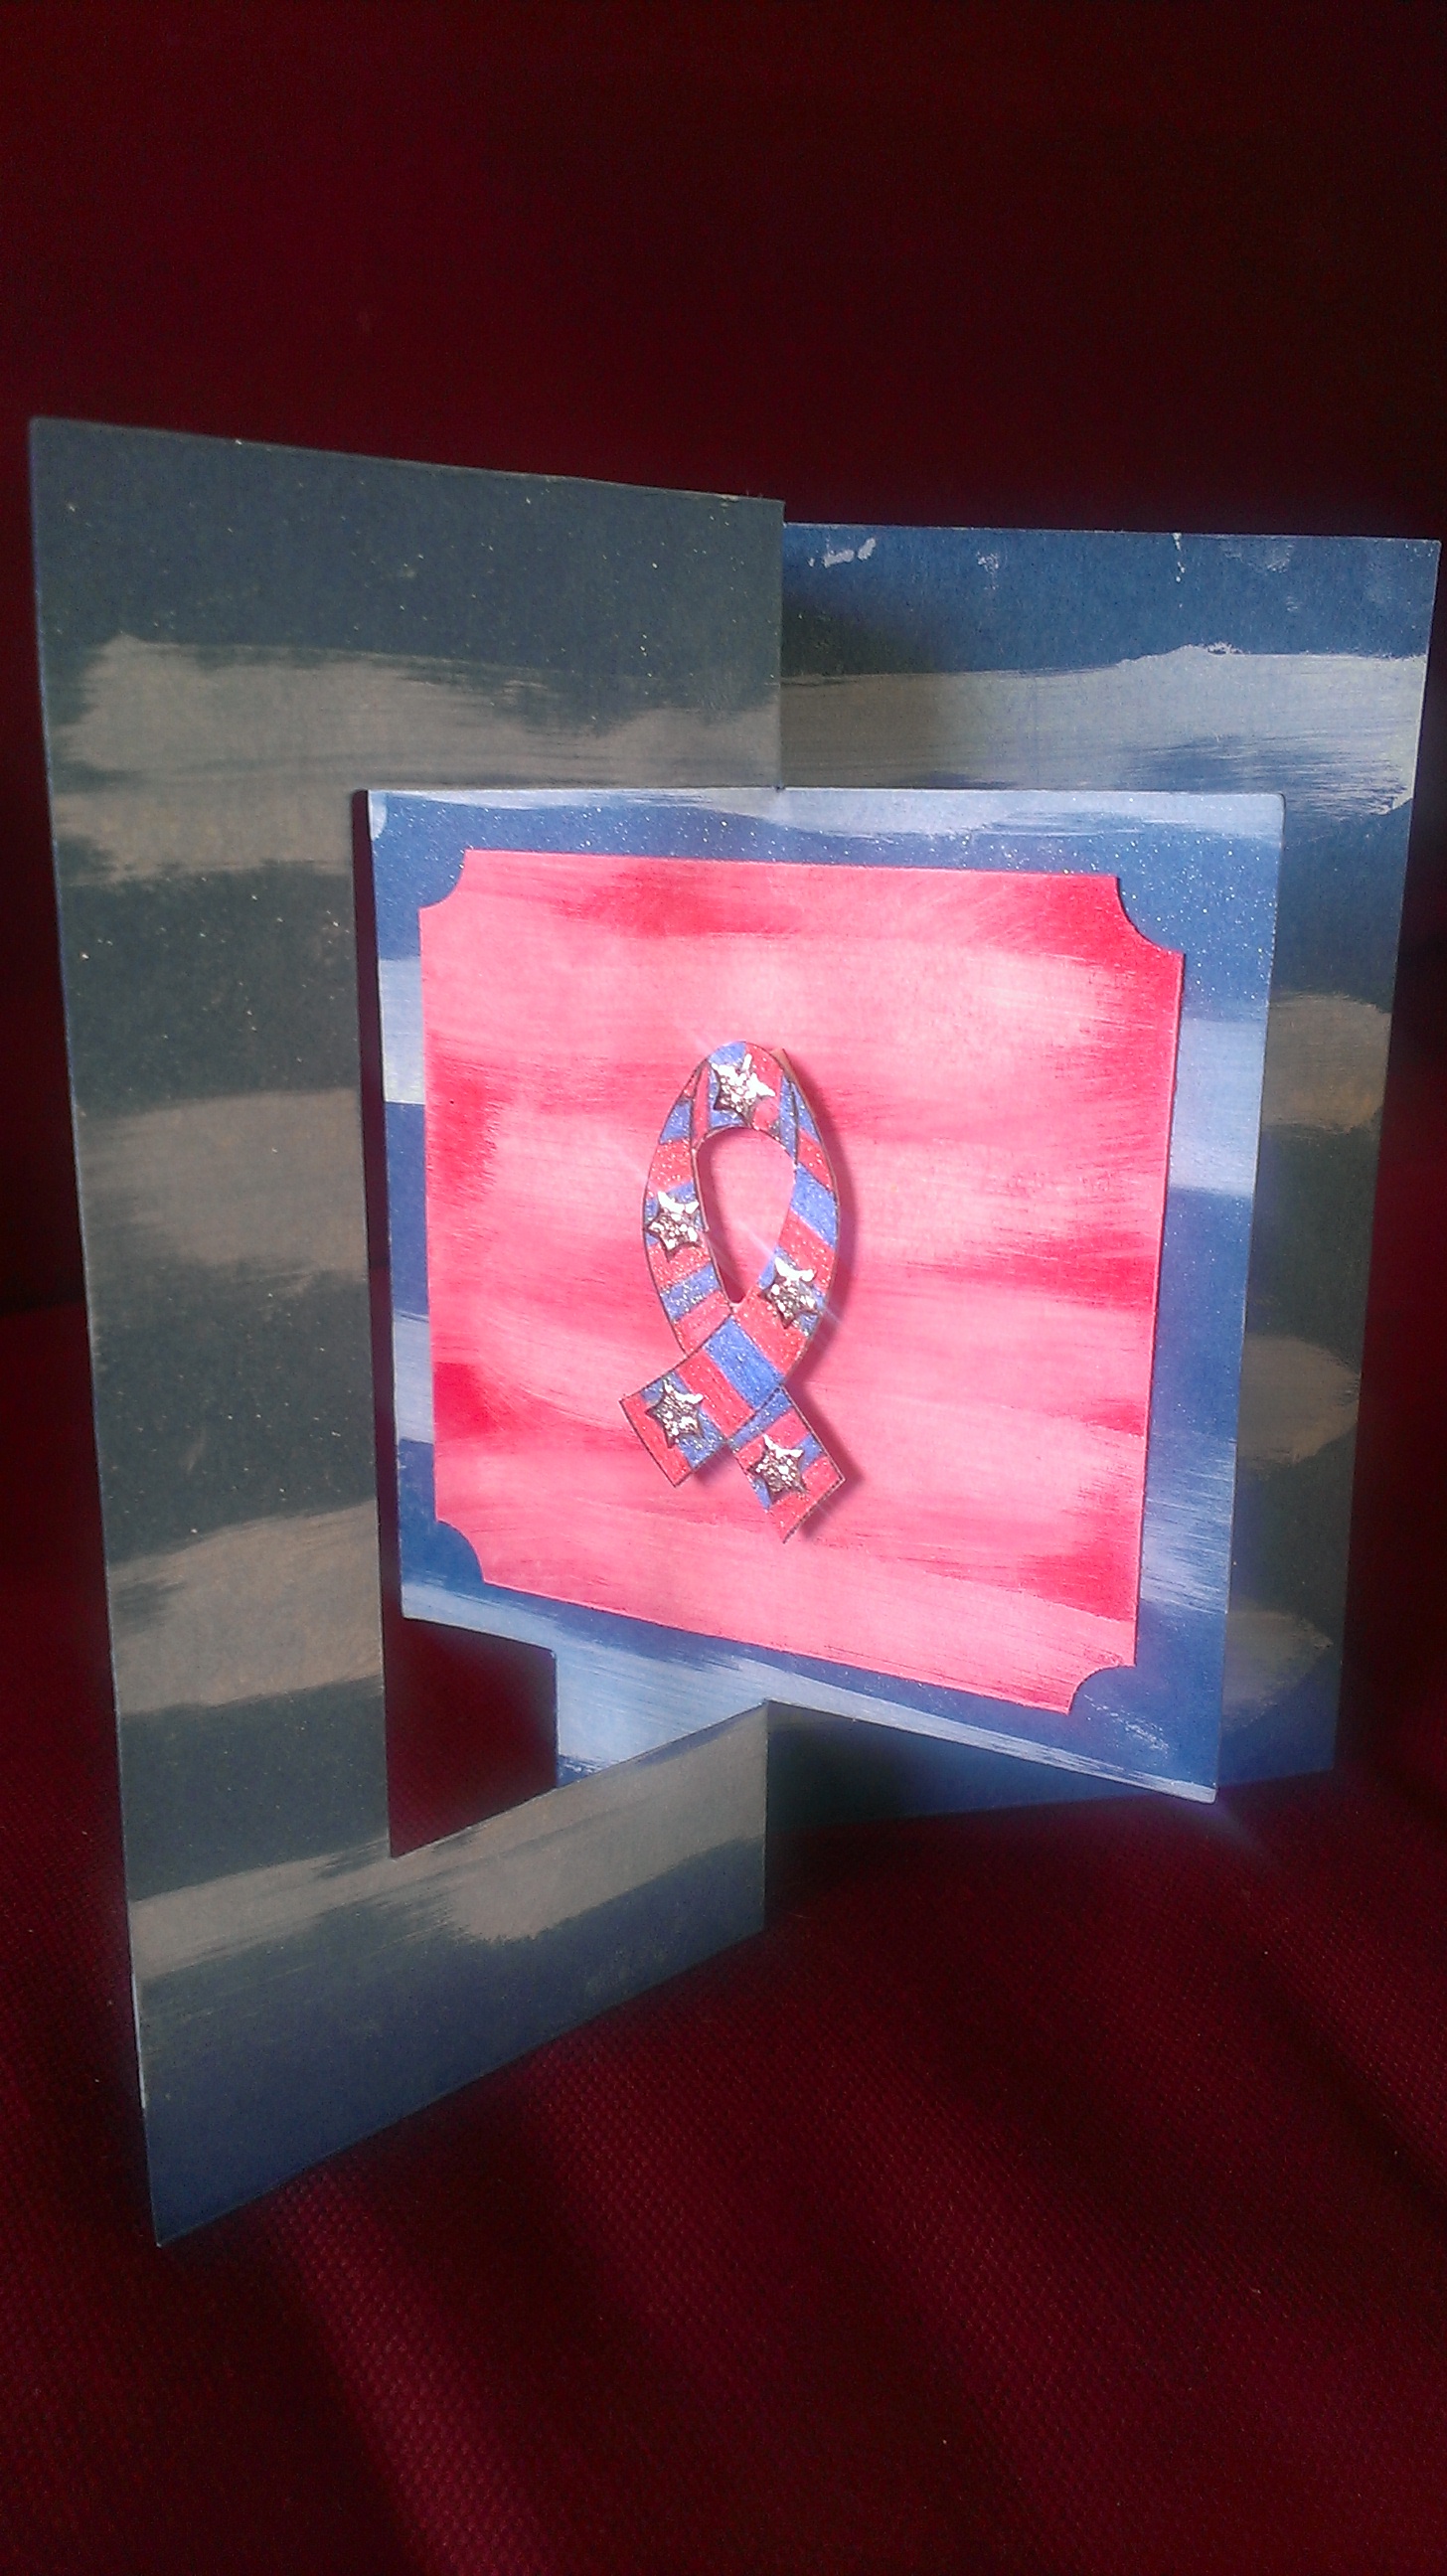
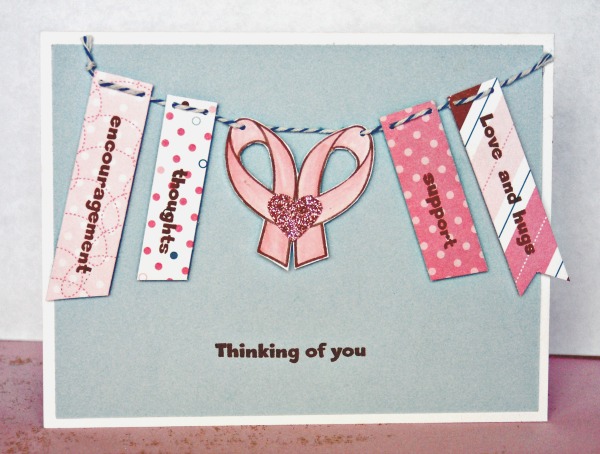
After making the Christmas stocking, I then thought why not think outside of the box? We created A Breast Cancer Awareness Gift Card and thought you would want to check it out too! Breast Cancer Awareness Month is October and what better way than to bring awareness to Breast Cancer than to put together a gift card holder for a loved one that is battling this horrible disease?
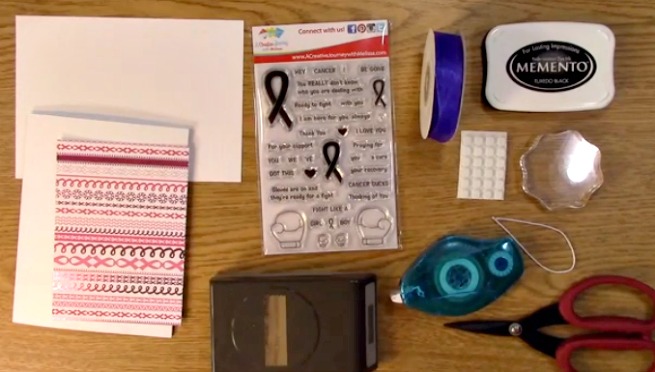
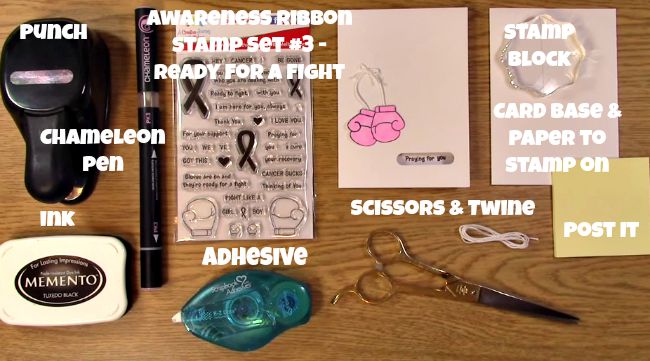
Supplies Needed for the Stampin Up Trim Your Stocking Outside of the Box Project
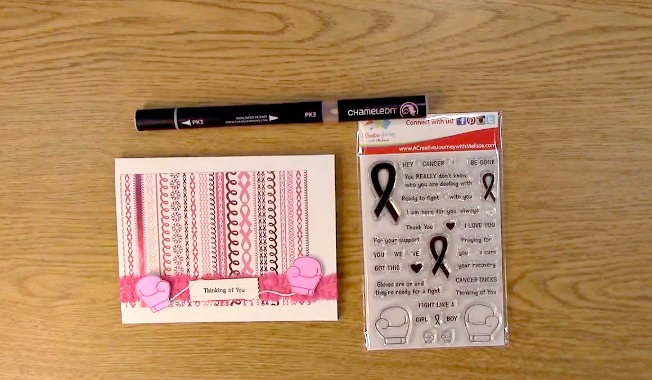
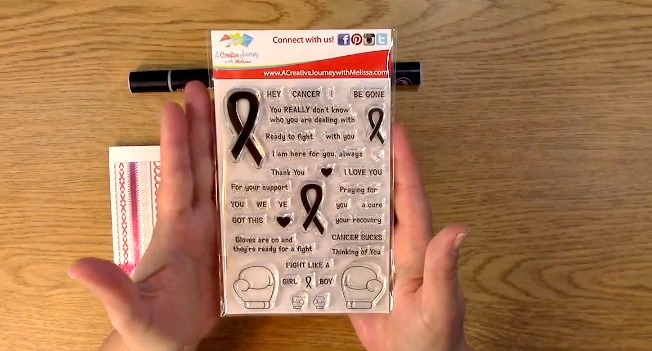
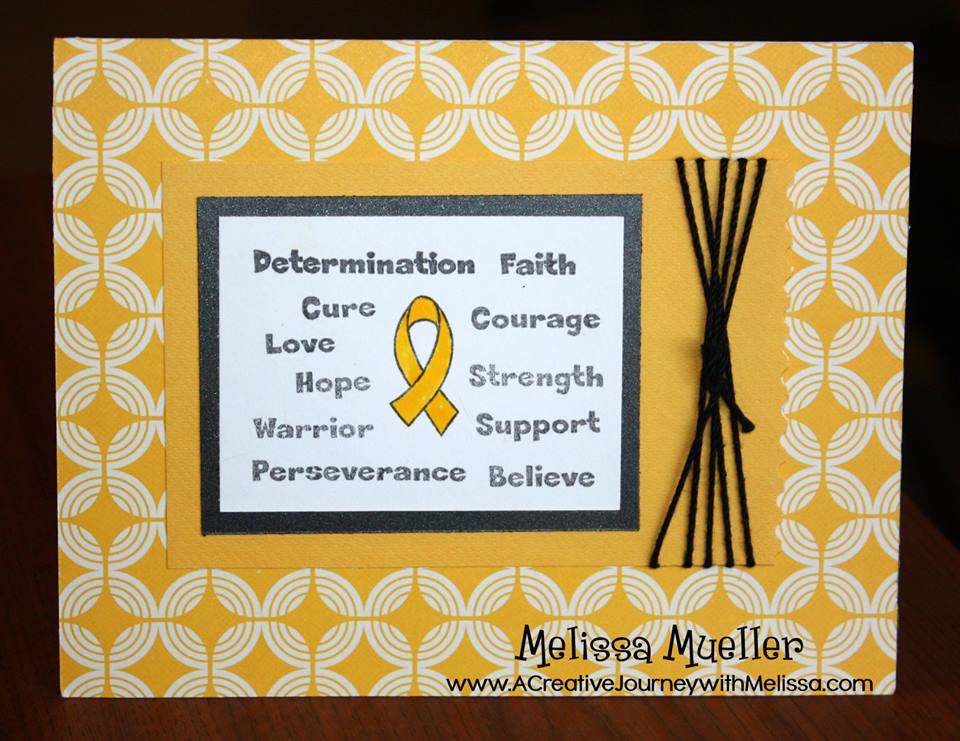
A Creative Journey with Melissa Awareness Ribbon #3 – Ready for a Fight Stamp Set
Trim Your Stocking Thinlits Dies by Stampin’ Up!
Adhesive
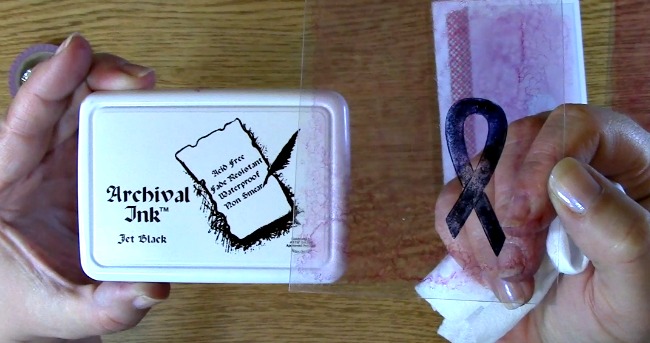
Black Memento Ink
Pink Ink
White card stock
Pink Paper (I used suede paper)
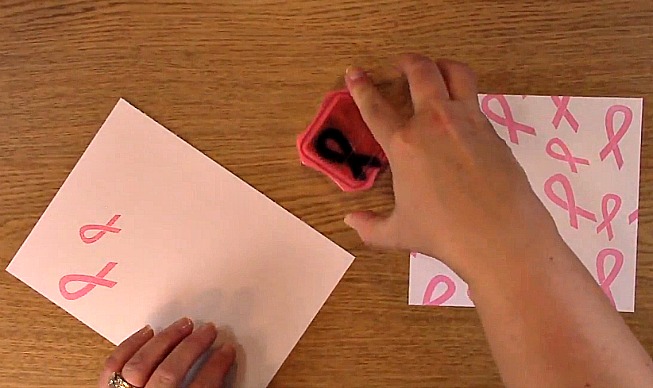
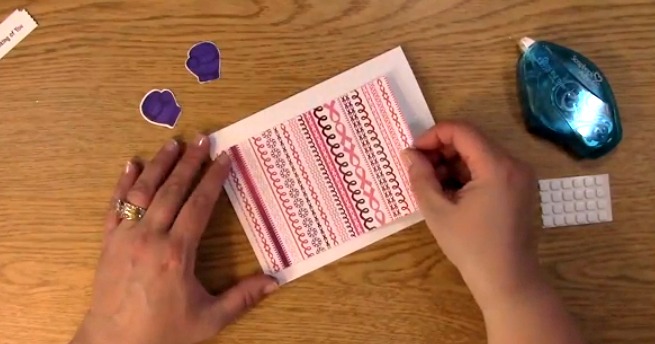
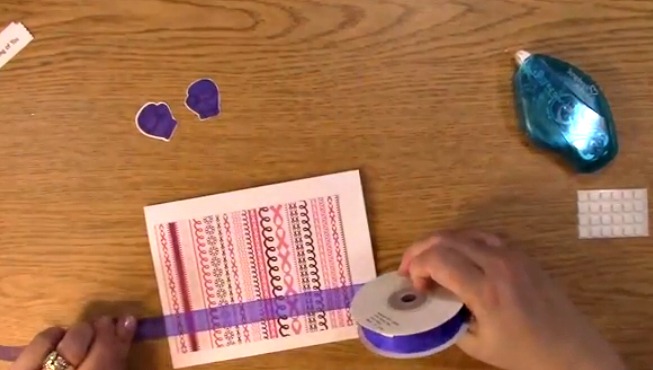
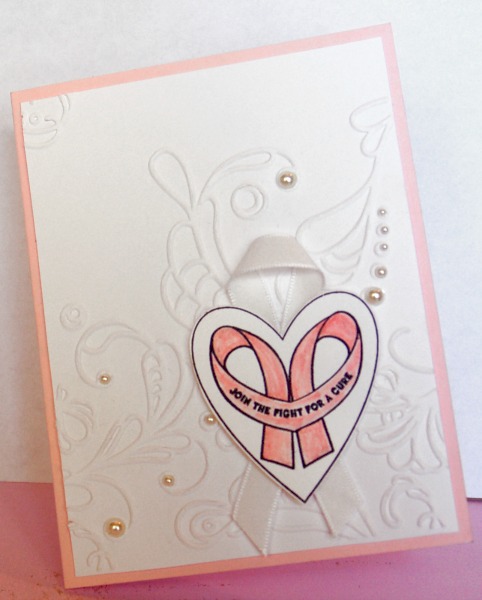
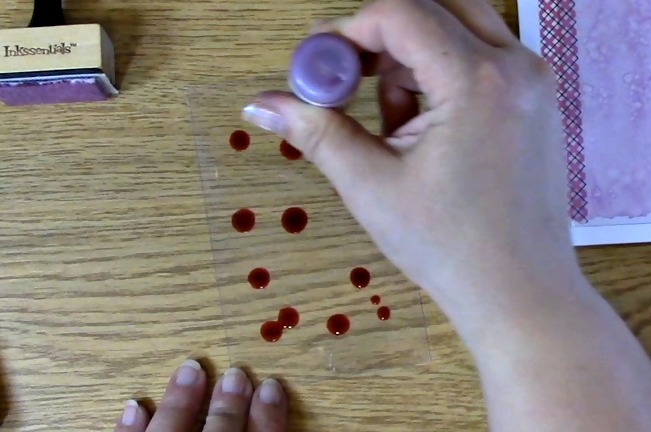
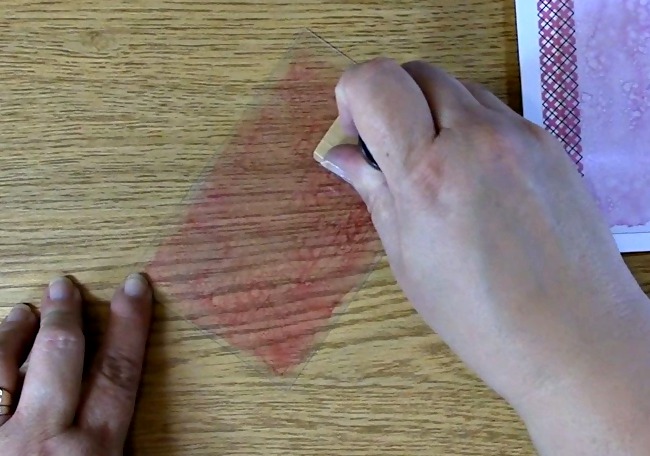
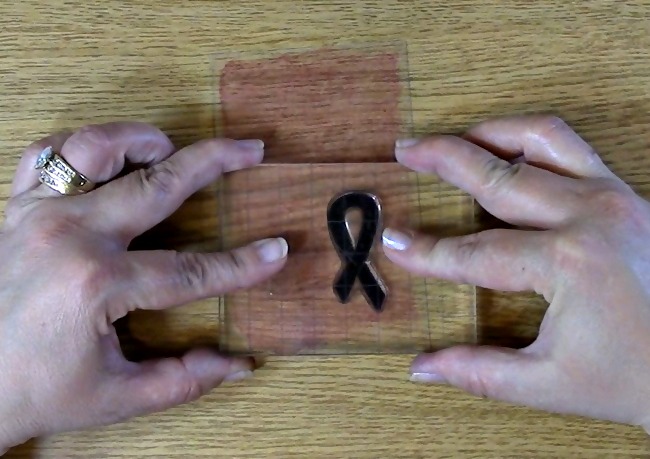
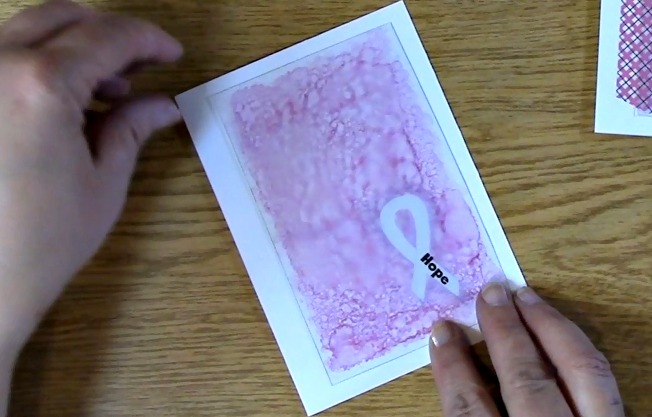
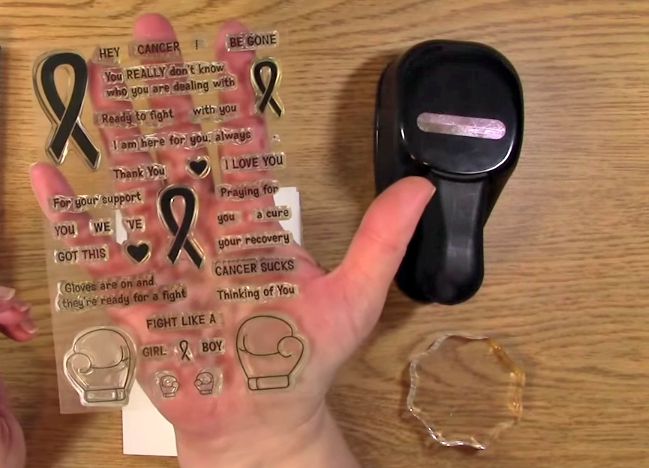
Place the awareness ribbon stamps on your stamp block. Ink your stamp block with pink ink and stamp on your white paper using a varying pattern.

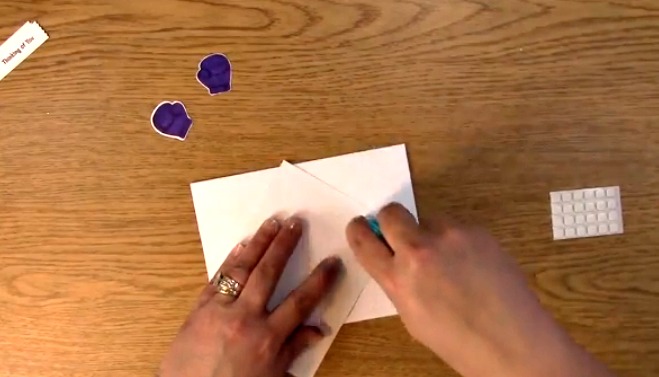
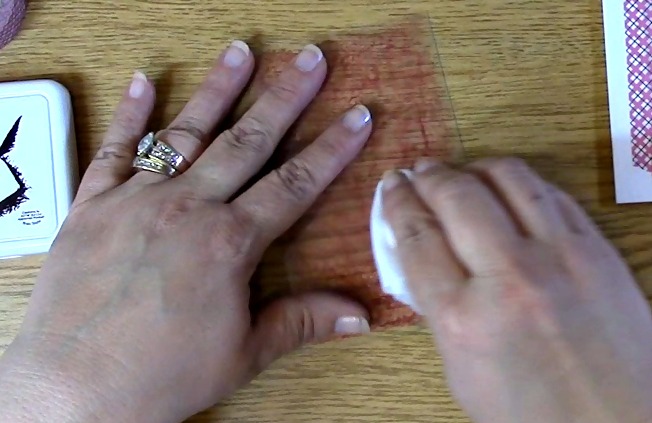
This is how I made my own background paper for this creation.
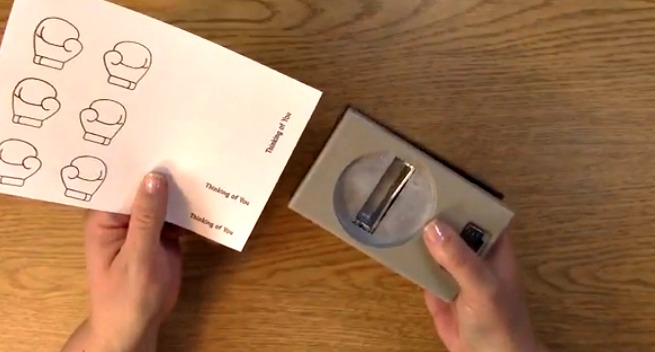
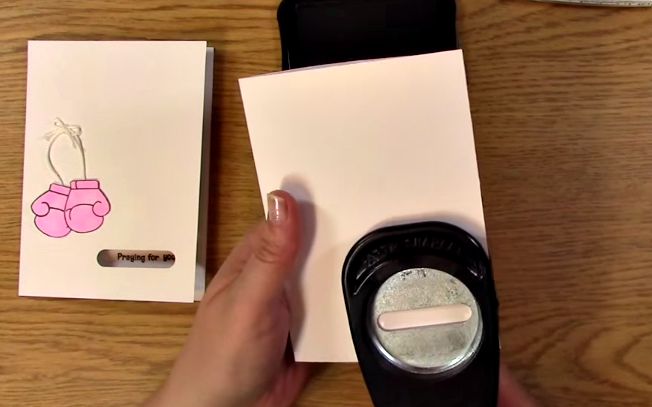
Take out your manual die cut machine, base platform and clear platform.

Get your stocking die out from the set.
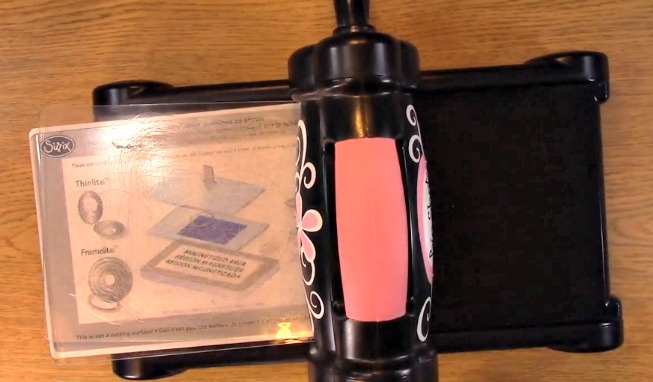
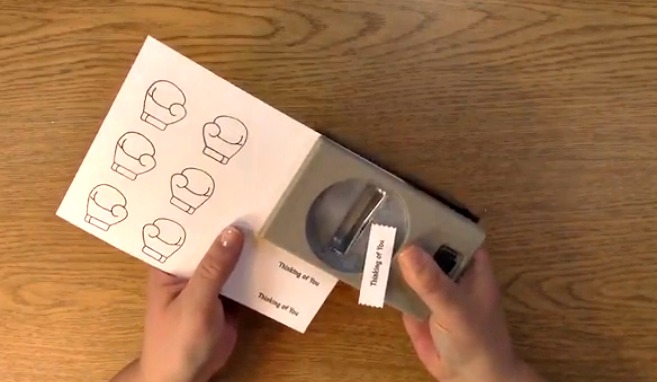
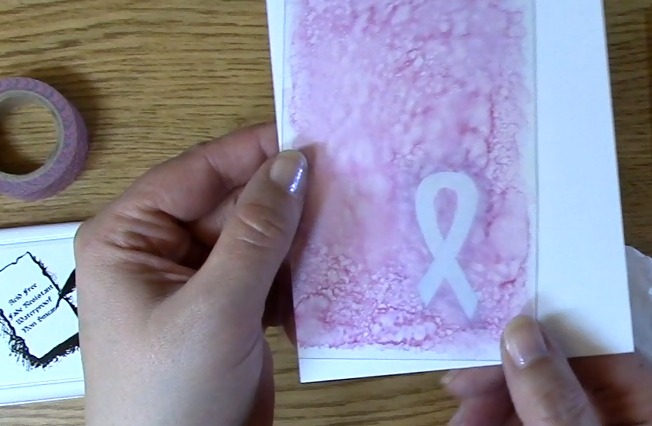
Place your awareness ribbon background paper down on your clear platform. Put your die on top of that cutting side down. Place your second clear platform on top of the die.

Run your die through the machine and set the die cut piece aside. Set the stocking die and the leftover paper aside as well.

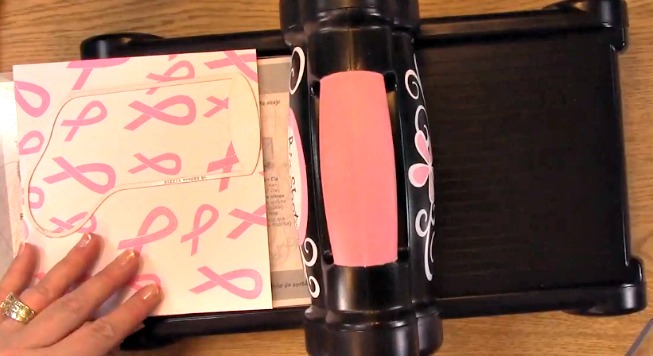
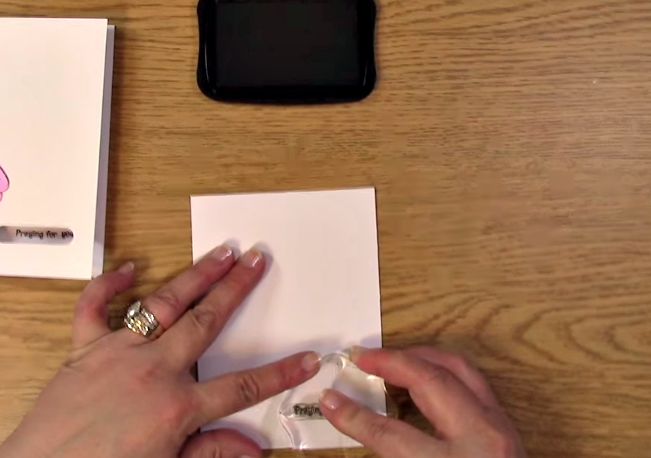
Take out your plain white paper and place pillow box die on top of it. Place your clear platform on top of the die. Run your pillow box die through the die cut machine.

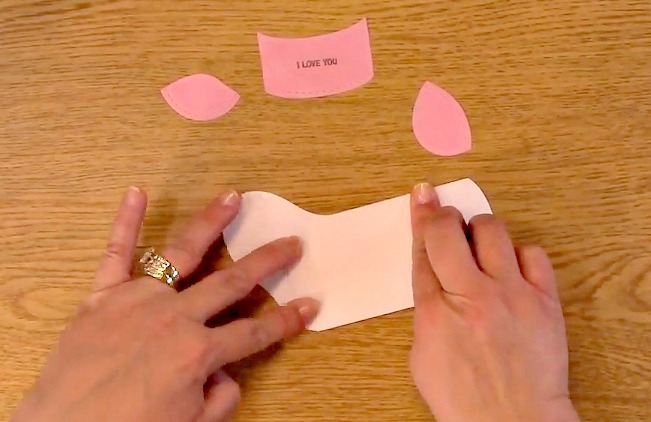
This is what your cut pieces from your dies will look like.

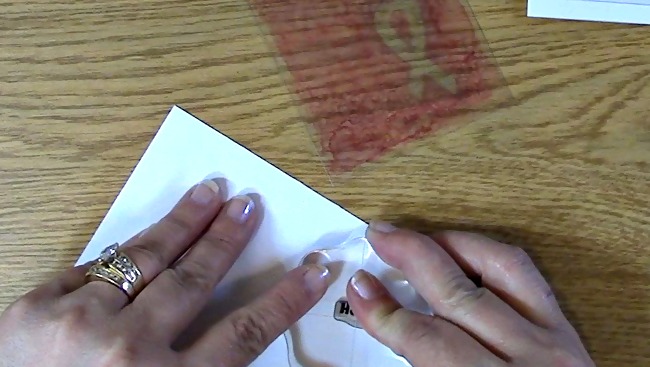
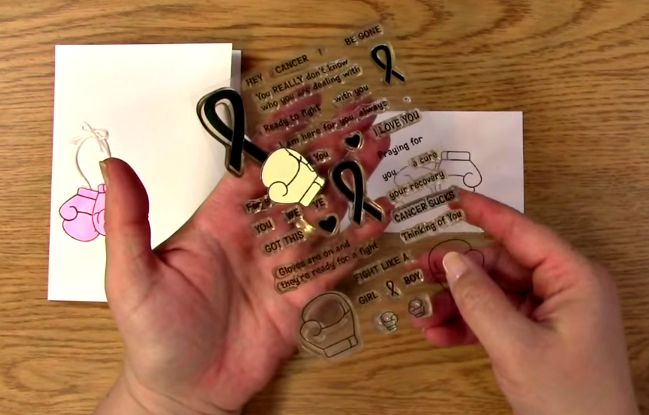
Using the A Creative Journey with Melissa Awareness Ribbon #3 – Ready for a Fight Stamp Set, take out the sentiment of your choice. I chose I love you for the sentiment.

Ink and stamp your sentiment on your pink paper.

Using the stocking trim dies, cut your stocking top, toes and heal parts from your pink paper. Center your sentiment in the top of the stocking die.
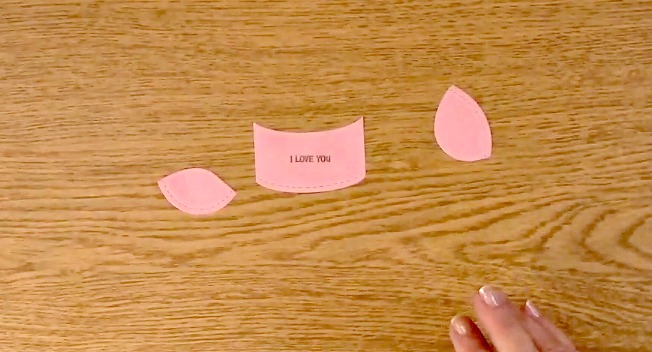
Here are the cut out pieces for the stocking. Set these pieces aside.

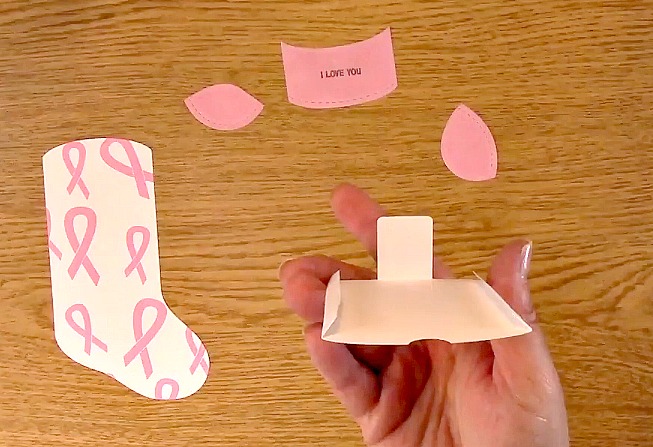
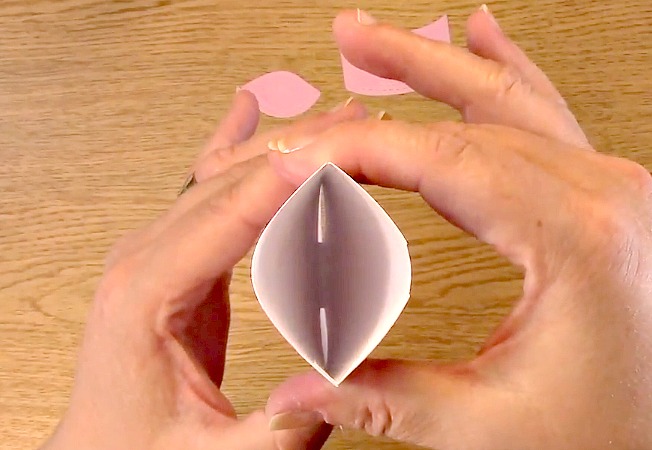
Take out your pillow box die cut. Fold in the tab at the bottom of the die. This tab will hold in your gift card once it is placed inside.

Fold in the two sides toward the center of the die. This is where you will be gluing it to the stocking.
Here it shows what it will look like once you have finished folding the pillow box for the Stampin Up Trim Your Stocking Outside of the Box Project.

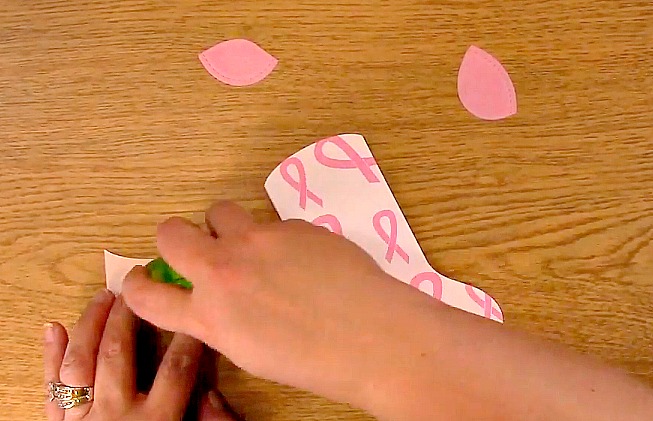
Apply adhesive to the tab as well as the two sides you folded in.

Line up the sides to the back of the stocking die. The stocking die and the pillow box die will not line up at the bottom.

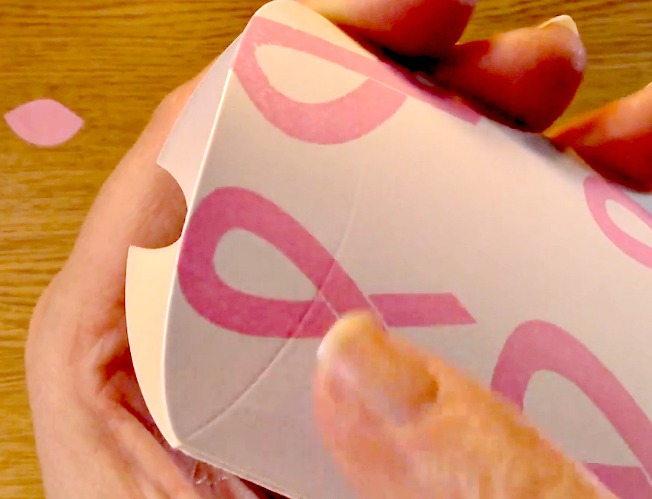
Here is a side view of what it will look like once you have lined up the sides and them are compressing the two sides together.
Be sure to push down on all areas that were glued to ensure its adhesion.
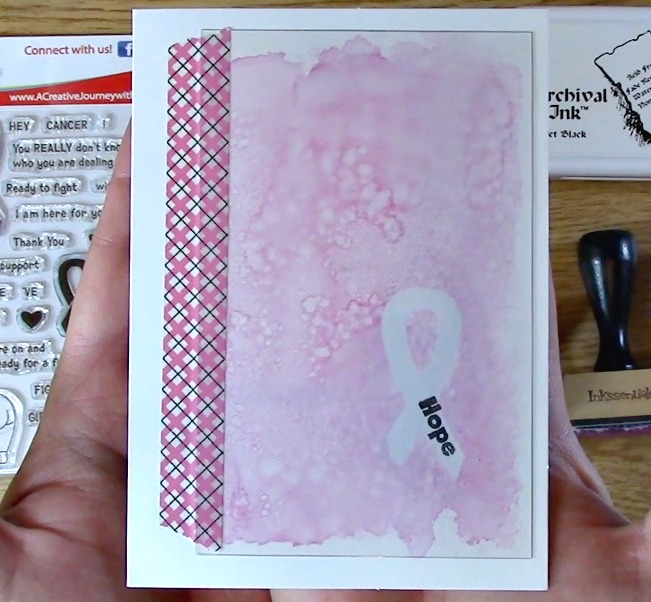
This is the gift card holder once it is glued.
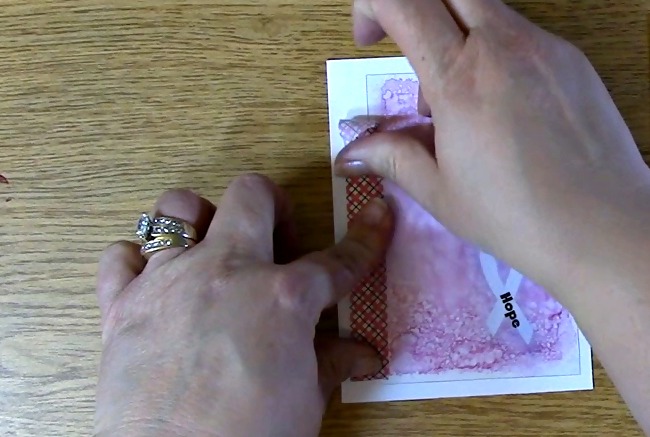
Place adhesive on the back of the three pink pieces for your stocking.
Notice the embossed curved line here? You will use this as a guide.

Line up the top of the stocking with the sentiment to the embossed curved line.

Place the larger die cut piece on the toe of the stocking.

Put the smaller remaining piece on the heal part of the stocking as shown.
They are complete! Isn’t it amazing what you can do if you just think outside of the box? If you are interested in any of the die sets or the paper trimmer from Stampin’ Up, check out Brandie’s Website Here and you can order your own!
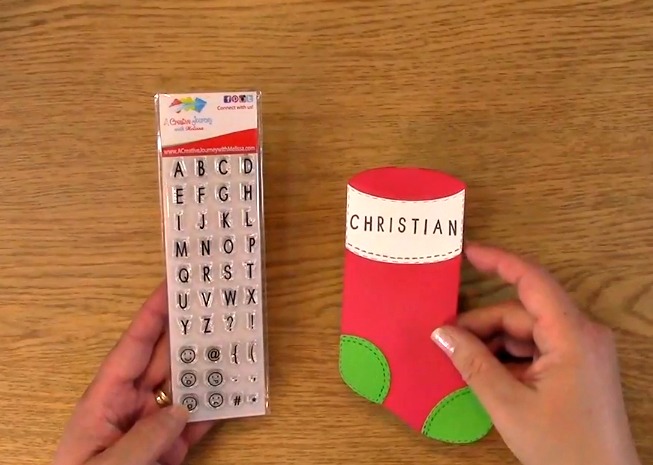
Now for this weeks GIVEAWAY! We are giving away the A Creative Journey with Melissa Everyday Alphabet Upper Case and Emoticon stamp set

and the A Creative Journey with Melissa Awareness Ribbon #3 – Ready for a Fight Stamp Set
I have had a number of people say how much they love these stamp sets for organizing, their planners, lists and just about everything else under the moon so I thought this would be the perfect prize for this week. TWO winners – one for each set!
To qualify to win, you must be BOTH:
A public follower on YouTube, subscribe to our mailing list/blog posts and you may also comment on this blog post for an additional entry to win! Winners will be announced next week on our Mondays with Melissa blog post!
If you do not contact me within two weeks of the announcement of winning, you will forfeit your prize. Thank you for your understanding.
NOTE: You must be subscribed to BOTH with MATCHING NAMES. If I am unable to match you with your subscription to both the email list and the YouTube Channel, you will miss your chance to win a prize. If I can’t decipher if you are a matching subscriber (if your profile doesn’t show publicly who you subscribe to) and I can’t confirm you have subscribed to both, I won’t be able to enter you in for the prize. **DO NOT COMMENT WITH YOUR ENTIRE EMAIL ADDY. Only give me the first 6 NOT INCLUDING YOUR HOST. Just enough for me to match your name will work perfectly.
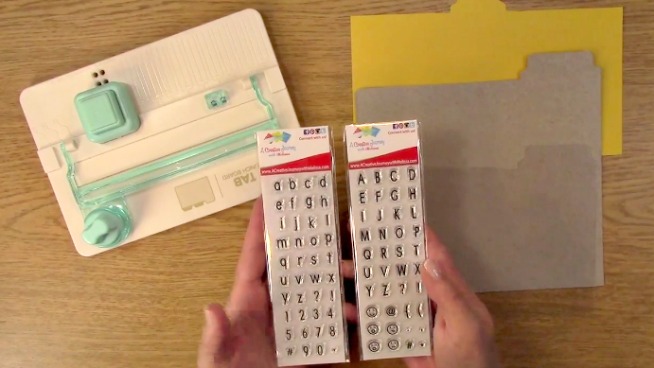
Here’s the GIVEAWAY from last weeks post which is the A Creative Journey with Melissa Everyday Alphabet Upper Case and Emoticon stamp set and the A Creative Journey with Melissa Everyday Alphabet Lower Case and Numbers Stamp Set.
The winner is Verna A. AGAIN!
Verna, please send me your contact information via contact page on our website, which post you are a winner from and I will get your prize out to you! Thank you so much for being a YouTube follower and subscribing to our mailing list/blog posts!
We hope you enjoyed our Stampin Up Trim Your Stocking Outside of the Box post!
Have a wonderful week and thank you for going on A Creative Journey with Melissa.
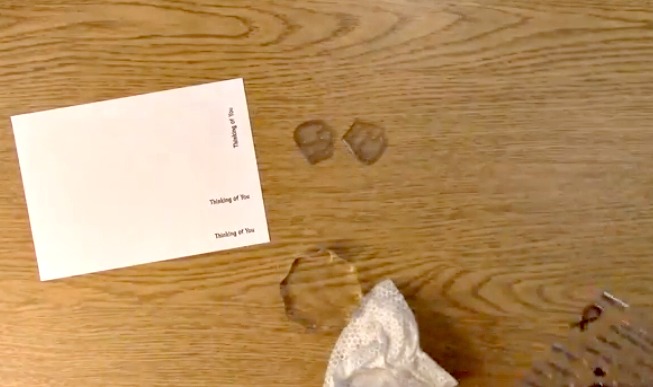
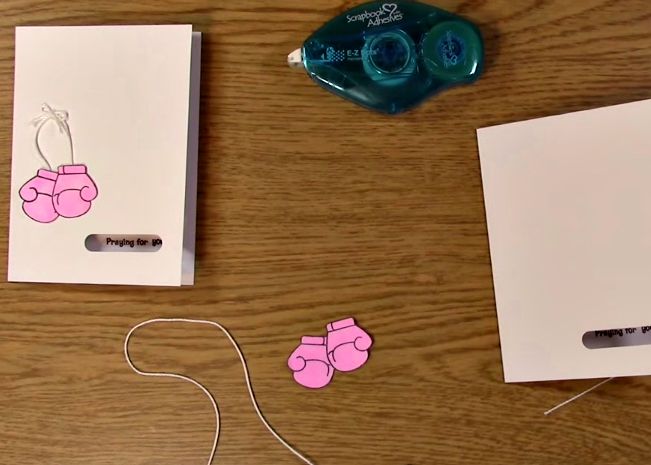
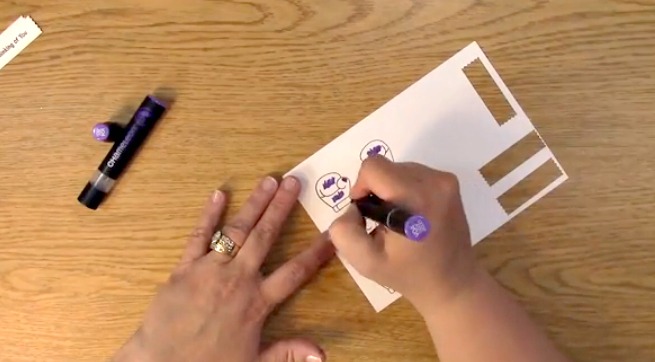
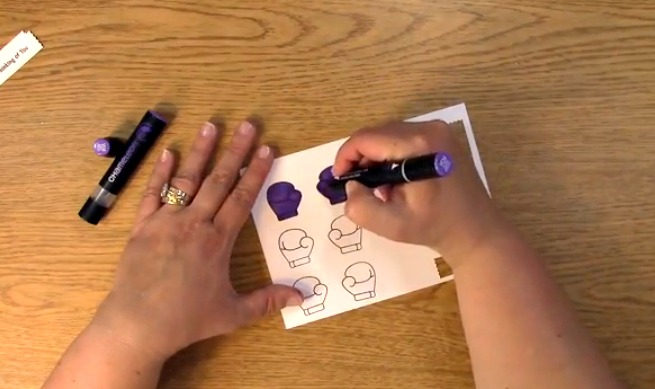
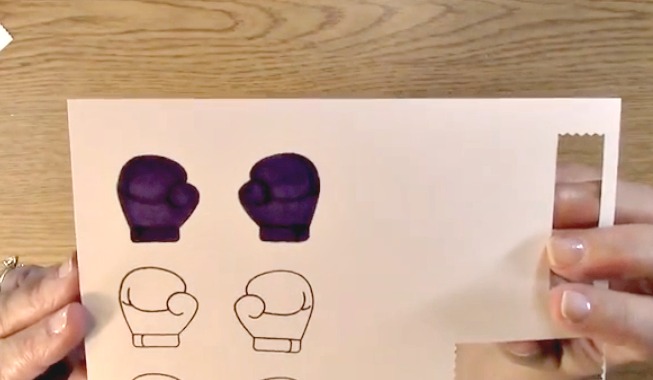
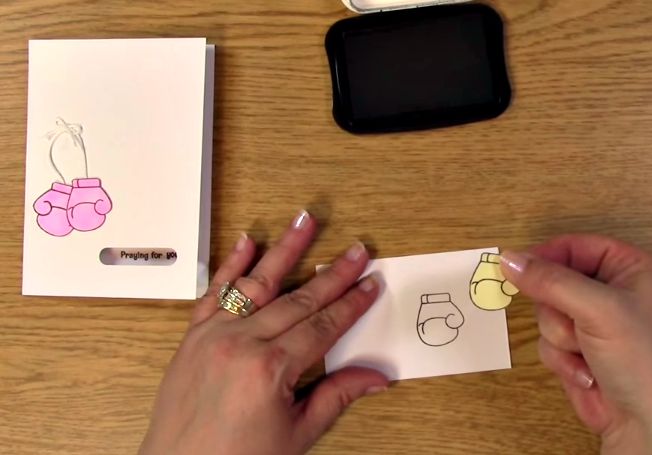
 Stamp your glove onto your paper.
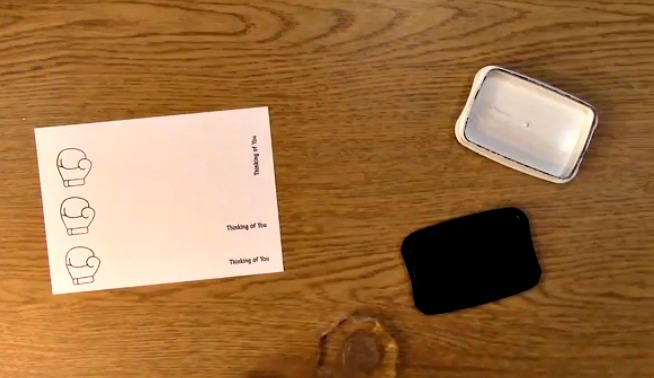
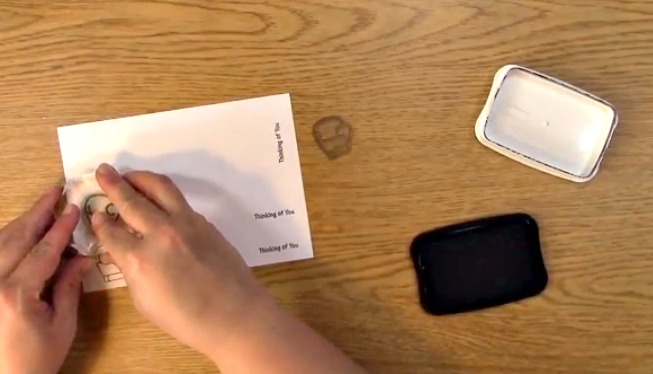
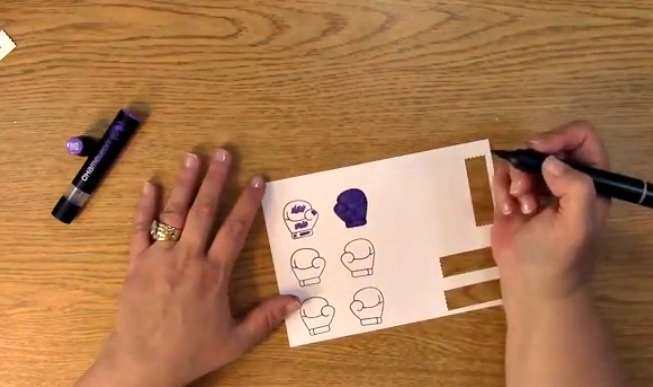
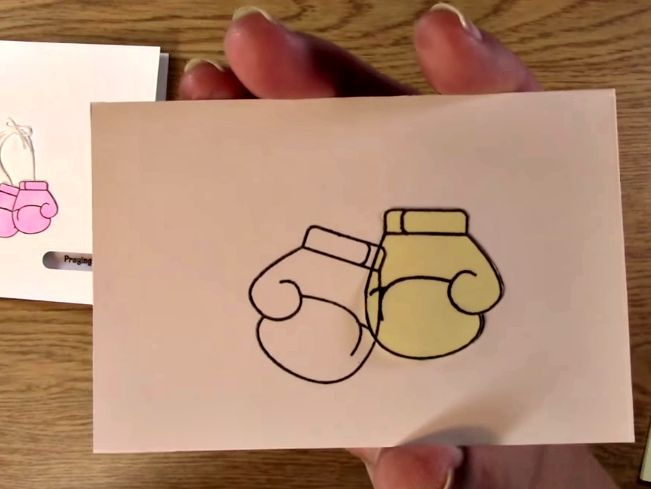
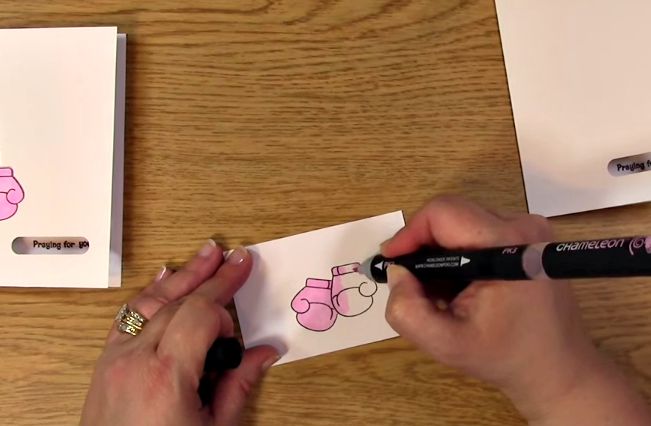
 Stamp the other glove so you have opposite hands for your project.
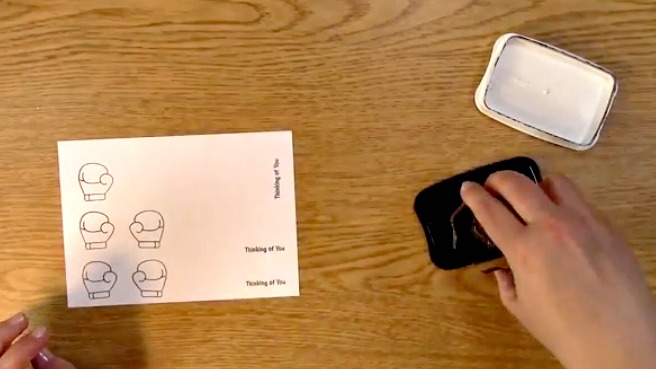


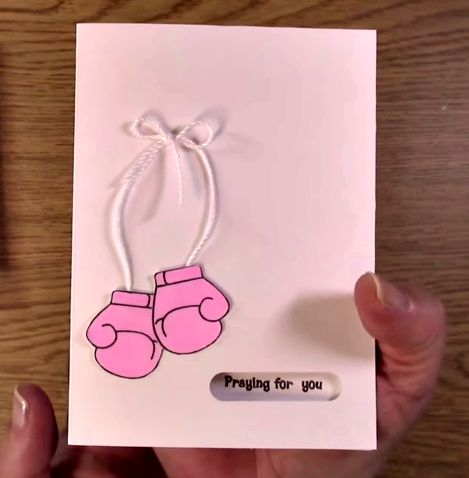
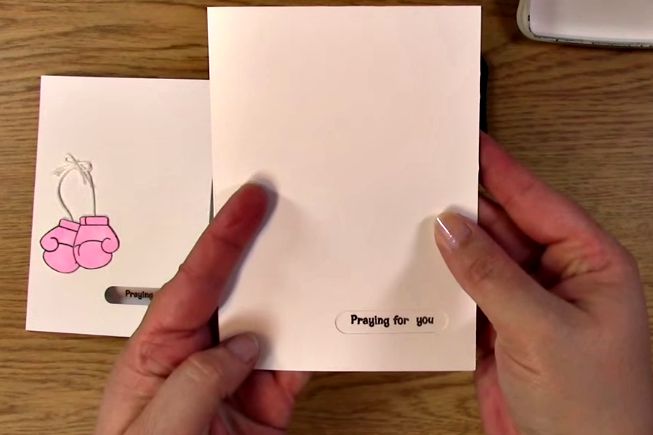
 When remembering Uncle Herb…
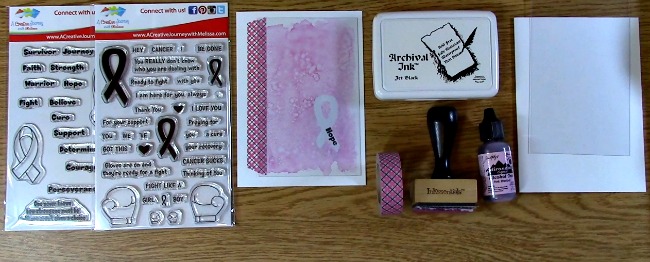
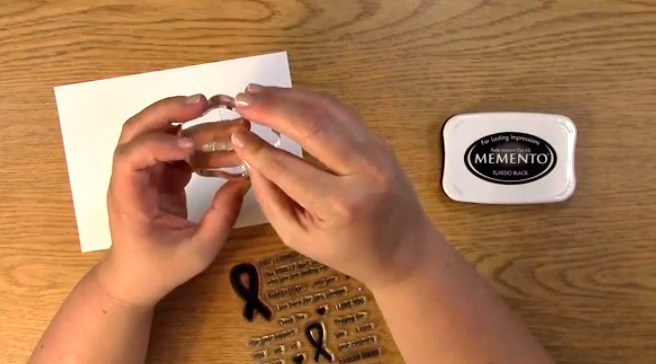
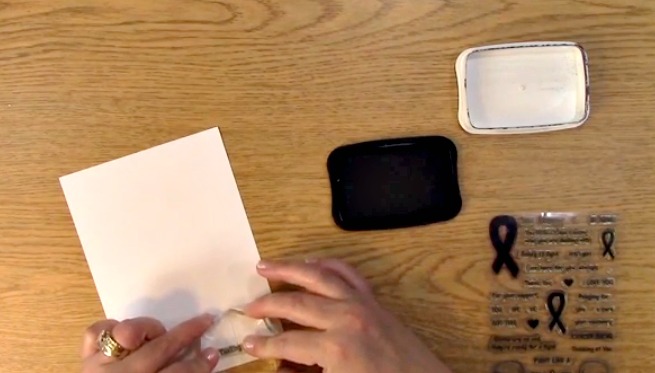
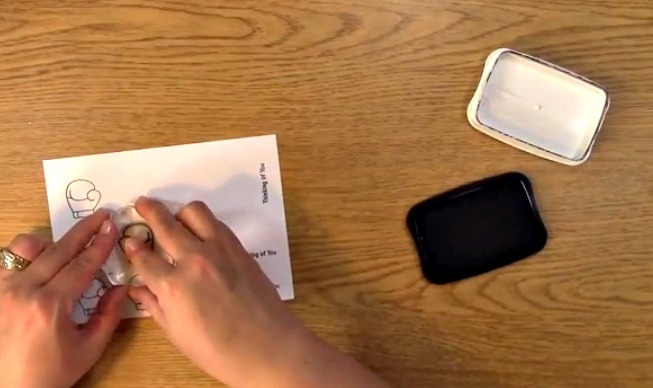
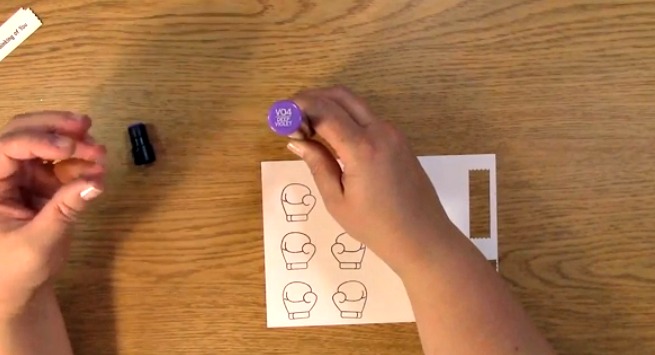
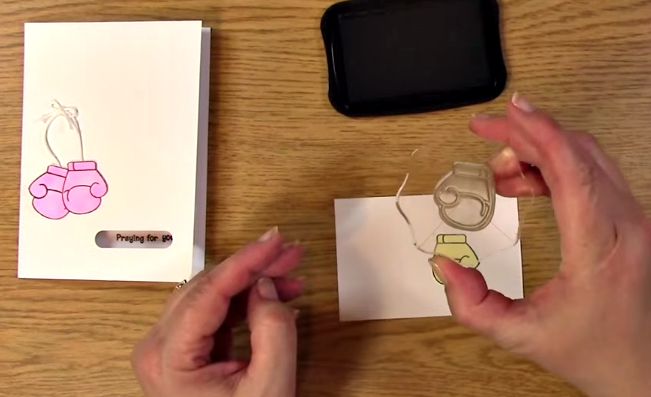
 Take out the paper to be stamped on, the glove stamps, stamp block and ink. Place glove on stamp block, ink and stamp on paper.
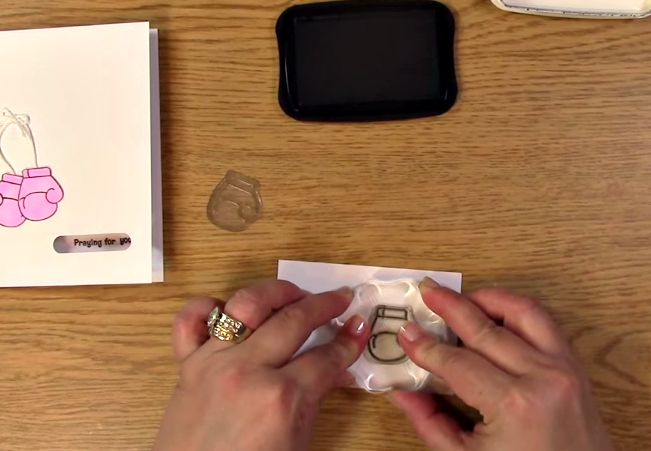

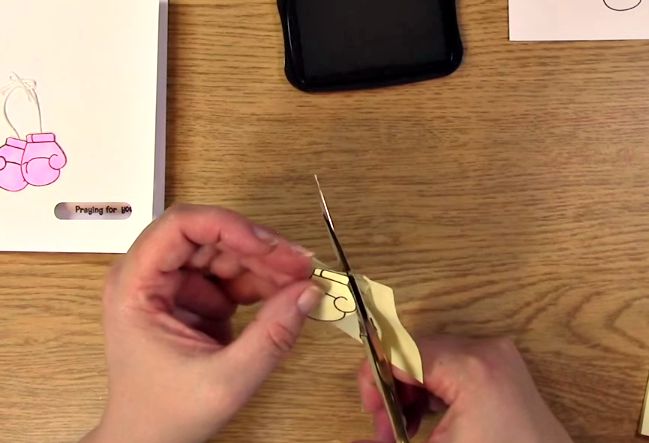

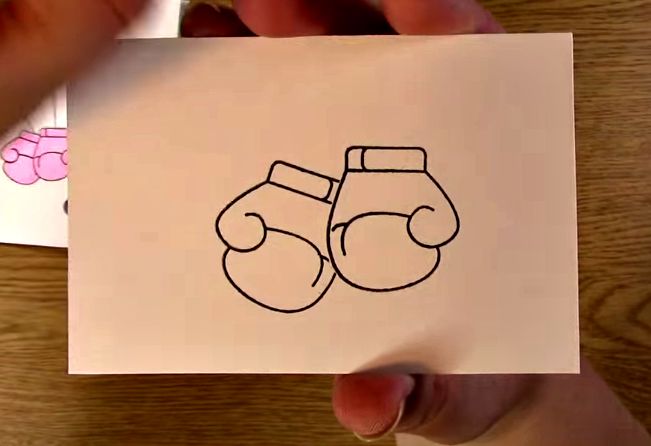
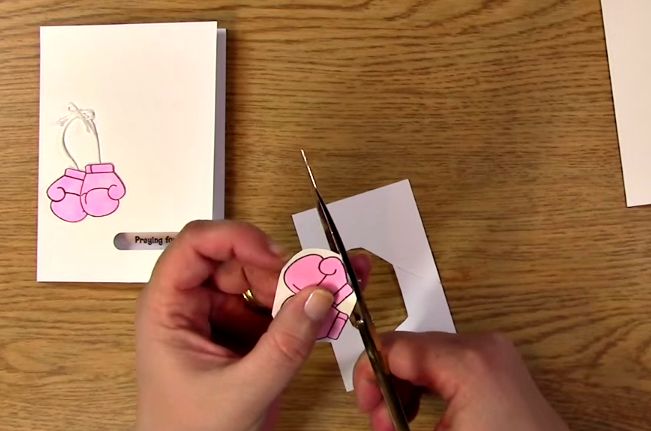
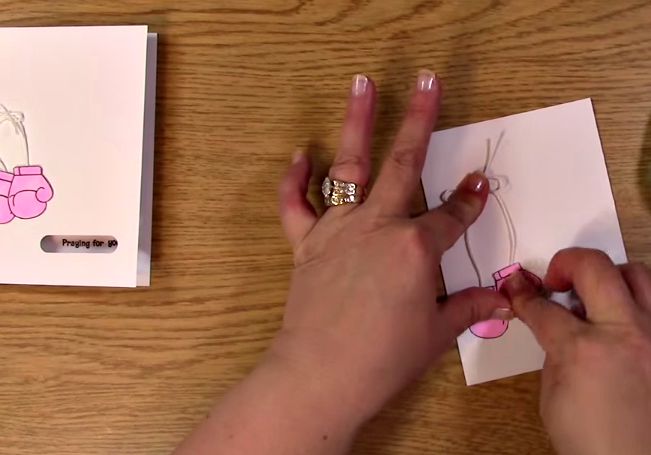
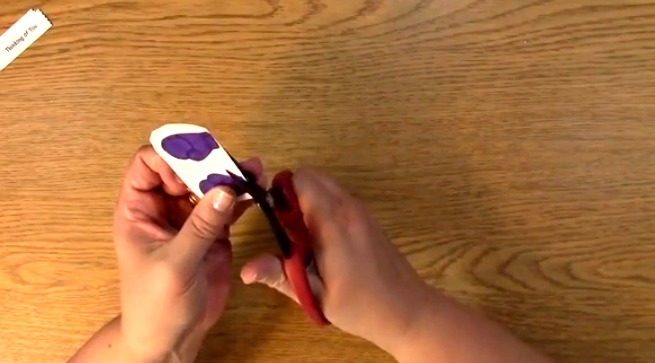
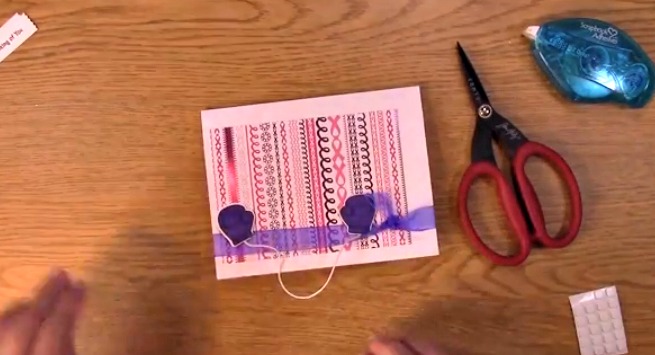
 Cut out the gloves. Be sure to cut them out closely to give a more finished and clean look to your creation.