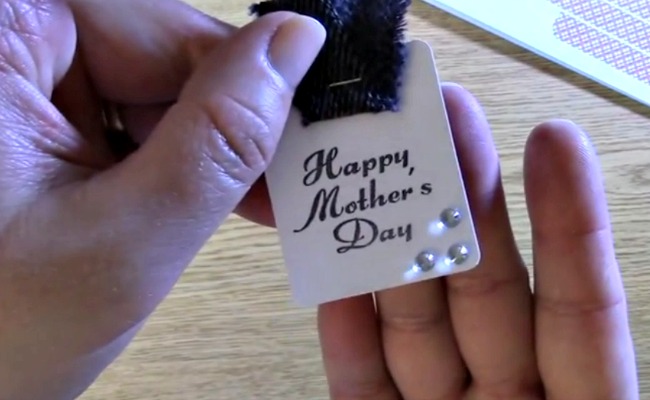
Do you want to SAVE MONEY on embellishments! Coloring with Chameleon Pens Tutorial Good Afternoon! Thank you for joining us for Mondays with Melissa. Today I am going to be showing you how to SAVE MONEY on embellishments by coloring them with Chameleon Pens. There are so many different things you can do and it is really amazing how great the rhinestones look once you have colored them. It is one of the EASIEST techniques with the fastest gratification! LOVE IT! I have also created a card using the Speech Bubbles Mini Set using the Chameleon Pens. It really came out cute! If you like to learn by video, check out the video above, if you prefer a pictorial, check out the pics below and let me know what you think! Thanks for joining us and let’s get started!
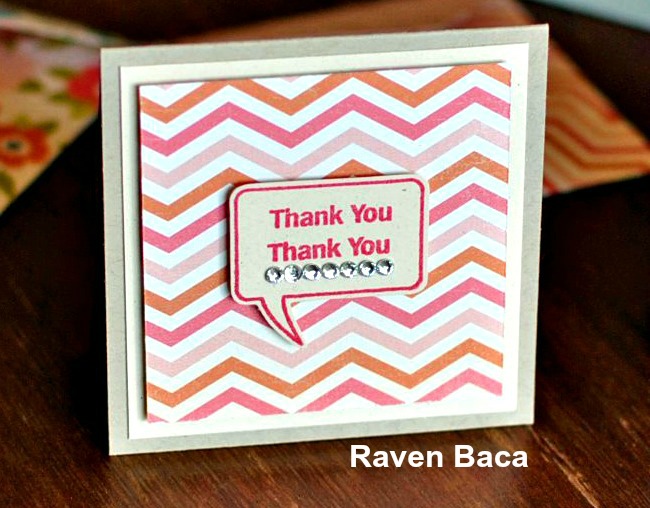
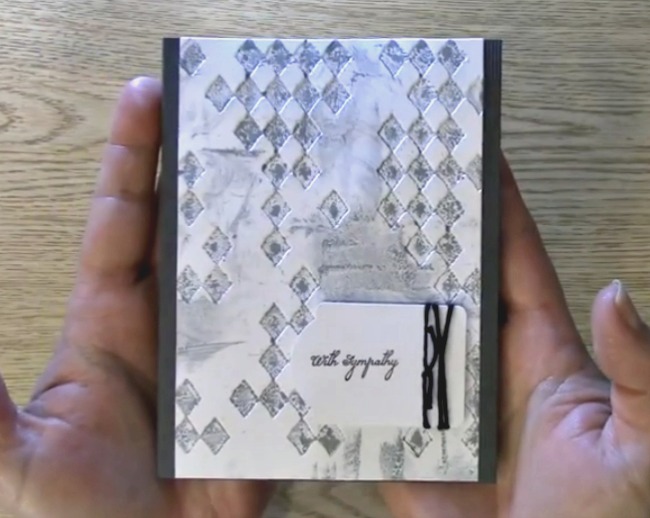
First I want to show you a card I created using the Chameleon Pens. The Chameleon pens / markers are alcohol based markers. They have numerous uses two of which I am going to share with you today.
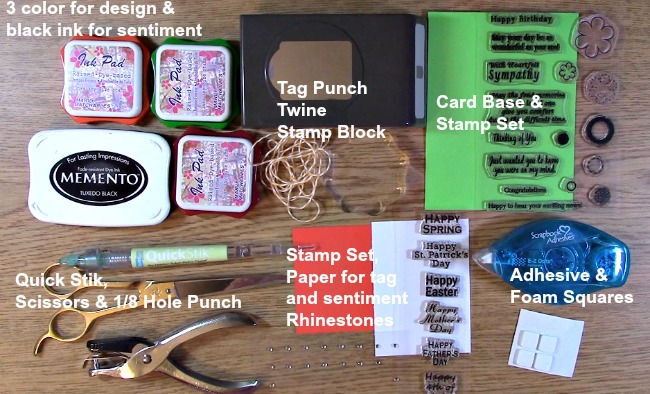
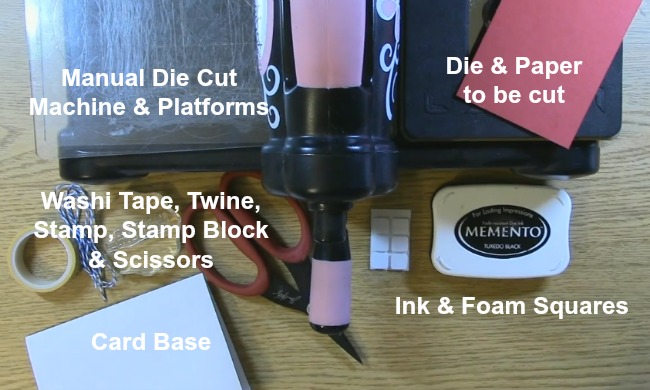
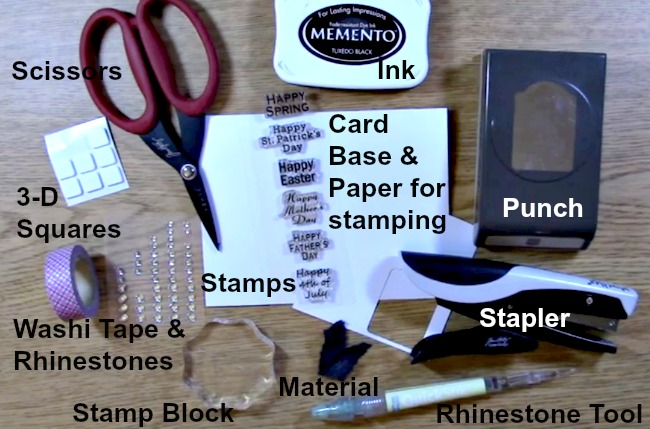
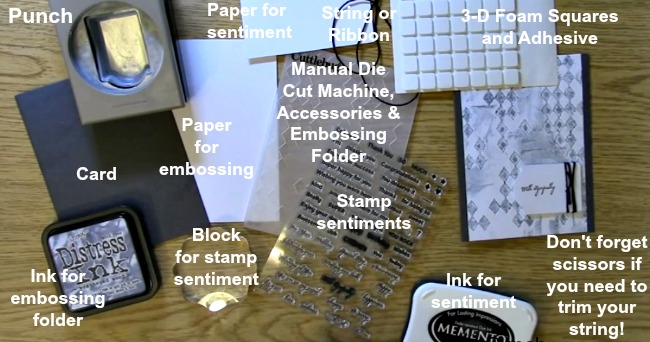
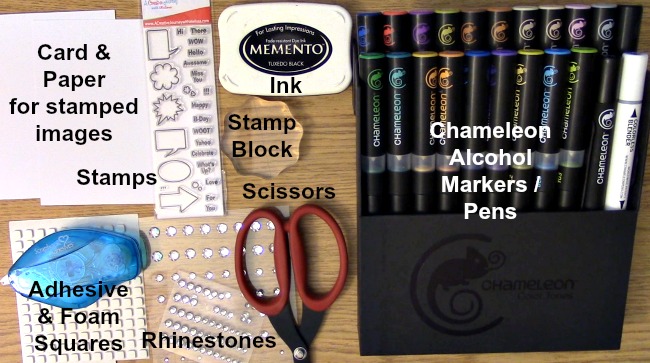
Here is the list of supplies you would need to recreate this card:
Speech Bubbles Mini Stamp Set
Chameleon Markers Complete Set
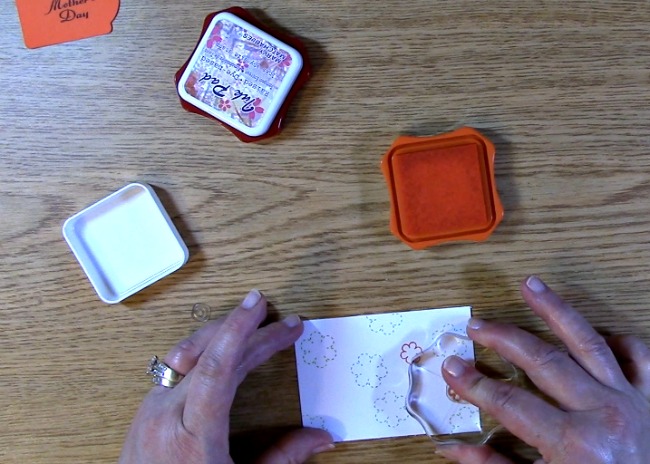
Memento Ink
Stamp Block
Adhesive
Foam Squares
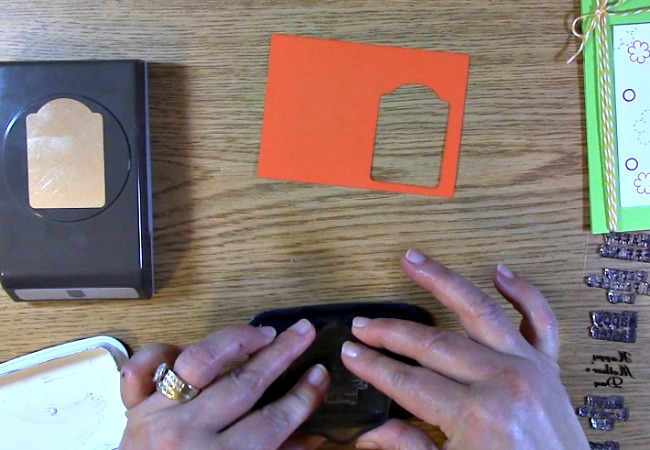
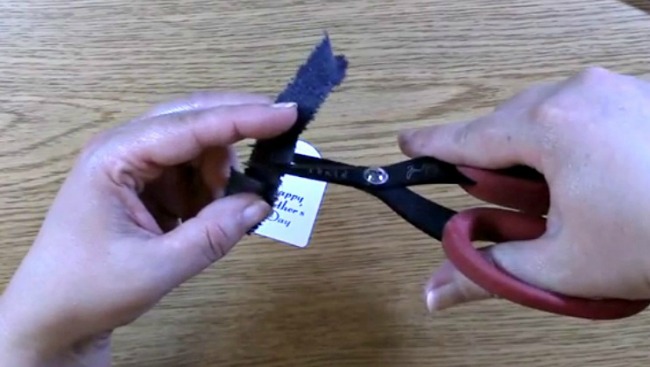
Scissors
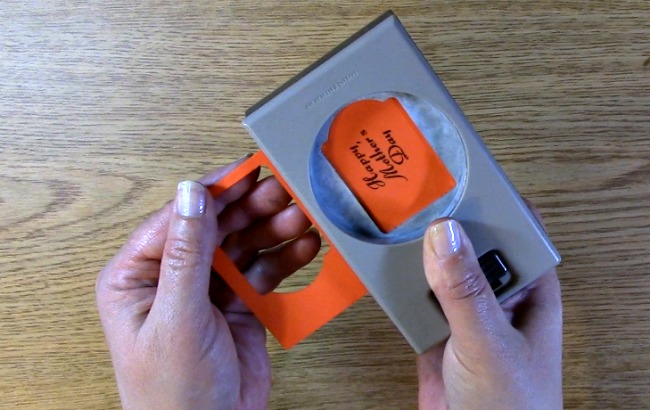
Card base
Paper to stamp sentiment & image on
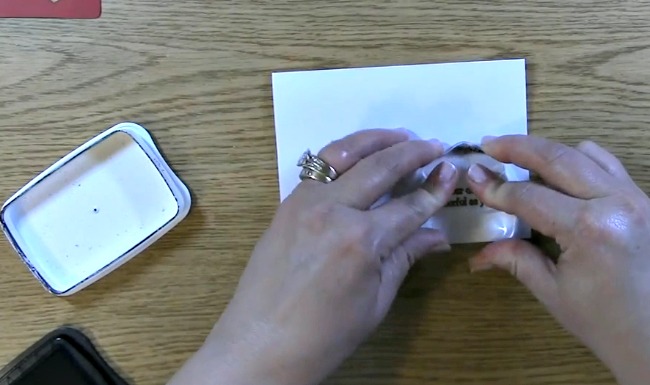
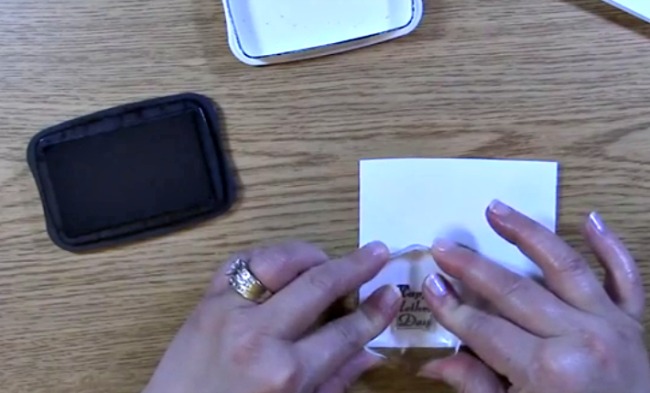
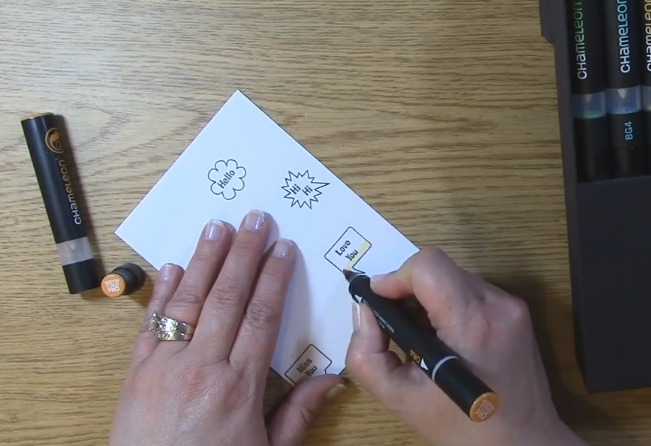
Pick your speech bubble from the Speech Bubble Mini Stamp Set, adhere to the stamp block,
ink the stamp and stamp your image on your paper.


Adhere Sentiment to the stamp block, ink and stamp sentiment inside the speech bubble. Repeat stamping on paper per your personal design choice until satisfied with the number of designs to be placed for your card.

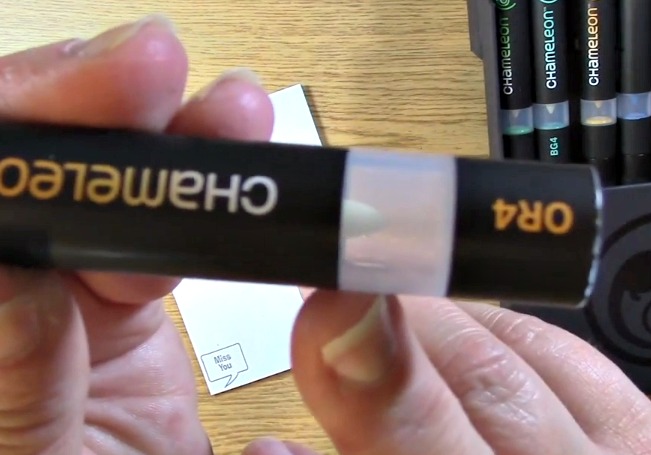
Take out your Chameleon markers. You can use either the brush tip or the bullet tip (like a felt tip) to color your images. Below is showing the brush tip which is what I will be using to color the image.

This is the tip for the mixing chamber (blending solution.) I have used it with red before as you can see there is a tint of red/pink on it. This will not change the nib or effect of the blending solution mixture and it’s effectiveness at all.
 Once you have taken off the cap off your marker tip preference, place your tip so that the mixing chamber is touching your colored tip. Make sure that your colored tip (nib) pointed toward the sky and the mixing chamber tip (nib) is pointed toward the floor. The pen will be upright and the below picture is what your marker / pen will look like when it is in front of you.

This is an above view of what your marker should look like when you have the mixing chamber-straight up and down.

Keep your pen upright so the blending solution can transfer to the colored nib. The amount of time you would like to keep it like this varies depending on how light you want the color to be to start with. The darker the color marker, the longer it will take to saturate the color with solution to make it almost opaque. I have kept it on for as short as 3 seconds for a very light difference to 10-15 seconds for a drastic color change. For the below creation, I kept it on for at least 12 seconds. As you can see, it is almost translucent as I begin to color.

As I continue to color, you can see where the blending solution is being used with the color. The blending solution is used and the color then starts to come through more as the blending solution is no longer saturating the nib.


Here is a close up of the variance of color from the bottom where I started to the top where the color was most saturated
and no longer had blending solution and the pigment is coming through.
This is the mixing chamber with a nib that hasn’t been used yet. As you can see, there isn’t any pigment/color on it at all. This will change with use as shown with the red mixing chamber in a previous picture and will not effect the mixing chamber and effectiveness.
This is what the mixing chamber looks like with both nibs (tips) touching to transfer the blending solution to the colored marker. This picture is just for visual purposes. When using the chamber the marker should be upright for it to be effective.

After using the mixing chamber for approximately 6-8 seconds, I started coloring below.

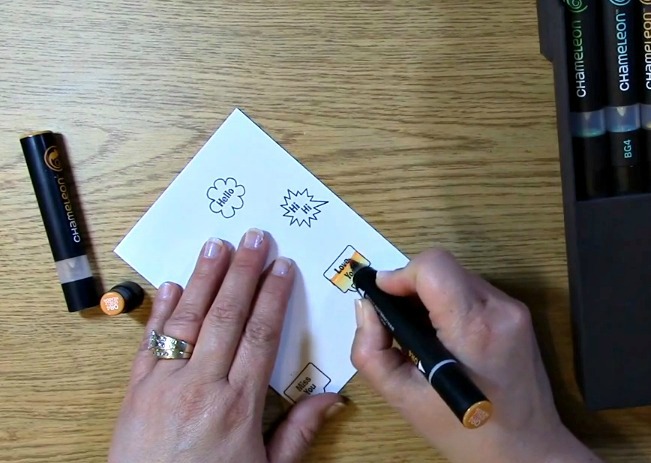


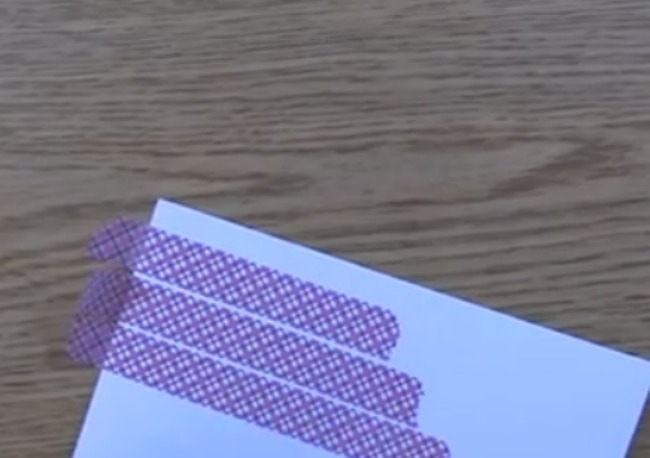
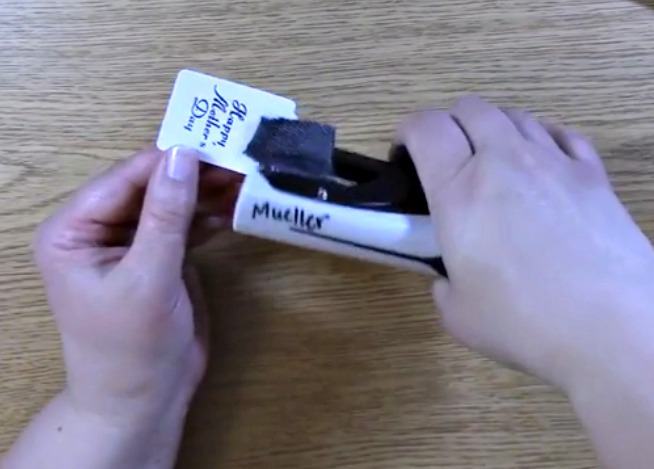
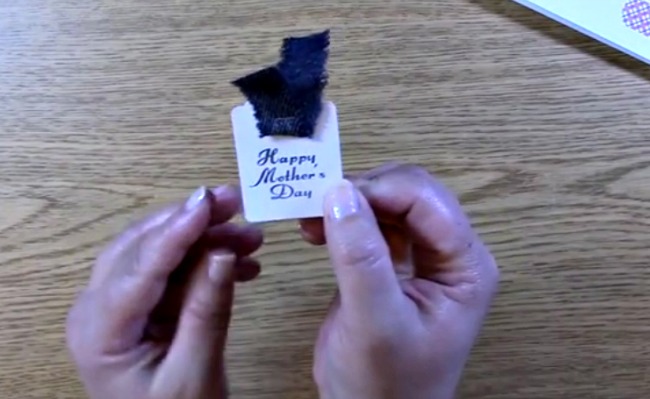
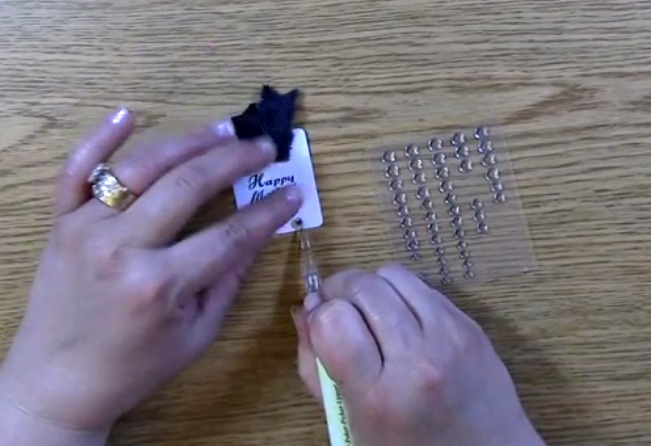
Once you have colored your speech bubbles after stamping the image and sentiment, cut out the speech bubbles. Adhere them with either adhesive or a foam square for dimension to your card. Set aside. Take out your rhinestones and Chameleon pens.

Pick a marker color that you want to color your rhinestones. Color the top of the rhinestone to your liking.
*NOTE* Unless you want a translucent color on your rhinestone, do not use the blending solution
or else the color may not be strong enough for it to be obvious.


This is the rhinestone fully colored with the marker.

Here I have colored more of them in for demonstration purposes. The possibilities are ENDLESS!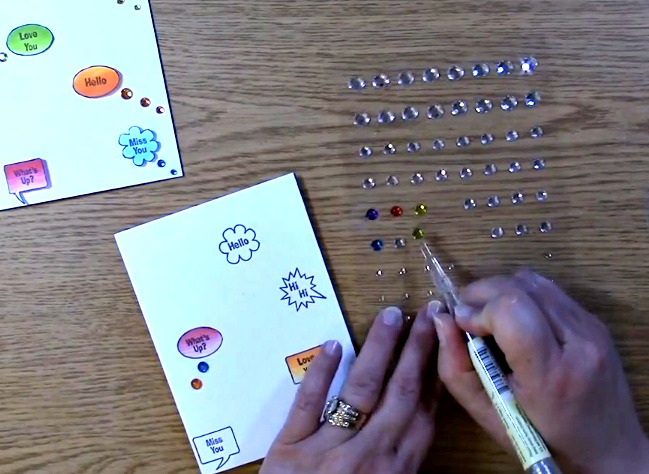
Here is a close up shot of the colored rhinestones. LOOKS AWESOME DOESN’T IT?!

I use my QuickStick from Quickutz to take them off of the sheet of rhinestones and place them on my card. Many other companies have a tool similar to this and they work well also.
This is a close up of what the rhinestones and colored speech bubbles I created in the video for example purposes.

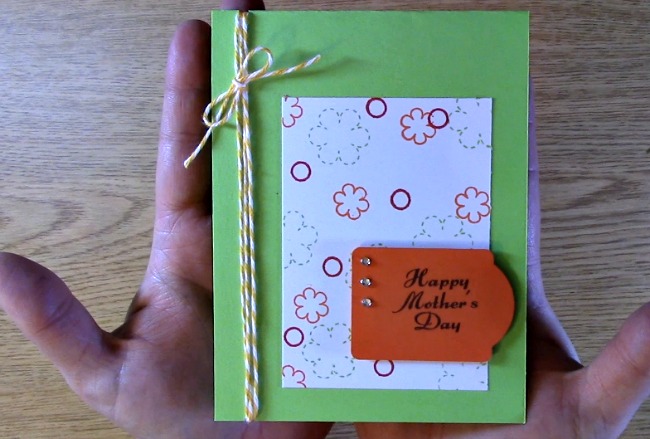
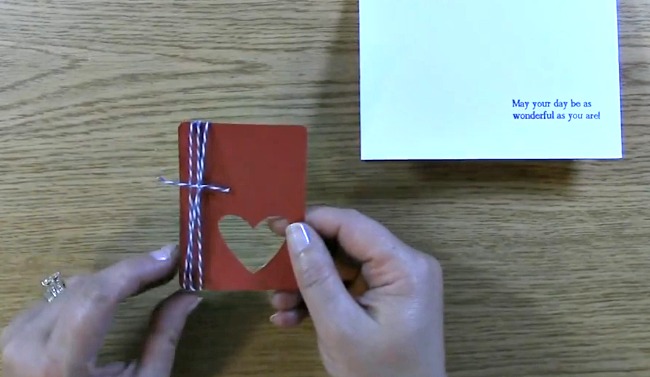
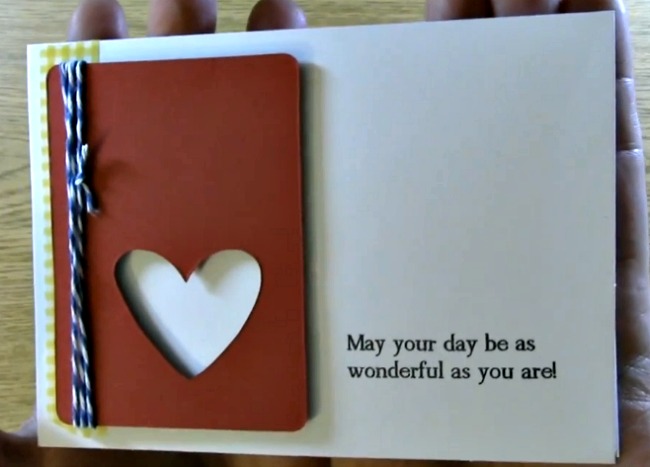
This is the finished card I created for an example of this technique.

I hope you enjoyed this pictorial and sign up for our blog post updates as well as our mailing list for promotions, coupons and updates! Thanks so much for joining us and we hope you had a great time going on A Creative Journey with Melissa.