Tag Archive for: Chameleon Marker Tutorial

Layering Colors with Chameleon Pens

Layering Colors with Chameleon Pens is what we have for you today. We are not doing a project just a tutorial showing you how to layer colors with your Chameleon Pens. Layering Colors with Chameleon Pens is what we have for you today. Chameleon Pens are very versatile and you can get numerous colors out of just one pen. Not only that, you can use two or more colors together and increase your color palette even further!

Supplies Needed for the Layering Colors with Chameleon Pens Tutorial

Chameleon Pens (AND THE COMPLETE SET OF 22 PENS ARE ON SALE INCLUDING PRIORITY SHIPPING FOR US RESIDENTS!)

 A Creative Journey with Melissa Stamp Set Petals for You

Stamp Block

Paper

Black ink

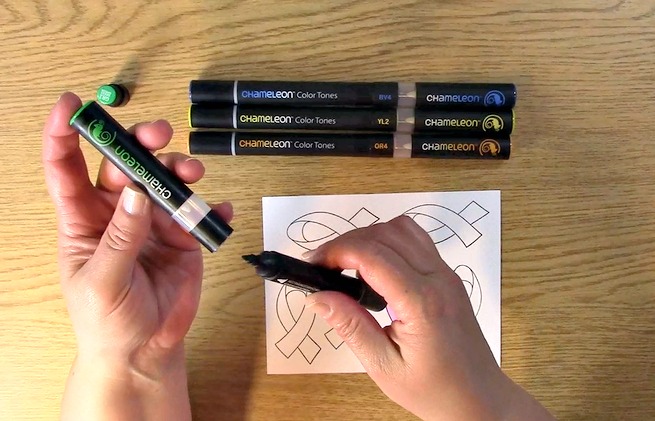
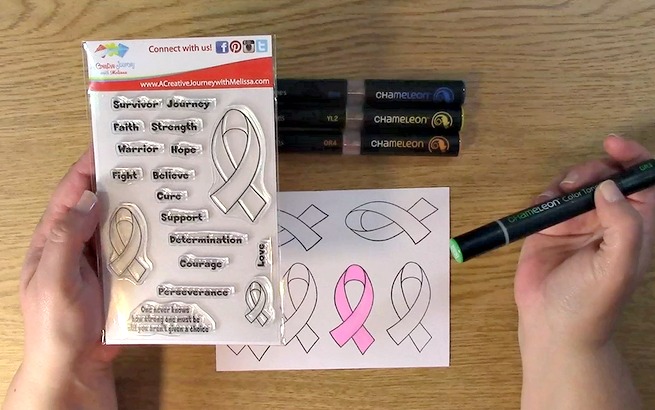
 A Creative Journey with Melissa Stamp Set Petals for You, stamp block and black ink. Place your stamp on your stamp block.

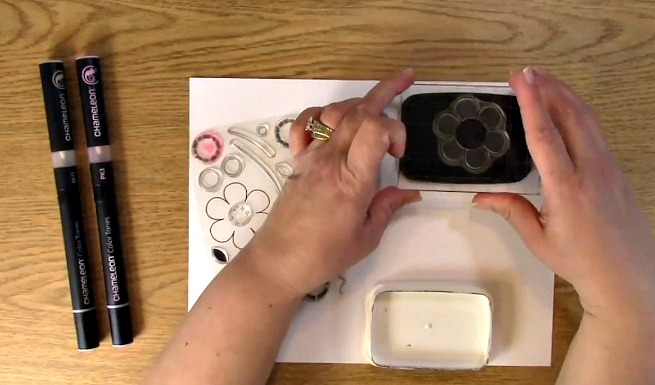
Ink your stamp ensuring it is fully covered with ink on the entire image.

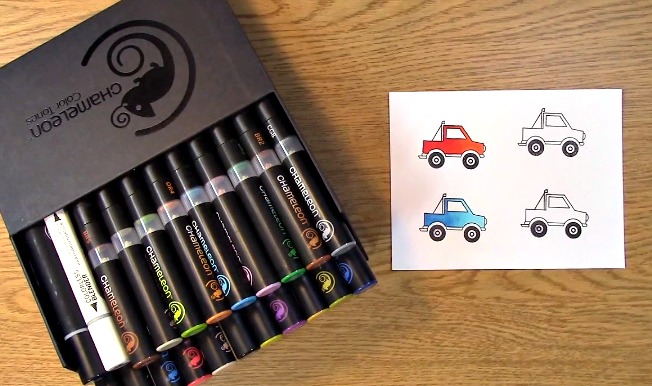
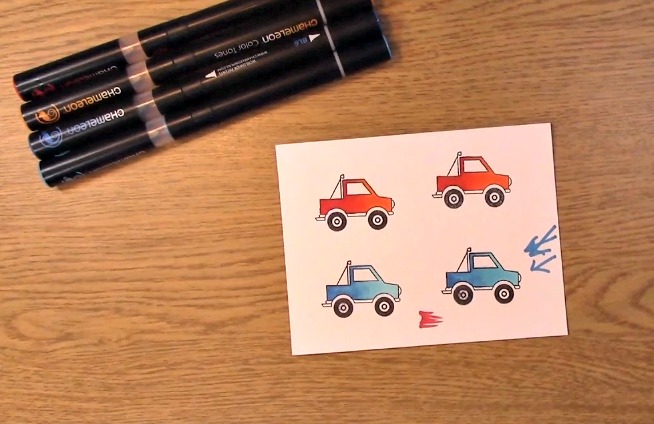
Stamp your image on your paper. You will want to repeat this a few times so you have multiple images to practice your coloring on.

I stamped four images order to ensure I had enough images to play with.

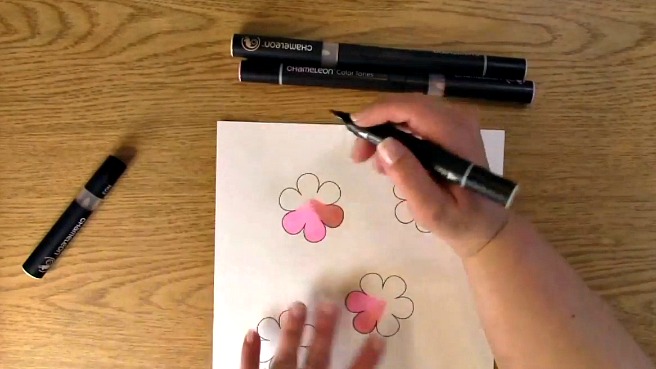
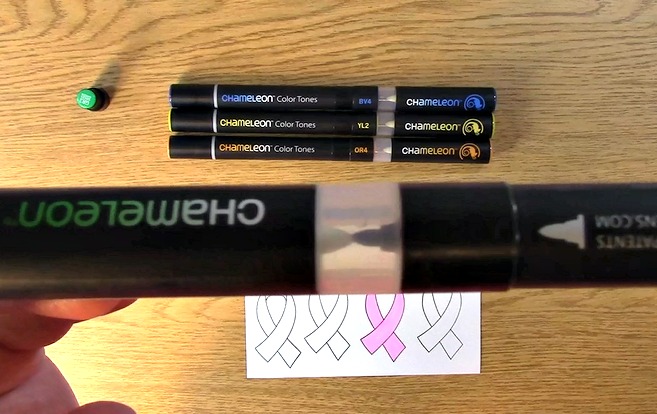
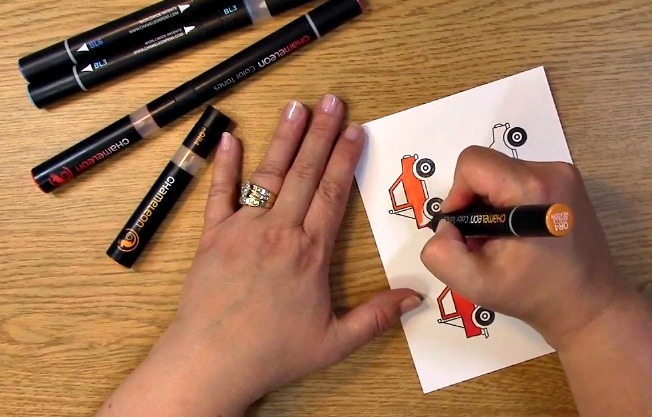
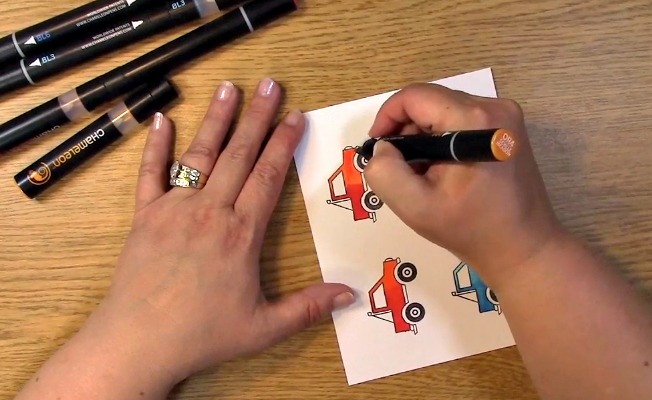
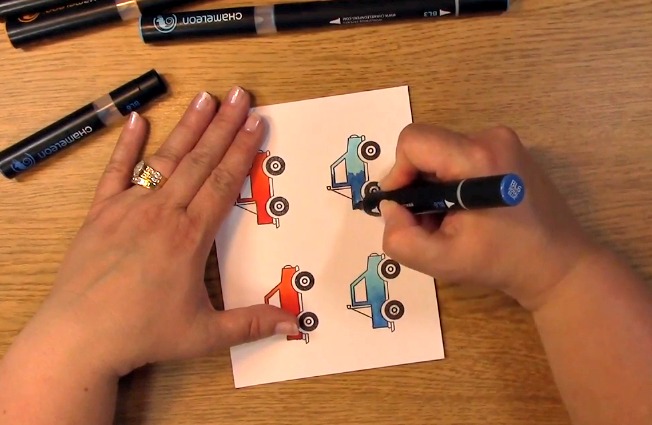
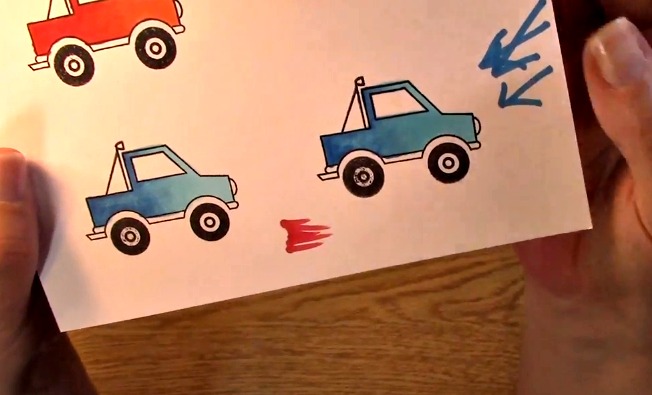
We will be using three Chameleon Pens including NU1, NU3 and PK3 for the Layering Colors with Chameleon Pens tutorial. Now, you will want to take out your PK3 Chameleon Pen.

In an upward motion using the bullet nib, I colored two of the petals on the flower.

This is what it looked like once the coloring was completed.

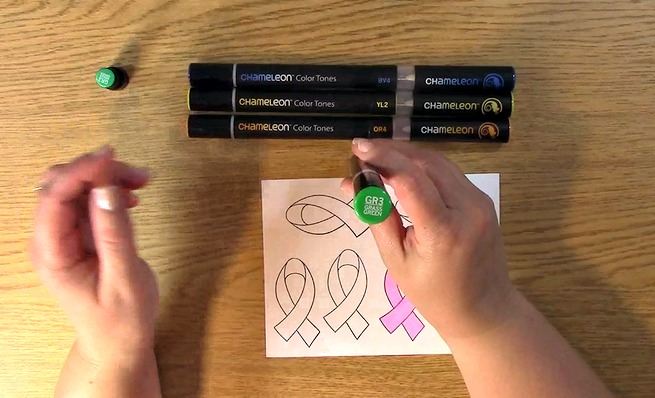
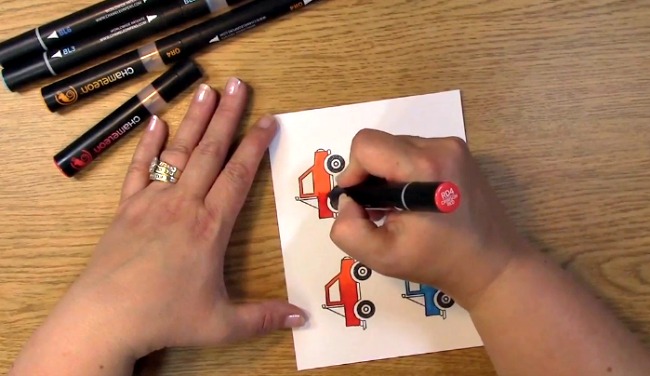
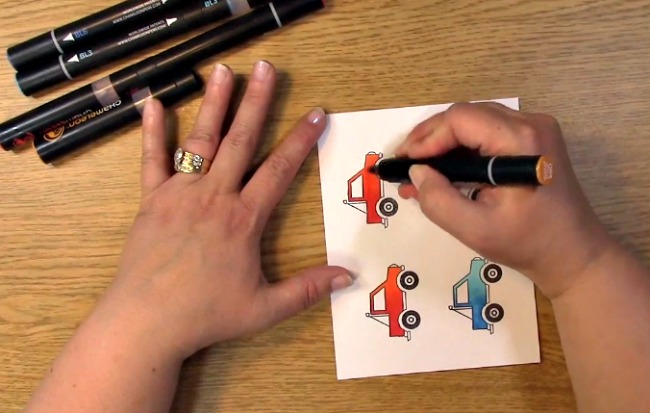
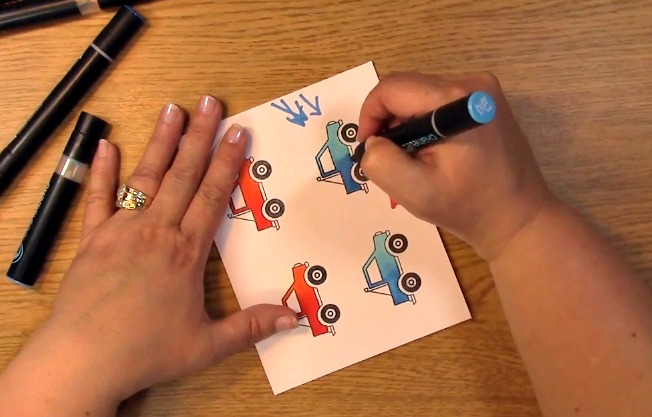
Now we will take out our NU1 Chameleon Pen. Simply color on top of one of the petals. I love the color I have created with this. It gives a salmon and copper look to it!

This is a close up picture of what it looks like once I have completed the second coloring.

*HELPFUL TIP*

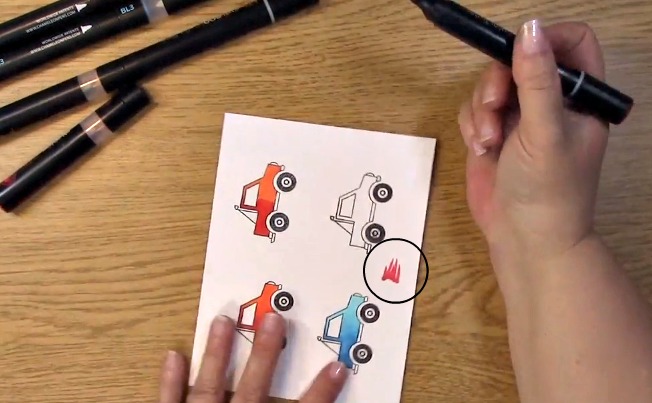
Always protect your work surface when working with Chameleon Pens especially if you are layering colors. They can tend to bleed through the paper in some cases and it is always better to be safe than sorry.

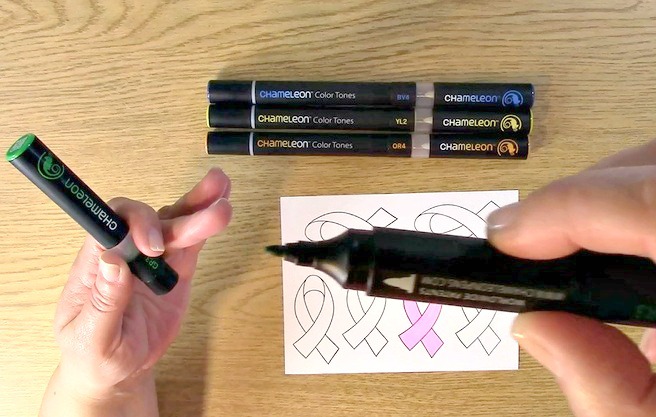
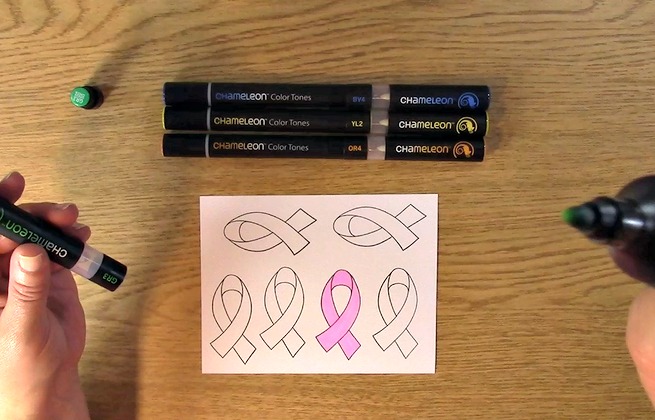
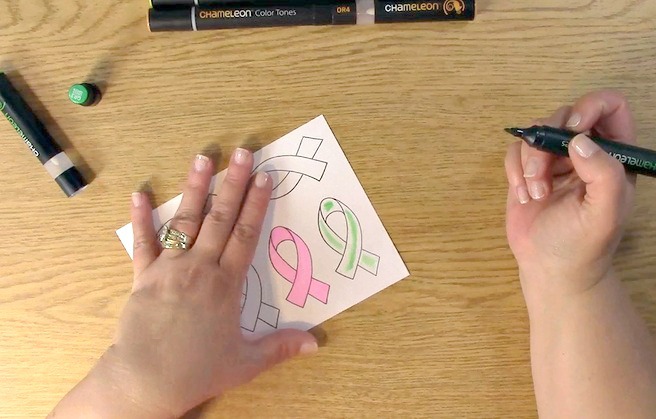
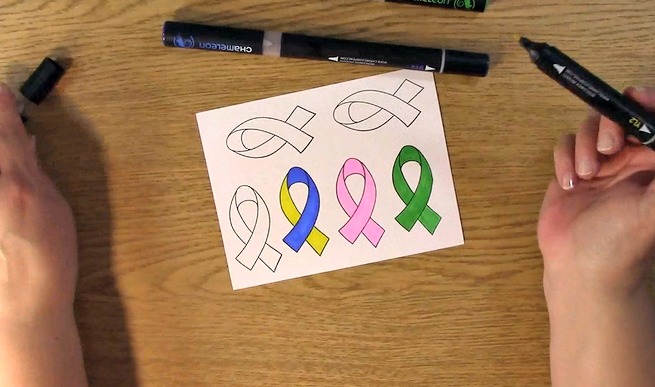
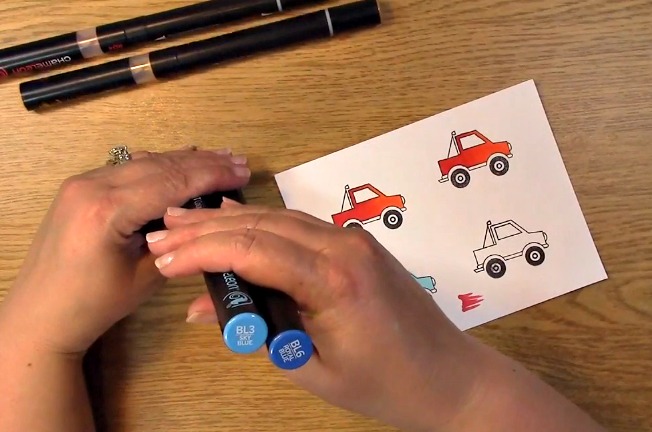
I have colored three more petals with the PK3 Chameleon Pen for the Layering Colors with Chameleon Pens tutorial. I am going to show you two different colors layered with the original color in the middle. This really shows you how you can change your colors and add to your color palette.

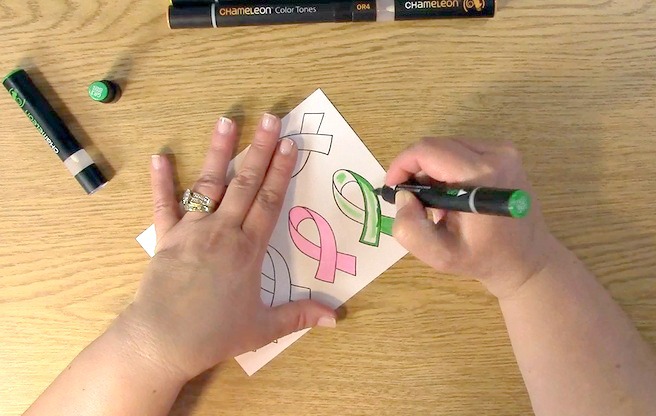
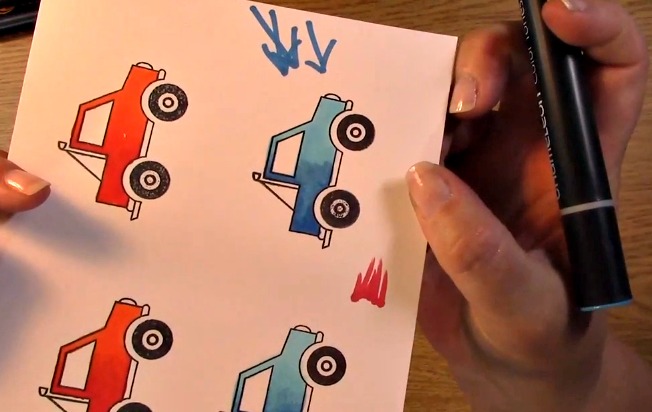
For the first example I am using a darker color. I am using the NU3 Chameleon Pen for this part of the Layering Colors with Chameleon Pens tutorial.

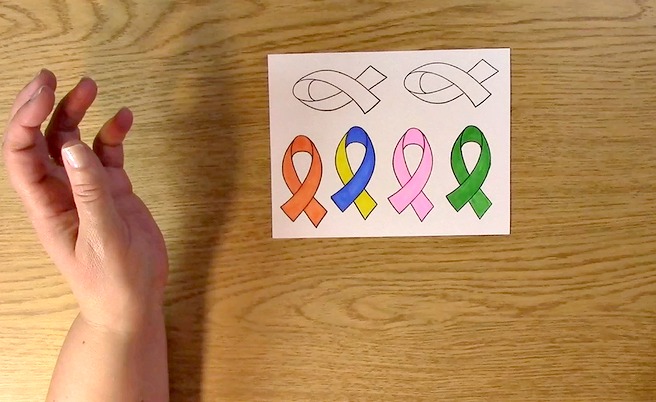
Here you can see the difference in a close up picture between the original color we started with and after the layered color was added.

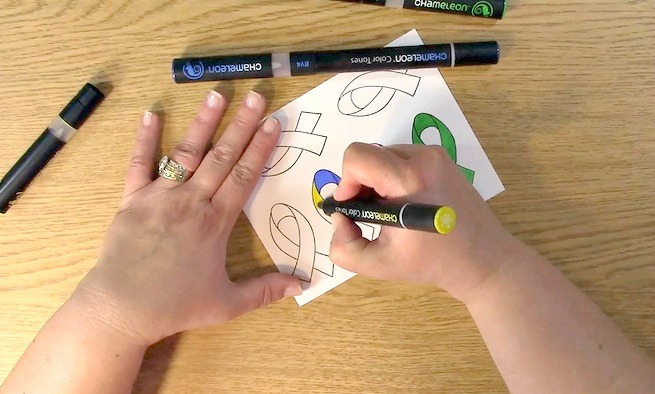
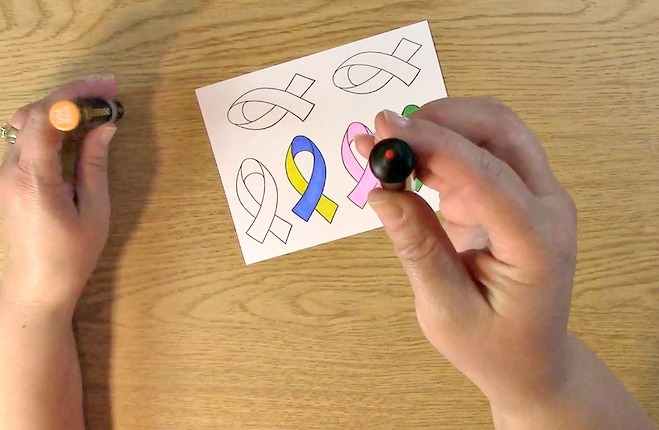
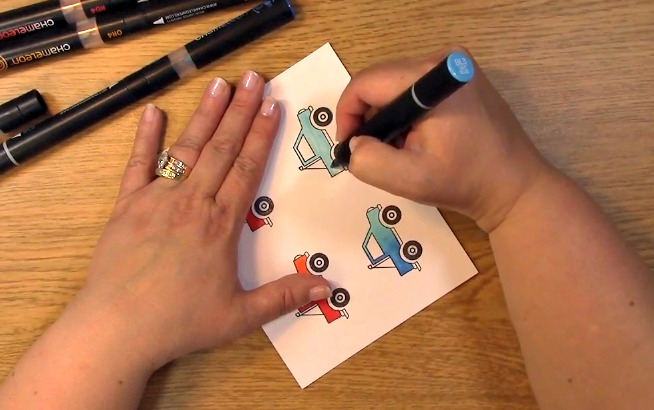
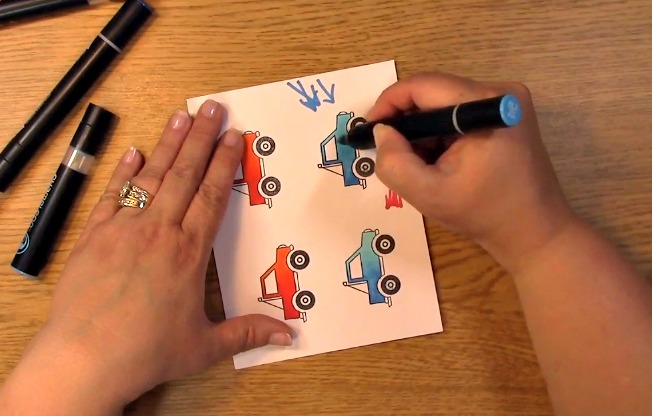
For the second layering of color, we are going to use the NU1 Chameeon Pen. This will show you how the two different pigments added from the same color NU makes the PK3 color so different!

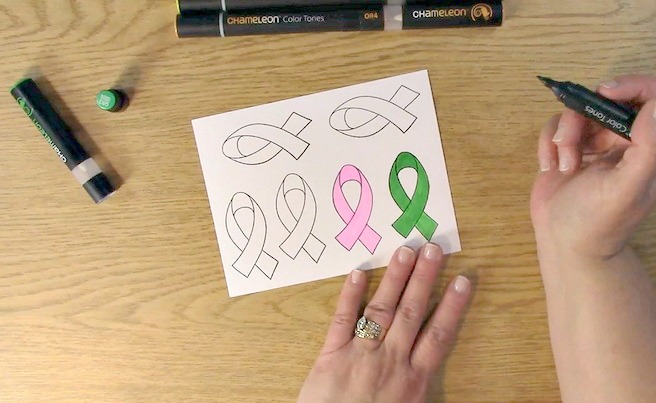
This is the close up picture of the comparison between the NU1, PK3 and the NU3 Chameleon Pens once the colors were layered.

Pretty cool, right? What colors are you inspired to layer for your own creation?

This week for our Giveaway, we are giving away the  A Creative Journey with Melissa Stamp Set, Petals for You used in the video above.

To qualify to win, you must be BOTH:

A follower on YouTube, subscribe to our mailing list/blog posts and you may also comment on this blog post for an additional entry to win! If you do not contact me within two weeks of winning, you will unfortunately, forfeit your prize. Thank you for your understanding.

NOTE: Be sure you are not subscribed with two different names and I am unable to match you with your subscription to both the blog and the YouTube Channel, you will miss your chance to win a prize. If I can’t decipher if you are a matching subscriber, if your profile doesn’t show publicly who you subscribe to) and I can’t confirm you have subscribed to both, I won’t be able to enter you in for the prize. **DO NOT COMMENT WITH YOUR ENTIRE EMAIL ADDY. Only give me the first 6 NOT INCLUDING YOUR HOST. Just enough for me to match your name will work perfectly.  Your understanding is appreciated.

Now for last weeks WINNERS!!

The winner of the That’s the Ticket A Creative Journey with Melissa Stamp Set is

Jessica Marshall

The winner of the A Date to Remember A Creative Journey with Melissa Stamp Set is

Christi Flores

Winners, please send me your contact information via contact page on our website and I will get your prize out to you! Thank you so much for being a YouTube follower and subscribing to our mailing list/blog posts!

We hope you enjoyed our Layering Colors with Chameleon Pens tutorial. Have a wonderful week and thank you for going on A Creative Journey with Melissa.

Coloring 3D Embellishments by using Chameleon Pens on Mod Melts

Coloring 3D Embellishments by using Mod Melts and Chameleon Pens is what we have for you today. I love to color and create. Coloring my own embellishments are a plus. How can you go wrong with creating it yourself and saving money! If you missed our blog post and YouTube video on how to create the mod melts, please check it out here.

What you will need for Coloring 3D Embellishments by using Chameleon Pens on Mod Melts:

Chameleon Pens

Mod Melt Creations

Scissors

This is a creation I made in my previous video. Once you have created your mod melt, you will want to wait until it has cooled.

Once it has cooled, you can remove your mod melt from the mold. It comes out very easily as the mod melt mold is made of silicone.

Once you have taken out the mod melt creation, you may want to trim the excess areas if you have them. This will give your creation a cleaner look.

Here are some samples of what you can use for Coloring 3D Embellishments by using Mod Melts and Chameleon Pens.

I colored these tree mod melts with Chameleon Pens. I love how they came out!

Here I colored the flower and slowly graduated the color to make it look like a daisy.

To start Coloring 3D Embellishments by using Mod Melts and Chameleon Pens, I am going to color the reindeer’s body with the Chameleon Pen BR5.

Here is the close up of the colored reindeer. When coloring, be sure you color the edges too so that it gives a clean completed look.

Now, I take out my RD4 Chamelon Pen so I can color the nose of the reindeer to look like Rudolph.

Take out the GR3 Chameleon Pen and color the bow on the reindeer. I love the bright green color next to the brown.

Next, I took out my Chameleon BK5 Pen. I outlined the eyes of the reindeer.

Following the outlining of the eyes, I used the NU1 Chameleon Pen to color the tail of the reindeer.

This is the reindeer close up shot of it colored.

Here are both of the reindeers that I colored. One I colored a little bit darker than the other. I like how they both came out.

This week for our Giveaway, we are keeping with the holiday season and giving away our You’re Snow Wonderful ACJwM Stamp Set 

This stamp set is what we used for our tag on the Creative Gift Idea as well as a number of our other tutorials. This set is versatile and can be used for a background design on your planner, journal, card or scrapbook pages!

To qualify to win, you must be a follower on YouTube, subscribe to our mailing list/blog posts and you may also comment on this blog post for an additional entry to win!

NOTE: If you are subscribed with two different names and I am unable to match you with your subscription to both the blog and the YouTube Channel, you will be ineligible to win as I can’t decipher if you are a matching subscriber to both. DO NOT COMMENT WITH YOUR ENTIRE EMAIL ADDY you subscribed with as I don’t want you to get spam or have your comment go to spam. Just enough for me to match you will work perfectly. Thank you for your understanding.

Now for last weeks WINNERS!!

BOY! Do we have winners!!! We have four winners total. For the 2016 Winter Coffee Lovers Blog hop winners from our blog we have THREE WINNERS!

The winner of the Coffee is my Liquid Therapy stamp set commented

Mayra says:
These are super cute ! Great designs !

The winner of the You’re Snow Wonderful stamp set commented

Teri W. says:
So adorable! You’ve inspired me to make the cocoa holder. Thanks, as always, for being a Super Sponsor.

                                                               The winner of the Coffee, Tea and Wine – OH MY! stamp set commented
                                                                               Ann says: P.S. Thanks for being a Super Sponsor.
                                            The winner of the You’re Snow Wonderful stamp set from our A Creative Gift Idea blog post is
                 Sarah Biswabic says: These look like they will be so fun to make. You could also decorate the bag too. I can’t wait to make some.

Winners, please send me your contact information via contact page on our website and I will get your prizes out to you! Thank you so much ????


We hope you enjoyed Coloring 3D Embellishments by using Mod Melts and Chameleon Pens. We hope you have a fantastic holiday and thank you for going on A Creative Journey with Melissa.


Ribbon Causes in October with Chameleon Pens

Ribbon Causes in October with Chameleon Pens is what we have for you today.

Many are aware that Breast Cancer Awareness is in October but

Did you know there were multiple other Awareness causes in the month of October?

There are numerous Ribbon Causes in October including Depression, Down Syndrome, Cultural Diversity to name a few. Today we are going to be coloring an Awareness Ribbon from Awareness Ribbon Set #1. We are highlighting three causes. Depression which is represented by the color green. A second cause is Down Syndrome which is represented by the color blue and yellow. The third cause we are coloring a ribbon for is Cultural Diversity which is represented by the color Orange. We also have an awesome giveaway so be sure that you are a subscriber to our blog as well as a YouTube Subscriber so that you can qualify for our giveaway!

Now, onto coloring!

We are going to start coloring with green for Depression Awareness as one of the Ribbon Causes in October.

This is something that I personally suffer from as do some of my loved ones. Clearly this Awareness Cause is very close to my heart and personal to me.

Ribbon Causes in October e

To start, we are going take off the cap off of the bullet nib side.

Ribbon Causes in October d

I prefer the bullet nib side for coloring for this project.

Ribbon Causes in October g

Take the blending solution cartridge and place it on the side of the bullet nib.

Ribbon Causes in October h

Check to be sure that the blending solution nib as well as the bullet nib are touching so that the blending solution can transfer nibs.

Ribbon Causes in October i

Hold your Chameleon Pen upright for 10-15 seconds.

Ribbon Causes in October j

Remove the blending solution cartridge and set aside. Notice how the nib is lighter in color on the tip versus further down on the nib.

Ribbon Causes in October k

Color your Awareness Ribbon where you would like the highlighted (light source area) colored.

Ribbon Causes in October l

For the next step, I personally outline my images and then fill them in. It’s something my paternal Grandmother taught me and I still continue to do it now as an adult.

Ribbon Causes in October m

Fill in the color the rest of your image.

Ribbon Causes in October n

Now, we will be coloring an Awareness Ribbon for Down Syndrome as one of the Ribbon Causes in October.

My God Daughter has Down Syndrome so this cause is very near and dear to my heart. I colored the right side of the ribbon blue and am coloring the left side of the ribbon yellow.

Ribbon Causes in October o

This is the ribbon with the coloring complete.

Ribbon Causes in October p

Lastly, we will be coloring an Awareness Ribbon orange for Cultural Diversity as one of the Ribbon Causes in October. Something that I think is very important especially in the current climate of the world.

I have already placed my blending solution on the top of the nib for approximately 10-15 seconds. As you can see it is lighter in color.

Ribbon Causes in October q

We colored the highlighted area of this ribbon and are now outlining the ribbon and will be coloring it in.

Ribbon Causes in October s

This is the finished ribbon.

Ribbon Causes in October t

Now for the giveaway!!!

We are going to be giving away a five pack of the earth tones chameleon pens. This includes the orange that I used for the Awareness Ribbon for Cultural Diversity! Just be sure to be a subscriber to both our YouTube Channel and our Blog and you will be entered to win. If you would like to have an additional chance, be sure to leave a message on this post! That’s it!

Ribbon Causes in October c

Now, the winner for our last weeks giveaway of the Awareness Ribbon Set #1 is

Melissa, your card is so elegant and lovely! Those feathers and pearls are the perfect accompaniment to your stamp set. What a thoughtful and beautiful card.

I don’t have any awareness stamps and sometimes those would be just the right thing for a card. I really like how your set has several sizes of the ribbons and so many wonderful one-word sentiments to choose from….as well as that encouraging sentiment about strength! I would love to give this stamp set a home in my craft room. Thank you for the chance!!!

Thank you so much for joining us today and we hope you enjoyed going on A Creative Journey with Melissa.

melissa-written-signature

Gradient Coloring Tutorial using Chameleon Pens

Gradient Coloring Tutorial using Chameleon Pens is what we have for you today. I am so excited to show you a different way to use your Chameleon Pens. I previously I have shown you how to use them using the blending solution chamber. Today, I will be showing you how to layer your colors to get the same gradient effect! I love the endless possibilities for these pens and hope you enjoy learning this technique today! Let’s begin!

Gradient Coloring Tutorial using Chameleon Pens a

Supplies Needed

Cardstock

Stamped image (we used an image from the Greetings on the Go Stamp Set)

Chameleon Pen Set ( I used colors RD4, OR4, BL3, BL6)

Our Chameleon Pen Set of 22 is on SALE for $84.95 and includes priority shipping in the US! Limited to stock on hand. Be sure to check them out!

Gradient Coloring Tutorial using Chameleon Pens b

You will want to pull out something that you can color. I used the stamped images from one of our stamp sets Greetings on the Go. I love the little truck and thought it was perfect for Father’s Day.

Gradient Coloring Tutorial using Chameleon Pens c

You will want to start off with the lightest color you will be using for your creation. In this case, it was the OR4. We colored the area we intended to shade completely with the OR4.

Gradient Coloring Tutorial using Chameleon Pens d

Take your R04 using the flicking motion (by placing your marker down and lifting up in an upward motion) and color approximately half of your image.

Gradient Coloring Tutorial using Chameleon Pens e

This circled area above is the results of the flicking technique.

Gradient Coloring Tutorial using Chameleon Pens f

Here is a close up of the second layer once applied. As you can see, there is a definite line between the two colors. Now we are going to layer more color so we can have a better blended look.Gradient Coloring Tutorial using Chameleon Pens g

Now to blend the two colors together, you will use the lighter color (OR4) to blend it. Color the whole image again placing a bit more emphasis on the area around the red.

Gradient Coloring Tutorial using Chameleon Pens i

Notice how it doesn’t look as harsh as it did before and more blended. It looks great but we are going to do another layer to be sure it is blended with the results we want.

Gradient Coloring Tutorial using Chameleon Pens j

I am blending it here again using the flicking motion to try to get the blending to be more smooth.

Gradient Coloring Tutorial using Chameleon Pens k

I think I have the results I was looking for. What do you think?

Gradient Coloring Tutorial using Chameleon Pens l

Now we are going to be using the BL3 and BL6.

Gradient Coloring Tutorial using Chameleon Pens m

As we did with the previous coloring, we are going to start with the lighter color and color the whole area with the BL3. The difference with these two colors is quite a bit more drastic thank the previous ones so it will take a bit more ink to get the blending look I am looking for.

Gradient Coloring Tutorial using Chameleon Pens n

Now you are going to layer half of the image as shown with the darker color BL6.

Gradient Coloring Tutorial using Chameleon Pens o

You will now want to color in the truck using the BL3 marker. This is what you will be using to blend the darker color to the main color. be sure to color the whole image with the lighter color placing a bit more coloring emphasis on the middle area where it is to be blended.

Gradient Coloring Tutorial using Chameleon Pens p

This is really starting to come along but still has a bit of ink to be added before it gets to where I want it. Continue to add more ink in order to get the results you are looking for.

Gradient Coloring Tutorial using Chameleon Pens q

*NOTE* Please be sure to protect your work surface or else you can get ink on it. As you can see here, we are saturating the paper with ink therefore you can get bleed through with different kinds of paper. You can use alcohol ink to clean your surface but if it is a porous one, you may ruin your area so be sure to protect it.

Gradient Coloring Tutorial using Chameleon Pens r

Now we are going to color a light blue layer again by again emphasizing on the area where we want it to be blended.

Gradient Coloring Tutorial using Chameleon Pens t

This looks great! I really like how it came out! I think I like it better than my example.

Gradient Coloring Tutorial using Chameleon Pens u

Your coloring tutorial is complete! Be sure to subscribe to our Blog, YouTube Channel and other social media outlets to be up to date on the latest happenings! Friday we are going to be participating in an amazing Summer Coffee Lover’s Blog Hop with some AMAZING prizes, projects and Sponsors! You are going to love it so be sure to subscribe so you don’t miss out on anything!

Thank you for joining us today and we hope you enjoyed going on A Creative Journey with Melissa.

melissa-written-signature

Creating Grass Technique with Chameleon Pens plus Winners

Creating Grass Technique with Chameleon Pens plus Winners is what we have for you today. It is such a simple technique that you may want to use it for borders, shading and who knows what else! We do not have a pictorial for this technique this time as it is too difficult to get the technique across in pictures. We hope you enjoy the Creating Grass Technique with Chameleon Pens video above and we would love to hear if there are any techniques, ideas or questions you have about your Chameleon Pens. If you haven’t subscribed to our YouTube Channel, be sure to do so! We have all different techniques, tutorials, etc that you won’t want to miss out on! We have a great deal going on with our Chameleon Pens in our store. They are on sale with US priority shipping included!

Now, for our 2016 Spring Coffee Lovers Hop WINNERS! For our blog, we have the following winner for the $25.00 Gift Certificates for our store :

Denise Bryantsays:

I love dies that coordinate with stamps! I don’t have an electronic cutter of any type, so dies are my preference!

Congrats Denise! Please contact me with your e-mail address so that I can issue your $25.00 credit! Once again, thank you for your input and for hopping along with us!

Now for the 2016 Spring Coffee Lovers Hop WINNERS!! There are a BUNCH of winners so please go HERE and check to see if you have won any of the amazing prizes! We had so many people participate! A HUGE THANK YOU TO Amy & Chaitali for all of their hard work in front of and behind the scenes for this great hop!  AWESOME WORK LADIES!

melissa-written-signature