Crafting with Cereal Boxes
Crafting with Cereal Boxes is what we have for you today. Did you know you can repurpose cereal boxes? Did you know they are cuttable not only by your punches but by electronic cutting machines? They really are and I am going to show you how easy it is! You will be asking people for THEIR cereal boxes!
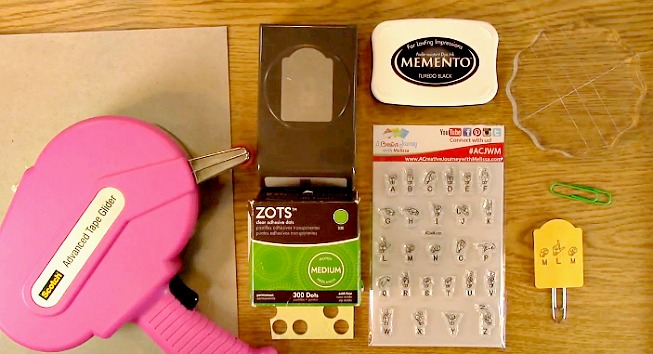
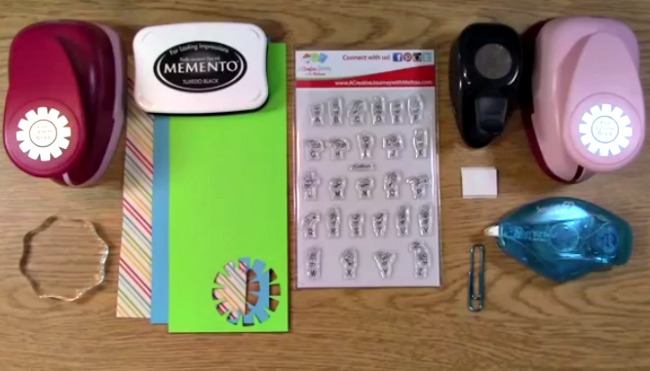
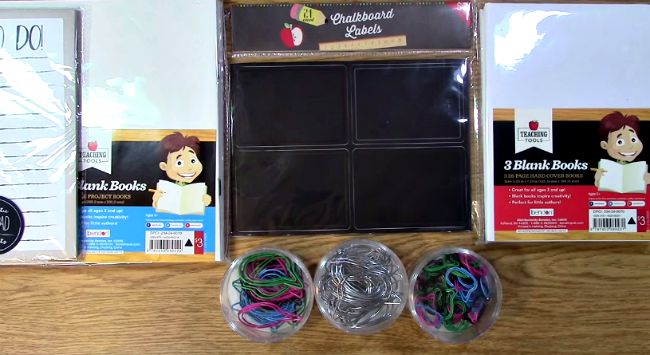
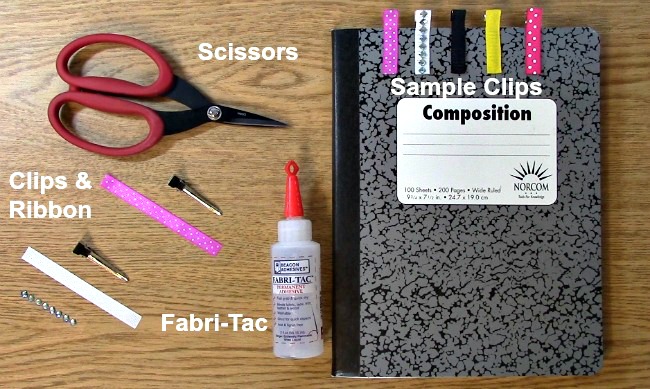
Supplies needed for the Crafting with Cereal Boxes Project
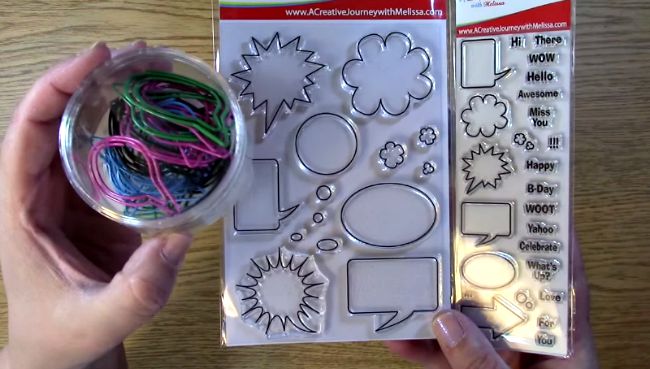
A Creative Journey with Melissa Sign Language Alphabet Stamp Set
Adhesive
Ink
Cereal Box
Paper Clip
Foam Dots/Squares
Glue Dots

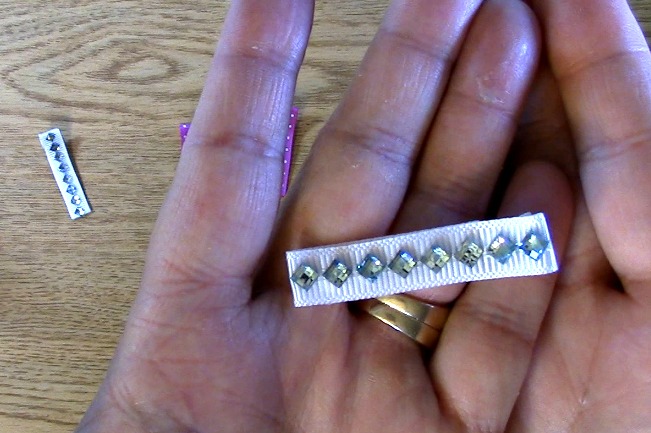
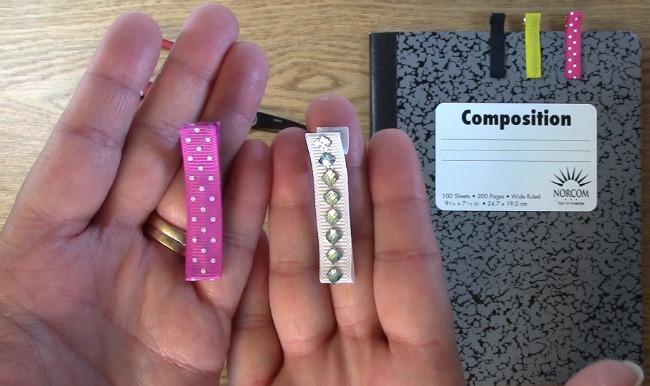
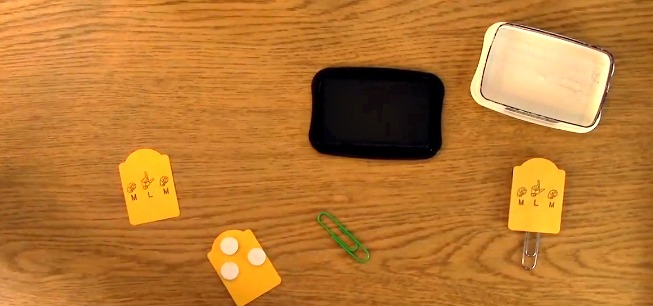
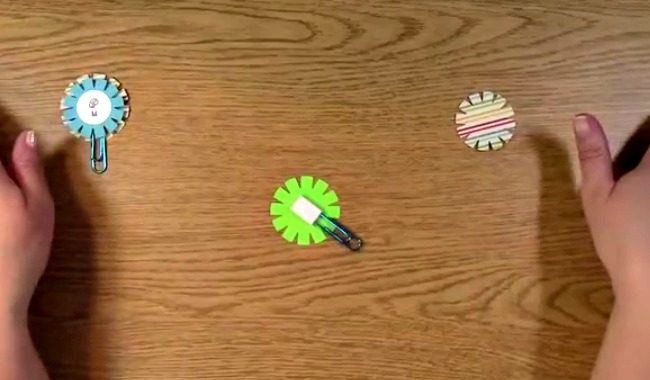
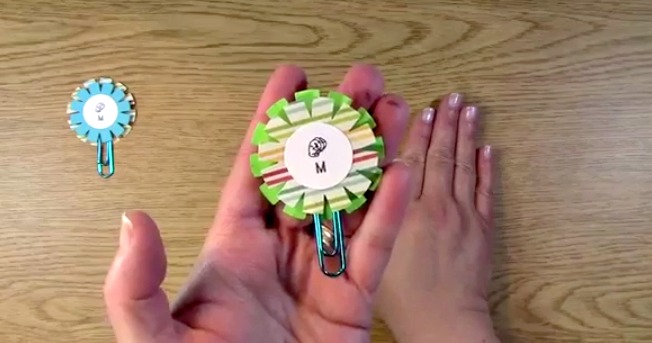
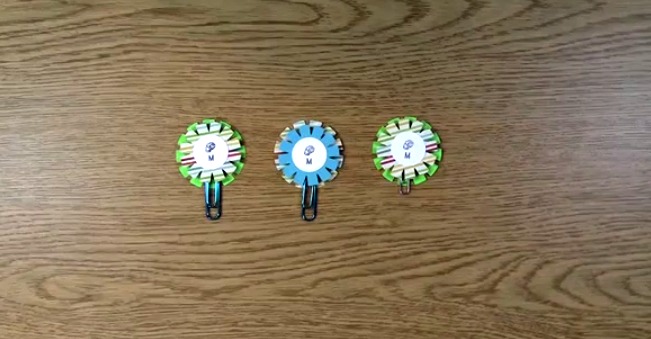
Here is the project we are going to create. It’s cute and is super quick BUT think about ALL OF THE AMAZING THINGS YOU CAN CREATE WITH CEREAL BOXES!!! And your PUNCHES WORK TOO!! YES! What great gifts you can make doing the Crafting with Cereal Boxes Project.

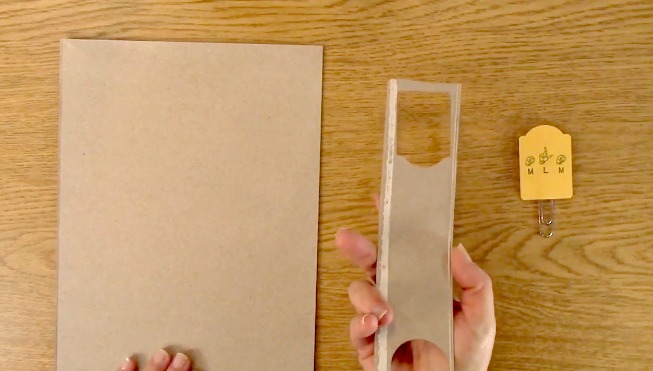
Here is close to the cereal box I started with.
I cut off the areas that would not be useful. Keeping the sides for me was a good idea for small punched or cut out items. 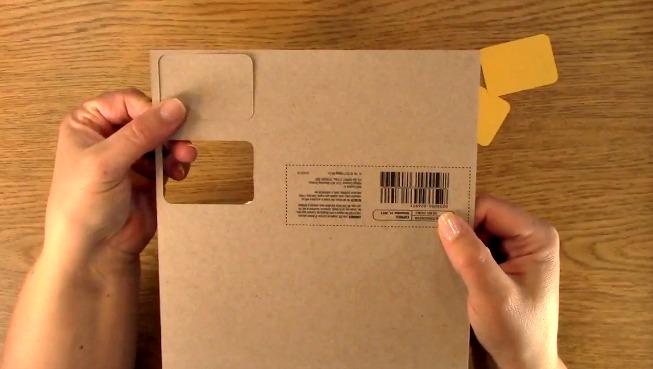
You can also use your ELECTRONIC DIE CUT MACHINE! Above, I used my Brother Scan and Cut 2. When using your electronic die cutting machine, be sure to change the settings so that the machine and the blade are for a much more rigid item.
Check with your machine’s manual or the manufacturers website for further information.
 YOU CAN ALSO USE your punches on your cereal boxes! Perfect for your Crafting with Cereal Boxes Project! Now let’s start creating!

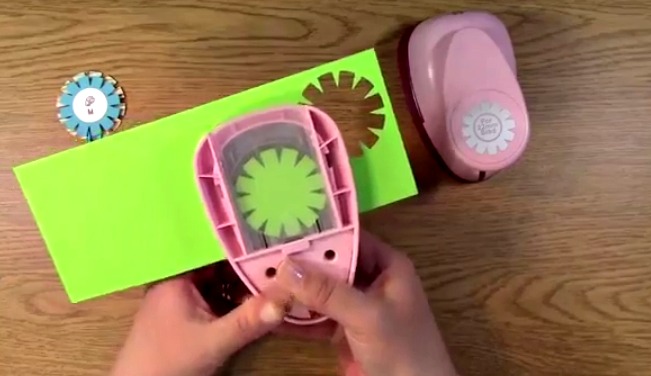
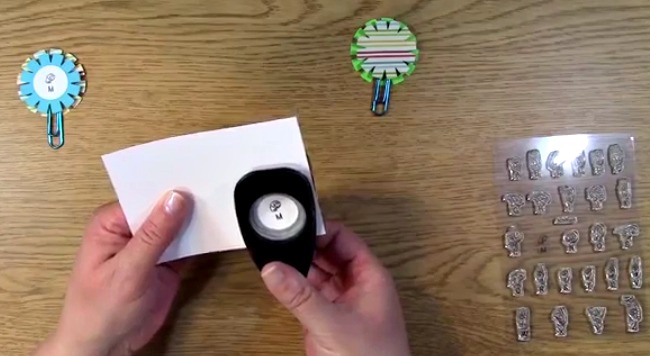
Take out your cereal box and punch. Punch your cereal box. Set box aside.
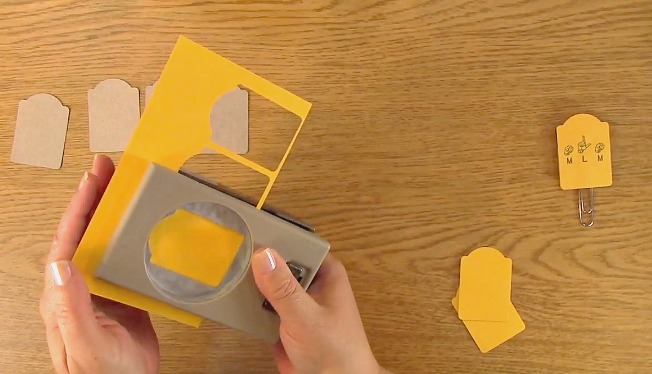
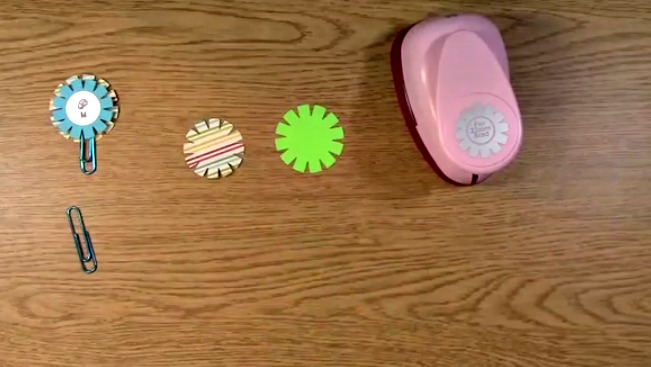
Take out your paper and punch out three pieces for your clip.

NOTE: If you are going to create this, I would suggest covering the inside back side of the clip so that the cereal box printing doesn’t show OR you can flip it over so it just shows the chipboard looking side. In my video example, I covered both sides of the back which is why I punched three of the tag out.
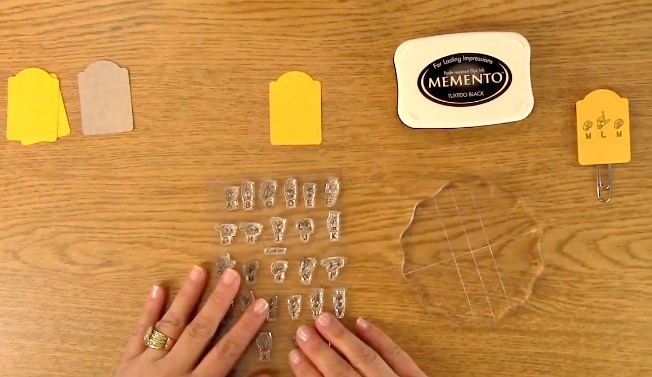
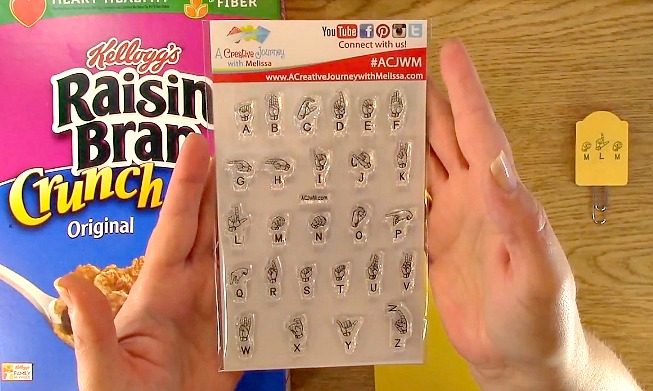
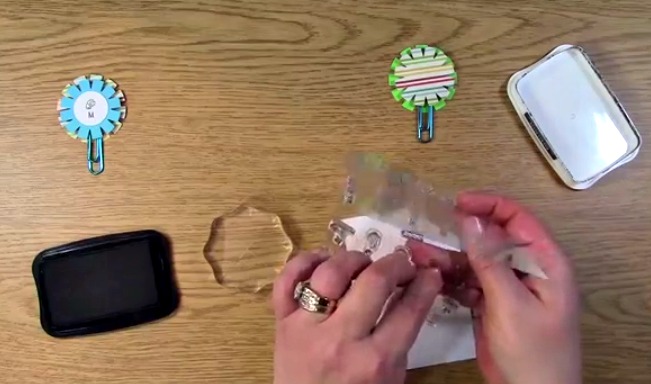
Take out your A Creative Journey with Melissa Sign Language Alphabet Stamp Set. Pick out the letters you wish to use for your clip. 
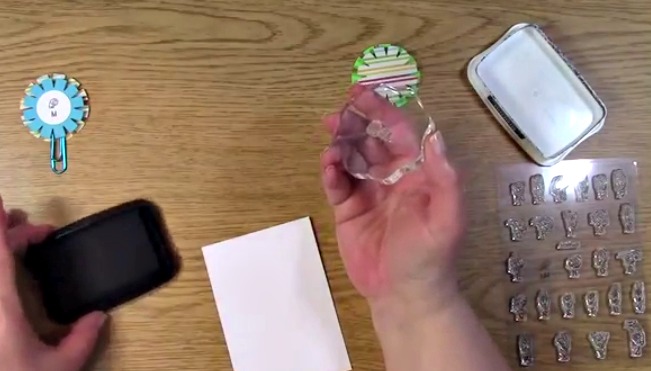
Place your stamps on your block.

Ink your stamp.
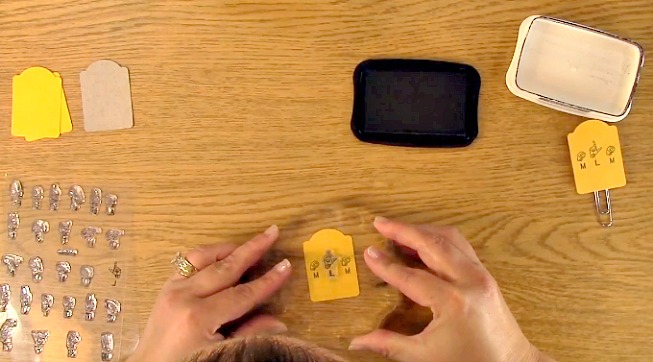
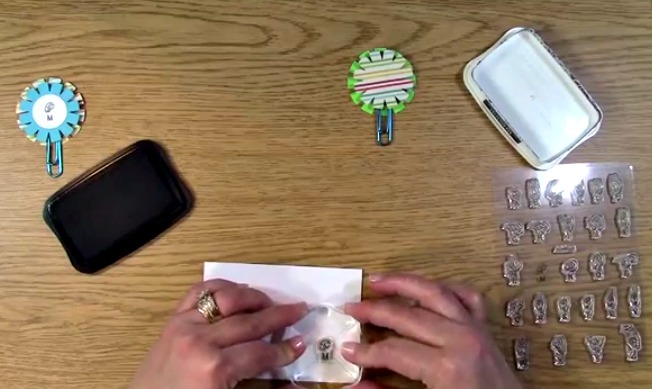
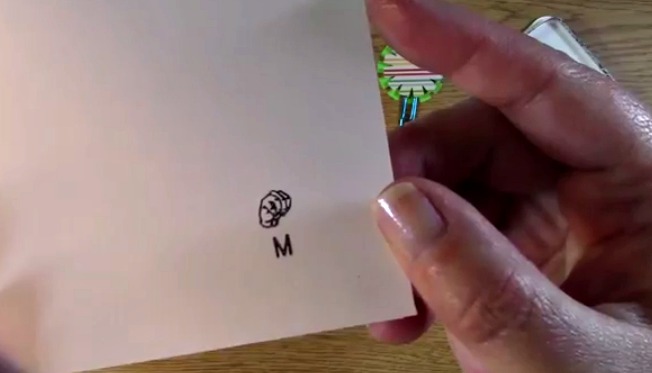
Stamp your image or images on your tag for you Crafting with Cereal Boxes Project.
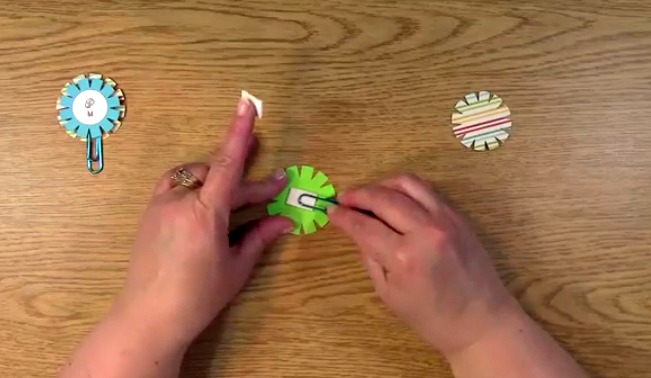
Place your foam dots on the back of your cereal/paper covered tag.

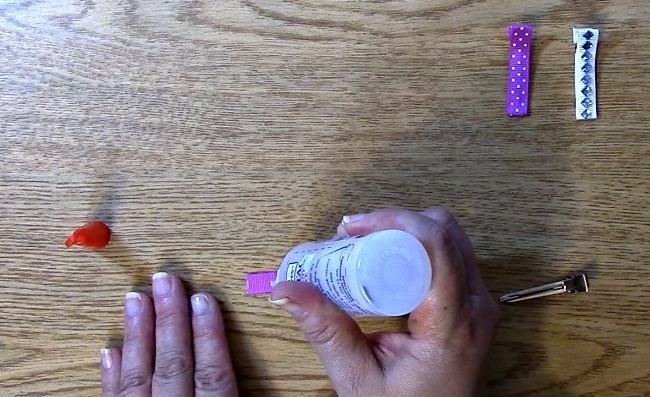
Put your glue dot on the bottom of your Crafting with Cereal Boxes Project tag.
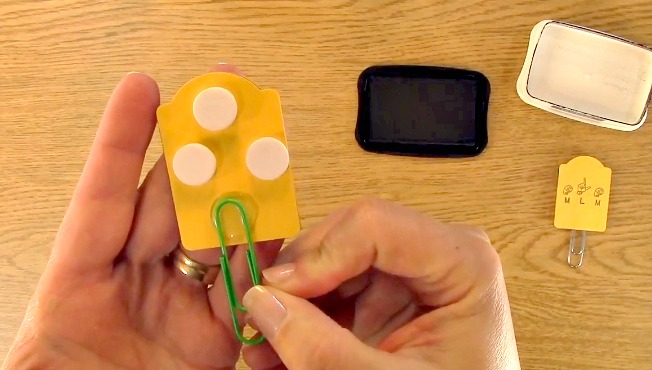
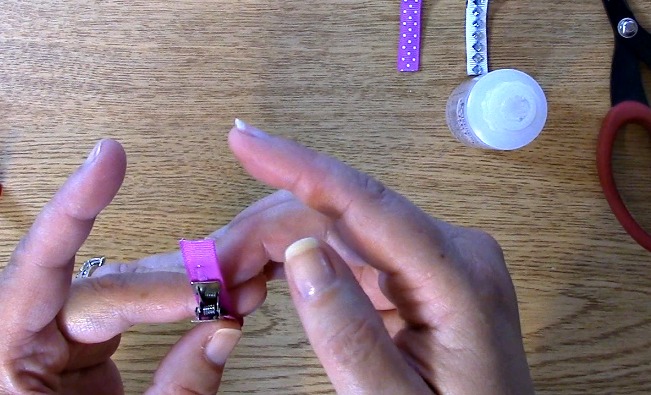
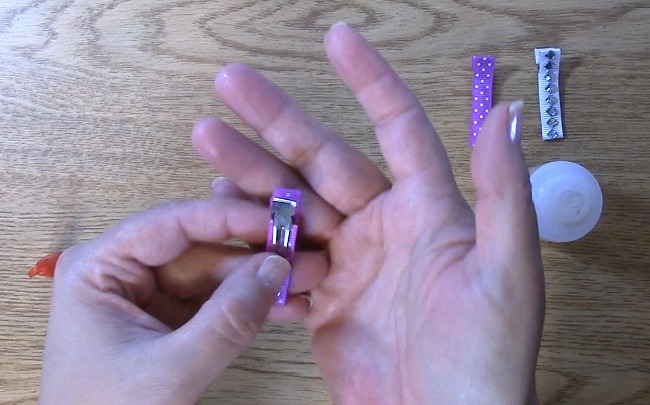
Using your paperclip, place it on the glue dot.
Be sure you are placing it low enough so that your clip can be used and is not blocked by the adhesive.

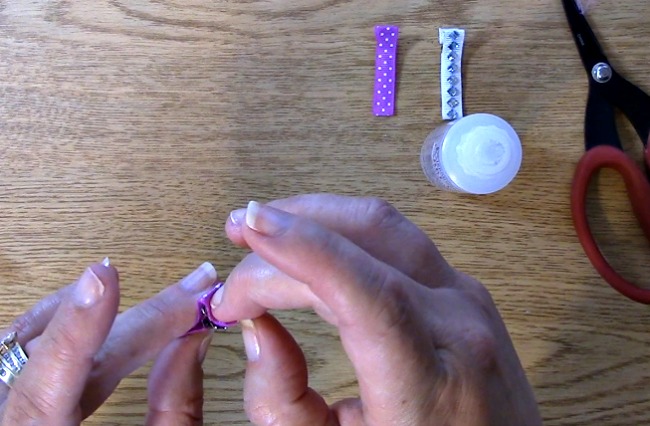
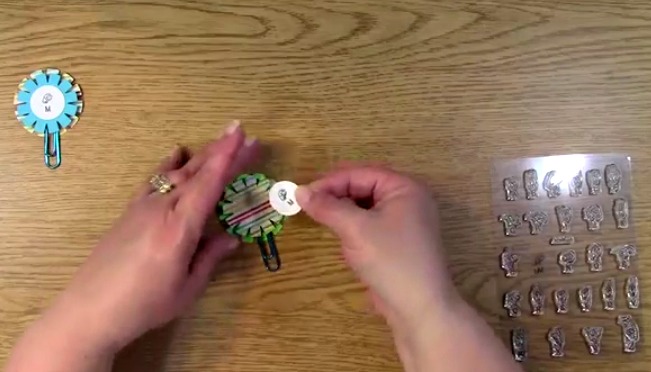
Place the stamped tag on top of your tag with the clip on it.

YOU ARE DONE with the Crafting with Cereal Boxes Project! Now what are YOU going to do with the cereal boxes you save? Please let me know what you create! I can’t wait to hear about it!
Now, for the GIVEAWAY!
This week we are giving away the A Creative Journey with Melissa Sign Language Alphabet Stamp Set!
To qualify to win, you must be BOTH:
A public follower on YouTube, subscribe to our mailing list/blog posts and you may also comment on this blog post for an additional entry to win! Winners will be announced next week on our Mondays with Melissa blog post!
If you do not contact me within two weeks of the announcement of winning, you will forfeit your prize. Thank you for your understanding.
NOTE: Be sure you are subscribed to BOTH with MATCHING NAMES. If I am unable to match you with your subscription to both the email list and the YouTube Channel, you will miss your chance to win a prize. If I can’t decipher if you are a matching subscriber (if your profile doesn’t show publicly who you subscribe to) and I can’t confirm you have subscribed to both, I won’t be able to enter you in for the prize. **DO NOT COMMENT WITH YOUR ENTIRE EMAIL ADDY. Only give me the first 6 NOT INCLUDING YOUR HOST. Just enough for me to match your name will work perfectly.
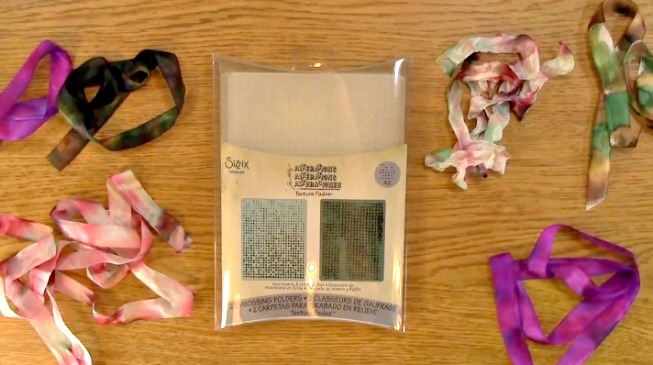
Now, for the last weeks GIVEAWAY of the double embossing folder set from Tim Holtz!
The winner is Tonya!
Tonya, please send me your contact information via contact page on our website, which post you are a winner from and I will get your prize out to you! Thank you so much for being a YouTube follower and subscribing to our mailing list/blog posts!
We hope you enjoyed our Crafting with Cereal Boxes Project! Have a wonderful week and thank you for going on A Creative Journey with Melissa. 


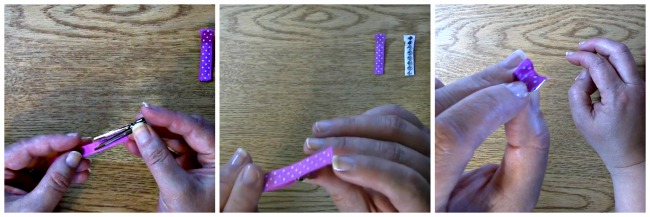
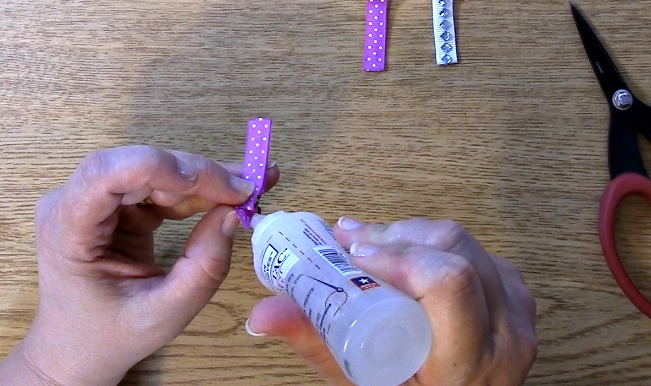
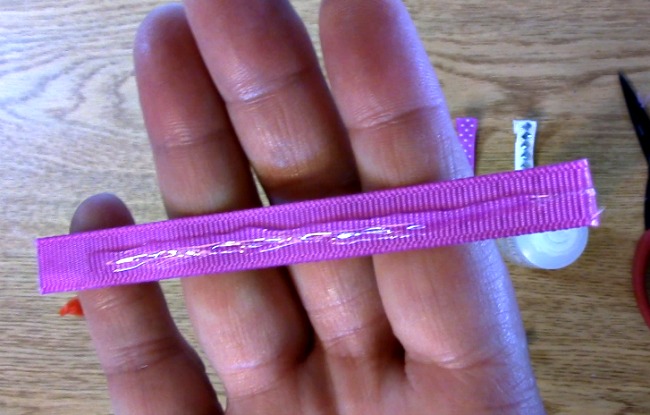 Place the ribbon on the inside of the clip so that the glue is facing up and will adhere to the top part of the inside of the clip.