Die Cutting Intricate Dies
Die Cutting Intricate Dies is what we have for you today.
**NOTE** The Precision platform IS NOT MAGNETIC. THIS was an ERROR on my part. I had used a magnet to check it and it worked but the platform was not magnetic, the magnet was. How embarrassing! My apologies for the confusion.
Do you worry about die cutting intricate dies and trying to get those little pieces out? Will you avoid those dies because they can be quite a pain? Well, we aren’t doing a project tutorial but we are giving a few tips on cutting intricate dies. I am also showing you one of my favorite tools and we have a giveaway too!

Above on the left you can see the intricacy of the die. The details are amazing but what a pain to try to get out all of those little pieces.
Well the purple tool above is AMAZING and IT is going to be a lifesaver!
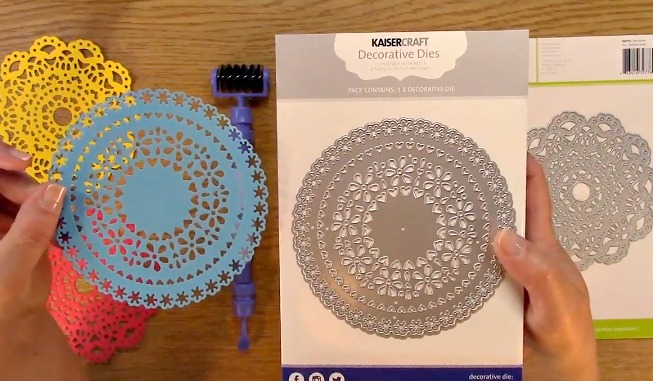
Here is a close up of the die and the cut of the die.

This is a close up of the second die and a close up of the die cut.

This is the amazing Spellbinders Tool ‘N One. It has so many uses but we will show you that in a bit.

First, I wanted to let you know that there is another option other than the magnetic platform. You can get the precision base plate and use it as you would a clear platform. Use it with the standard platform and voila! It works with the thinner dies!
NOTE: The Precision platform IS NOT MAGNETIC. THIS was an ERROR on my part. I had used a magnet to check it and it worked but the platform was not magnetic, the magnet was. How embarrassing! My apologies for the confusion.

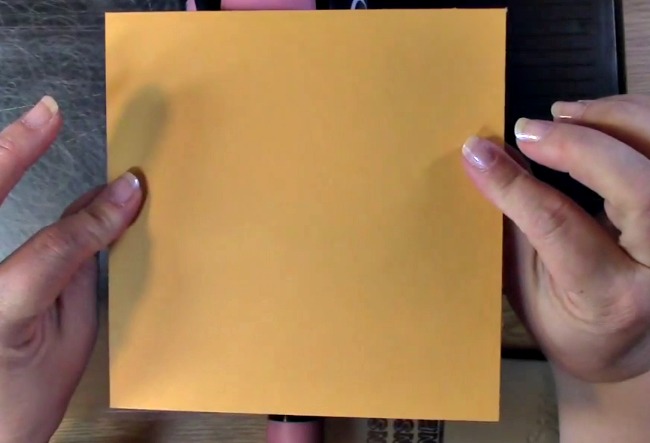
First, we are going to die cut one of the dies. Place your platform, precision platform and paper down.
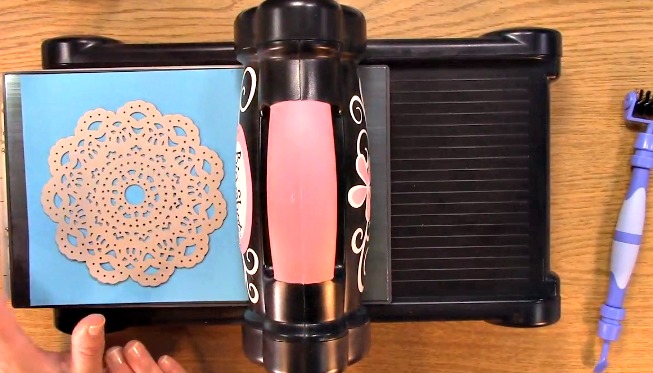
Take your die and make sure that you place the edge side up so that it cuts the paper.

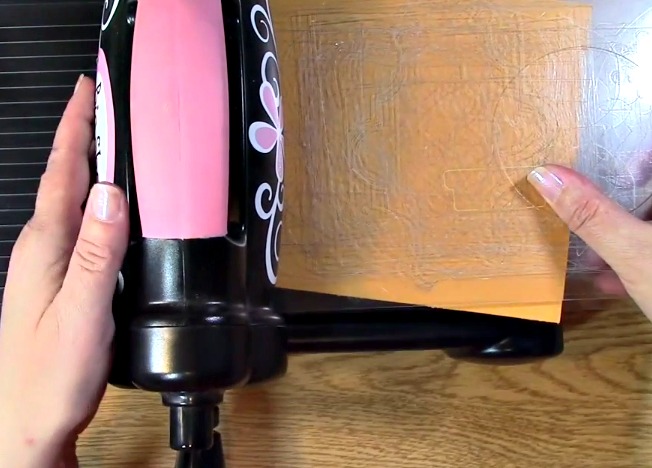
Place your clear platform on top of your die.
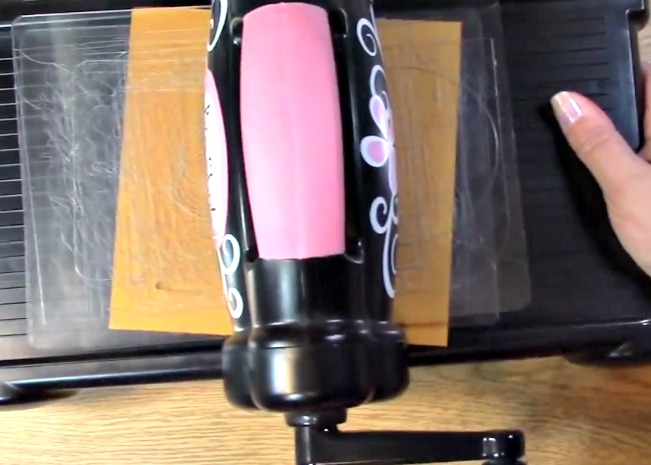
Run your die through the die cut machine fully twice. One pass each way.
This is what happens when you don’t do it thoroughly. Yep, I know. Frustrating but it happens.

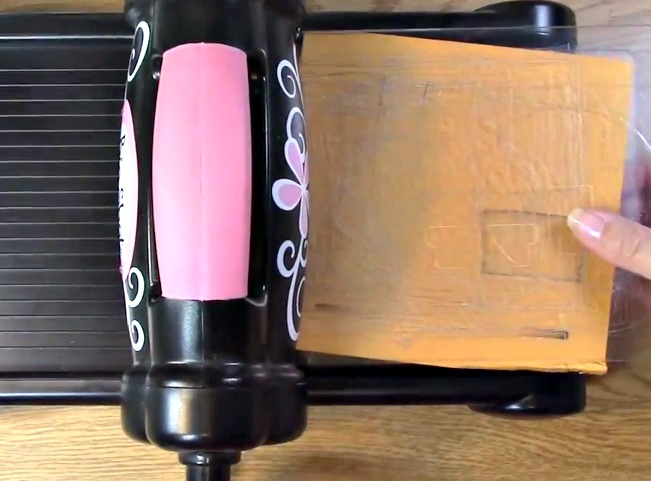
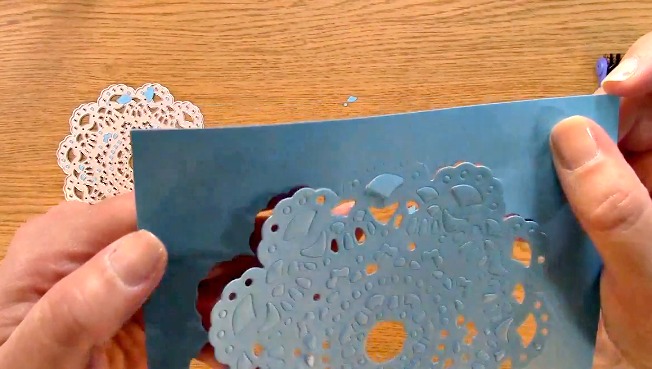
This is what it looks like when it IS done correctly. The detail is AMAZING!

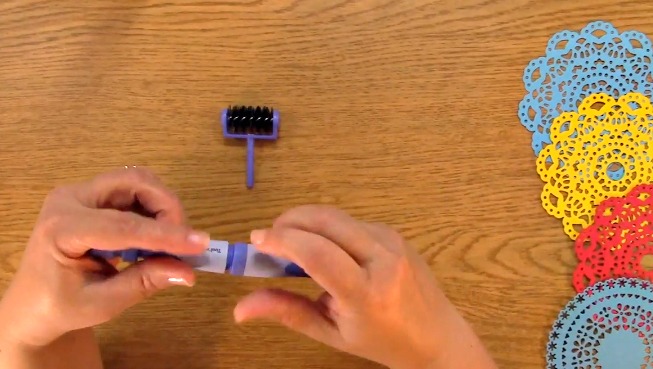
This is where the awesome tool comes in. You use the brush side and get to brush out all of the pieces from the die itself

as well as the die cut!

The detail is amazing and this is a close up of the die after it was just cut and the die cut. Die Cutting Intricate Dies can really happen without too much effort. Especially with the Spellbinders tool.

The Tool ‘N One tool is awesome and there is so much it can do!

It has two other parts! They are easily removable as well! You simply pull down on the neck of the tool

and you can adjust or even remove the head of the tool.
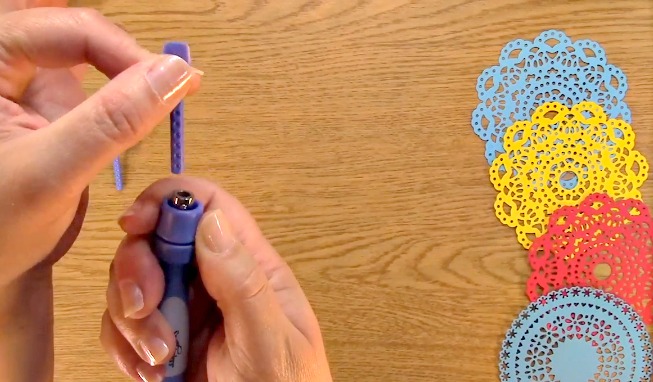
Replace one side with the spatula or scraper tool.

Notice the notches?

That gives you plenty of room to adjust how long you need the tool.

If you unscrew the tool in the middle you can store the other two pieces inside! Not only do you have a scraper tool but you also have a poker tool too! How cool is that? JUST in case your brush doesn’t get all of those tiny little pieces of paper out.

Both your poker and your spatula fit inside the middle of the tool. At the same time!
Screw your tool back together and you have exactly what you need for any crop or creative station!

Now for this weeks GIVEAWAY!
The Spellbinders Tool ‘N One tool is what we are giving away this week!!
To qualify to win, you must be BOTH:
A public follower on YouTube, subscribe to our mailing list/blog posts and you may also comment on this blog post for an additional entry to win! Winners will be announced next week on our Mondays with Melissa blog post!
If you do not contact me within two weeks of the announcement of winning, you will forfeit your prize. Thank you for your understanding.
NOTE: Be sure you are subscribed to BOTH with MATCHING NAMES. If I am unable to match you with your subscription to both the email list and the YouTube Channel, you will miss your chance to win a prize. If I can’t decipher if you are a matching subscriber (if your profile doesn’t show publicly who you subscribe to) and I can’t confirm you have subscribed to both, I won’t be able to enter you in for the prize. **DO NOT COMMENT WITH YOUR ENTIRE EMAIL ADDY. Only give me the first 6 NOT INCLUDING YOUR HOST. Just enough for me to match your name will work perfectly.

Now, for the GIVEAWAY from last weeks post. I am giving away the
A Creative Journey with Melissa Wedding and Celebrations Stamp Set!!
The winner is Nikki C!
Nikki C, please send me your contact information via contact page on our website, which post you are a winner from and I will get your prize out to you! Thank you so much for being a YouTube follower and subscribing to our mailing list/blog posts!
We hope you enjoyed our Die Cutting Intricate Dies video!
Have a wonderful week and thank you for going on A Creative Journey with Melissa.