
Recycled Craft Reusing Packaging for Gift Card Holders
We are doing a Recycled Craft Reusing Packaging for Gift Card Holders. How many times do you have gifts you need to give to people. Regardless of the reason, wouldn’t it be great to have some on hand AND reuse packaging? With this tutorial, you are going to be doing a Recycled Craft Reusing Packaging for Gift Card Holders. Any type of clear packaging will do and with the holidays around the corner, you should definitely have a full stock of these by the new year! Remember, this craft isn’t just for the holidays but for any occasion whether it be for birthday, wedding, anniversary, or just because!
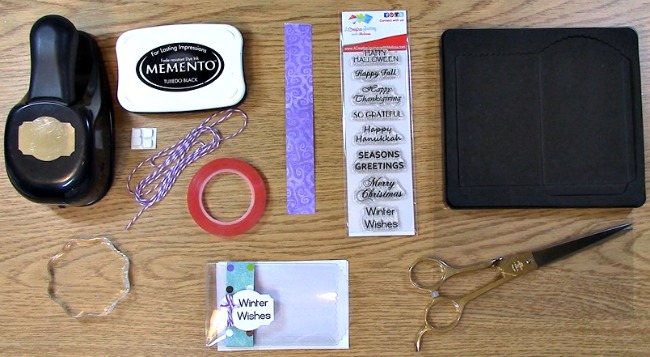
Here are the supplies you will need:
ACJwM Fall and Winter Holiday Sentiments Stamp Set
Manual Die Cut Machine and platforms
Sizzix die #659768 Pocket with Scalloped Edge by Jillibean Soup
Ink
Scissors
Packaging to be Recycled
Strip of paper
Twine
Tag punch
paper to stamp sentiment
Optional: Brayer
First, I want to show you what I am using as my recycled material for the Recycled Craft Reusing Packaging for Gift Card Holders. I am using the packaging from the dies I purchase.
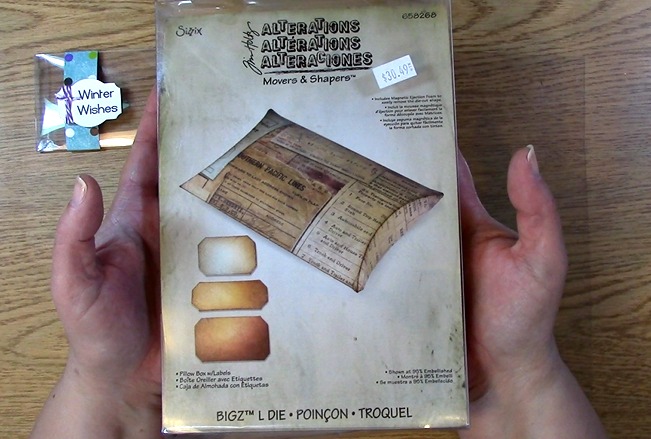
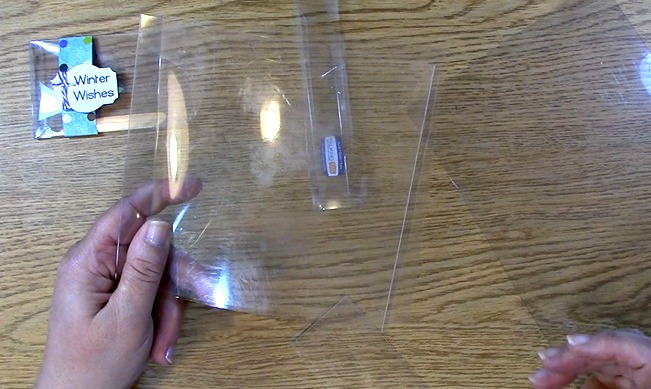
I take out the paper, cut the edges off of the packaging and any areas where there is adhesive or price tags, etc that may cause issue with cleaning it off for use. This leaves me with the packaging I can reuse. I store it so I have it ready to use for any project that may come up.
Take out your die and place the material on the die ensuring that all of the edges are covered with the material.
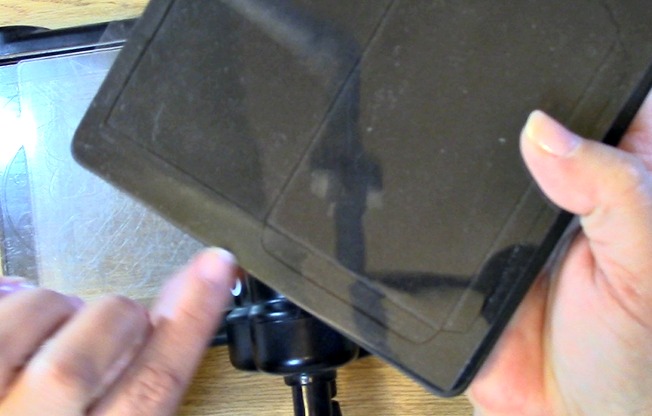
Place your die in between your platforms and run it through your die cut machine.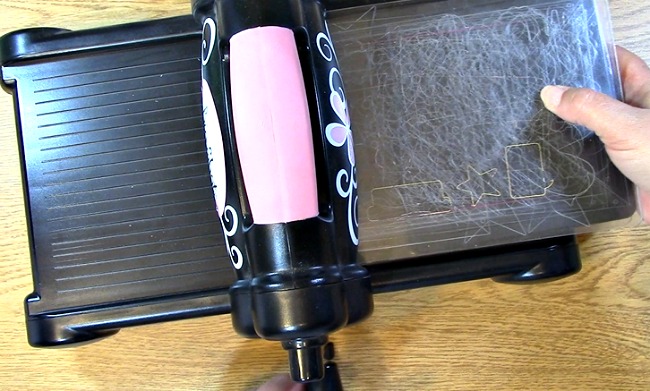
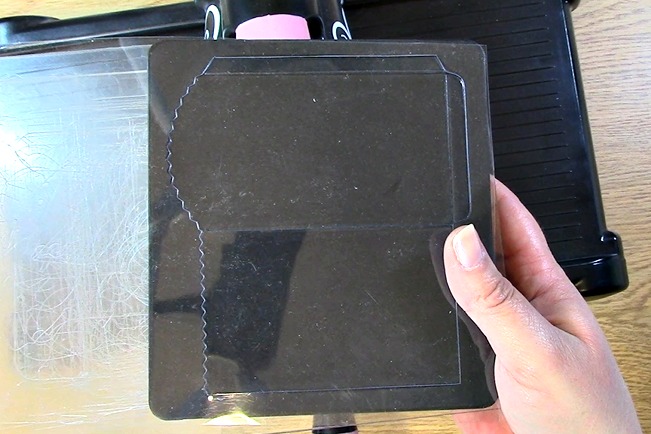
This is what it looks like after it was run through the machine.
Take strong adhesive and place on edges of envelope flaps
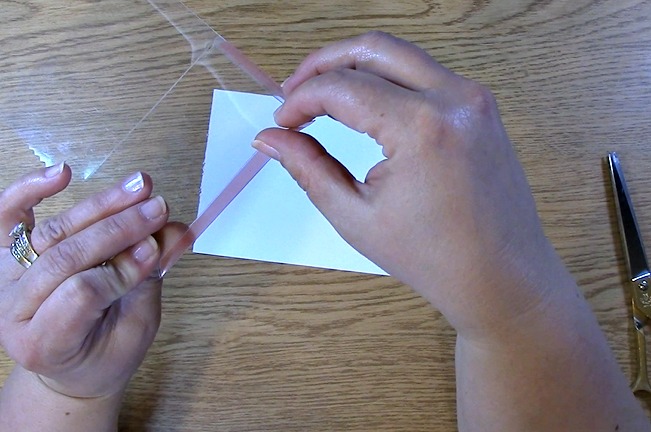 Remove tape backing and align the edges up so they match and press to adhere.
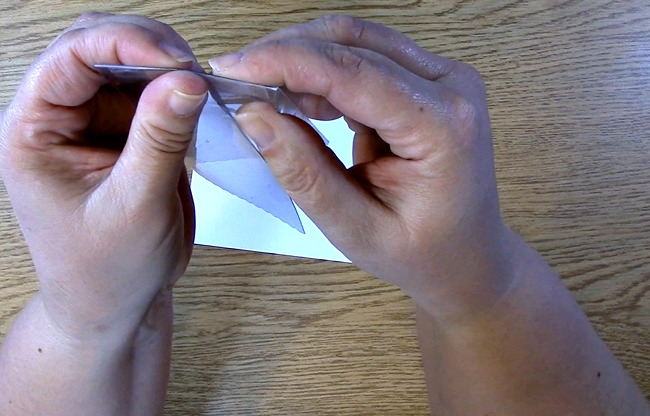
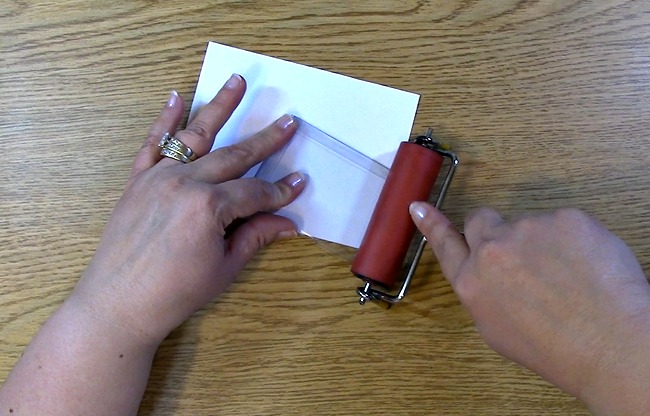
This is a close up of what it looks like once put together.
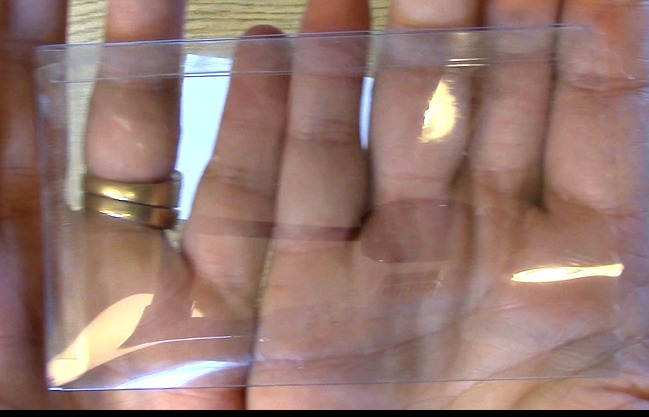
To be on the safe side, I use a brayer to make sure the adhesive is completely adhered.
Set aside the envelope. Take out your paper, ink, stamp block, and the Fall and Winter Holiday stamp set.
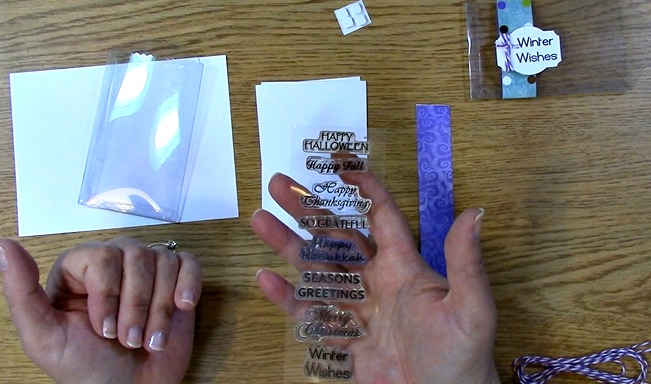
Adhere your stamp to your stamp block. Ink your stamp and stamp on your paper.
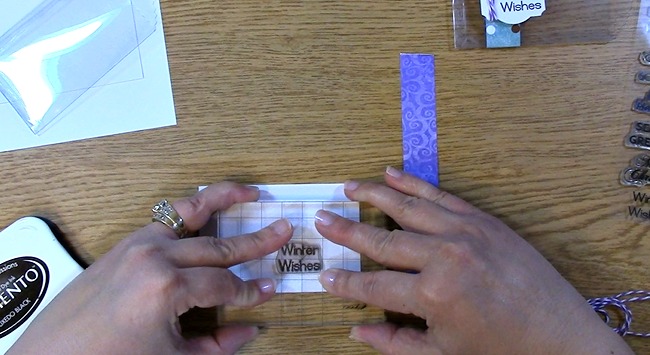
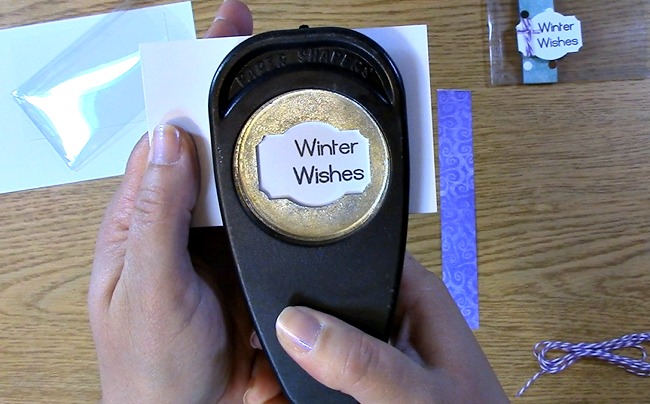
Punch out your sentiment
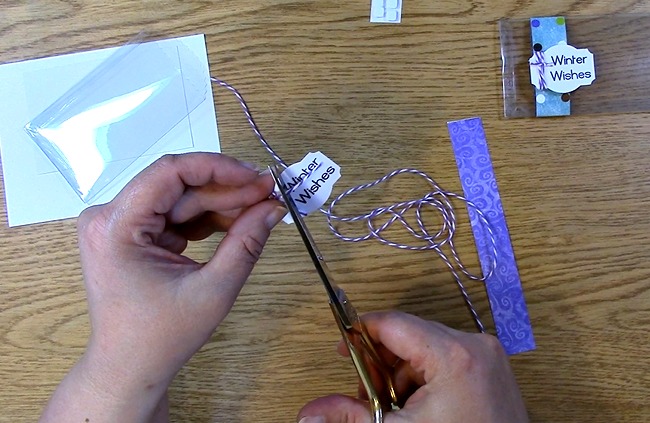
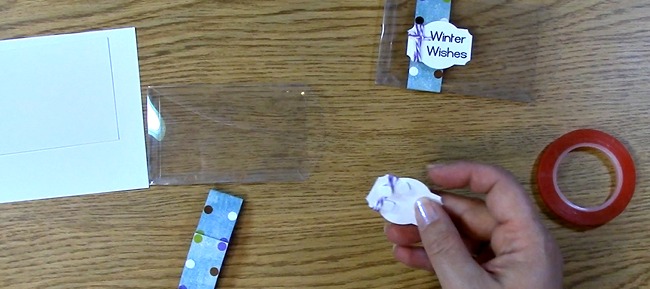
Wrap your twine around the tag, knot and trim edges
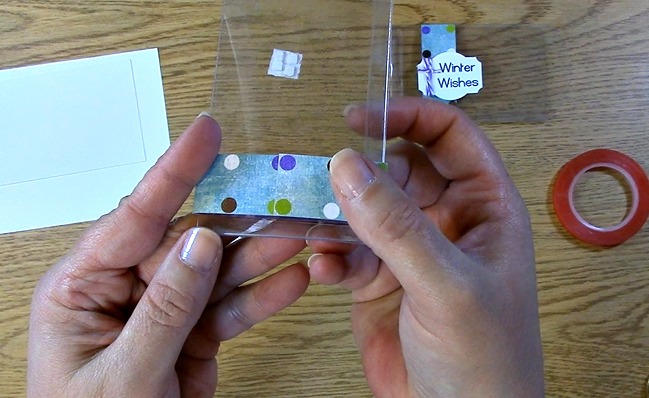
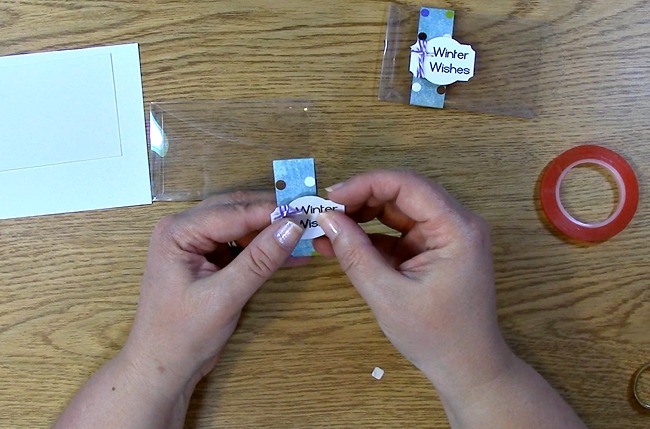
Take your decorative strip of paper and wrap it around the envelope
Place adhesive on the edge of the decorative paper. Remove backing of adhesive and press together to create the strap around the envelope
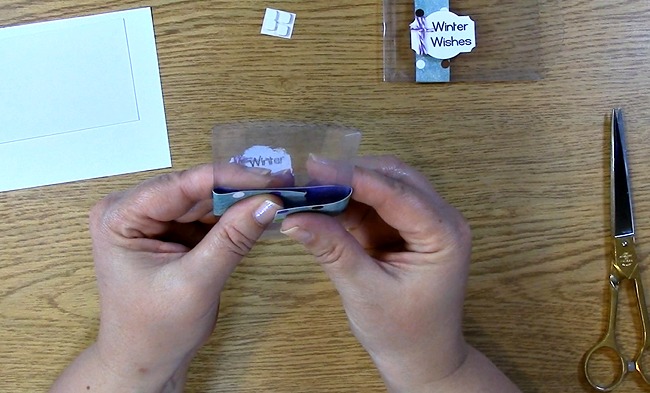
Place your foam squares on the back of the tag and remove foam squares backing.
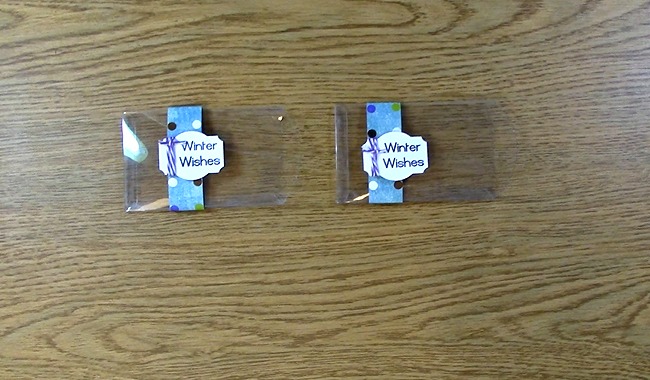
Adhere tag to the decorative strap
Your project is complete!
Thank you so much for joining us today! We appreciate you taking the time to visit. Please be sure to subscribe to our YouTube channel as well as sign up for our e-mails on the upper right hand corner! We hope you enjoyed going on A Creative Journey with Melissa.
