SUPER EASY Holiday Gift Card Holder
SUPER EASY Holiday Gift Card Holder is what we have for you today. Can you believe Christmas is only 48 days until Christmas? Me either! I don’t know about you but more and more I end up buying gift cards for people because I really want them to get what they want. Between distance and different tastes it is hard to know if someone will truly enjoy what you have in mind so gift cards to the rescue. Although it can be a bit easier to give a gift card for a gift, why not add a little bit of personal touch to it and create a gift card holder? This project is not only really cute and versatile for any gift card need but it is a SUPER EASY Holiday Gift Card Holder!

Supplies Needed for the SUPER EASY Holiday Gift Card Holder Project
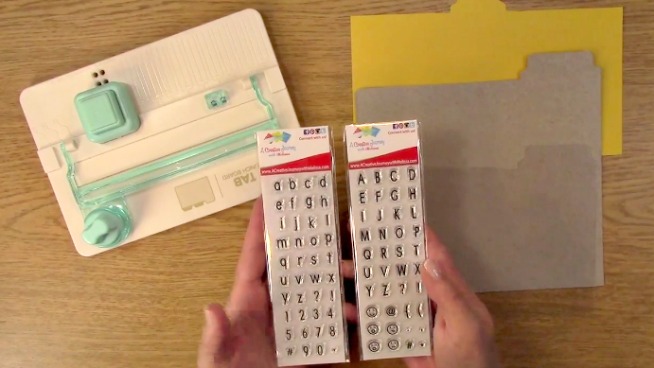
A Creative Journey with Melissa Snowflake Beauty Stamp Set
3 complimentary Ink Pads
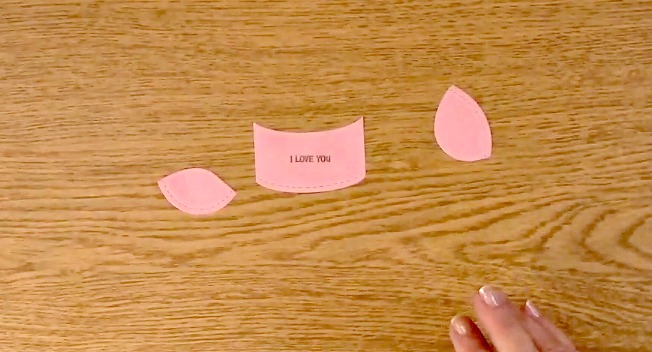
Card Base
Paper to Stamp On
Scissors
Hole Punch
Corner Rounder
Adhesive
Twine

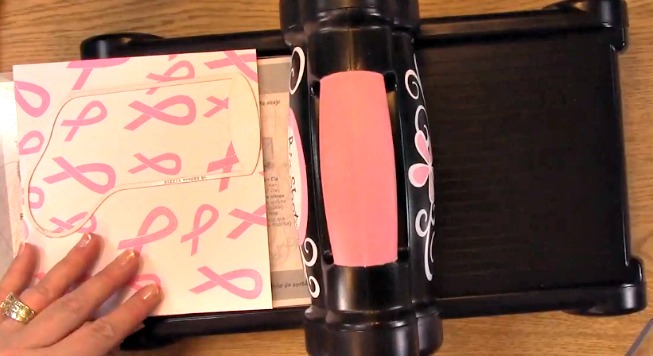
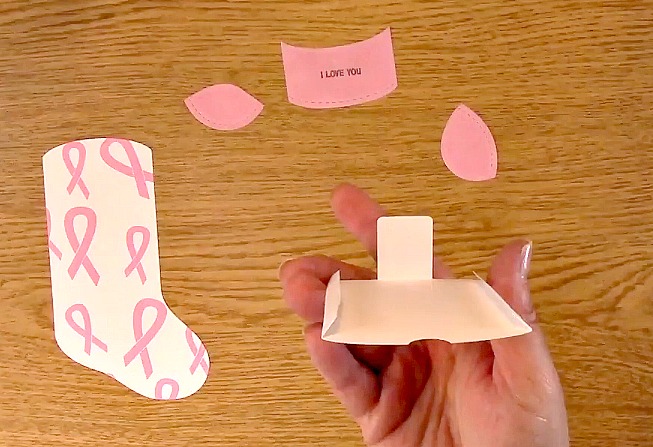
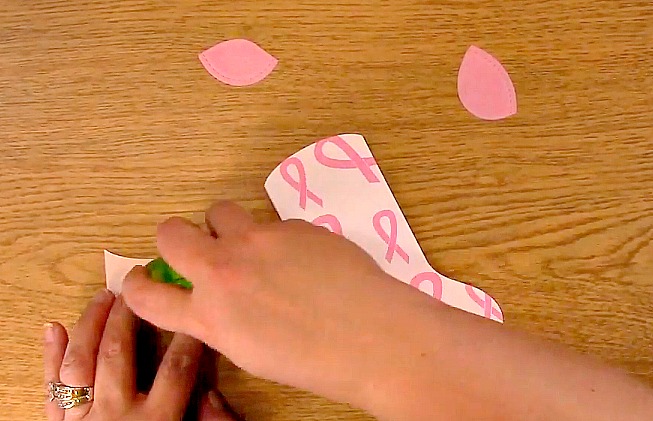
Fold your white card stock in half.

Trim one inch down from the top.

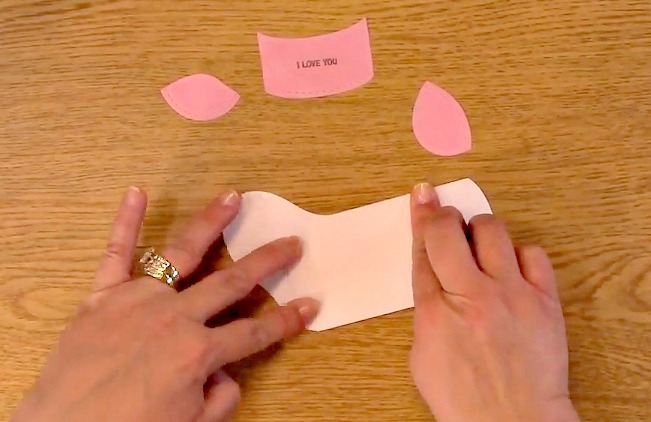
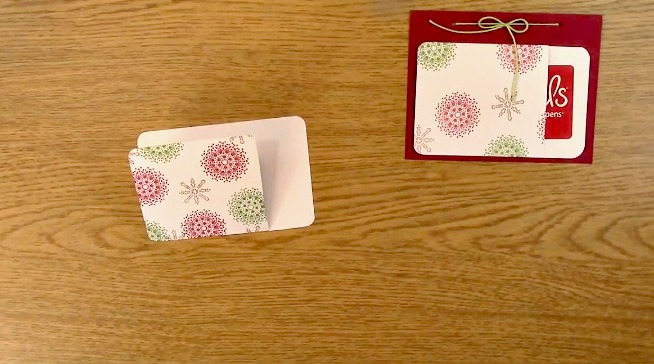
Cut into the crease of the paper as shown.

This is what the paper will look like once it is laying flat.

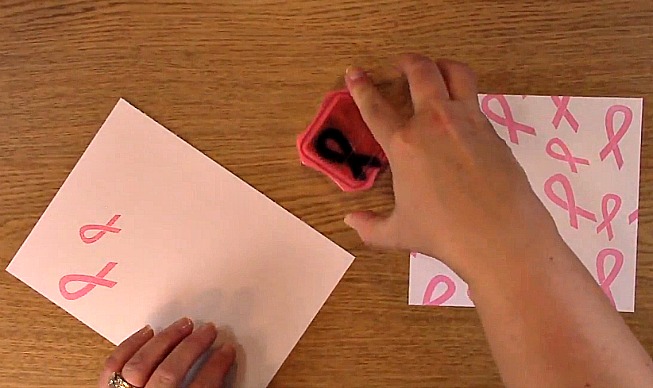
Pick out one of your snowflake stamps and place on your acrylic stamp block. Ink your snowflake stamp with the first color.
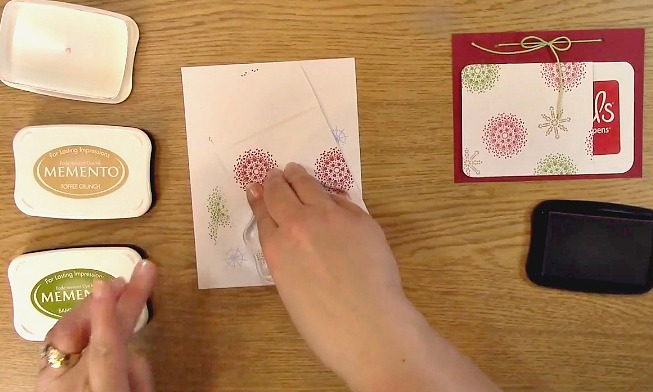
Stamp your snowflake on your paper. Repeat inking and stamping a few more times on your paper.

This is what the SUPER EASY Holiday Gift Card Holder looks like with it done with the first color.
Clean off your stamp. Ink your stamp with the second color and stamp on your paper. Be sure to leave some space for the third color.

Remove your snowflake stamp and replace it with a smaller one from the set onto your acrylic block.

Ink your snowflake with the third color.

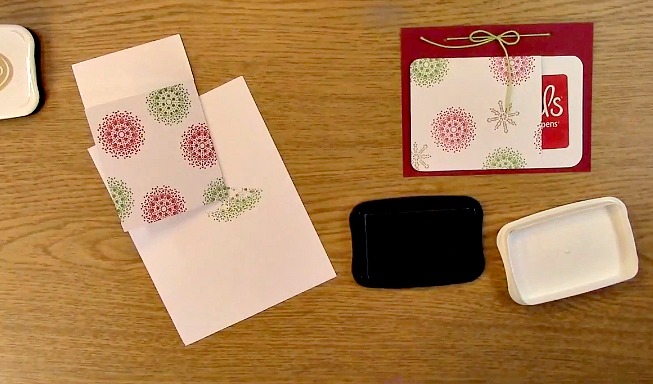
Stamp your third color on your paper and fill in any areas needed.
Using the corner rounder, round the corners of the SUPER EASY Holiday Gift Card Holder.
This is the SUPER EASY Holiday Gift Card Holder stamped with the three colors.

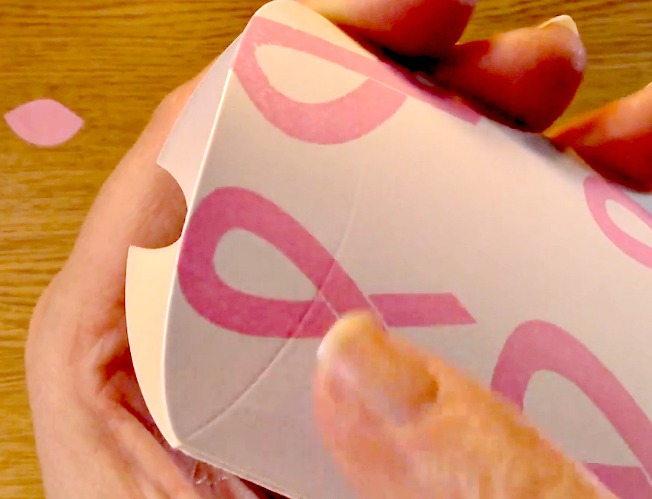
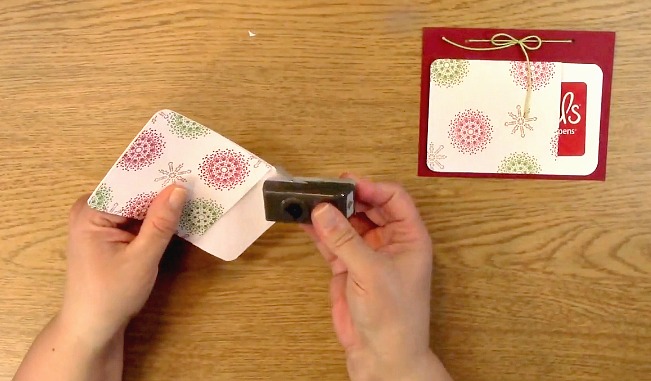
Take out your adhesive and place adhesive on the bottom and side of the gift card holder. Only two sides will have adhesive added to it otherwise the holder will be glued shut. Yes, speaking from experience LOL!

Take out your hold punch and punch two holes at the top of your card base for your bow.
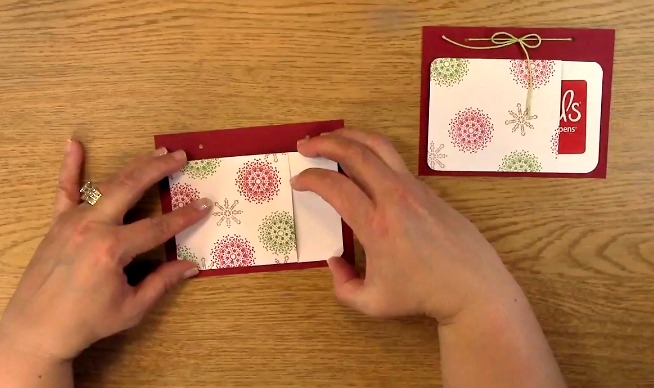
Apply adhesive to the back of the gift card holder and place on the card base.
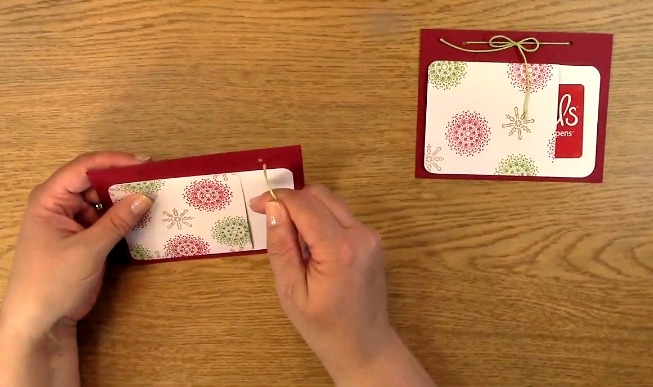
Take out your twine and put it into the hole to the right and pull out from the left. Tie your bow on the top of the card base.

Trim the excess twine from your bow.

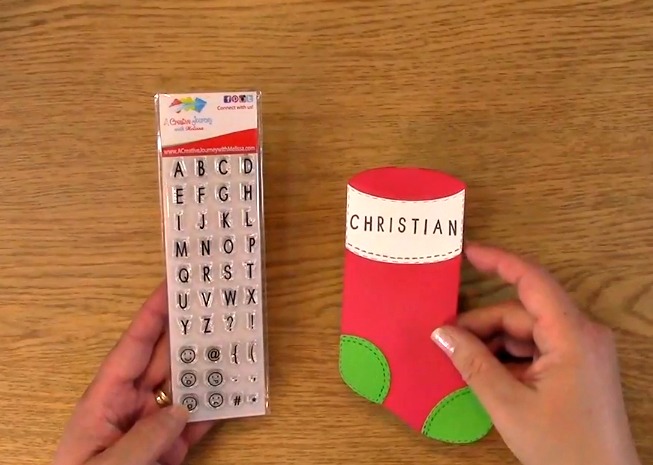
For an additional creative design, stamp your envelope with one of the images to compliment your gift card.
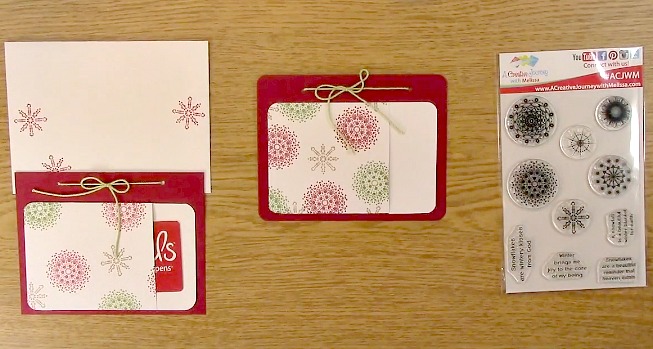
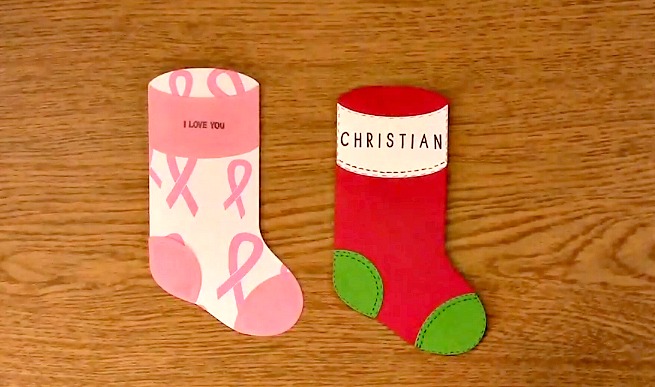
This is what it will look like! Clean and Simple!
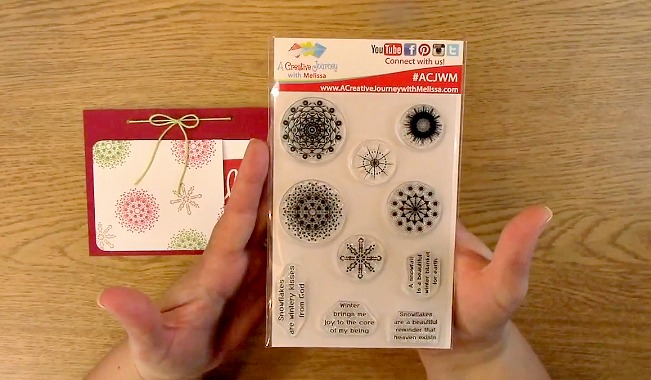
Now for this weeks GIVEAWAY we are giving away the A Creative Journey with Melissa Snowflake Beauty Stamp Set!
To qualify to win, you must be BOTH:
A public follower on YouTube, subscribe to our mailing list/blog posts and you may also comment on this blog post for an additional entry to win! Winners will be announced next week on our Mondays with Melissa blog post!
If you do not contact me within two weeks of the announcement of winning, you will forfeit your prize. Thank you for your understanding.
Subscribe to BOTH with MATCHING NAMES to be eligible. If I am unable to match you with your subscription to both the email list and the YouTube Channel, you will miss your chance to win a prize. If I can’t decipher if you are a matching subscriber (if your profile doesn’t show publicly who you subscribe to) and I can’t confirm you have subscribed to both, I won’t be able to enter you in for the prize. **DO NOT COMMENT WITH YOUR ENTIRE EMAIL ADDY. Only give me the first 6 NOT INCLUDING YOUR HOST. Just enough for me to match your name will work perfectly.
Now for last weeks winners of our 6 prize giveaway!
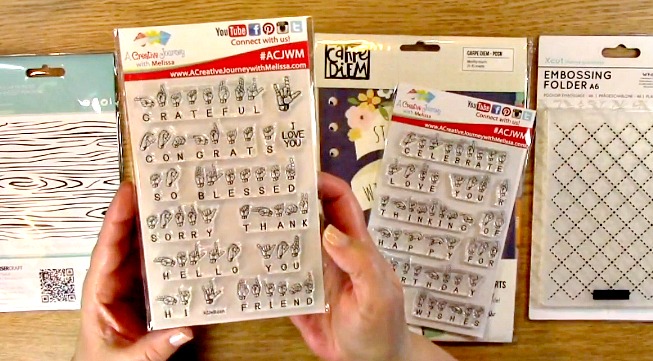
Our first giveaway is the A Creative Journey with Melissa Sign Language Sentiments 2 Stamp Set and the winner is Cheryl Gould.
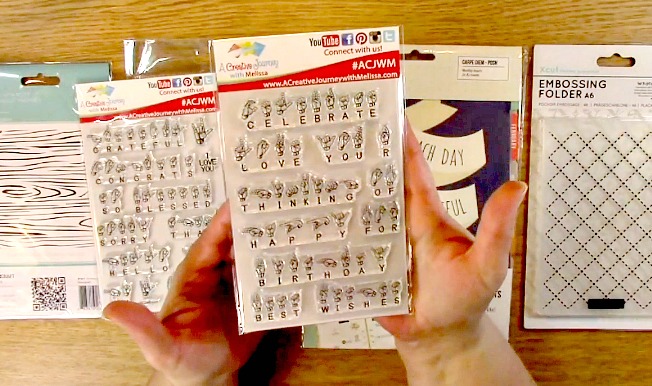
For my second giveaway for the Six Giveaways Chase My Blues Away is the A Creative Journey with Melissa Sign Language Sentiments Stamp Set and the winner is Kim Miller.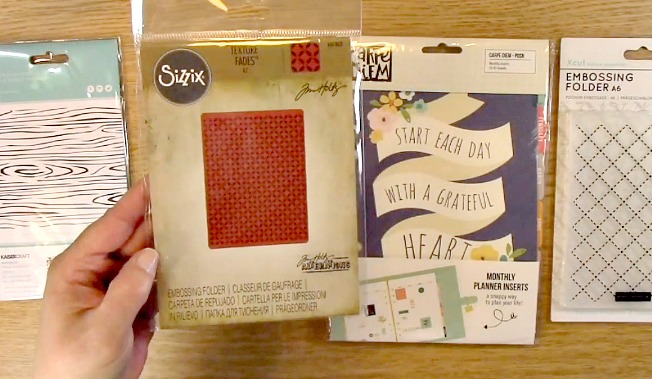
The third giveaway for the Six Giveaways Chase My Blues Away is this awesome textured embossing folder by Tim Holtz and the winner is Janis.

This giveaway is for the planners. You are going to LOVE this set!
It is not only filled with goodies, it is quite lovely too and the winner is Janice Ogata.

This awesome embossing folder is so much fun to work with an the winner is Sue P.
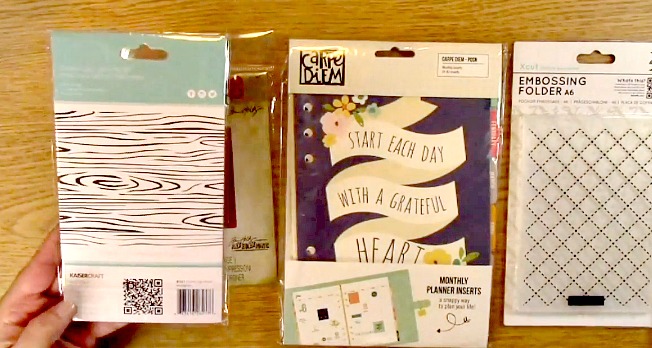
The last of the awesome 6 giveaways is this awesome wood grain embossing folder and the winner is Ava G.
Winners, please send me your contact information via contact page on our website, which post you are a winner from and I will get your prize out to you! Thank you so much for being a YouTube follower and subscribing to our mailing list/blog posts!
Thank you for joining us for the SUPER EASY Holiday Gift Card Holder Project. I hope I have inspired you to create your own gift card holders and please be sure to share what you come up with!
Have a wonderful week and thank you for going on A Creative Journey with Melissa.