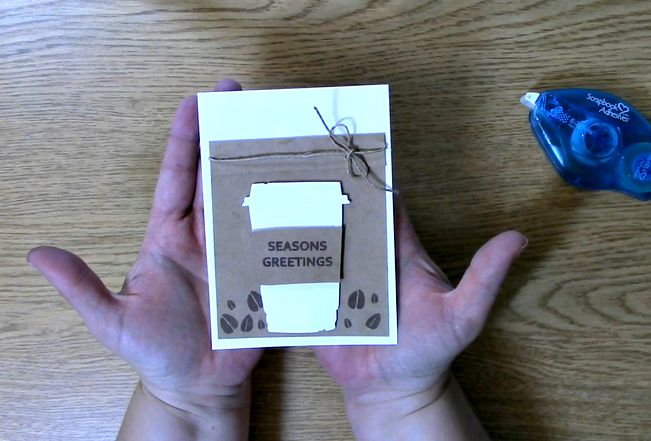
Tim Holtz Coffee Cup Holiday Gift Card Holder
Want to see how to make a Tim Holtz Coffee Cup Holiday Gift Card Holder? I know, I know… Thinking about the holidays is crazy so early when school is just starting for some.. Well it’s true, the first day of winter is only 133 DAYS AWAY! I thought I better get a jump on things and try to get some projects done so I can actually enjoy the holiday season. In this tutorial, I will show you how to make an adorable gift card holder. It is perfect for holidays and so much more! You can make it for birthdays, get well, cheer up, thank you and for just about any occasion!
If you like to learn by video above or pictorial below, we have you covered so let’s get started!
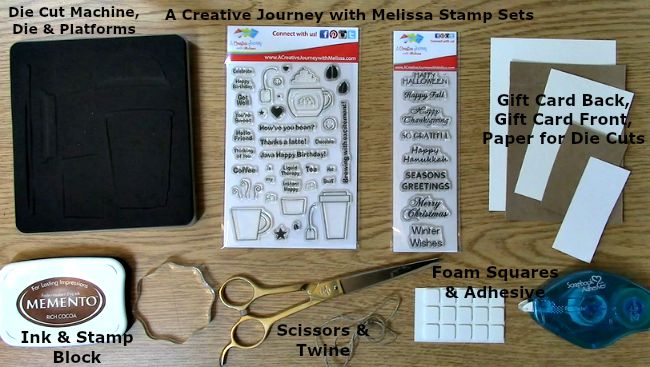
Here are the supplies you will need:
First you will need to take out your manual die cut machine, die and paper. Place the papers on top of the area in which you want to cut.
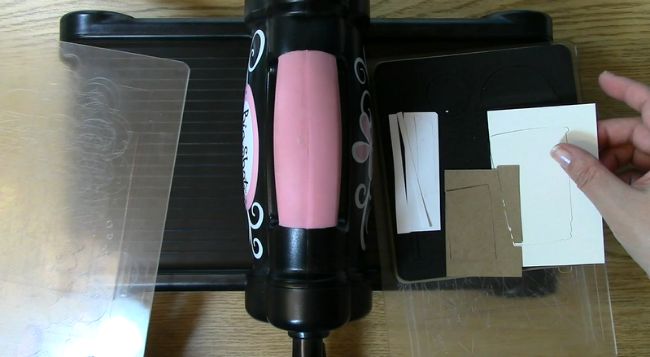
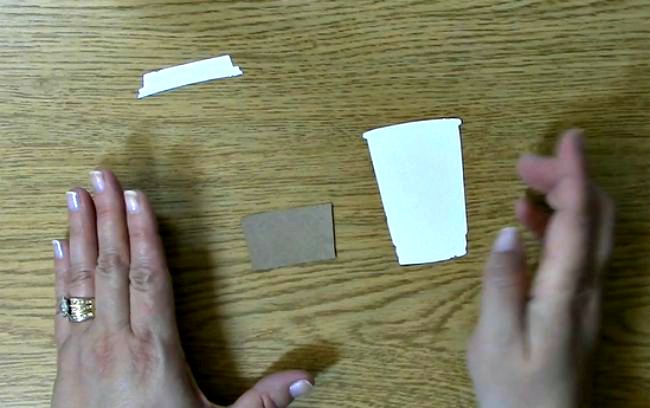
Run your die with paper through the machine. Remove pieces. Set aside the coffee cup and the coffee cup lid.
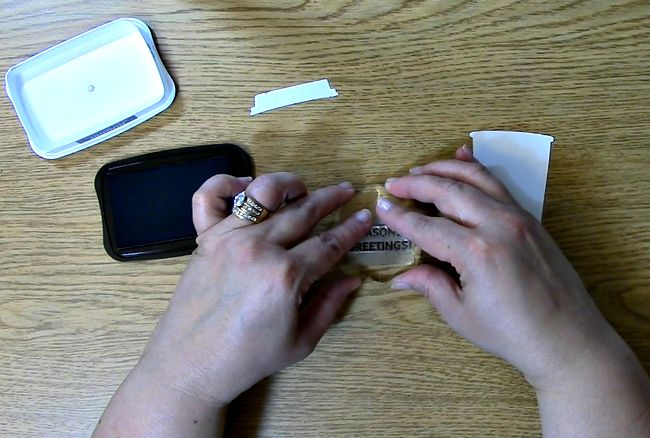
Take your cut coffee sleeve, ink, stamp block and the Fall and Winter Holiday Sentiments stamp set out.
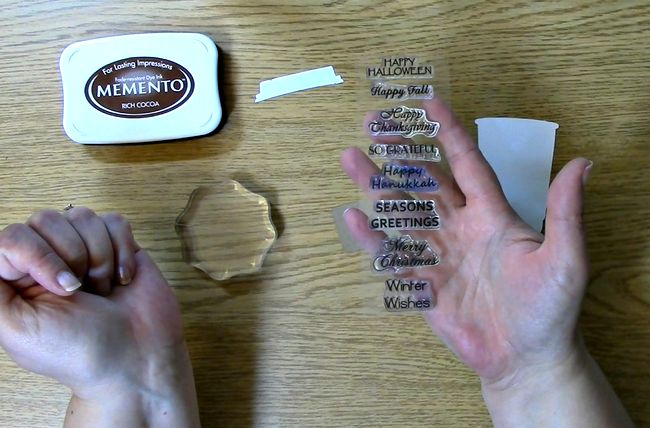
Place your stamp on the stamp block and ink your stamp. Stamp sentiment on the coffee sleeve paper. Set aside.
Take the coffee cup and coffee cup lid out. Place a small amount of adhesive on the coffee lid and adhere to the cup. Set aside.
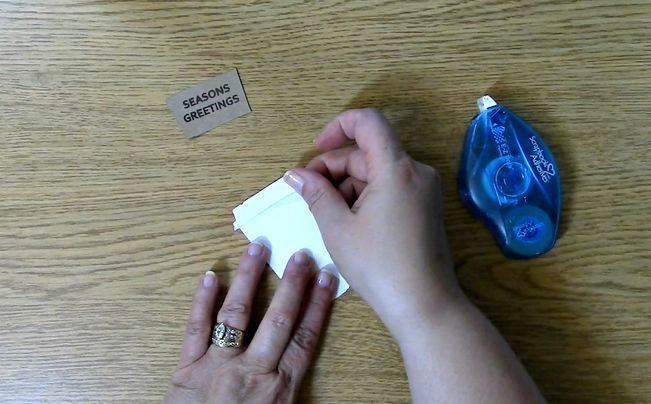
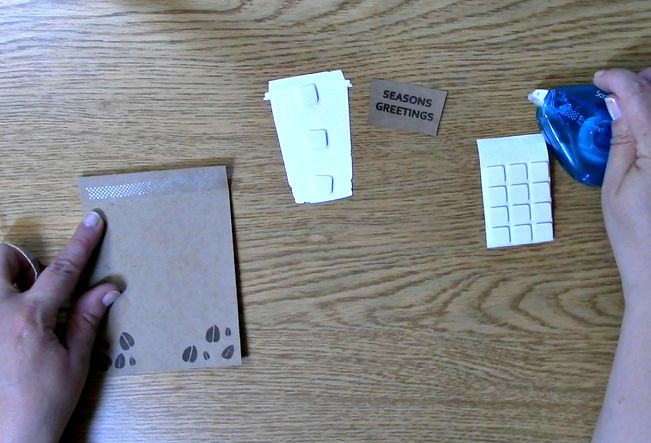
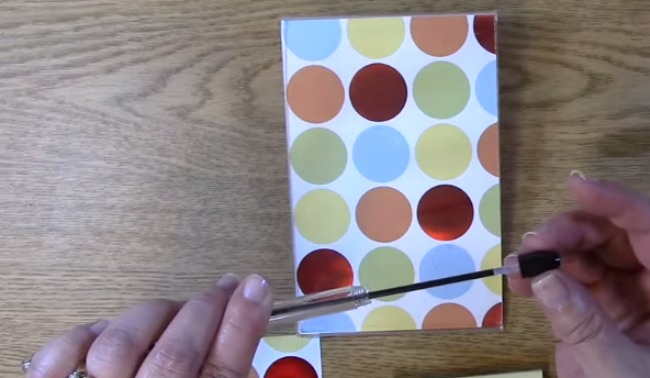
Take out the front paper for the gift card holder. Fold the top of the paper 3/4 of an inch. This will fold toward you.
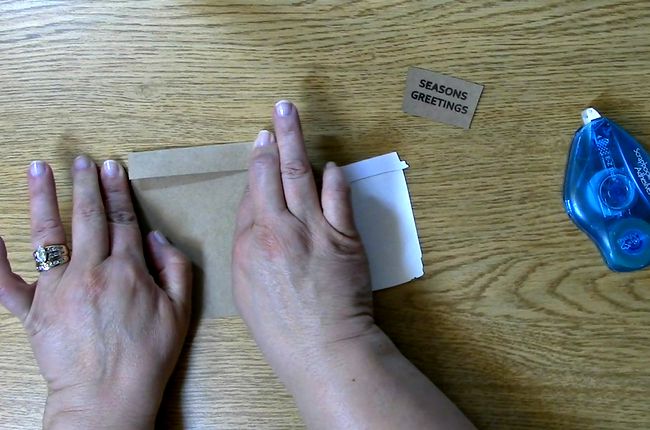
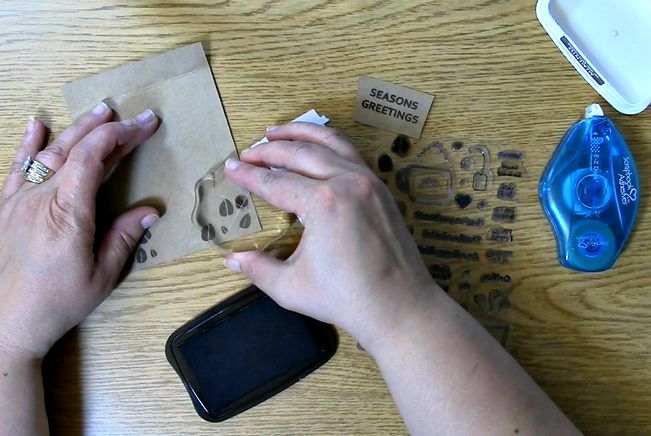
Take out your Coffee is My Liquid Therapy stamp set, ink and stamp block. Stamp a random pattern on the bottom of the paper using the small, medium and large coffee beans. Be sure to ink every time you stamp in order to ensure a consistently clean and thorough image.
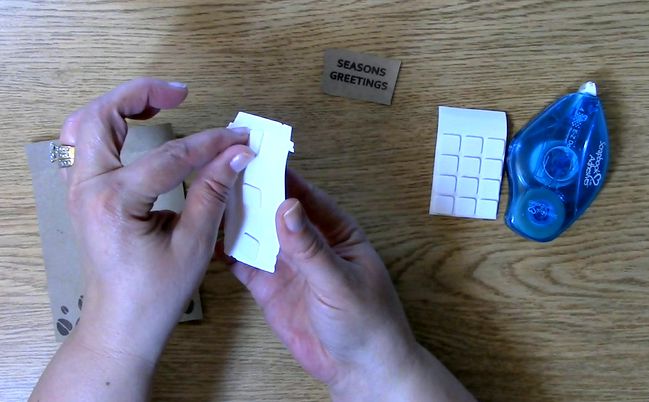
Take the coffee cup and place the foam squares on the back of it. Remove the backing of the foam squares. Set aside.
Take out the front of the gift card holder and add adhesive to the flap.
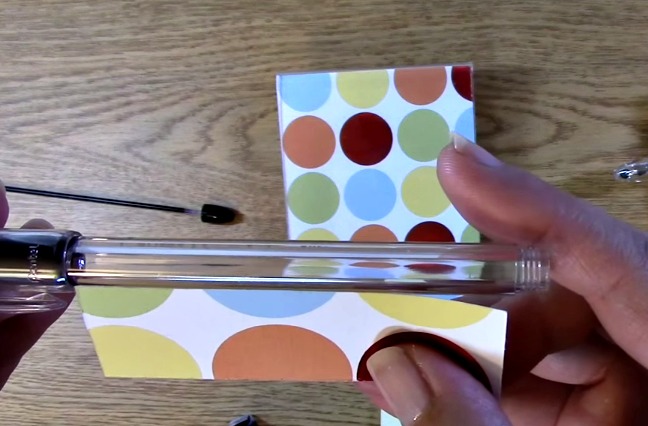
Add the string to the flap area so that it will fit inside once folded over. Fold over the string enclosing it under the flap.
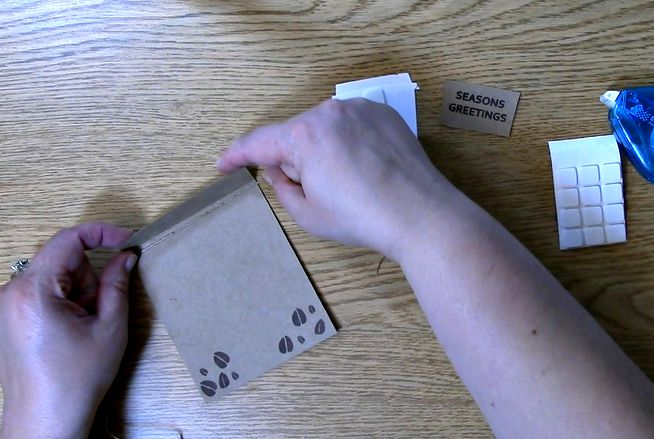
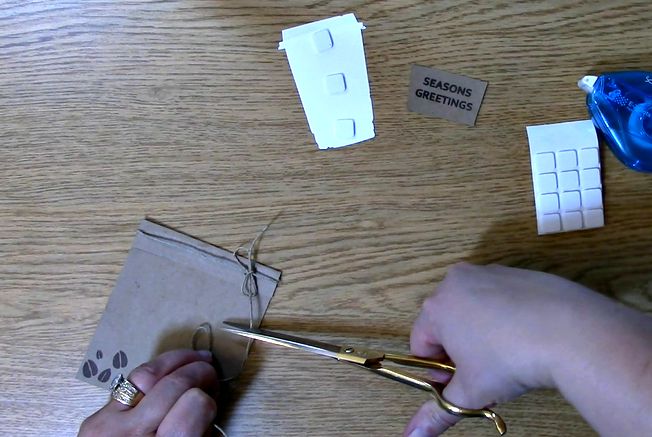
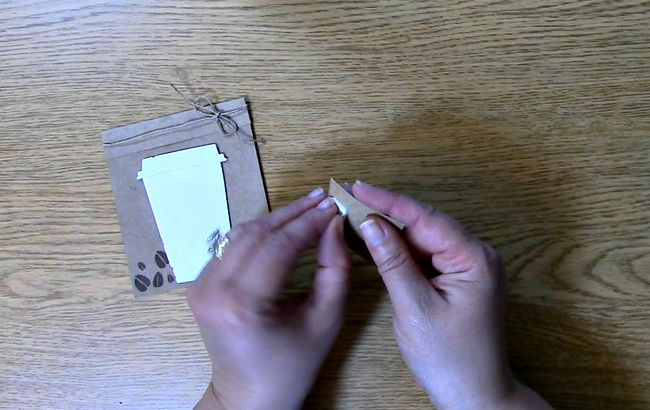
Wrap the twine to the front tying it in a knot or a bow. Press down on the flap to ensure proper adhesion Trim excess twine.
Place the coffee cup on top of the front of the gift card holder lining it up how you would like it to look with the coffee beans showing.
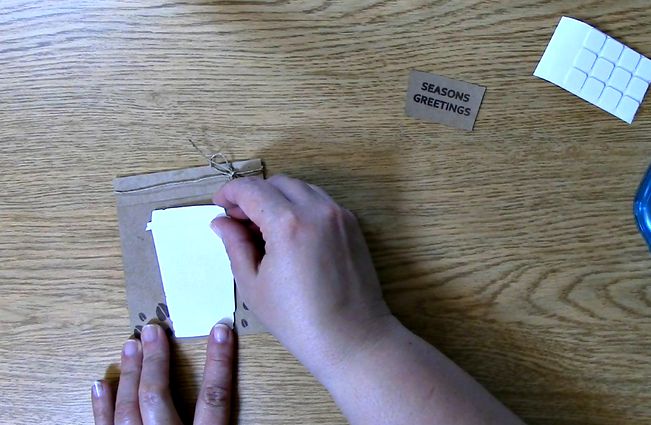
Take the coffee sleeve out and place foam squares on the back. Remove the backing of the squares and adhere to your coffee cup.
Take out the card back. Place adhesive on the back of the gift card front only around the left, right and bottom of the card. This will enable you to have an opening to place a gift card.
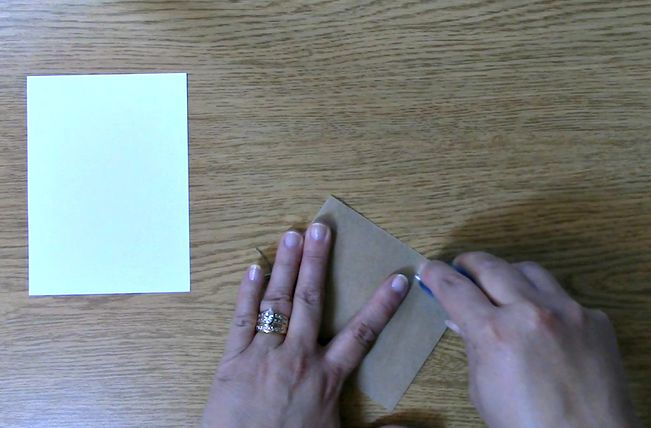
Be sure to press down on the sides where the adhesive is located to ensure proper adhesion.
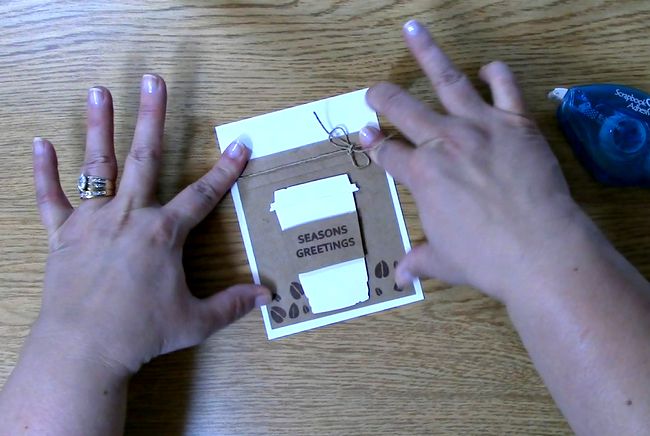
Your project is complete!
Thank you for joining us today and we hope we inspired you to create your own gift card holders. Please be sure to share with us what you have made using this tutorial as inspiration. We hope you have a wonderful day and we hope you enjoyed going on A Creative Journey with Melissa


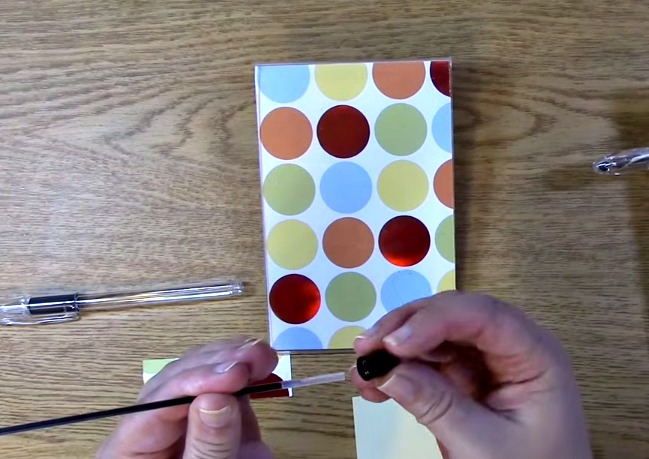
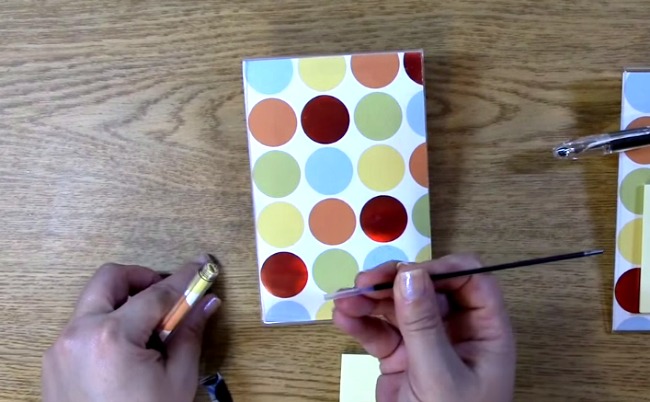 Place your cap back on the ink, the ink inside your pen and screw the cap back onto the pen.