
Planner Clips, Hair Clips, Book Marks, OH MY!
Planner Clips, Hair Clips, Book Marks, OH MY! This is EXACTLY what I thought when I was creating these clips and I have since come up with more ideas as well! Would you like to learn how to create a clip that can be used for multiple purposes? In this video, I will show you how to easily make these clips that have a number of uses. You can make Planner Clips, Project Life Clips, Hair Clips, Pocket Letter Clips, Book Marks, Money Clips, OH MY! The possibilities are ENDLESS!
Whether you prefer to learn by the video above or the pictorial below, we have you covered so let’s get started!
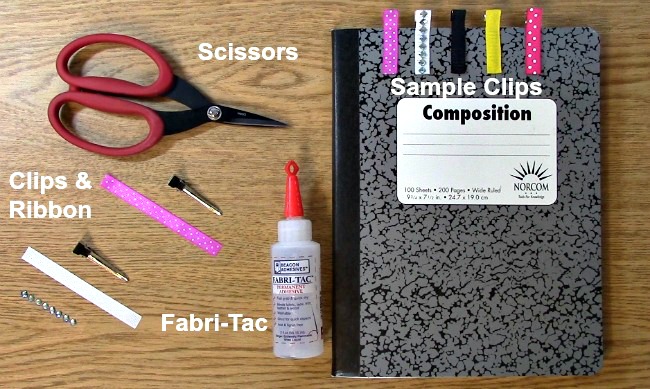
Here are the items you will need to create this project:
Hair Clips
Grosgrain Ribbon ( 1/4″ thick which is what I used)
Beacon Fabri-Tac Glue
Sharp Scissors
Embellishments
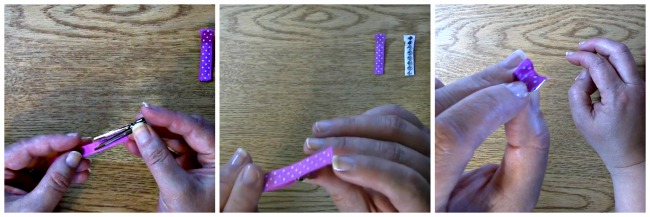
You will want to use your ribbon to measure exactly how much you will need to cover the inside top, top and back area of the clip. This should be done each time you use a different sized or brand clip, as they can vary. It is the same exact way you would create your clip with adhesive.
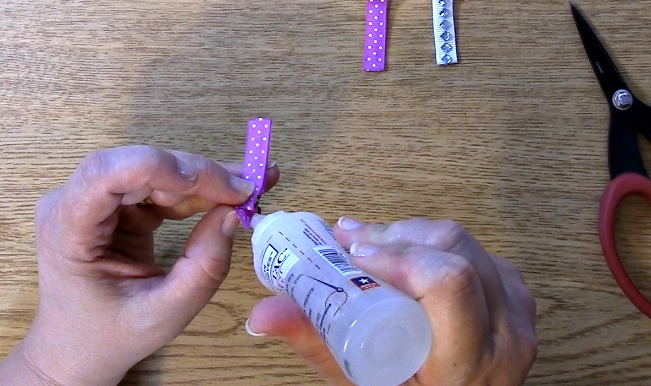
Now, for the project! Take your measured ribbon and run a line of adhesive on one side of the ribbon (not the patterned side) leaving a small area on each end empty for overage.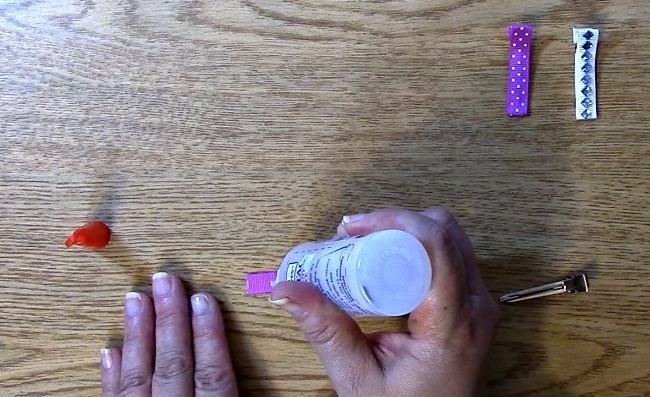
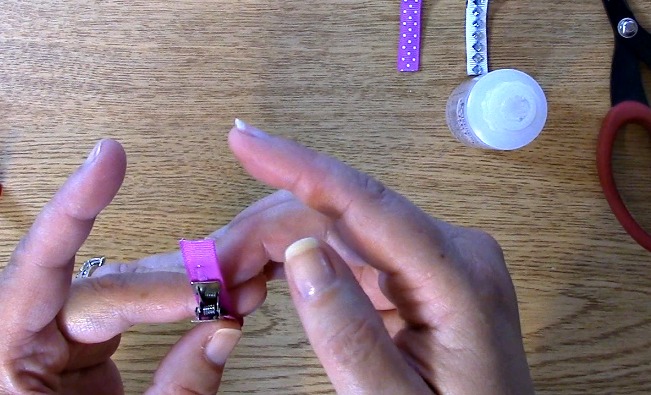
To assemble, you will start with the inside top of the clip. You will have the pattern of your ribbon facing down (as you have just placed your glue facing up.)
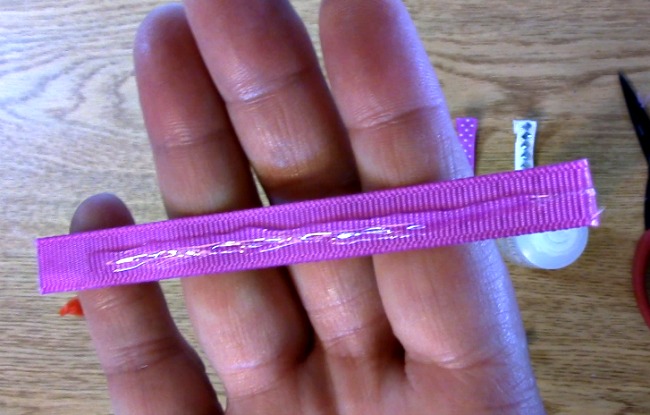 Place the ribbon on the inside of the clip so that the glue is facing up and will adhere to the top part of the inside of the clip.

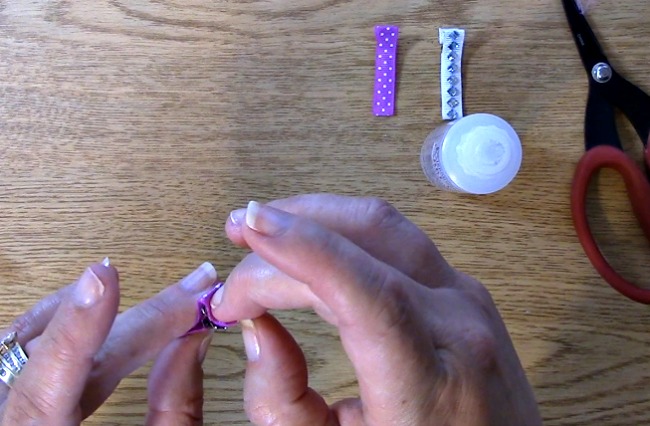
Wrap the ribbon around so that you cover the top of the clip.
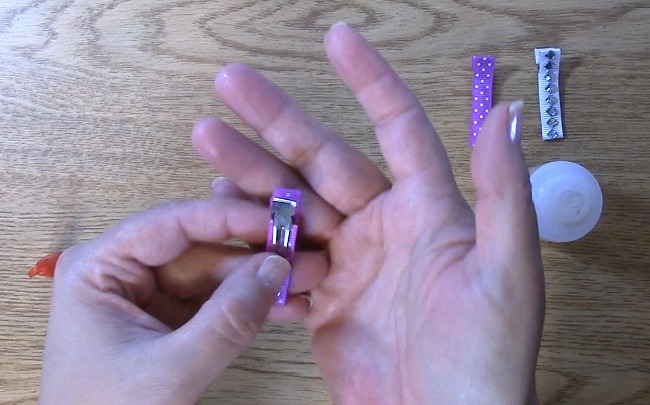
Take the remaining part of the ribbon and wrap it around the back to hide the spring area.
Add adhesive sparingly as needed in areas where necessary.
Adjust your ribbon so that they line up and are centered.
Take your project one step further! Add embellishments like rhinestones, flowers, more ribbon and whatever you choose!
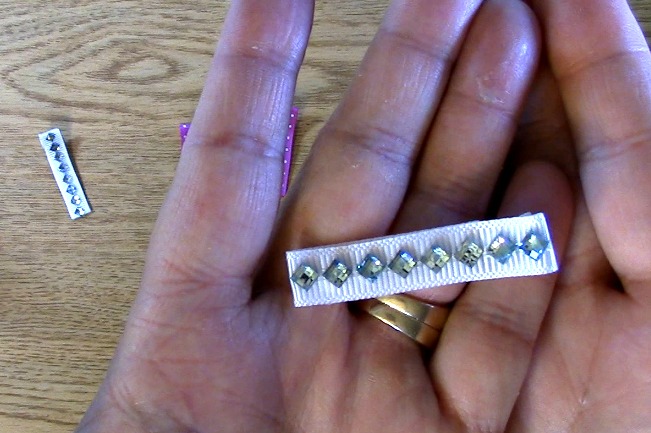
You are done!
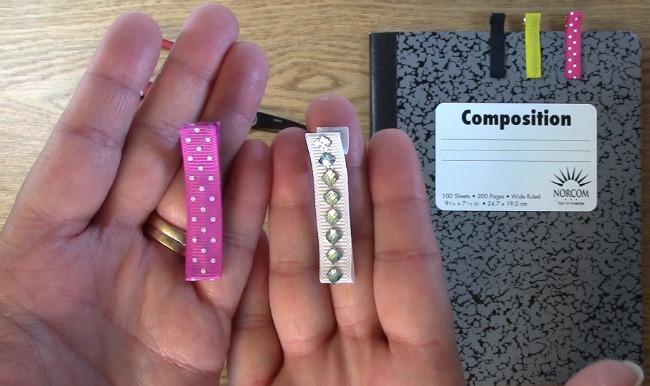
We hope that you enjoyed our project today. We would love to hear what type of uses YOU come up with for this adorable project.
Thank you for joining us and for going on A Creative Journey with Melissa.
