Tag Archive for: Holiday

Yearly Handmade Ornament Tradition

Yearly Handmade Ornament Tradition is what we have for you today. If you don’t already have a family tradition, no better time than the present to start one TODAY! This project is super easy and can be done every year for your tree, family, friends and even as gifts! Are you ready? Well, before we get started on the Yearly Handmade Ornament Tradition Project, we are having an awesome sale now through 11/30! Be sure to check it out and no coupon needed! Now, let’s get CREATIVE!

Supplies Needed for the Yearly Handmade Ornament Tradition Project

Crop A Dile

5- Patterned paper cut 1/2″ x 5″

5- Colored Paper without pattern cut 1/2″ x 5″

Red Twine 6″ long

Red Acid Free Pen

Scissors

2 Red Brads (mine have glitter to add a little sparkle)

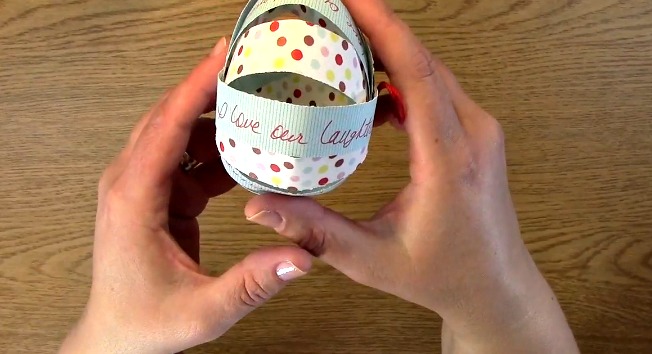
This is a side view of the Yearly Handmade Ornament Tradition Project I created. I written five of things that I love.. This shows  I love our laughter… And I really do!


To begin this project, take out your non patterned paper and acid free pen.

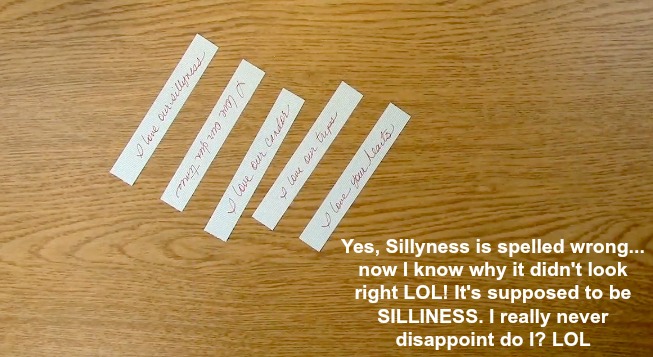
Using my red pen, I wrote five different things that I love about our family. I also spelled silliness wrong even said it didn’t look right in the video but it happens… lol

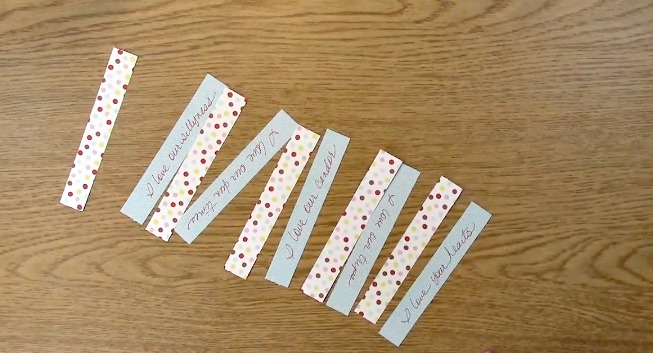
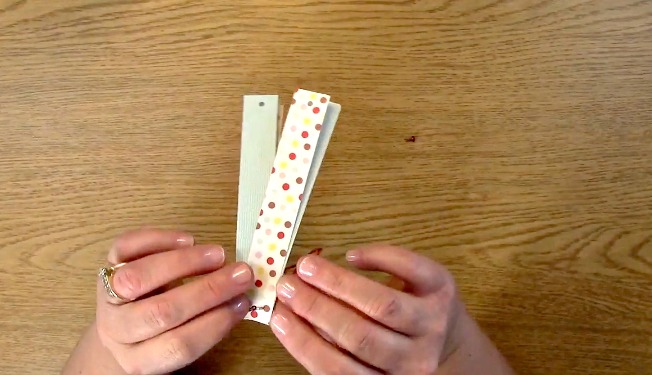
Take the written papers and patterned paper and switch every other one as shown above.

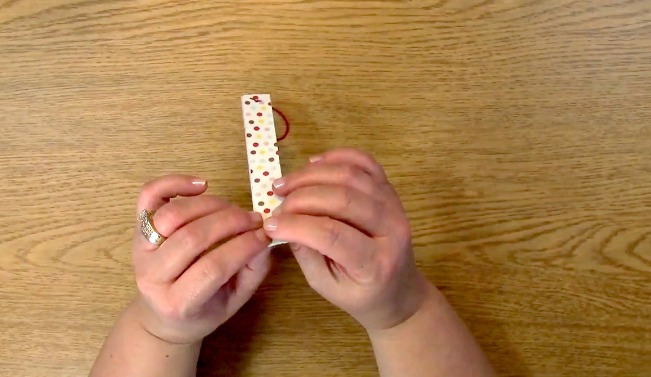
Put them in order in a concise pile as shown.

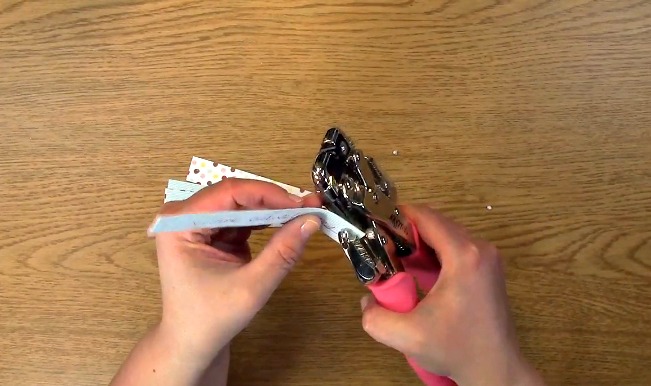
Using your Crop A Dile, punch holes in one side of the pile approximately 1/2 – 3/4 ” from the end of the paper.

Flip one of the papers around and use it as a guide. Punch a hole through the other side of the papers.

Now, you only have one paper with one side that doesn’t have a hole. Match that one up and punch the hold in the remaining side.

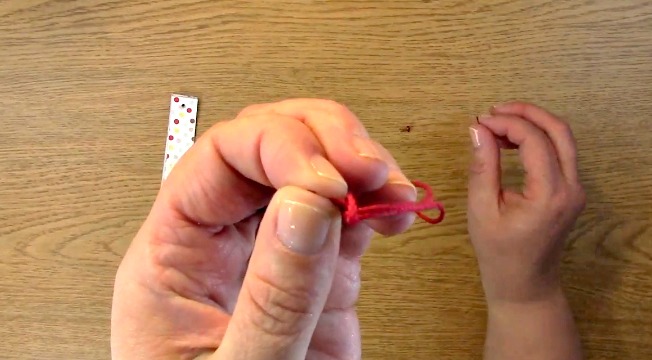
Take your twine and tie a knot at the end of the cut pieces. Do not make it a tight knot.

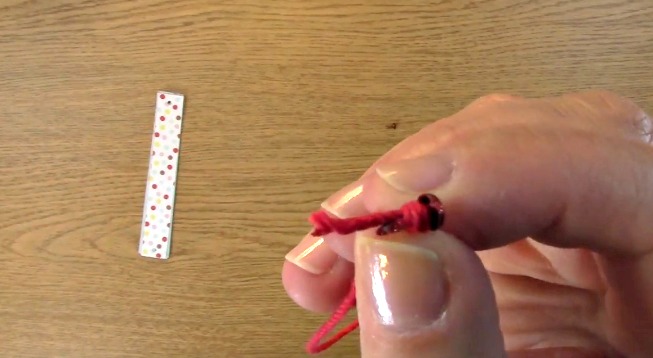
Take one of your brads and place the feet of the brad (pointy leg part LOL) and place it inside the knot as shown. Pull the knot tightly to keep it in place.

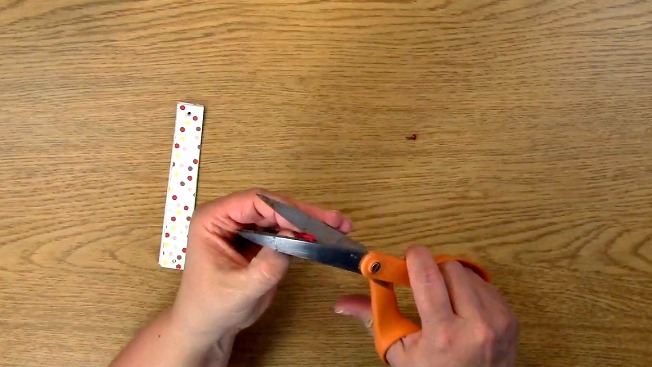
Trim the excess twine relatively close to the knot without unraveling it.

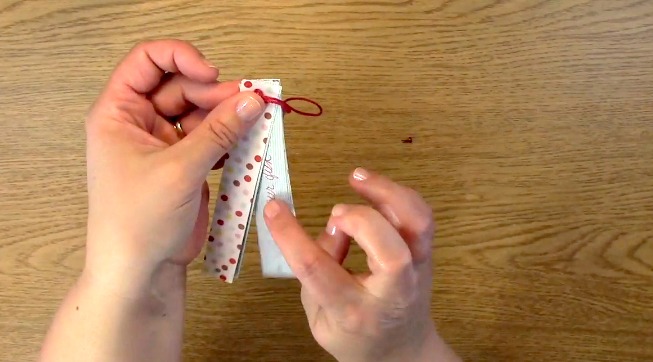
Place your brad/twine into the side where the writing is showing like above.

Open up the brad legs to keep the papers held together. You do not need to have it super tight or else you will not be able to manipulate the paper into an ornament.

Put your second brad into the hold on the other side of the paper as shown. Make sure the top of the brad is on the same side as the other one with the twine. This will give a cleaner look on the outside of the ornament once it is complete.

Like the other brad, you will also open the legs on the brad up so it keeps the paper in place but not too tight or else again, you won’t be able to create the ornament.

This is what the back of the paper looks like once brads are placed.

Here is what the front looks like with the brads and twine showing.

For the design of the Yearly Handmade Ornament Tradition Project, you can either make a slight rounded look or you can fold in half gently to give the look that I used. Either way looks great!

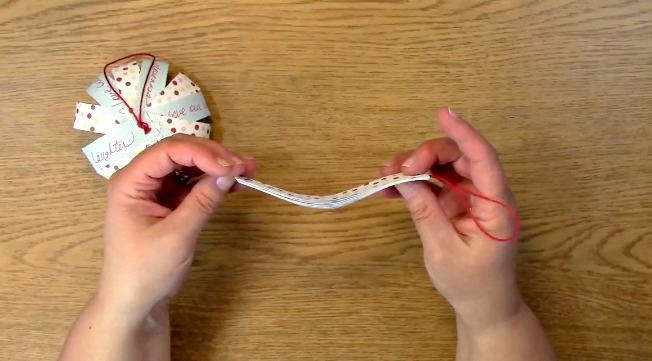
Separate your papers like shown above, one paper at a time.

The best way to try to get it relatively even is to compress the ornament so that you can see how it lines up as shown. This will give you a much better visual to see where the papers align. You will NOT get it perfect. Trust me from experience LOL!

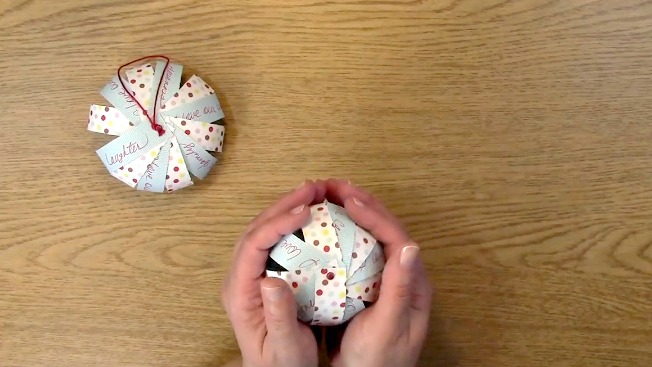
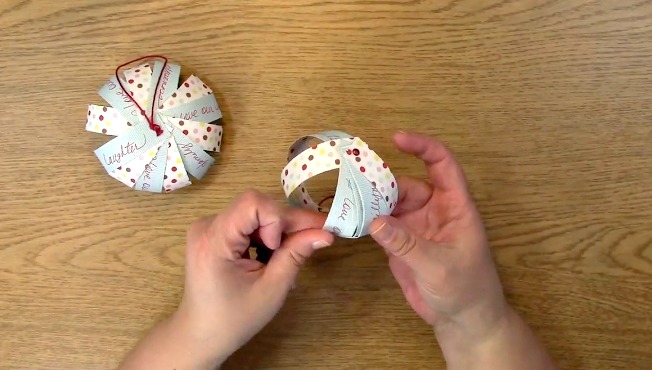
Now, take your ornament and squeeze it gently into a ball shape as shown. This gives a great rounded look as shown to the above left.

This is the completed Yearly Handmade Ornament Tradition Project. You can see the top on the left and the side on the right.

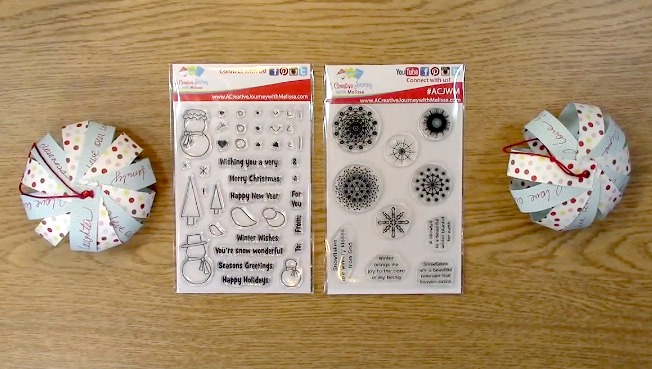
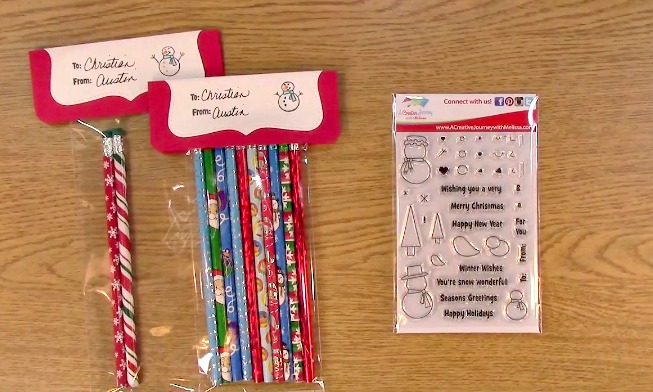
Now for this weeks GIVEAWAY we are giving away TWO STAMP SETS which means TWO WINNERS! We are giving away the A Creative Journey with Melissa You’re Snow Wonderful Stamp Set and the A Creative Journey with Melissa Snowflake Beauty Stamp Set.

To qualify to win, you must be BOTH:

A public follower on YouTube, subscribe to our mailing list/blog posts and you may also comment on this blog post for an additional entry to win! Winners will be announced next week on our Mondays with Melissa blog post!

If you do not contact me within two weeks of the announcement of winning, you will forfeit your prize. Thank you for your understanding.

Subscribe to BOTH with MATCHING NAMES to be eligible. If I am unable to match you with your subscription to both the email list and the YouTube Channel, you will miss your chance to win a prize. If I can’t decipher if you are a matching subscriber (if your profile doesn’t show publicly who you subscribe to) and I can’t confirm you have subscribed to both, I won’t be able to enter you in for the prize. **DO NOT COMMENT WITH YOUR ENTIRE EMAIL ADDY. Only give me the first 6 NOT INCLUDING YOUR HOST. Just enough for me to match your name will work perfectly.

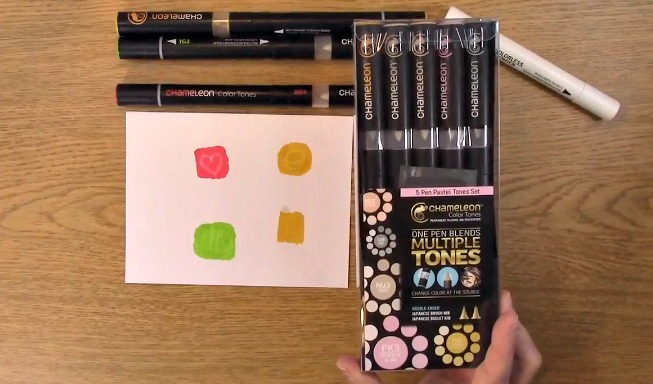
 Now for last  weeks GIVEAWAY we are giving away the Chameleon Pen set! The winner is Sue D!

Sue D,  please send me your contact information via contact page on our website, which post you are a winner from and I will get your prize out to you! Thank you so much for being a YouTube follower and subscribing to our mailing list/blog posts!

Thank you for joining us for the Yearly Handmade Ornament Tradition Project . I hope I have inspired you to create something that can be a tradition and keepsake for years to come! Please be sure to share what you come up with!

Have a wonderful week and thank you for going on A Creative Journey with Melissa.


Simple Handmade Holiday Gift Packaging

Simple Handmade Holiday Gift Packaging is what we have for you today. The holidays are coming!! A great way to get prepared  for the holidays is to make some great packaging for your gifts! Whether you are making your own brownies, fudge, scarves or giving any type of gift, you can create Simple Handmade Holiday Gift Packaging! You can make these in mass quantity so you have them on hand during the busy time of the season! Are you ready? Let’s go on a CREATIVE JOURNEY!

Supplies Needed for Simple Handmade Holiday Gift Packaging

A Creative Journey with Melissa You’re Snow Wonderful Stamp Set

Acrylic Stamp Block

Die Cut

Sizzix Manual Die Cut Machine & Platforms

Chameleon Alcohol Pens

Detail Pen

Corner Rounder

Paper to Stamp on

Paper for gift topper

Strong Adhesive

This is a cute little treat bag I made and it includes pencils. This type of gift is perfect for kids to give at school to friends and teachers. You can use this type of creation as a tag for a large gift as well as a card or package.

Take out your die.

Stampin Up retired this die. If you don’t have a die, you can always just use a rectangle and round the edges for both the stamped area as well as the bag topper.

Place your paper to stamp on over the cutting side of the die. Put the die and paper down on the clear cutting platform.

Place your second clear platform on top of the die and run the die through the machine.

I made the tag for the Simple Handmade Holiday Gift Packaging.

For the bag top, you want to be sure that the tag you create fits on its base. There is plenty of room on the sides so that it will fit quite nicely once folded.

Fold your bag top paper in half.

Using the corner rounder, round the corners of your bag top.

This is what it looks like after you have rounded the corners.

Take out your bag and the contents for it. Place your contents inside the bag ensuring there is enough room at the top for the bag topper.

Put your bag top paper over your bag and contents and align it so it is even on both sides. Using your stapler, staple your top over the clear bag.

The bag top has been stapled and this what it looks like after you have finished the stapling.

Fold over your die cut and set it aside.

With the A Creative Journey with Melissa You’re Snow Wonderful Stamp Set, you have numerous choices for your Simple Handmade Holiday Gift Packaging. Not only do you have a Snow Mom and Snow Dad; you also have the ability to create snow people and even snow kids. You can also add pets for the family such as snow dogs and birds as well as snowflakes, snow balls and other decor for your creation. What would you make?

I chose the words to and from as well as the small snow person. This snow person can be a boy or a girl and you can decorate it with various extras in the stamp set. This is a different way to line up your stamps to stamp with. The awesome thing about clear stamps is you can see exactly where you are putting them. I place my stamps down exactly how I want them to be stamped, alignment and all.

Place your acrylic stamp block on top of the stamps.

Look how awesome the stamps look and are ready to go by using this method!

Ink your image and sentiment for your Simple Handmade Holiday Gift Packaging.

Stamp your image and sentiment on your bag top paper.

Stamp your sentiment and image.

Using the stick arm, ink and stamp it on either side of the snow person image on your bag top.

I stamped the stick arms.

Since I did not have my orange stamp pad to stamp a carrot nose, I used my orange Chameleon pen. Using the brush nib, I just used a small flick and made a carrot nose.

Your carrot nose completed!

Using the blue chameleon pen, color the scarf on the snow person.

Take out your gray chameleon pen. Take off your cap on the bullet nose nib and place the blending solution chamber on top of the gray bullet nib and hold upright for 5-10 seconds. The blending solution combined with the pigment will make it lighter. Now, color the snowman on the side to show some shadowing and highlight.

Using your detail penand your stamps and create the face as well as place the buttons on the snow person.

Here I used the detail pen to create the eyes, mouth, buttons and names for the gift bag top.

Here is a close up of the front Simple Handmade Holiday Gift Packaging.

Apply strong adhesive the the inside of the stamped sentiment bag top paper.

Place the stamped sentiment tag on top of the mat for the sentiment as shown.

IT’S COMPLETE! Now imagine all of the different things you can do with this!

Now for this weeks GIVEAWAY! We are giving away the A Creative Journey with Melissa You’re Snow Wonderful Stamp Set

To qualify to win, you must be BOTH:

A public follower on YouTube, subscribe to our mailing list/blog posts and you may also comment on this blog post for an additional entry to win! Winners will be announced next week on our Mondays with Melissa blog post!

If you do not contact me within two weeks of the announcement of winning, you will forfeit your prize. Thank you for your understanding.

NOTE: Subscribe to BOTH platforms with MATCHING NAMES. If I am unable to match you with your subscription to both the email list and the YouTube Channel, you will miss your chance to win a prize. If I can’t decipher if you are a matching subscriber (if your profile doesn’t show publicly who you subscribe to) and I can’t confirm you have subscribed to both, I won’t be able to enter you in for the prize. **DO NOT COMMENT WITH YOUR ENTIRE EMAIL ADDY. Only give me the first 6 NOT INCLUDING YOUR HOST. Just enough for me to match your name will work perfectly.

Here’s the GIVEAWAY from last weeks post which is the A Creative Journey with Melissa Petals for You Stamp Set

The winner is Janice O !

Janice,  please send me your contact information via contact page on our website, which post you are a winner from and I will get your prize out to you! Thank you so much for being a YouTube follower and subscribing to our mailing list/blog posts!

 We hope you enjoyed our Simple Handmade Holiday Gift Packaging post!

Have a wonderful week and thank you for going on A Creative Journey with Melissa.