
Create your own Cork Wreath Part Three: Technique and Finishing Touches
Create your own Cork Wreath Part Three: Technique and Finishing Touches is what we have for you today. We are going to clean up our wreath to get rid of our little glue strings that tend to happen when using hot glue and create a bow to finish off your wreath! If you haven’t seen our other posts in this series of three, please check out PART 1 HERE and PART 2 HERE.
But first… before we get started with the Create your own Cork Wreath Part Three: Technique and Finishing Touches,
I have an awesome tip for you thanks to my friend Sheila!
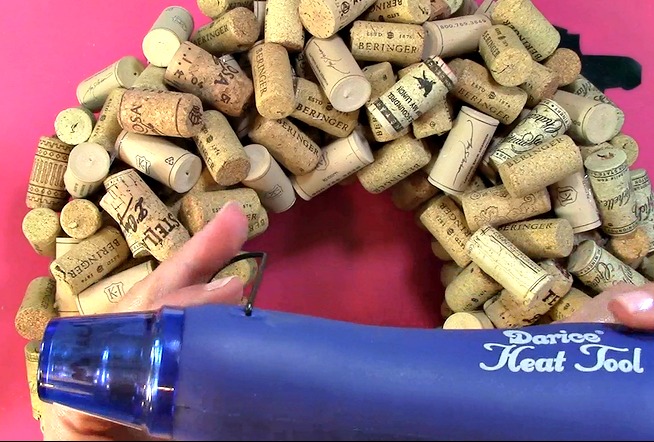
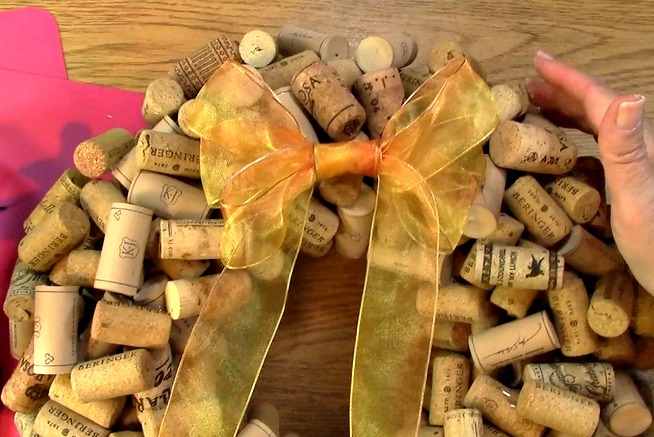
You know how when working with hot glue you have those pesky little strings… Well my friend Sheila told me of an awesome tip! Use a hair dryer or heat embossing gun and you will heat those little buggers away! I used mine (shown above) It works perfectly!
A BONUS TIP!
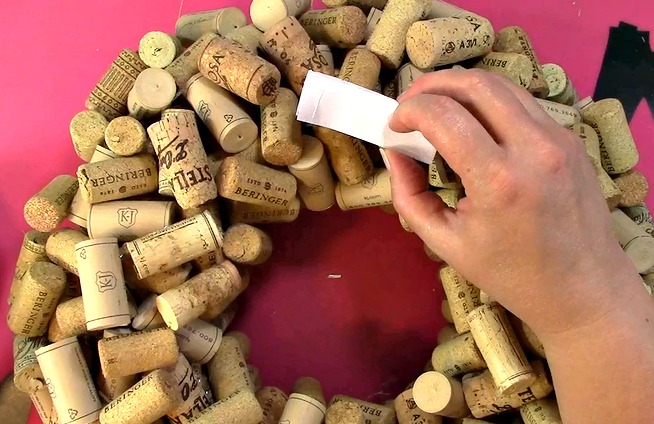
If you plan to have your wreath for a variety of themes like holiday, birthday, summer, etc. I would suggest you place some velcro at the top of the wreath so you can change the bows out rather easily. Using velcro will not only make it easier it will allow you to change them out without much fuss and make your wreath more versatile throughout the year! Now…. Onto the bows, shall we?
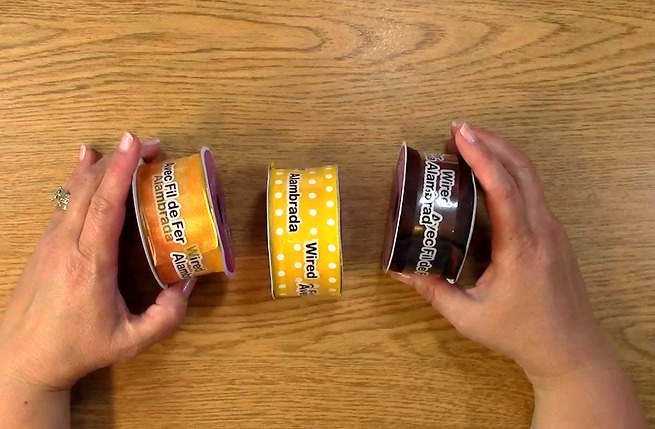 There are a number of bows you can make. Here I am going to just show you three of them and another technique with mesh ribbon. Here are three of the ribbons I am using for my project. You can always double or triple the amount of ribbon you use for your bow creation as well as add multiples together for a thicker more full looking bow.
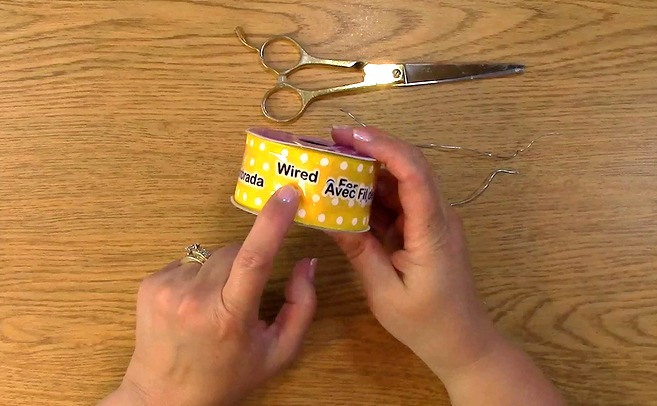
For the Technique and Finishing Touches, you want to start with wired ribbon. It makes it easier to bend and adjust and it will stay. You can use ribbon without wire but it does make it a little more difficult to keep the bow in place.
To start, you will want to take out the ribbon of your choice.
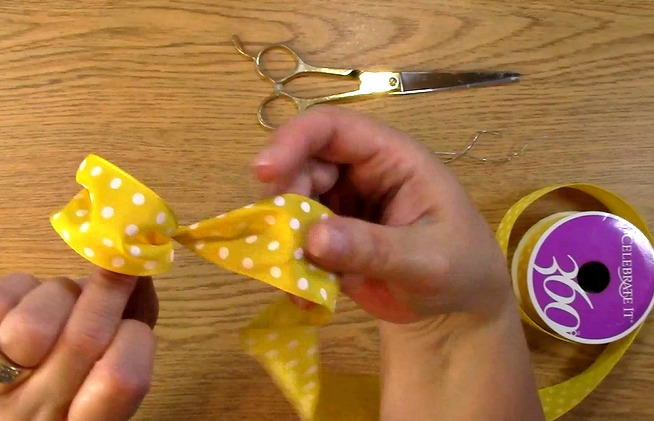
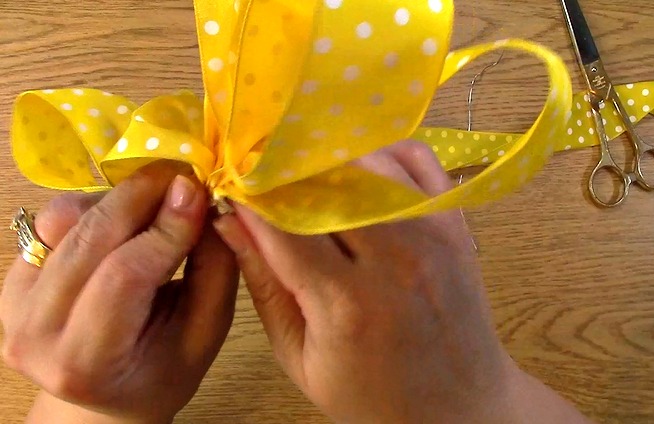
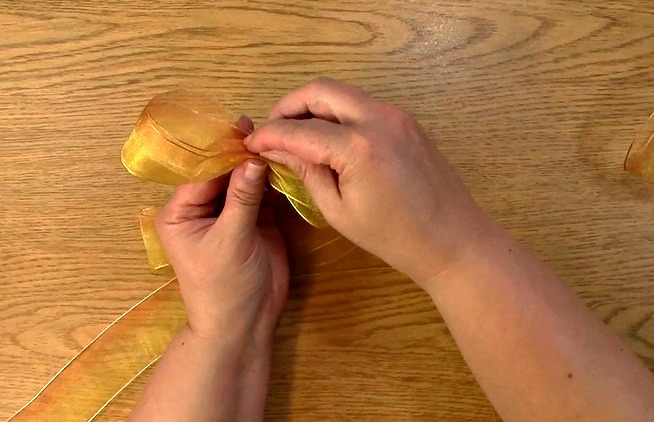
First, you will want to take the ribbon and make a loop like shown, This will be the front of the ribbon.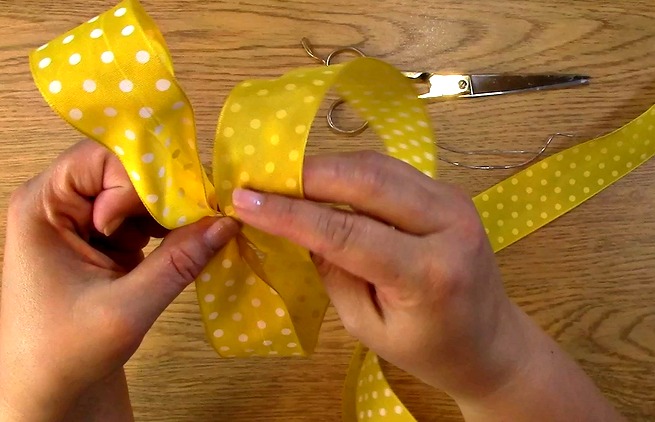
You will then fold three loops, each being a bit larger than the next for the ribbon. Be sure that the design is facing outward so the ribbons decorative appearance is on the visable part of the creation. 
You will repeat this three or more times. For video and creation purposes, I only did this three times. If I was to make a large bow for a larger wreath, I would probably make at least six or more for a fuller bow. 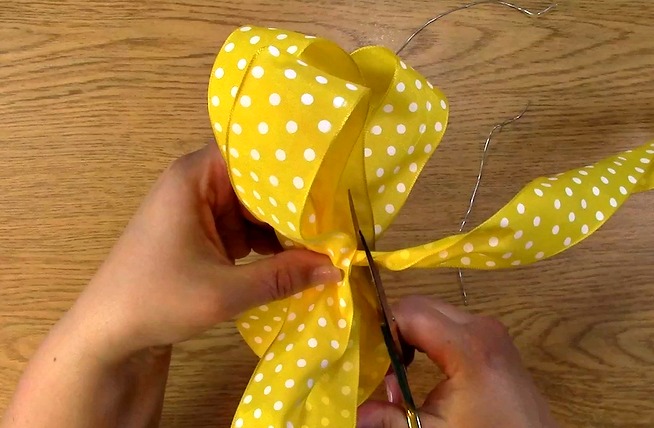
Cut the end of the ribbon just a little bit past where you have it held in the middle of the bow.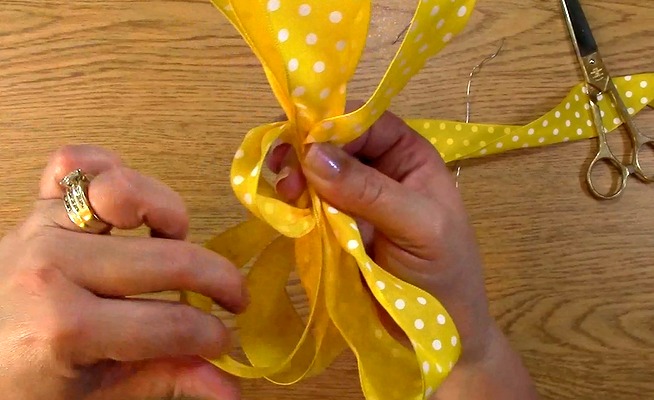
This will be how it looks.
 While still grabbing the ribbon, you will want to place some floral wire or wire around the area in which I am gripping to keep the ribbon bow in place.
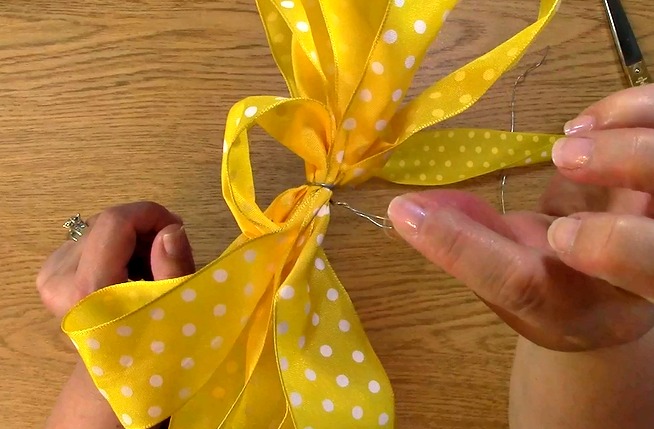
This is what it will look like once you have placed the wire around the ribbon center. 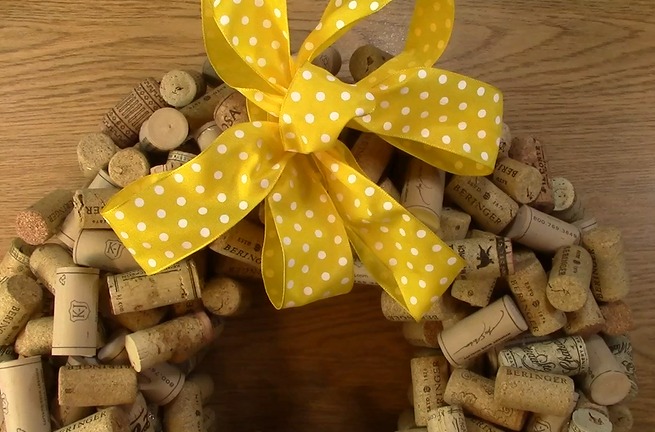 Now for the fun stuff! You get to fix the bow to make it fancy! You can puff it out or adjust it to your liking.
Now for the second bow Technique and Finishing Touches…
You will want to start with at least three different sizes of ribbon one larger than the other. The sizes I used are approximately 30″, 24″ and 12″. The fuller the bow, the more sizes and variations you will want to use. You will want to place your ribbon on a sturdy surface and folded in an awareness ribbon shape like shown. 
Take the ribbon and pinch the center. Take out the second piece of ribbon.
Fold the second piece of ribbon and gather in the middle.
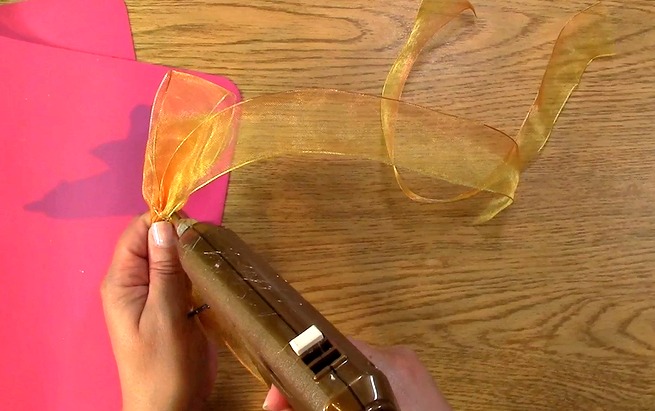
Place a small amount of hot glue to the gathered two pieces of ribbon. This will be used to hold the third piece of ribbon in place.
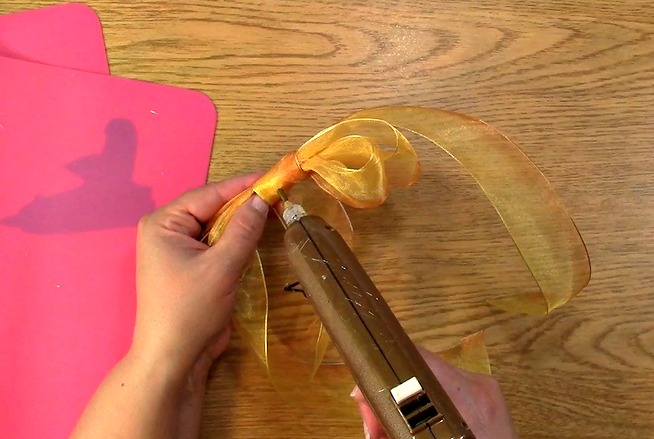
Take the third piece of ribbon and wrap it around the center of the ribbon holding the gathered area in place. Apply hot glue to the end of the ribbon to secure it in place.
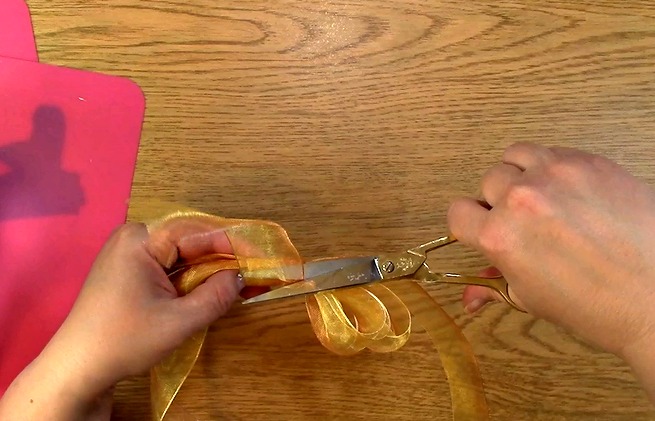
Trim the ribbon and adjust to beautify the ribbon for your creation,
This is the completed ribbon.
On the third bow Technique and Finishing Touches,
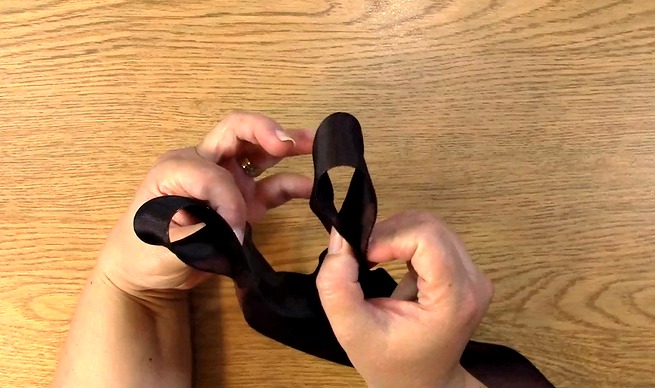
take the ribbon you are going to use. Make two “rabbit ears” like you would for tying your shoe laces.
Cross one of the ears over the other.
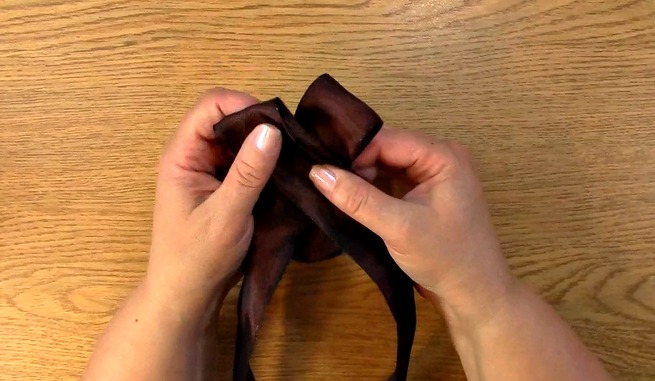
You will then fold one of the ears over the other and push it through towards you .
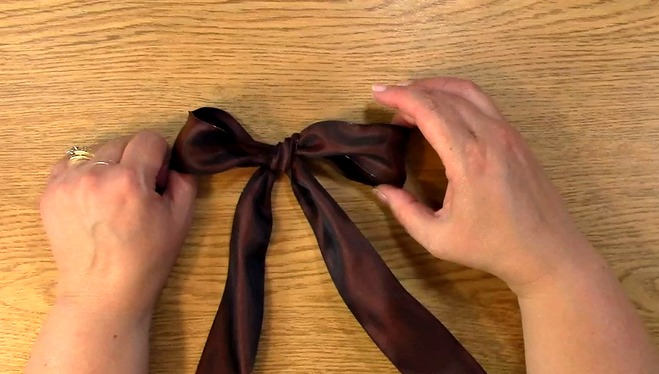
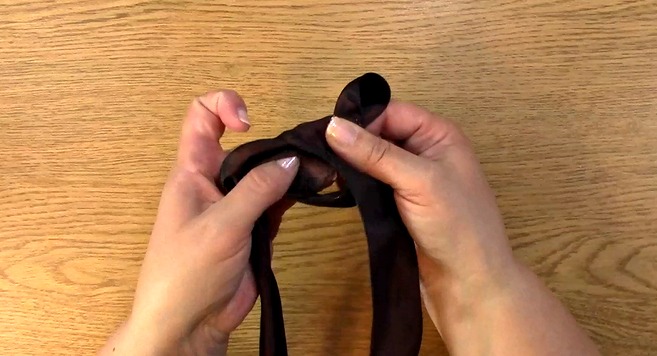
Pull tightly to secure your bow. Adjust your bow to the desired look you want for your creation.
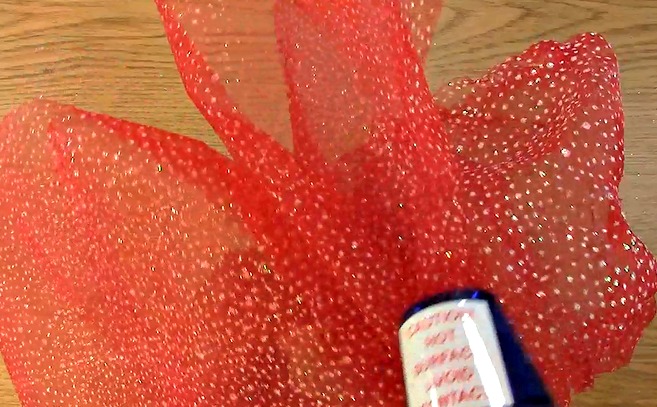
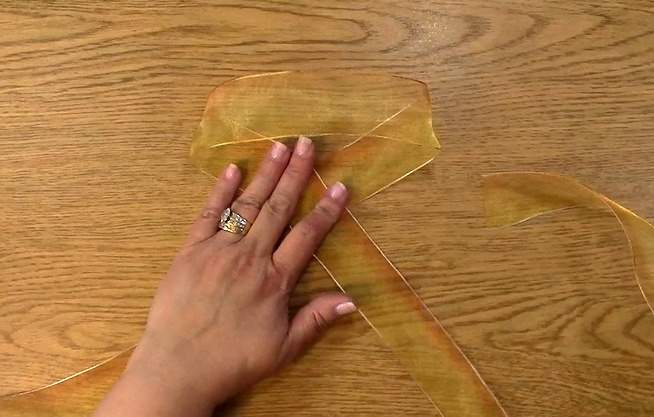
For this creation, we are going to use glittered mesh.
You can make a number of things with this amazing material but what you may not know, you can use a heat gun on it and give it a different look.
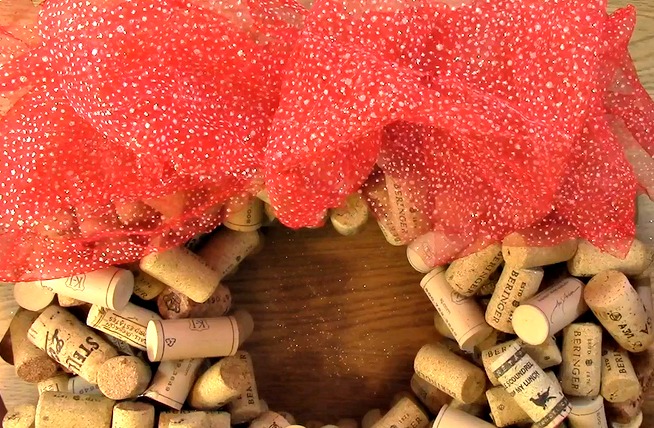
It will melt the material and make it curl up at the ends. It really gives a great look for your creations. Play with it!
YOU WILL LOVE IT!
Thank you so much for joining us today for Create your own Cork Wreath Part Three: Technique and Finishing Touches. We hope you will be sure to stay tuned as we are going to be participating in an amazing coffee lovers blog hop with amazing prizes and awesome inspiration you will not want to miss!
We hope you enjoyed our bow creations and going on A Creative Journey with Melissa.
