Tag Archive for: I Just Love You Stamp Set

Kid Friendly Crafts – Valentine Treat Holders

Kid Friendly Crafts – Valentine Treat Holders is what we have for you today. I was very fortunate and grateful for being a room parent for both of my kids. Actually, my husband and I were BOTH room parents. I couldn’t have done it without him. When it was a holiday, I loved creating something for my children’s classmates. I tried to create something that would also work with what the teachers were doing in the classroom. These treat holders will do just that!

Supplies Needed for the Kid Friendly Crafts – Valentine Treat Holders Project

A Creative Journey with Melissa I Just Love You stamp set

A Creative Journey with Melissa Sign Language Alphabet stamp set

Acrylic Block

Stapler

Adhesive

Marker

Candy of your choice

Red Ink

Paper for treat holder

Paper to stamp on

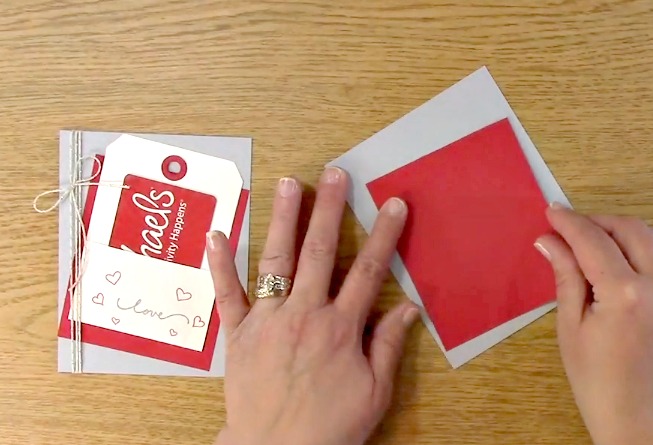
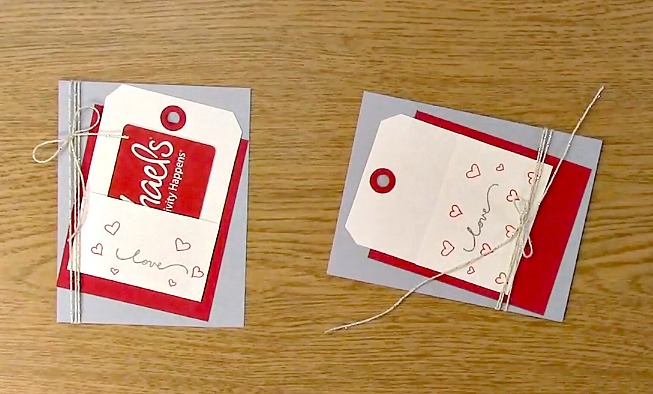
This is the Kid Friendly Crafts – Valentine Treat Holders Project that we are going to create! It is perfect for you to create yourself or make it a family project! Simple for little ones to help with too!

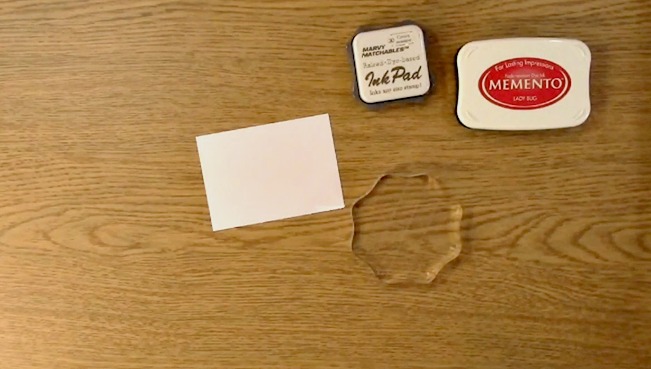
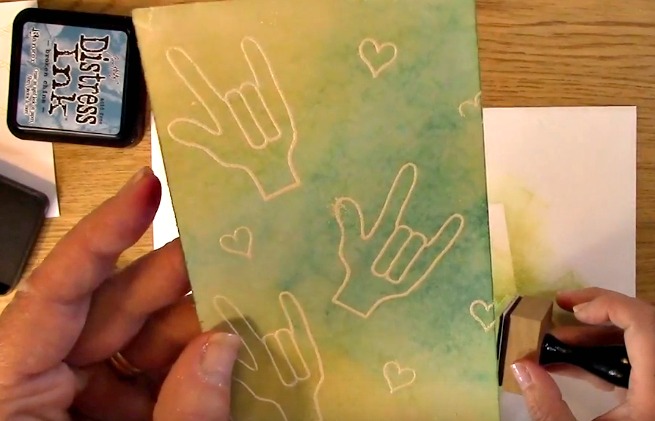
To begin the Kid Friendly Crafts – Valentine Treat Holders Project, take out your paper to stamp on, sign language stamps, red ink pad and stamp block. Place your stamps on your stamp block.

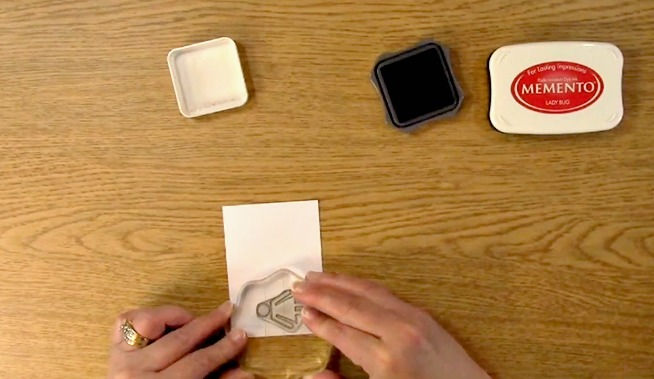
Ink your sign language alphabet stamps and stamp them on your paper. Clean and remove your stamps, placing them back on their sheet.

Place your love stamp from your I Just Love You stamp set onto your stamp block. Add ink to your sentiment and stamp your word onto your paper. Clean and remove your stamps, placing them back on their sheet.

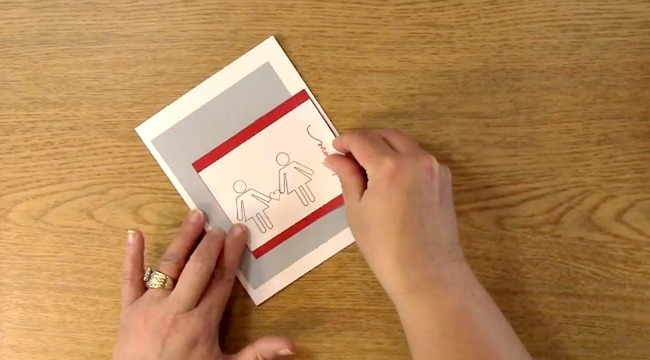
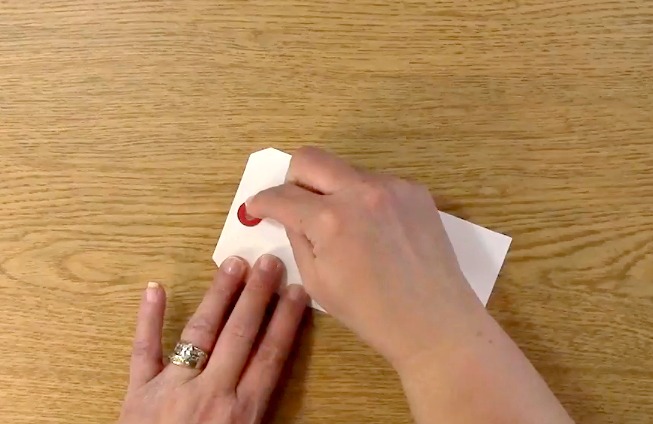
Take out your heart stamps as shown above from your I Just Love You stamp set. Ink your stamps and stamp your image on the upper right hand corner of your paper. Repeat for the bottom left corner by moving the vertical hearts above the horizontal hearts as shown. Clean and remove your stamps, placing them back on their sheet.

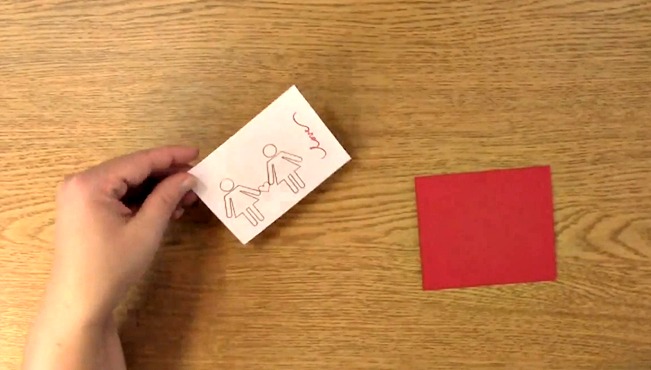
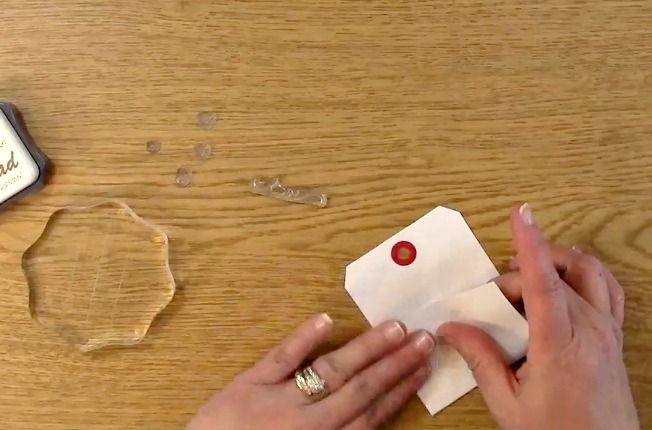
This is what your Kid Friendly Crafts – Valentine Treat Holders Project looks like once you have stamped your images and sentiments on your paper.

Have your child write their classmates name and sign their name on the tag. I would suggest they use pencil in case they make a mistake. For older kids, using a pen may be preferred.

Take out your treat holder paper. You can choose to fold the paper more or less depending on how much of the treat you want exposed. For the example, I chose to fold it more so less of the treat would show. With this creation, I am going to fold it a little bit less so more of the treat would show.

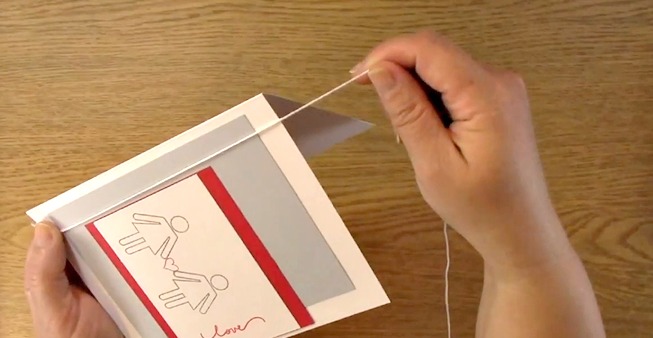
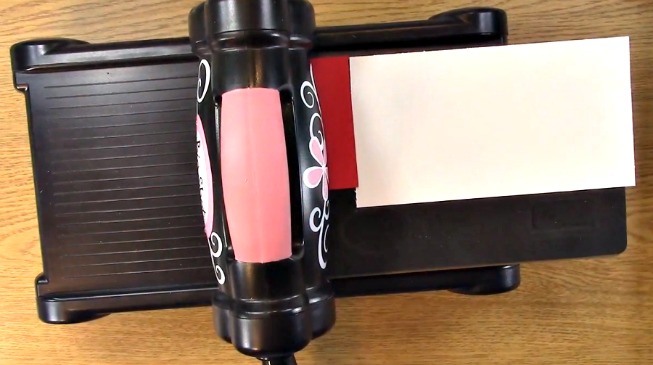
For this demonstration, I decided to use adhesive to adhere the sides of the treat holder. Place adhesive on either side of the flap. Do not to all three sides or else you won’t have an opening for the treat.

In my example, I used staples. Either way works great. If you have little ones, they may be more excited to use the stapler.

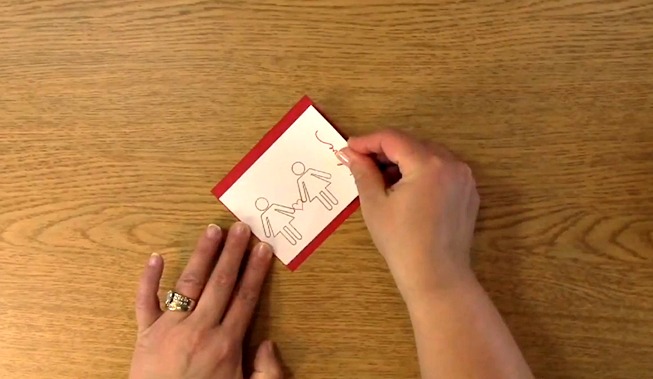
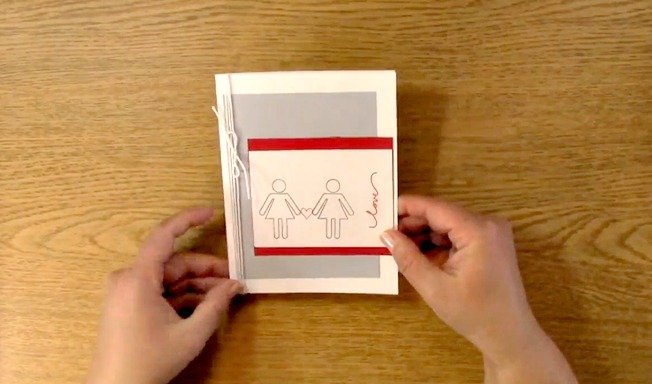
The first time I stamped the word TO with my sign language alphabet stamps, I didn’t press all of the way and I got half of the image. What does one do when that happens? TURN OVER THE PAPER!! In this case, we will be placing adhesive on the back of this paper so we can adhere it to the treat holder.

Place your Kid Friendly Crafts – Valentine Treat Holders Project label on the front of the treat holder.

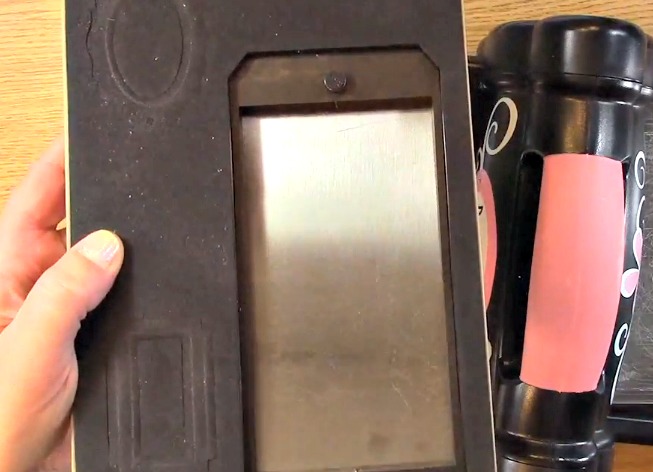
I chose to use Fun Dip for our treat filler. You can use any treat really however be sure to ask the teacher if any of the students have any allergies. We want to be sure that the treats are all inclusive.

You did it! You created your Kid Friendly Crafts – Valentine Treat Holders Project! How fun was that?! Now for this weeks giveaway, we are giving away two stamp sets.

The first is the A Creative Journey with Melissa Sign Language Alphabet stamp set and

the second is A Creative Journey with Melissa I Just Love You stamp set.

For our giveaways from last week, a store credit so you can pick out your favorite item in our store! Please be sure that you  send me a message letting me know which post you won on and your contact info and I can get your prize out to you!

The winner is Jessica M!

Winner, please send me an message HERE and I will get your prize out to you!

For all of our giveaways including this one, in order for you to qualify for an entry to win, you would need to be a follower on YouTube, subscribe to our mailing list/blog posts (found on our blog page) and you may also comment on this blog post for an additional entry to win! When you subscribe, you will receive an e-mail on Mondays with our latest blog post. BE SURE TO READ IT to check to see if you are a winner EVERY WEEK. If you do not contact me within two weeks of the announcement of winning, you will forfeit your prize. NO EXCEPTIONS. Thank you for your understanding.

NOTE: If you are subscribed with two different names and I am unable to match you with your subscription to the blog and the YouTube Channel, you will be ineligible to win as I can’t decipher if you are a matching subscriber to both. Thank you for your understanding.

We hope you will subscribe to our YouTube Channel, Blog/Newsletter updates and check out our website!

As always, we appreciate your visit and we hope you enjoyed going on A Creative Journey with Melissa. Have a wonderful holiday!

melissa-written-signature

Handmade Love Card for ANY COUPLE

Handmade Love Card for ANY COUPLE is what we have for today. Our A Creative Journey with Melissa I Just Love You Stamp Set can cover any configuration of love for your card including Female & Male, Female & Female, Male and Male or any variation you choose to celebrate.

Supplies Needed for the Handmade Love Card for ANY COUPLE Project

A Creative Journey with Melissa I Just Love You stamp set

Acrylic Stamp Block

Red Ink

Gray Ink

White card base

Gray Card Mat

Red Mat for stamped images

Paper to stamp images and sentiment on

White Twine

Scissors

To start, take out your gray ink, white paper and stamp block. Choose the stamp images from your A Creative Journey with Melissa I Just Love You stamp set.

For the Handmade Love Card for ANY COUPLE Project video I chose a female and female for my best friends that have gotten engaged! I am so excited for them! This stamp set is super versatile for any couple!

Ink your female image with the gray ink. Stamp as shown above.

Place ink on your female image again. Stamp next to your other stamped image leaving room for a heart by the hands.

Clean off your stamp and place back on your sheet. Take out your heart image and ink it with red ink. Stamp the heart in between the hands as shown above.

Ink the love sentiment with red ink. Stamp the sentiment on the side of the women images as shown.

This is what it will look like once the stamping has been completed. Place adhesive on the back of the stamped paper.

Adhere your paper to the red mat.

Take out your white card base and your gray mat. Place adhesive on the back of the gray mat and adhere to the card base.

Put adhesive on the back of your red paper and images. Adhere to the gray mat on your card base.

Take out your white twine. Wrap it around your card three times.

Tie a bow with the twine and trim off the excess.

Adjust the twine on  your card as you wish.

This is what the Handmade Love Card for ANY COUPLE Project looks like completed.

Cards are complete!

For this weeks giveaway we are giving away the A Creative Journey with Melissa I Just Love You stamp set. Winners announced next week so be sure to check back!

To qualify to win, you must be BOTH:

A public follower on YouTube, subscribe to our mailing list/blog posts and you may also comment on this blog post for an additional entry to win! Winners will be announced next week on our Mondays with Melissa blog post!

BE SURE TO check to see if you are a winner EVERY WEEK. If you do not contact me within two weeks of the your name being picked, you will forfeit your prize. Thank you for your understanding.

Subscribe to BOTH with MATCHING NAMES to be eligible. If I am unable to match you with your subscription to both the email list and the YouTube Channel, you will miss your chance to win a prize. If I can’t decipher if you are a matching subscriber (if your profile doesn’t show publicly who you subscribe to) and I can’t confirm you have subscribed to both, you will not be eligible.

 For last weeks giveaways we are giving away the

A Creative Journey with Melissa I Just Love You stamp set.

 THE WINNER IS   Marybeth

Marybeth, please send me your contact information via contact page on our website, which post you are a winner from and I will get your prize out to you! Thank you so much for being a YouTube follower and subscribing to our mailing list/blog posts!

Thank you for joining us for the Handmade Love Card for ANY COUPLE Project. I hope I have inspired you to organize yourself even if in just a small way! BE SURE TO CHECK BACK TO SEE IF YOU ARE A WINNER!

Have a wonderful week and thank you for going on A Creative Journey with Melissa.

I Just Love You Gift Card Holder

I Just Love You Gift Card Holder is what we have for you today. I realize we just barely celebrated the new year and now I am talking about Valentine’s Day. If you have watched any of my recent videos I am clearly on a gift card holder kick. I thought what better way to continue the trend than to create one for a loved one!

Supplies Needed for the I Just Love You Gift Card Holder Project

A Creative Journey with Melissa I Just Love You stamp set

Acrylic Block

Tag Die

Paper for Tag

Paper for Hole on tag

Card Base Paper

Card Mat Paper

Red and Gray Ink

Adhesive

Tim Holtz Die

Sizzix Die Cut Machine

Scissors

First, take out your Tim Holtz Sizzix Die TAG & BOOKPLATES Movers And Shapers Die #656938.

Cover the Tag part of the die with white and cover the hole reinforcement die area with red.

Here is a close up of the paper that is needed for the I Just Love You Gift Card Holder Project.

Place your die with the paper on top of your clear platform on your Sizzix Die Cut Machine.

Run your die through your die cut machine.

The tag and hole protector is what you will need for your I Just Love You Gift Card Holder Project.

Add adhesive to the back of the hole protector and place on the die cut tag.

Take out your A Creative Journey with Melissa I Just Love You stamp set.

Remove the stamps you need for the I Just Love You Gift Card Holder Project.

Fold your tag die up from the bottom 2.25″ as shown.

Add adhesive to the left and right side of the folded area of the tag.

Press the adhesive down on both sides to ensure adhesion for gift card placement.

Stamp the love sentiment on the folded up part of the tag as shown above.

Stamp hearts around the sentiment for decor as you feel necessary.

This is what the stamping looks like once it has been completed.

Take out the card base and mat for your I Just Love You Gift Card Holder Project. Apply adhesive to the back of the card mat.

Adhere card mat to the card base.

Apply adhesive to the back of the gift card holder tag. Adhere the tag to your card mat as shown.

Take out your twine. I used twine with a little bit of silver for a bit of bling for the creation. Wrap your twine around your project. I wrapped it three times.

Tie a bow on your I Just Love You Gift Card Holder Project and cut off the excess twine. Adjust your twine on your creation as you prefer.

I Just Love You Gift Card Holder Project is complete!


For this weeks giveaway we are giving away the A Creative Journey with Melissa I Just Love You stamp set. Winners announced next week so be sure to check back!

To qualify to win, you must be BOTH:

A public follower on YouTube, subscribe to our mailing list/blog posts and you may also comment on this blog post for an additional entry to win! Winners will be announced next week on our Mondays with Melissa blog post!

BE SURE TO check to see if you are a winner EVERY WEEK. If you do not contact me within two weeks of the your name being picked, you will forfeit your prize. Thank you for your understanding.

Subscribe to BOTH with MATCHING NAMES to be eligible. If I am unable to match you with your subscription to both the email list and the YouTube Channel, you will miss your chance to win a prize. If I can’t decipher if you are a matching subscriber (if your profile doesn’t show publicly who you subscribe to) and I can’t confirm you have subscribed to both, you will not be eligible.

For last weeks giveaways we are giving away both the A Creative Journey with Melissa Sentiments for All Occasion Stamp Set 

and the A Creative Journey with Melissa Everyday Alphabet Upper Case and Emoticon

 THE WINNERS ARE   Eileen F and KT Fit Kitty

Winners, please send me your contact information via contact page on our website, which post you are a winner from and I will get your prize out to you! Thank you so much for being a YouTube follower and subscribing to our mailing list/blog posts!

Thank you for joining us for the I Just Love You Gift Card Holder Project. I hope I have inspired you to organize yourself even if in just a small way! BE SURE TO CHECK BACK TO SEE IF YOU ARE A WINNER!

Have a wonderful week and thank you for going on A Creative Journey with Melissa.

Embossing: Creating Colorful Background Paper

Embossing: Creating Colorful Background Paper is what we have for you today. Using heat embossing and distress ink, you can create amazing backgrounds for any project!

Last week I introduced some of you and reminded others of a simple yet awesome technique, heat embossing.

If you would like to check out the detailed tutorial, please go HERE.  I am so excited to show you the amazing way you can blend different colors to create a custom look for any background! Here we go!

Supplies Needed

I Just Love You Stamp Set by ACJwM

Acrylic Stamp Block

Distress Ink

Versamark Ink (Watermark Ink)

Heat Embossing Gun

White Card Stock

Color Blending Tool

Paper to cover work space or mat

White Embossing Powder

Hand Wipes

Paper Towels

Here is the sample for Creating Colorful Background Paper.

This is a close up of the coloring shades using the distress in for Creating Colorful Background Paper.

To begin, take out your versamark ink, White paper, I Just Love You Stamp Set by ACJwM and your Acrylic Stamp Block. Place your chosen stamps on your acrylic block.

Protect your work surface by using a piece of paper or a mat. Ink your images with the versamark ink and stamp onto your white paper. You will faintly see the image on your white paper.

Take out your embossing powder, sprinkle it on the white stamped paper and tap off excess embossing powder.

Return the remaining embossing powder to your embossing powder container.

For this tutorial, I created three different looks for my creations. These have not been exposed to the heat embossing tool yet.

Take out your heat embossing tool and emboss each of the papers you have created.

You will now be applying ink to begin Creating Colorful Background Paper. Start by taking your choice of the embossed paper, Distress Ink and Color Blending Tool. Apply your choice of distress ink onto the Color Blending Tool.

In a circular motion (I have found this works best) apply ink to your white paper.

This is what the paper looks like once it had been completely colored.

Take out your second color of distress ink and apply it in a circular motion.

Fill in the areas in which you want them to show more of the secondary color also blending it along the way.

Here we completed Creating Colorful Background Paper colored paper using distressed ink.

What you created  you went from white paper to this lovely shaded paper!


Here is a secondary creation using two different colors.

This third creation is using three different distress ink colors.

Here are all of the creations I made Creating Colorful Background Paper with Heat Embossing.

This week for our Giveaway, we are giving away the I Just Love You Stamp Set by ACJwM used in the video above.

To qualify to win, you must be BOTH:

A follower on YouTube, subscribe to our mailing list/blog posts and you may also comment on this blog post for an additional entry to win! If you do not contact me within two weeks of winning, you will unfortunately, forfeit your prize. Thank you for your understanding.

NOTE: If you are subscribed with two different names and I am unable to match you with your subscription to both the blog and the YouTube Channel, you may miss your chance and be ineligible to win. If I can’t decipher if you are a matching subscriber, if your profile doesn’t show publically who you subscribe to) and I can’t confirm you have subscribed to both, I won’t be able to enter you in for the prize. **DO NOT COMMENT WITH YOUR ENTIRE EMAIL ADDY. Please just give me the first 6 NOT INCLUDING YOUR HOST as I don’t want you to get spam or have your comment go to spam and get deleted. Just enough for me to match your name will work perfectly. **  Thank you for your understanding.

Now for last weeks WINNER!!

The winner of the Hello Spring A Creative Journey with Melissa Stamp Set is Rebecca Yahrling!!

Rebecca, please send me your contact information via contact page on our website and I will get your prize out to you! Thank you so much for being a YouTube follower and subscribing to our mailing list/blog posts!

We hope you enjoyed our Embossing: Creating Colorful Background Paper tutorial. We hope you have a wonderful week and thank you for going on A Creative Journey with Melissa.


I Just Love You Stamp Set Card

I Just Love You Stamp Set Card tutorial is what we have for you today. This adorable stamp set makes the perfect addition to your card, planner, project life, scrapbooking or any creative project. With Valentine’s Day coming up, it has the perfect sentiments and images to make anyone feel loved. Let’s get started on our card!

The supplies you will need:

I Just Love You Stamp Set by ACJwM

Red and Black Ink

Card base, paper to stamp sentiment and image on and Paper to mat on card base

Adhesive

Acrylic Block

This is what we will be making today. A Clean and Simple (CAS) card using the I Just Love You stamp set.

First you will need to take out your acrylic stamp block , ink, paper and stamps. Place the man and woman image on your stamp block.

Ink your image ensuring there is ink on all areas of the image.

Stamp your image on your paper.

Return the stamps to the sheet and take off the words you will be using. Place them on the block.

To ensure the sentiment is lined up properly, turn your block over so you can see what it will look like once stamped with ink on your creation.

Once it is how you would like it, ink your image on your ink pad. Stamp your sentiment on your paper.

Remove the stamps and return them to your stamp sheet. Take off the little heart from the stamp sheet.

Place your stamp on the block and ink it with red ink.

Stamp the heart on the woman, man and above the j for the word just with red ink.

This is what it looks like once it has been stamped. I like how it looks but thought it would use a little bling or flash to it.

Going into my tool box, I took out my Sakura Gelly Roll clear star pen.

I colored in the three hearts I just stamped. I love how it came out. Simple but gave my creation a little pop of bling!

Here is the full view with the coloring of the hearts.

Now it is time to put the card together. Take out your adhesive and place adhesive on the back of the black paper.

Adhere the black paper to the card base.

Apply adhesive to the back of the stamped paper.

Adhere to the card base.

Your project is complete!

This week for our Giveaway, we are giving away the I Just Love You stamp set used in the video above.

To qualify to win, you must be a follower on YouTube, subscribe to our mailing list/blog posts and you may also comment on this blog post for an additional entry to win! If you do not contact me within two weeks of winning, you will unfortunately, forfeit your prize. Thank you for your understanding.

NOTE: If you are subscribed with two different names and I am unable to match you with your subscription to both the blog and the YouTube Channel, you will be ineligible to win. If K can’t decipher if you are a matching subscriber to both, I won’t be able to enter you in for the prize. DO NOT COMMENT WITH YOUR ENTIRE EMAIL ADDY. Please just give me the first 6 NOT INCLUDING YOUR HOST as I don’t want you to get spam or have your comment go to spam. Just enough for me to match you will work perfectly. Thank you for your understanding.

Now for last weeks WINNER!!


The winner of the wooden coffee cup embellishments

is Shaunda Fennell!

Shaunda Fennell, please send me your contact information via contact page on our website and I will get your prize out to you! Thank you so much for being a YouTube follower and Blog/Newsletter Subscriber!????

We hope you enjoyed our I Just Love You Stamp Set Card tutorial. We hope you have a wonderful week and thank you for going on A Creative Journey with Melissa.