Die Cut Sympathy Card
Die Cut Sympathy Card is what I have for you today. Someone passing away is never easy, especially a parent so I wanted to create this lovely card for my friend Jackie that just lost her Dad. Jackie and Paul are friends of ours that used to live here in California but they got lucky and escaped LOL! When they lived here, we spent holidays together and Jackie is a fellow crafter so we would enjoy getting creative together. They are the family we chose as our family and it breaks our heart that we aren’t able to be there in person for them. Hopefully, this card will give her and her family some comfort.
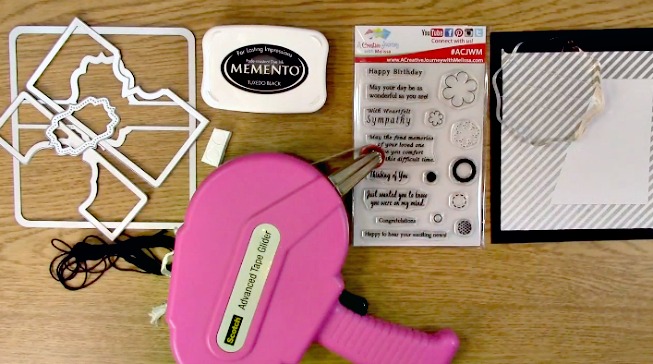
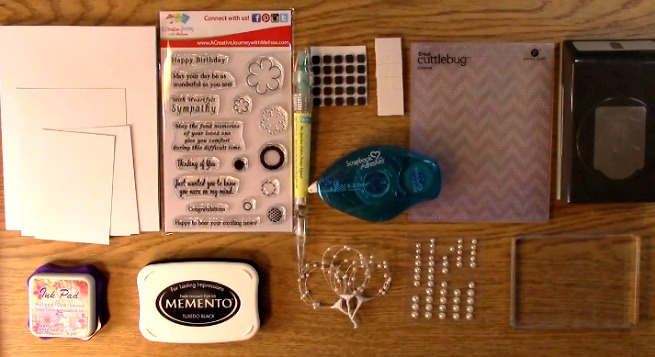
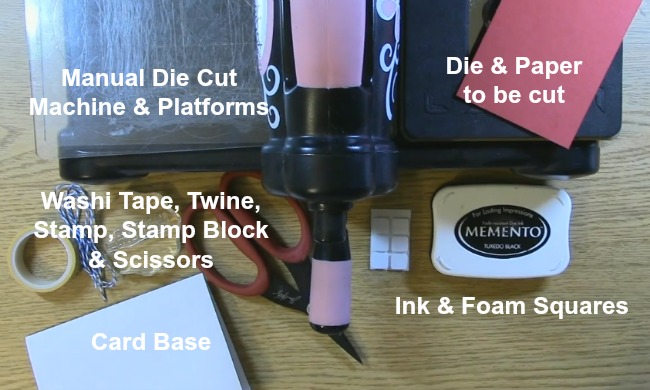
Supplies Needed for Die Cut Sympathy Card Project
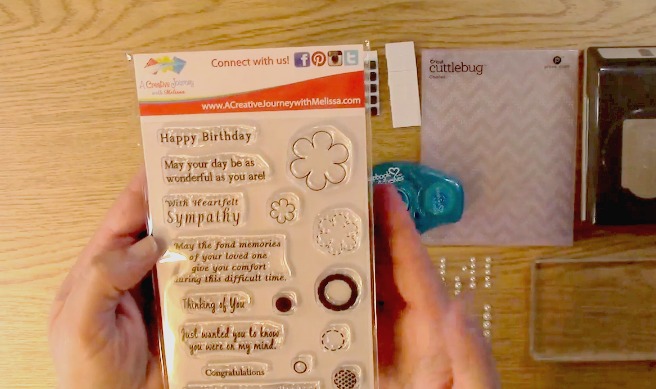
A Creative Journey with Melissa Outside and In Stamp Set
Ink
Black Twine
Card Base Paper
Decorative Paper
White Paper to Stamp Sentiment On
Die Cut Set
Scissors
Manual Die Cut Machine
3-D Pop Dots
Adhesive

This is the Die Cut Set that I used for the Die Cut Sympathy Card Project. There is a bunch of different options with this set. I love having so many options.

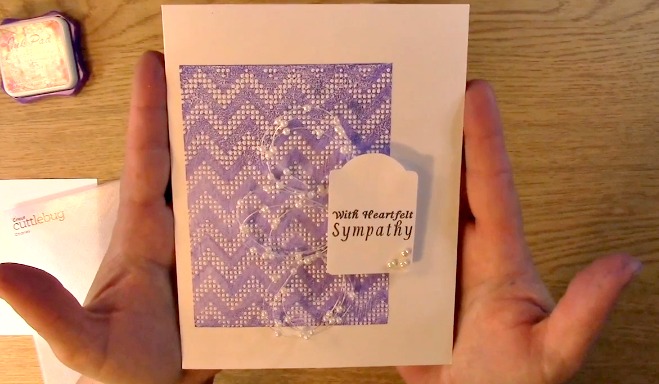
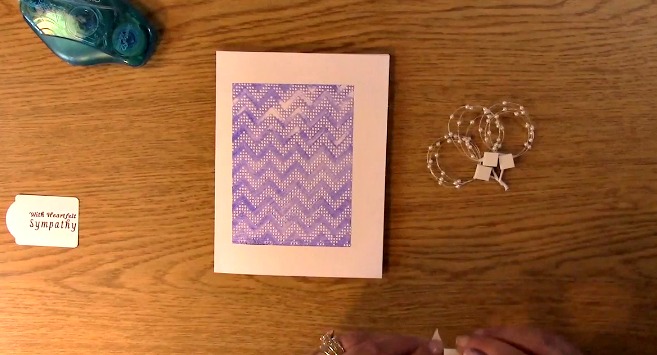
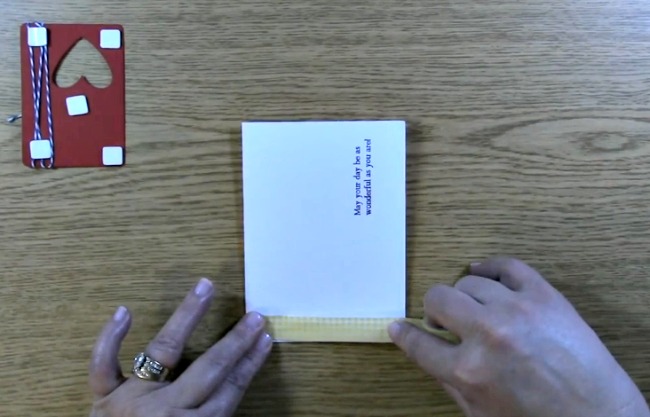
Here is the Die Cut Sympathy Card Project.

This is what the Die Cut Sympathy Card Project looks like in action as a movable card and it has a 3-D sentiment.
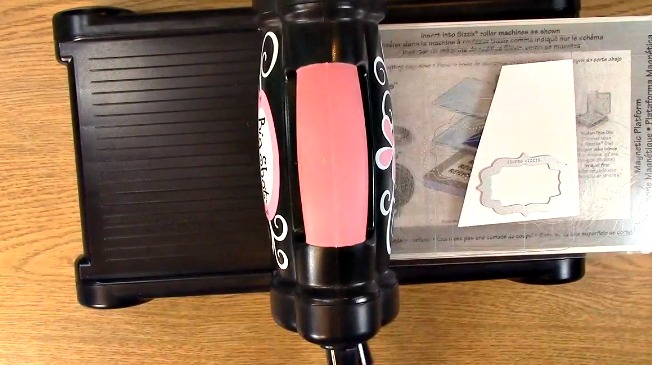
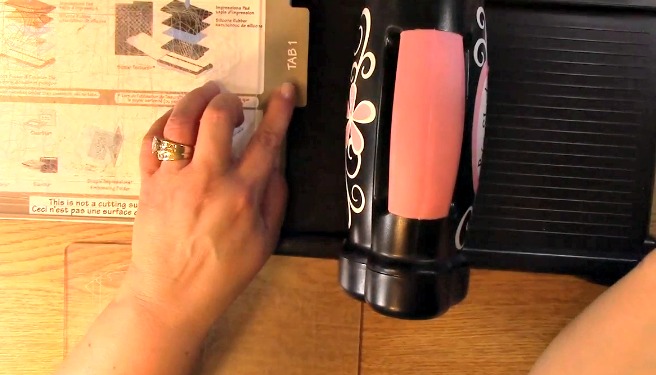
Take out your Manual Die Cut Machine with platforms, paper for sentiment, and the die for sentiment. Place your paper and then your die on top of both your main platform as well as your clear platform.

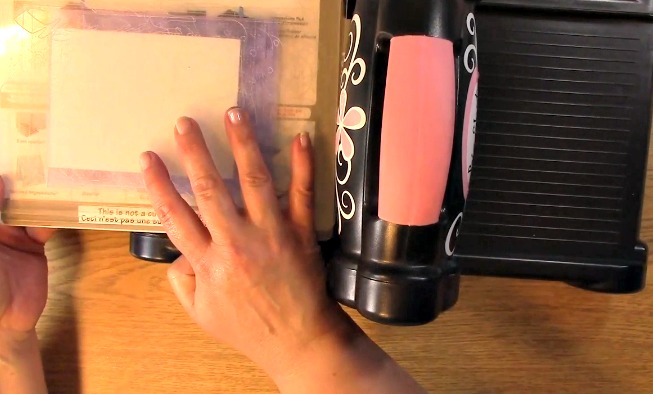
Put your second clear platform on top of your die and then run it through the manual die cut machine.

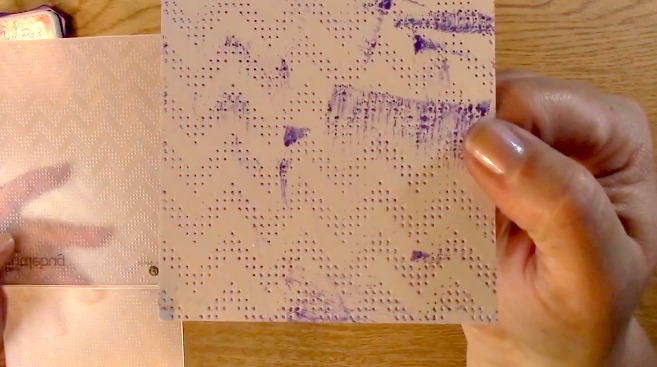
Carefully remove the die cut from your die.

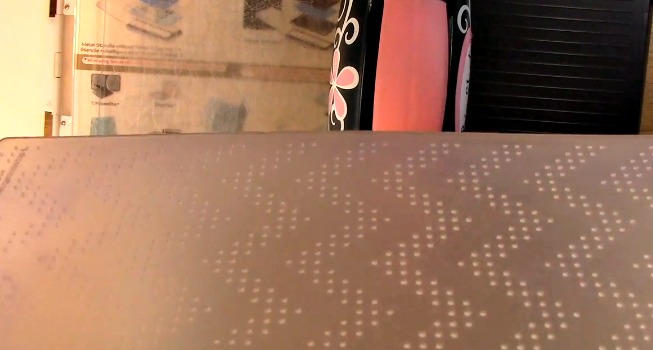
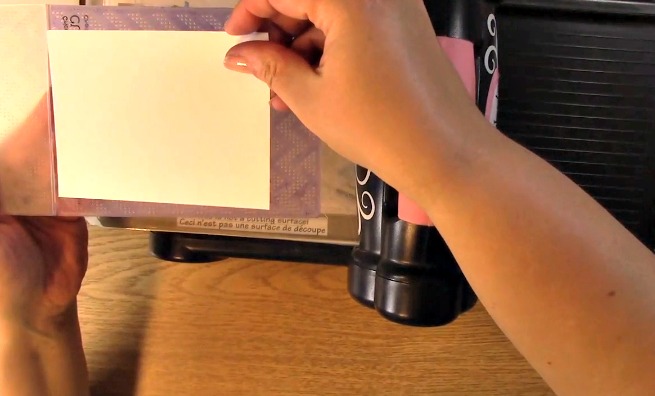
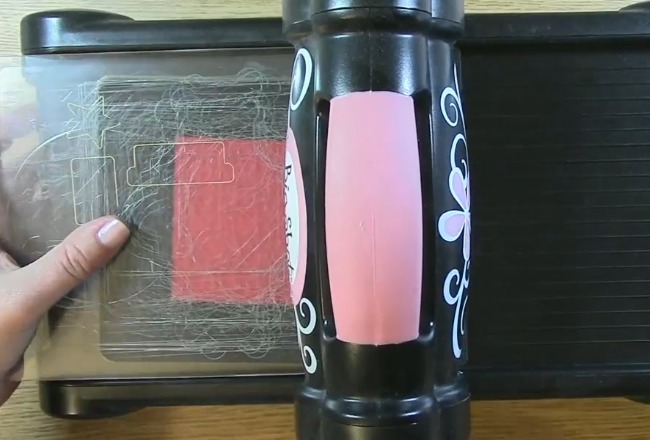
Place your decorative paper on top of your first clear platform.

Put your dies on top of the decorative paper. Place your second clear platform on top of your paper. Run your Paper and Die through the manual die cut machine.

**Project Tip** Dies for the Die Cut Sympathy Card Project must be put down with the cutting side down or else the paper will not get cut.

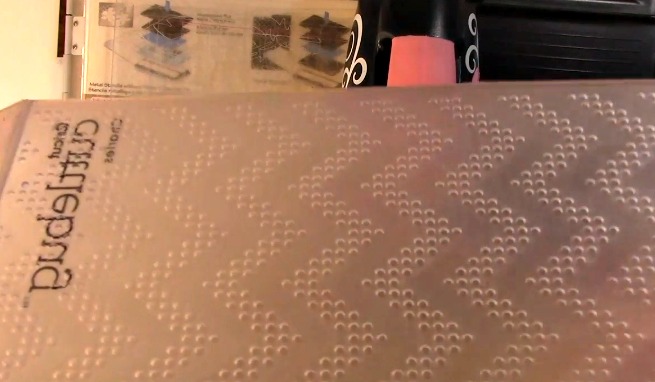
Place your card base paper on top of your platforms. Put your die on top of the paper and the clear platform on top of the die. Run it through the machine.

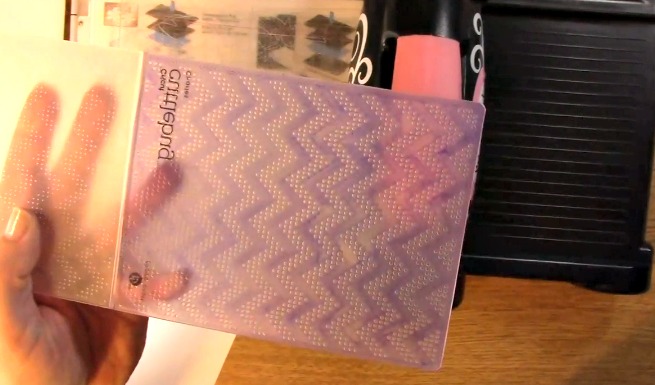
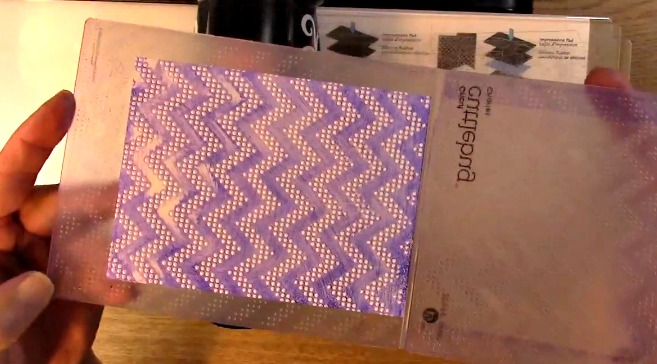
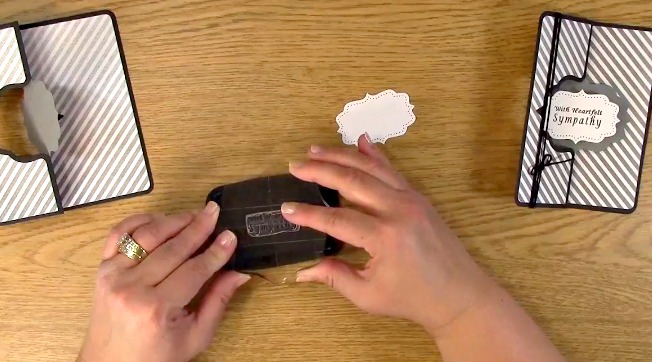
Notice how the die cut has the score line. It makes it so much easier to fold this project!

Fold the card on the score lines. I fold them both ways twice to ensure a good crease at the fold. Fold your card as shown above.

This is what it looks like one you have folded it in the proper places.

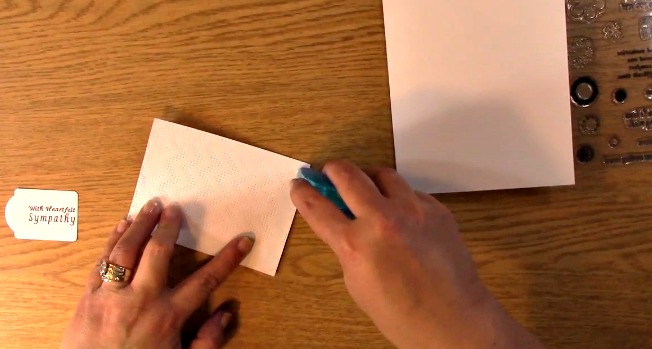
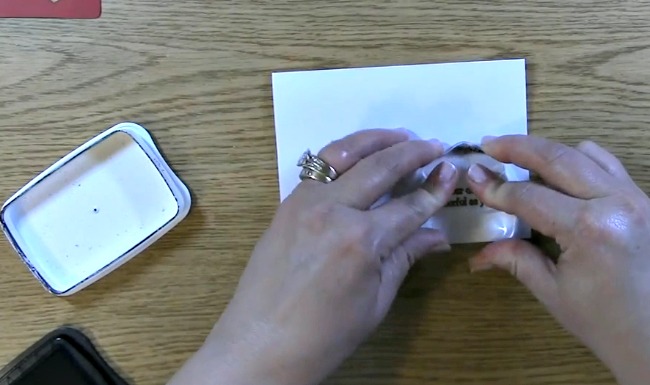
Take out your decorative die cut paper and apply adhesive.

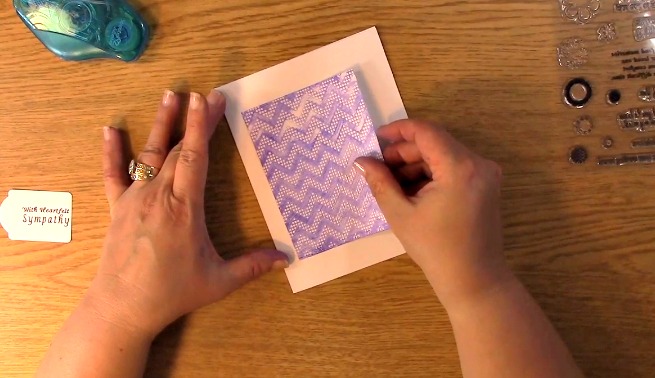
Apply the first piece of the decorative paper to your card.

This is what it looks like with both pieces adhered.
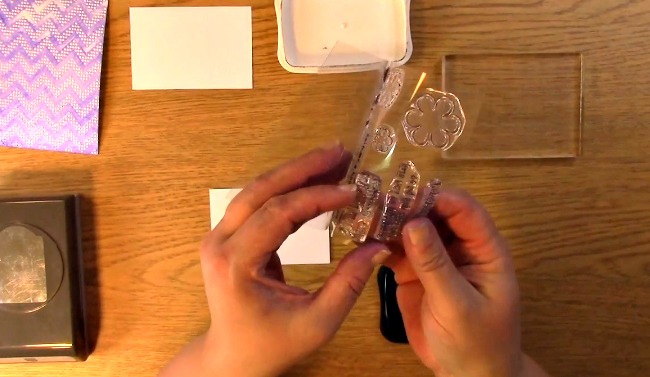
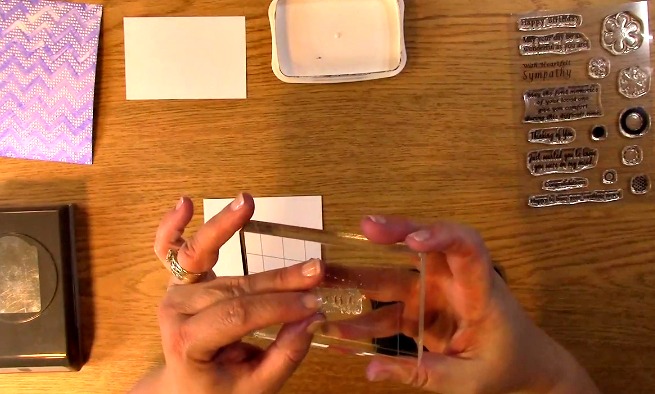
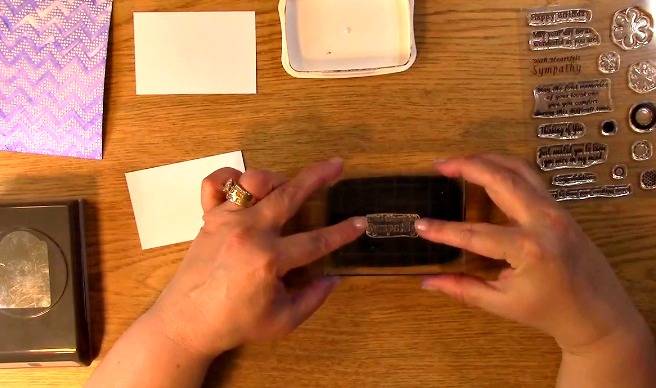
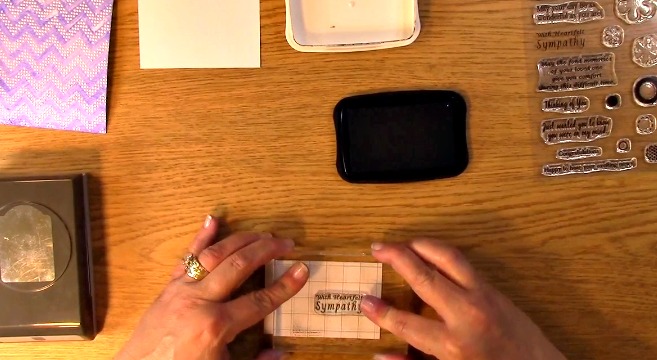
Take out your die cut for your sentiment, sentiment stamp, ink and stamp block. Adhere your stamp to your block and ink your sentiment.

Stamp your sentiment on your sentiment die cut paper.

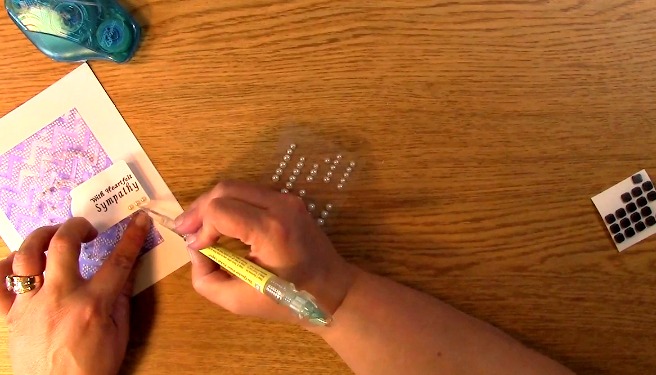
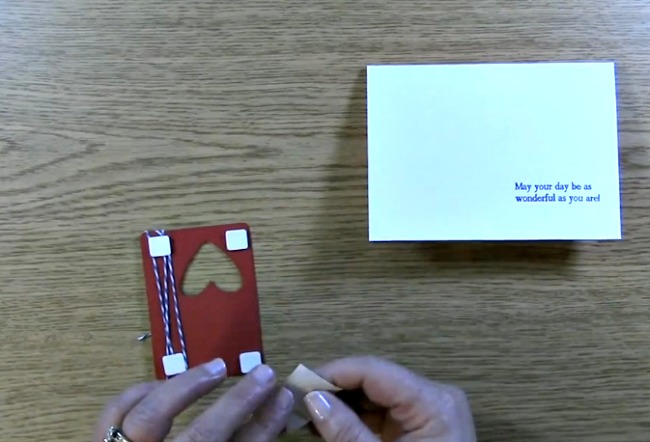
Apply your 3-D round adhesive dot to the back of your sentiment die cut.
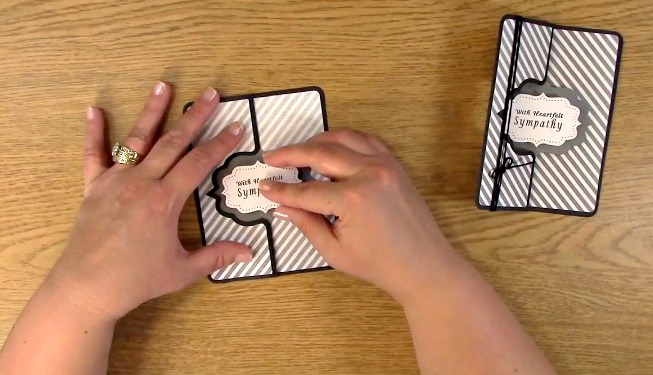
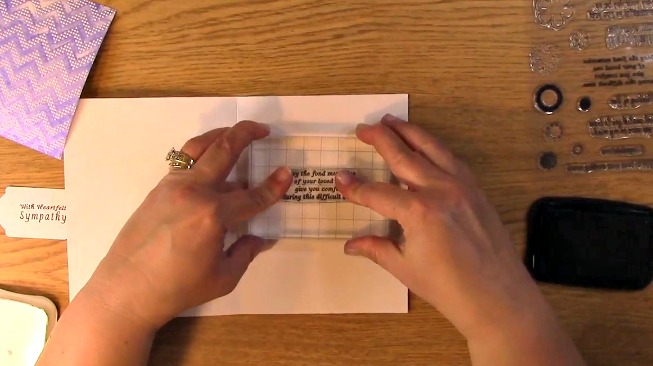
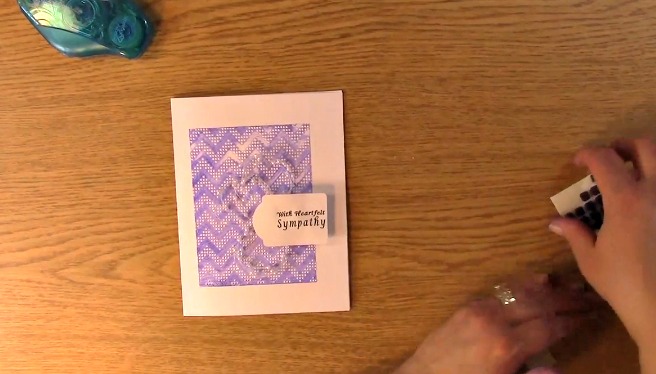
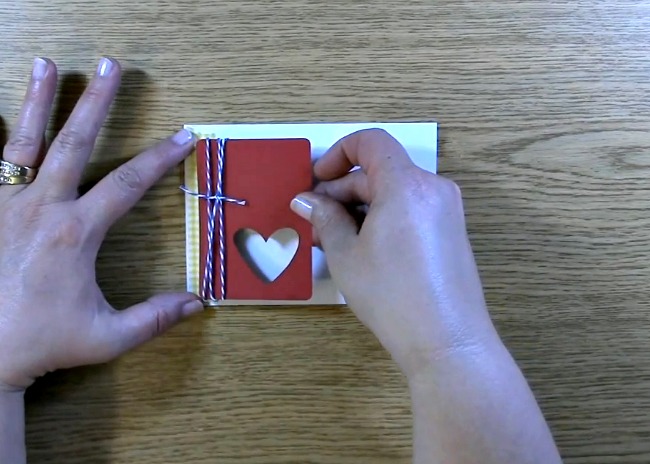
Adhere your sentiment die cut to the middle of the card as shown.

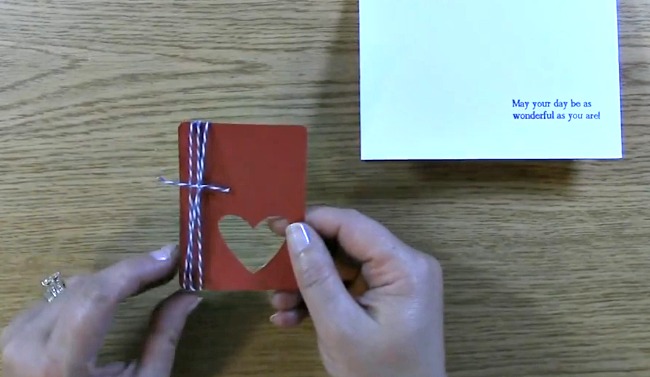
Take out your twine and wrap your twine around one side of your card. I wrapped the twine three times around one side of the card.

Tie a bow or make a knot to finish the twine decor. Cut off excess twine and straighten on your twine on your card.

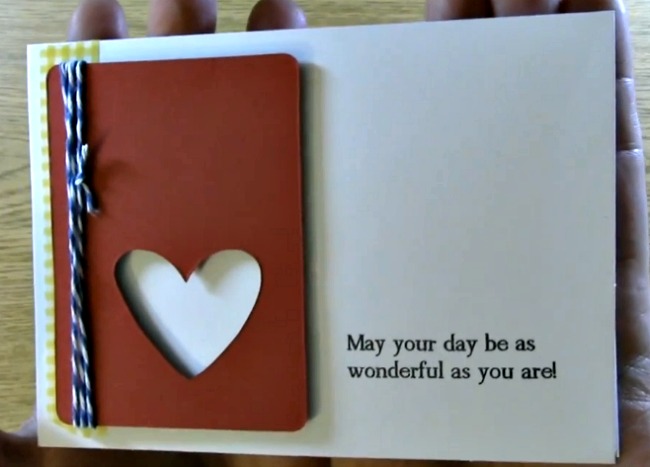
The Die Cut Sympathy Card Project is complete!!

Now for this weeks GIVEAWAY we are giving away the amazingly versatile A Creative Journey with Melissa Outside and In Stamp Set!
I have had a number of people say how much they use this stamp set as their go to set so I thought this would be the perfect prize for this week.
To qualify to win, you must be BOTH:
A public follower on YouTube, subscribe to our mailing list/blog posts and you may also comment on this blog post for an additional entry to win! Winners will be announced next week on our Mondays with Melissa blog post!
If you do not contact me within two weeks of the announcement of winning, you will forfeit your prize. Thank you for your understanding.
Subscribe to BOTH with MATCHING NAMES to be eligible. If I am unable to match you with your subscription to both the email list and the YouTube Channel, you will miss your chance to win a prize. If I can’t decipher if you are a matching subscriber (if your profile doesn’t show publicly who you subscribe to) and I can’t confirm you have subscribed to both, I won’t be able to enter you in for the prize. **DO NOT COMMENT WITH YOUR ENTIRE EMAIL ADDY. Only give me the first 6 NOT INCLUDING YOUR HOST. Just enough for me to match your name will work perfectly.
Here’s the GIVEAWAY from last weeks post which is a $25.00 Store Credit to our store!