SAVE MONEY: Create Custom Candles using Stamps and Photos
SAVE MONEY: Create Custom Candles using Stamps and Photos is what we have for you today. Have you ever seen an awesome candle with a picture on it and thought WOW! That is cool? Well, you are going to learn not only how to do it but how simple it is too! Ready? Let’s get started!

Supplies Needed for the SAVE MONEY: Create Custom Candles using Stamps and Photos Project
A Creative Journey with Melissa For My Boys Stamp Set
Embossing/Heating Tool or Hair Dryer
Scissors
Memento Ink
Inexpensive Candle
Scotch Tape
Tissue paper
Wax Paper
Copy Paper
Candle

This candle was created with out using stamps.
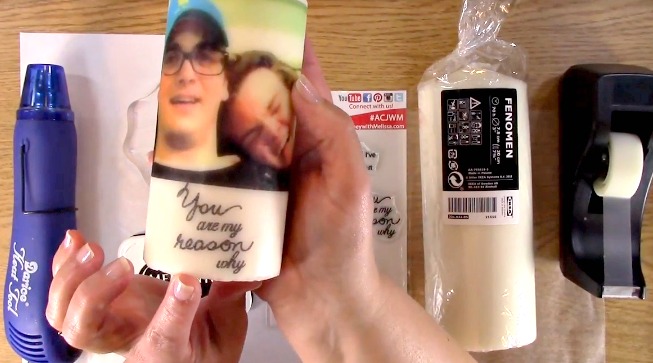
I used the A Creative Journey with Melissa For My Boys Stamp Set for the sentiment on this candle.

To begin the Create Custom Candles using Stamps and Photos Project,
take out your scotch tape, copy paper and tissue paper. Cut a piece of tissue paper that will fit on the copy paper and in the area in which you wish to print.
Use the copy paper as a guide to where your picture will print and place your tissue paper accordingly.
sing the scotch tape, tape the edges of the tissue paper to the copy paper. specifically the corners and in between the corners.
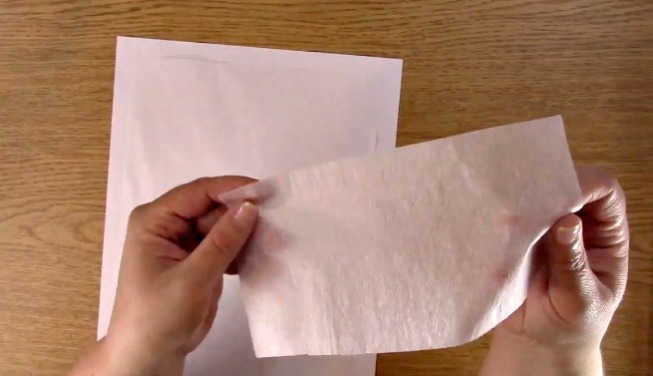
This is the tissue paper I used. This is not fancy tissue paper. This was generic white tissue paper and nothing fancy about it.

Double check to be sure that the edges of the tissue paper are not sticking up. You do not want them to get caught in the printer.

I used a rear feeding printer. My Epson 3640 feeds either way and this is not a fancy printer.
I believe I got it on sale for under $150.00 and I love it! The normal settings for general printing is what I used. I did not set it to the picture settings. The concern I had was that my front loading printer would rip the tissue paper or get caught. When the paper goes through the printer, it looks like the above picture which could cause more issues.

Now I am ready to print! I placed my paper in the printer facing up in the rear feeder. I simply used Microsoft word to print the picture.

This is what it looked like once it had been printed.

If you look closely (look at the circle) there is a little splotch of ink from the printer. I have no idea why but don’t worry! We will be cutting that area off so it won’t end up on the candle.

Take out your A Creative Journey with Melissa For My Boys Stamp Set for the sentiment for the Create Custom Candles using Stamps and Photos Project. Place your sentiment on your acrylic block.

Ink your sentiment and stamp it where you would like it on your tissue paper.

Well, I don’t like what it looks like.. It is a little crooked.
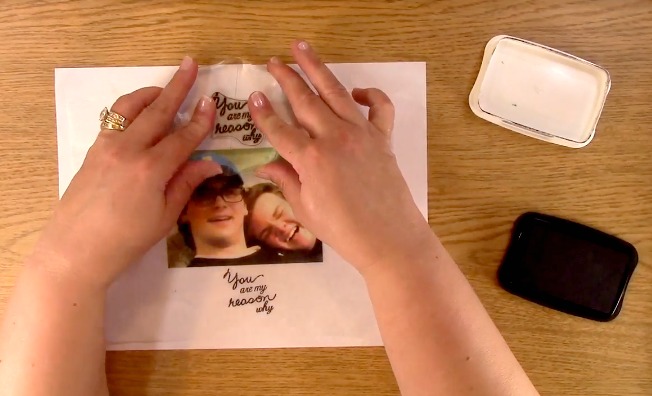
Well, if this happens to you, don’t worry! Improvise for your Create Custom Candles using Stamps and Photos Project!

The good news? I can stamp it on the top of the picture and I actually think I like it more!

Take out your scissors. Trim the tissue paper so that it will fit on your candle only keeping the areas in which you want to end up on your candle.

This is what I ended up with. You can see how transparent it is.. you can even see my fingers through the picture! Pretty cool, huh?

Now for the fun! I used an Ikea candle but you could really use any candle. Dollar store candles would work fine.

Take out your wax paper. I used wax paper I had in the house. Again, nothing fancy. Cut a piece that will fit around your candle with a little extra. This helps to hold the candle when using the heating tool.

Place your tissue paper image on your candle.
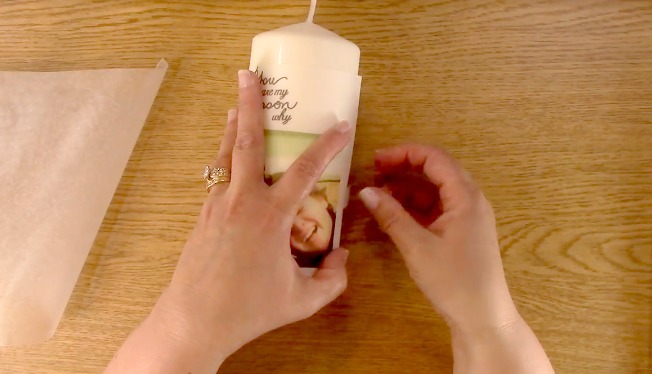
I used scotch tape to line up the image on the candle and then removed it before I went any further.

Take out your wax paper. Carefully, roll the candle with image so that it stays in place.

Roll up the other side of the wax paper.

Gather the wax paper at the top.
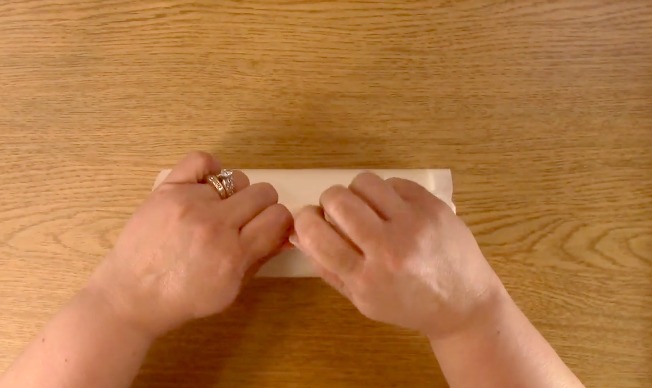
Fold over the wax paper as shown. This helps to create a small handle for you to hold onto.

This is a top view to show you how it looks once folded.

Take out your heating tool and turn it on. Moving the heating tool back and forth with some space between it and the candle, begin to heat the image. Notice how dull and how it looks like it has a matte finish.

As you heat the image, it starts to look shiny and almost 3-D of color compared to what it looked like in the beginning. Look at the difference between the top and the bottom of the image on the candle.

Make sure you heat the entire image. This is what allows the image to embed in the candle.

Take special care of the edges of the tissue paper.
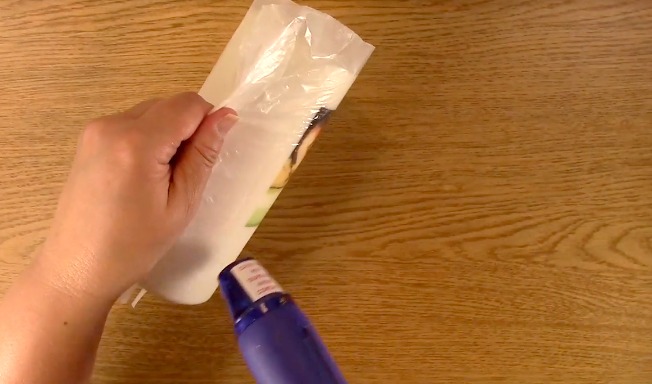
You want to be sure it is heated thoroughly.
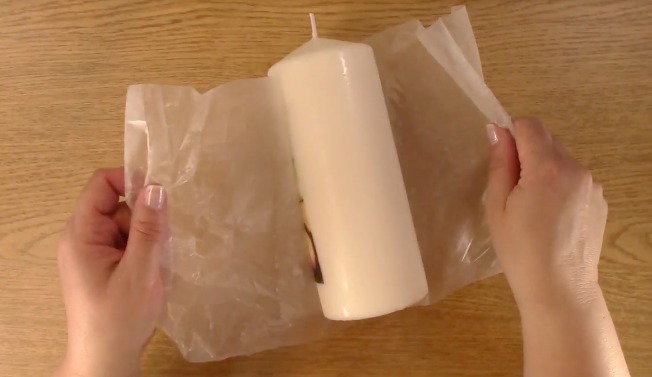
Once you have finished heating the image completely, slowly and carefully take off the wax paper.

This is what it looks like as it is coming out of the wax paper. PRETTY NEAT, HUH?

Here is a close up of what the candle looks like once it is complete.

Whether you like the SAVE MONEY: Create Custom Candles using Stamps and Photos Project with a sentiment, a picture, stamped images or a combination of all of it, the possibilities are ENDLESS!
Now, for the GIVEAWAY!
This week we are giving away the A Creative Journey with Melissa For My Boys Stamp Set as featured in this post and the above video!!
To qualify to win, you must be BOTH:
A public follower on YouTube, subscribe to our mailing list/blog posts and you may also comment on this blog post for an additional entry to win! Winners will be announced next week on our Mondays with Melissa blog post!
If you do not contact me within two weeks of the announcement of winning, you will forfeit your prize. Thank you for your understanding.
NOTE: Be sure you are subscribed with matching names. If I am unable to match you with your subscription to both the email list and the YouTube Channel, you will miss your chance to win a prize. If I can’t decipher if you are a matching subscriber (if your profile doesn’t show publicly who you subscribe to) and I can’t confirm you have subscribed to both, I won’t be able to enter you in for the prize. **DO NOT COMMENT WITH YOUR ENTIRE EMAIL ADDY. Only give me the first 6 NOT INCLUDING YOUR HOST. Just enough for me to match your name will work perfectly.

Now, for the last weeks GIVEAWAYS! We are giving away TWO STAMP SETS!

The winner of the A Creative Journey with Melissa Tie Die and Splatter Stamp Set is Babe O!

The winner of the A Creative Journey with Melissa Spring and Summer Holiday Celebrations Stamp Set is KT!
Babe O. and KT, please send me your contact information via contact page on our website, which post you are a winner from and I will get your certificate prize out to you! Thank you so much for being a YouTube follower and subscribing to our mailing list/blog posts!
We hope you enjoyed our SAVE MONEY: Create Custom Candles using Stamps and Photos Project! Have a wonderful week and thank you for going on A Creative Journey with Melissa. 

