Tag Archive for: planner

Create Your Own Planner Journal Project – Part 2 – Protecting Your Planner Journal Covers

Create Your Own Planner Journal Project – Part 2 – Protecting Your Planner Journal Covers is w hat we have for you today. If you haven’t seen the first post in this series, please go here so you can start from the beginning! We will be using a very simple way  to protect your planner journal covers that is kid friendly! Nothing hot or too sticky is used! Are you ready? Let’s get buzzin’ shall we?Protecting Your Planner Journal Covers s
What you will need in order to Protecting Your Planner Journal Covers

Adhesive Clear Laminate (I used Duck brand)

Scissors

Your project
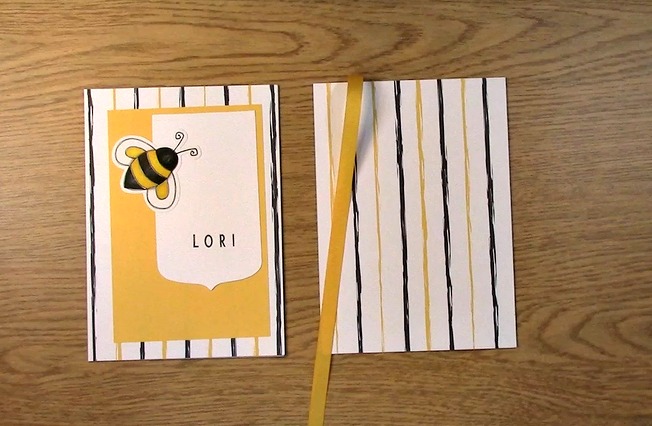
Protecting Your Planner Journal Covers e

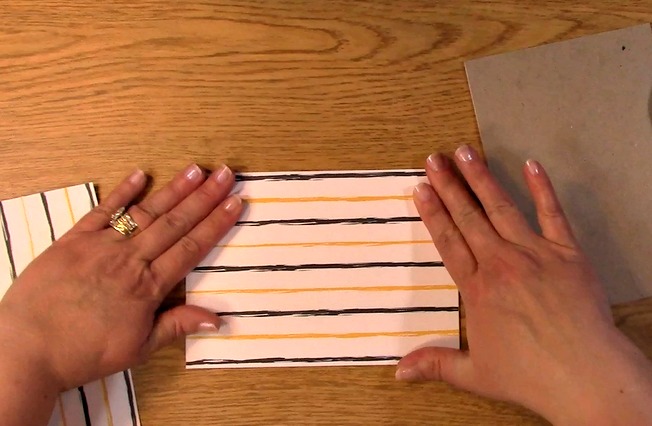
Get out your project.

Protecting Your Planner Journal Covers b

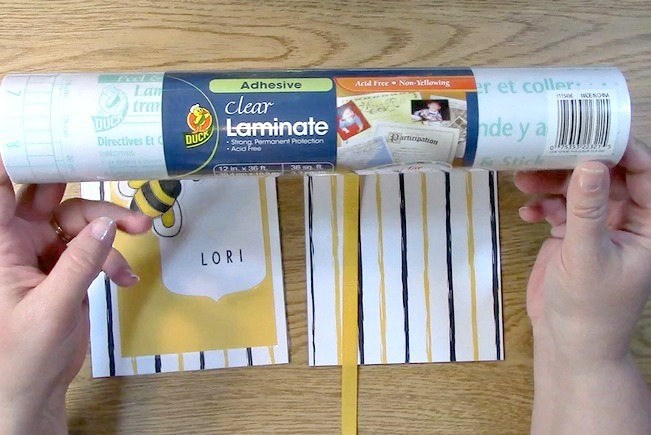
Take out your adhesive clear laminate
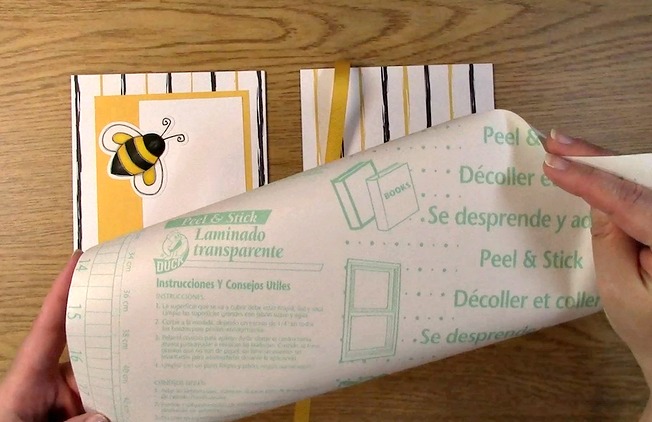
Protecting Your Planner Journal Covers f

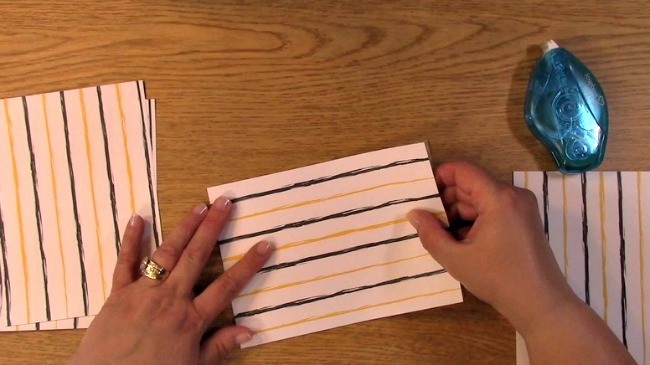
Cut out a piece of laminate with approximately one inch extra all of the way around the project.
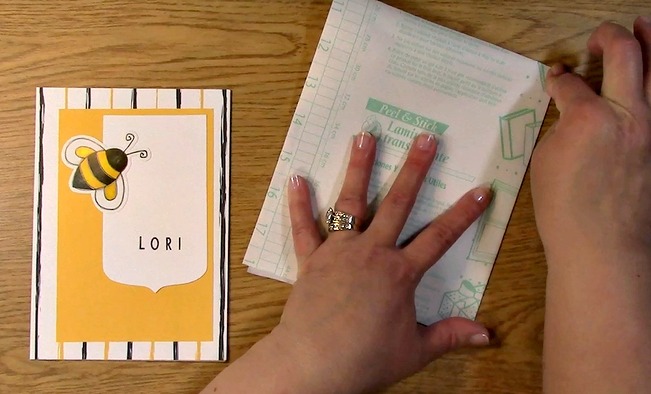
Protecting Your Planner Journal Covers g

We are using the adhesive clear laminate for Protecting Your Planner Journal Covers. You will want to fold this adhesive clear laminate in half and crease it.
Protecting Your Planner Journal Covers h

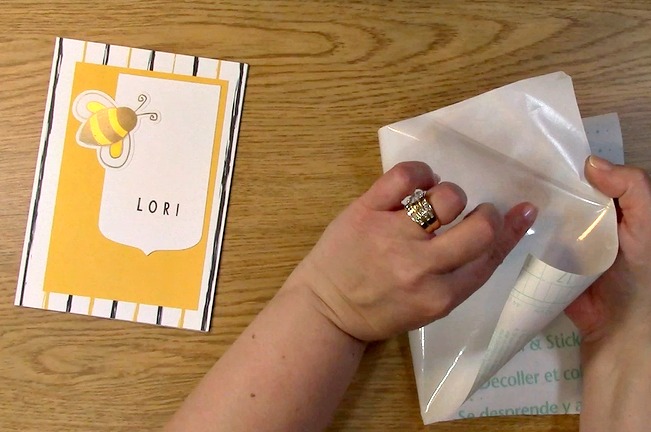
To try to keep the laminate from rolling up, roll it up one way then flip and roll it the other way. This will help straighten the sheet out. I don’t always do this but it can be helpful.
Protecting Your Planner Journal Covers i

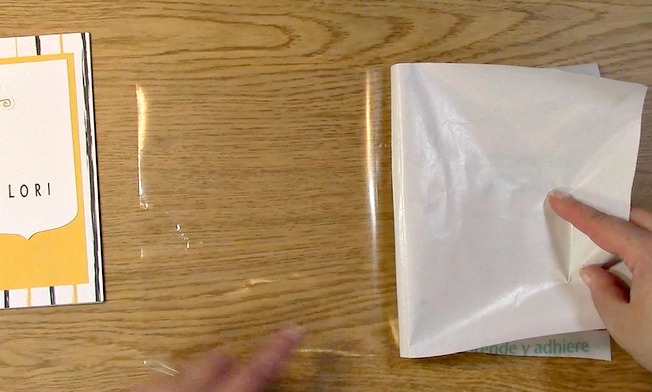
Pull the backing from the laminate.

Protecting Your Planner Journal Covers j

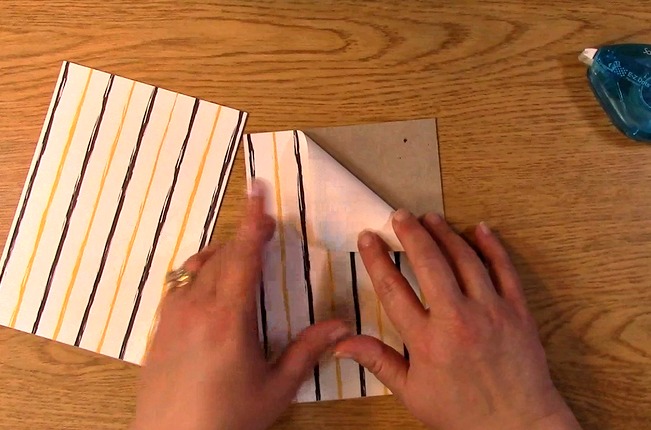
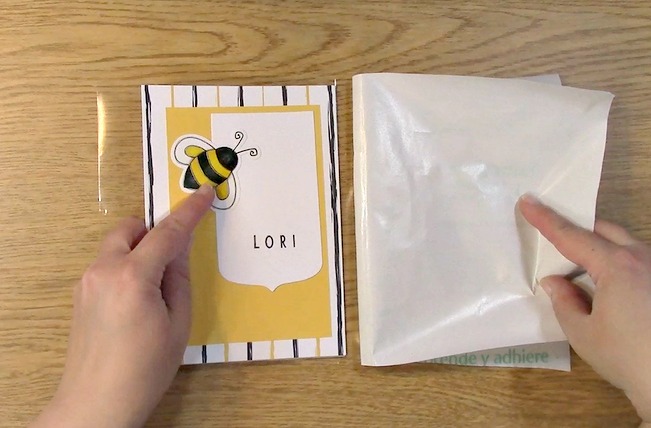
Peel the backing to the half way mark of your laminate.
Protecting Your Planner Journal Covers k

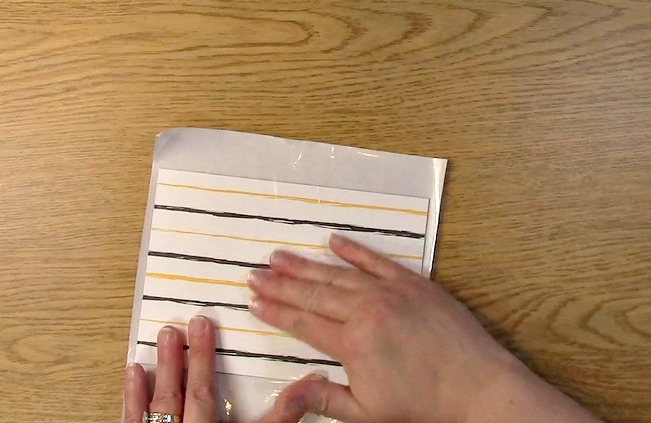
Place the back of your front cover project down on the adhesive laminate.
Protecting Your Planner Journal Covers l

Press down on the laminate pushing all of the bubbles out toward the open edges.
Protecting Your Planner Journal Covers m

Turn your project over so that the front cover is facing you now.

Protecting Your Planner Journal Covers k

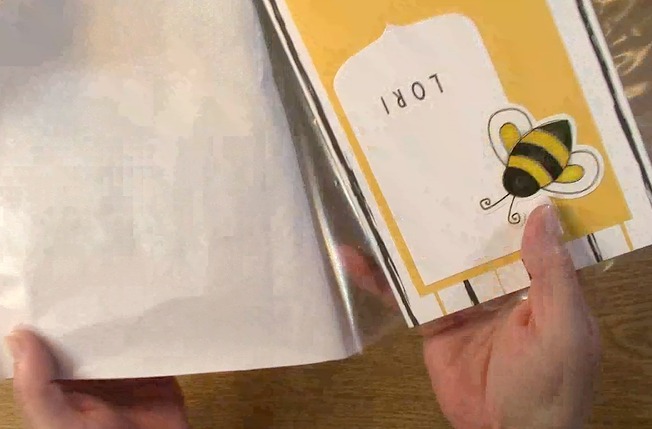
Pull the rest of the backing off of the laminate.Protecting Your Planner Journal Covers n
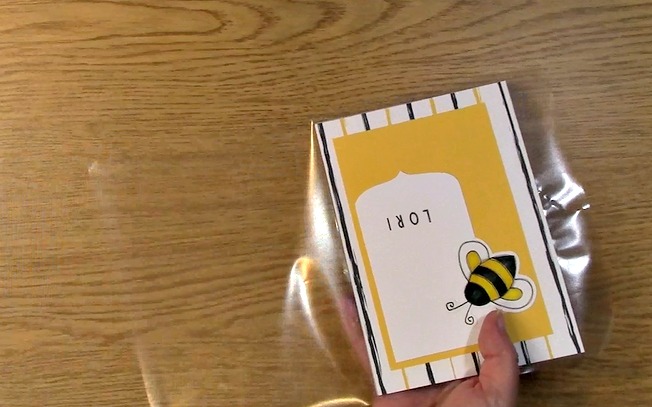
This is what it will look like  after you take off the backing while you are Protecting Your Planner Journal Covers.
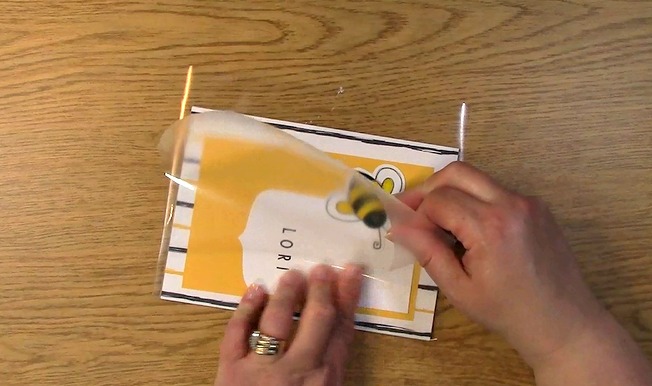
Protecting Your Planner Journal Covers o

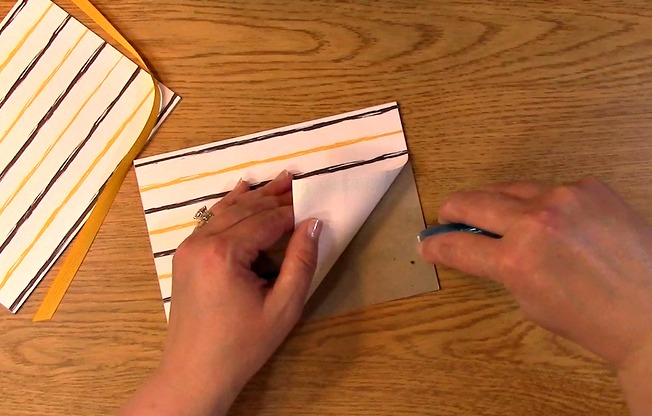
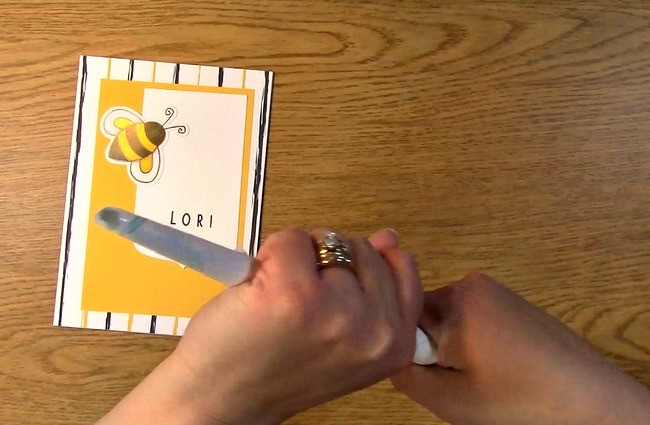
Fold over the laminate so that it is on the side of the front. Slowly rub the laminate toward the outer edge so that your rub out all of the bubbles.
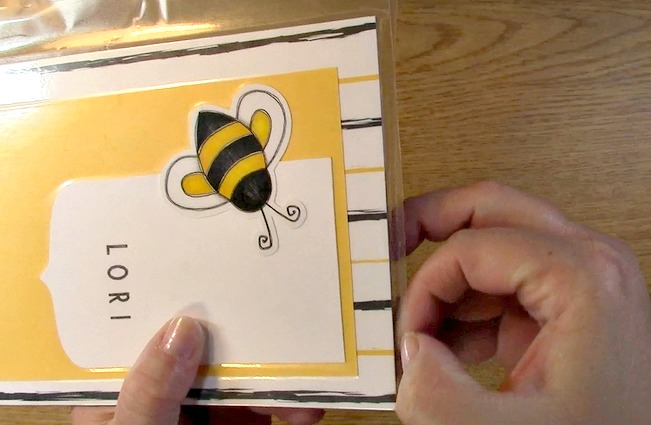
Protecting Your Planner Journal Covers p

Be sire to rub the edges of all of the areas ensuring proper adhesion.
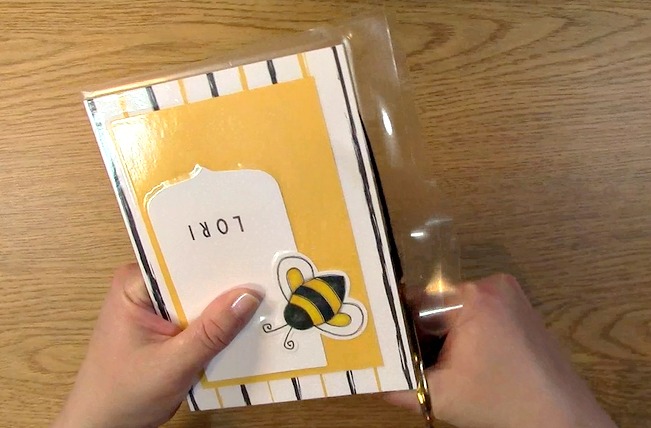
Protecting Your Planner Journal Covers q

Take out your scissors and trim the cover. You can do it two different ways: trim closely to the edge or trim so that there is a small amount of overhang to ensure complete sealing.
Protecting Your Planner Journal Covers r

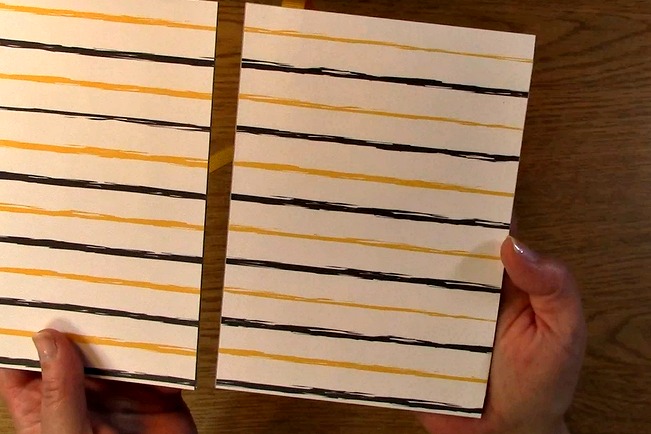
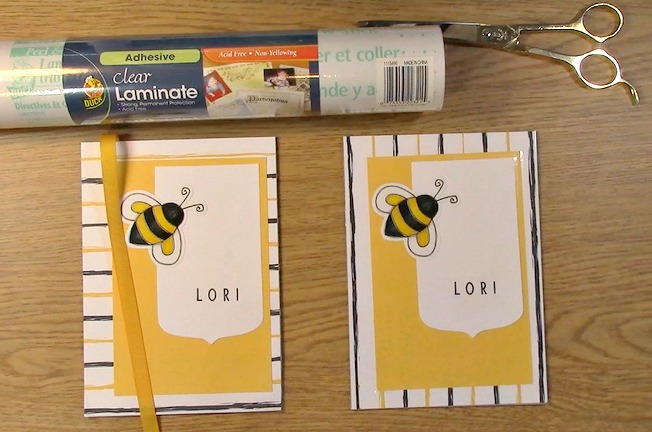
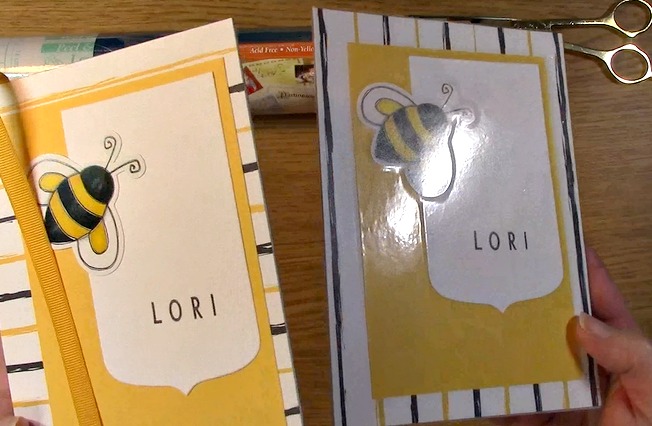
Your project is complete!! The left is not covered and the right has been covered. Be sure to repeat the above steps for the back cover of your planner journal.

We also wanted to be sure that you know about our sale! Today is the last day to save 30% on our in stock items! Be sure to use the code below!

NSD2016

Thank you for joining us today. We hope you subscribe to our You Tube Channel as well as our blog to get the latest tips, tricks, sales and info!

We hope you enjoyed going on A Creative Journey with Melissa.

melissa-written-signature

Create Your Own Planner Journal Project – Part 1 – Making Your Planner Covers

Create Your Own Planner Journal Project – Part 1 is what we have for you today. I love journals, planners, smash books, project life and oh I just love playing with paper. In this video series, you will see how to create your very own planner with your own twist on it. There are so many variations, we hope to inspire your creativity! Please be sure to share your design with us!

Create Your Own Planner Journal Project - Part 1 - Making Your Planner Covers c

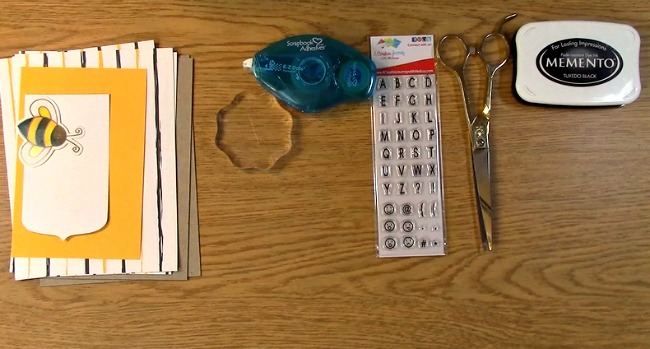
Supplies Needed for the Create Your Own Planner Journal Project

Stamp Block

Everyday Alphabet Uppercase and Emoticon Stamp Set

Scissors

Ribbon

Adhesive

Black Ink

Chip Board

Patterned Paper

Solid card stock

Tag for name personalization

Bee Image

Create Your Own Planner Journal Project - Part 1 - Making Your Planner Covers a

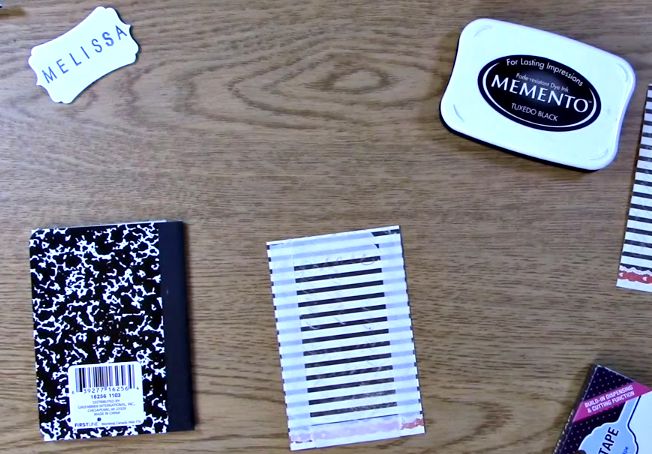
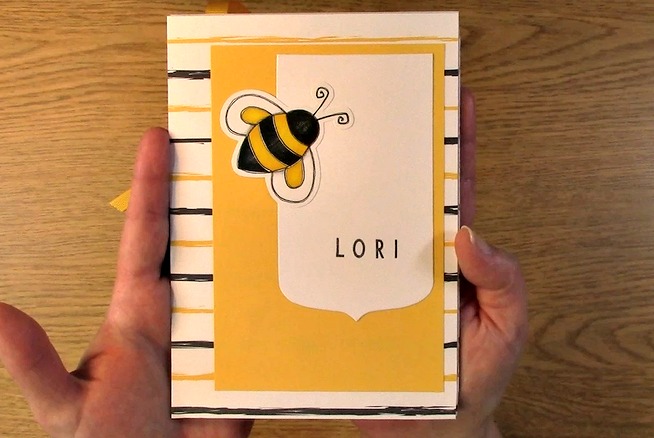
This is what we will be creating. For the example of the Create Your Own Planner Journal Project shown in the video above, I have the paper with horizontal lines.

Create Your Own Planner Journal Project - Part 1 - Making Your Planner Covers b

This is the covered back of the chip board.

Create Your Own Planner Journal Project - Part 1 - Making Your Planner Covers d

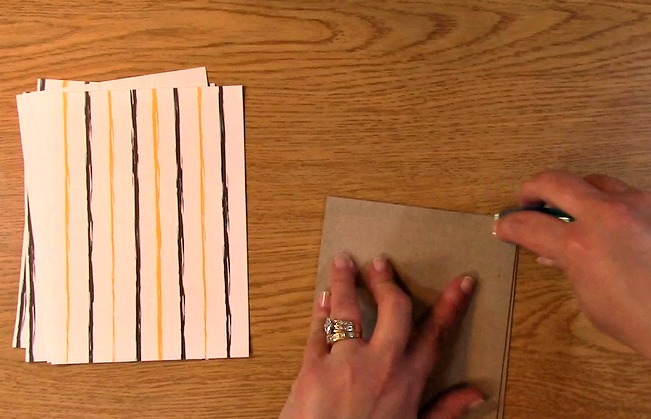
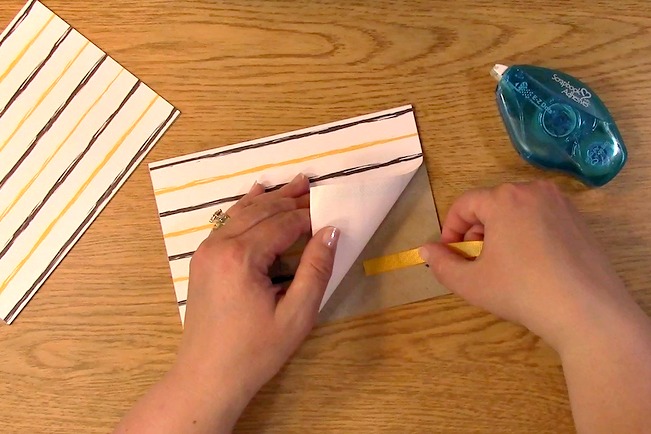
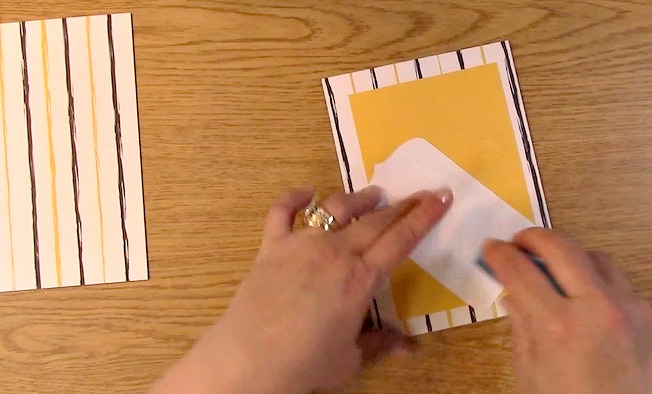
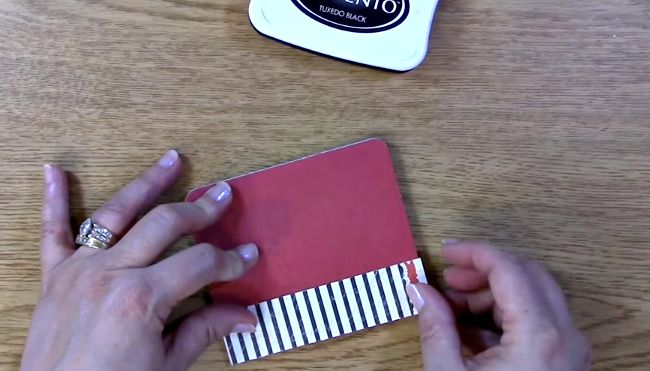
For the video, I have them with vertical lines as shown here. Apply adhesive to the chip board or the paper outer edges. Be sure the edges are covered to avoid lifting of the corners.

Create Your Own Planner Journal Project - Part 1 - Making Your Planner Covers e

Apply the paper lining up the edges so the chip board is covered.

Create Your Own Planner Journal Project - Part 1 - Making Your Planner Covers f

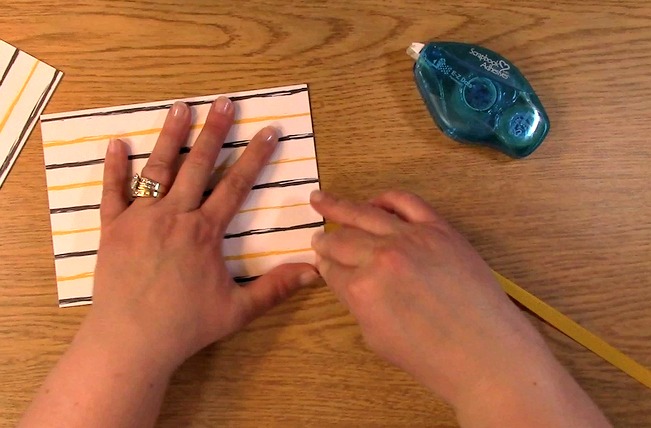
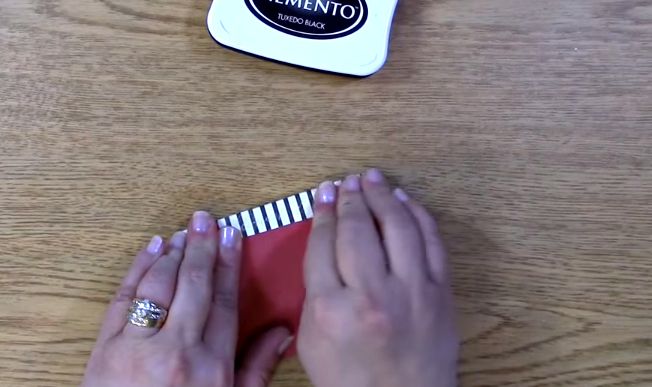
Be sure to push down on all of the outer edges to ensure adhesion of the adhesive. Repeat for the back side of the chip board leaving one part of the paper corner not adhered.

Create Your Own Planner Journal Project - Part 1 - Making Your Planner Covers h

Be sure you have adhesive on the edges and take out the ribbon strip.

Create Your Own Planner Journal Project - Part 1 - Making Your Planner Covers j

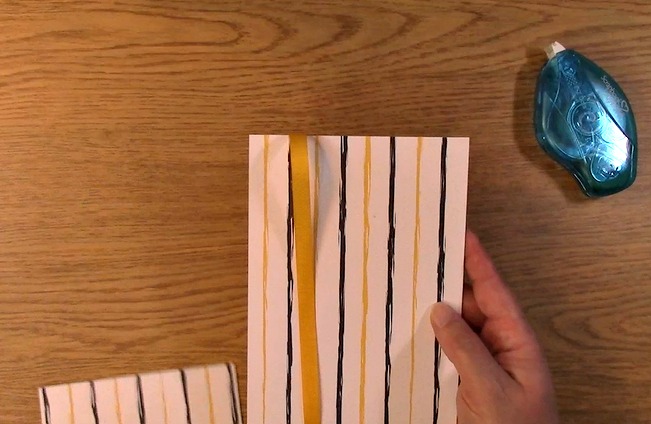
Apply adhesive in a line for the ribbon.

Create Your Own Planner Journal Project - Part 1 - Making Your Planner Covers k

Adhere the ribbon on the adhesive line.

Create Your Own Planner Journal Project - Part 1 - Making Your Planner Covers l

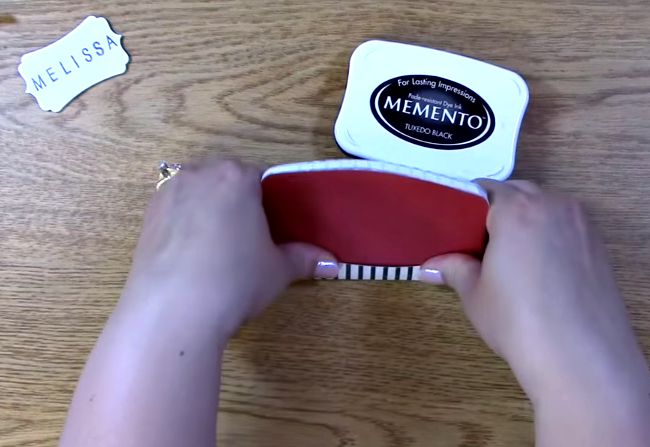
Press down on the edges ensuring they have adhered to the chip board.

Create Your Own Planner Journal Project - Part 1 - Making Your Planner Covers m

This is what it will look like.

Create Your Own Planner Journal Project - Part 1 - Making Your Planner Covers o

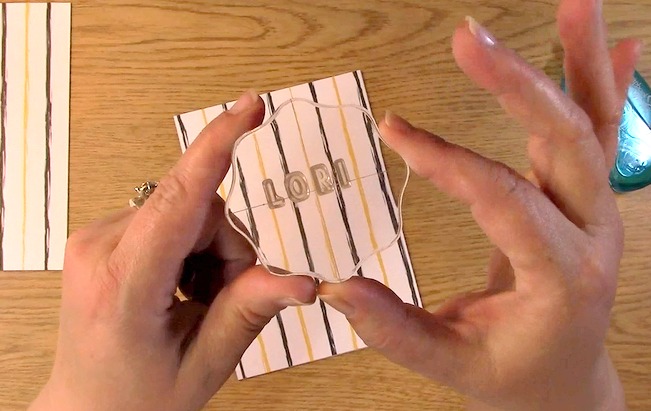
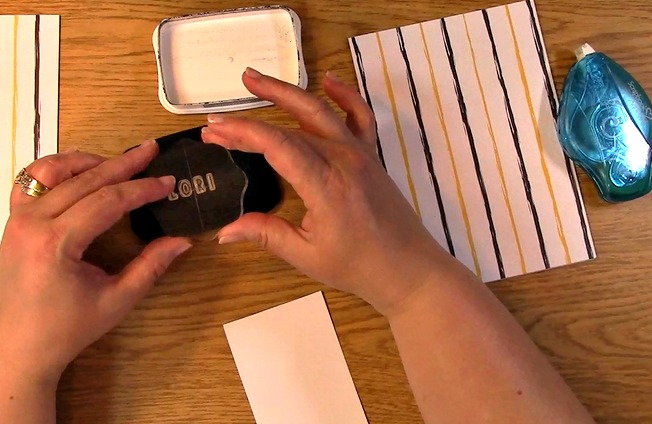
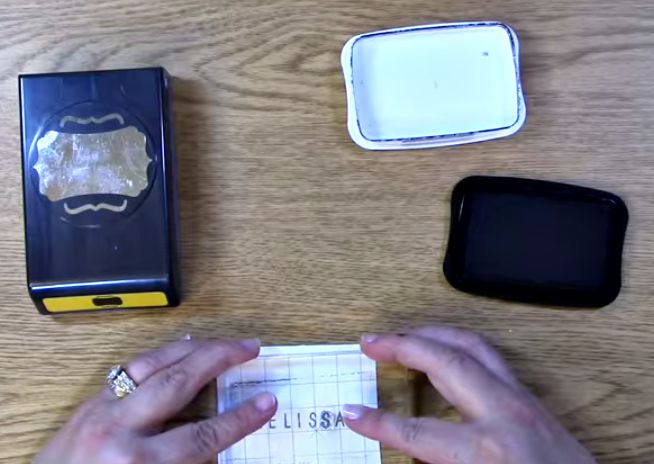
Take out the Everyday Alphabet Uppercase and Emoticon Stamp Set. Adhere the letters to the stamp block.

Create Your Own Planner Journal Project - Part 1 - Making Your Planner Covers p

Apply ink to the letters.

Create Your Own Planner Journal Project - Part 1 - Making Your Planner Covers q

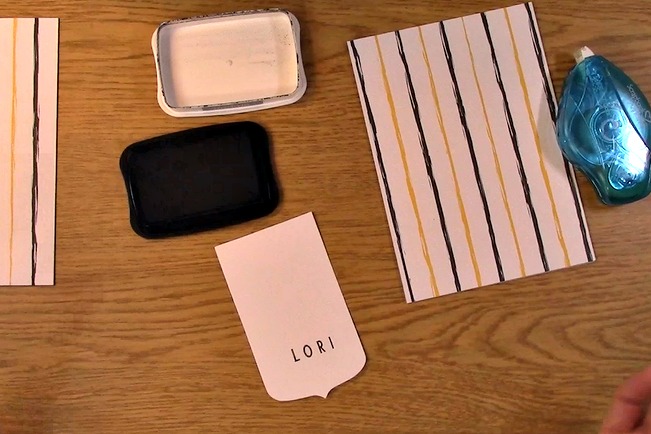
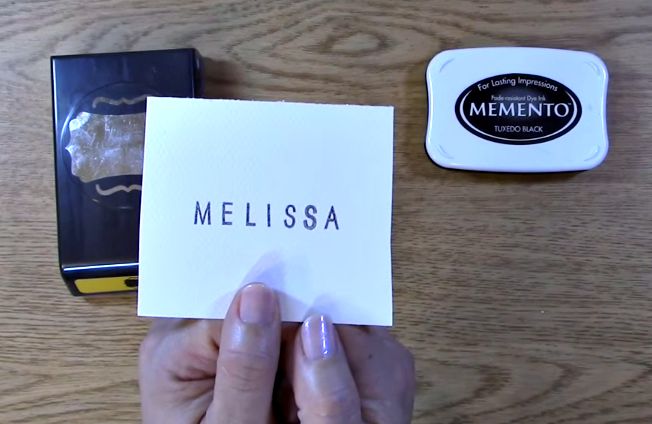
Stamp the name on the tag.

Create Your Own Planner Journal Project - Part 1 - Making Your Planner Covers r

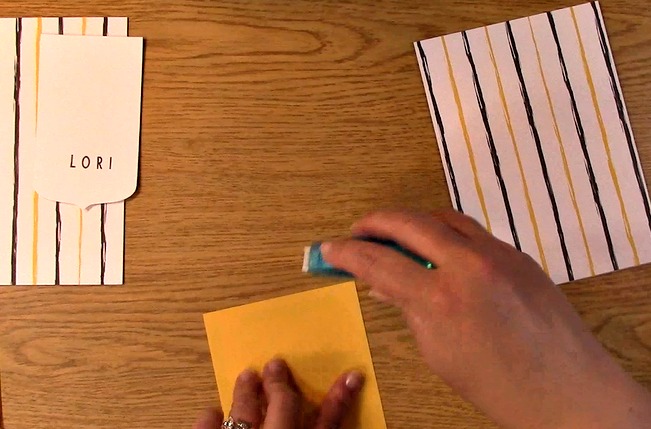
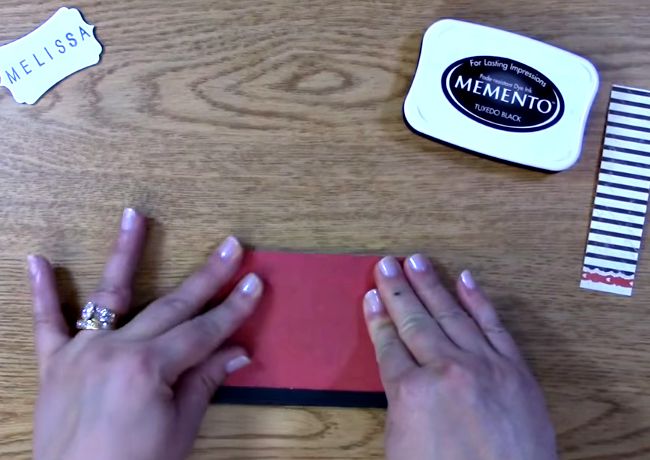
Apply adhesive to the back of the solid colored card stock mat.

Create Your Own Planner Journal Project - Part 1 - Making Your Planner Covers s

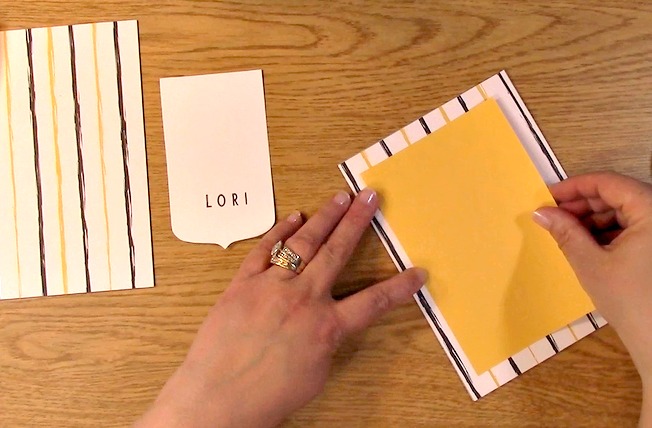
Adhere to the chipboard cover leaving space for the binding.

Create Your Own Planner Journal Project - Part 1 - Making Your Planner Covers t

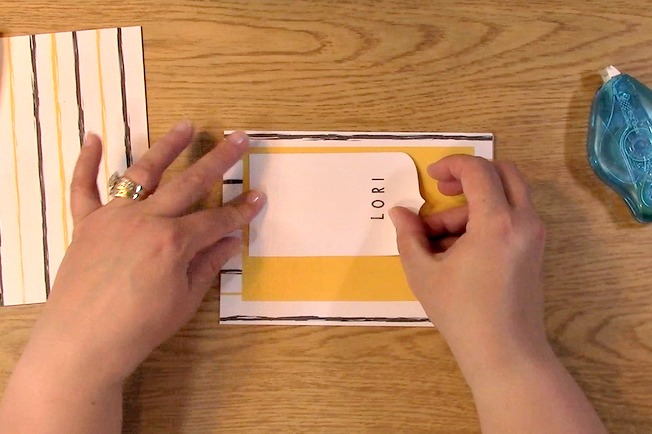
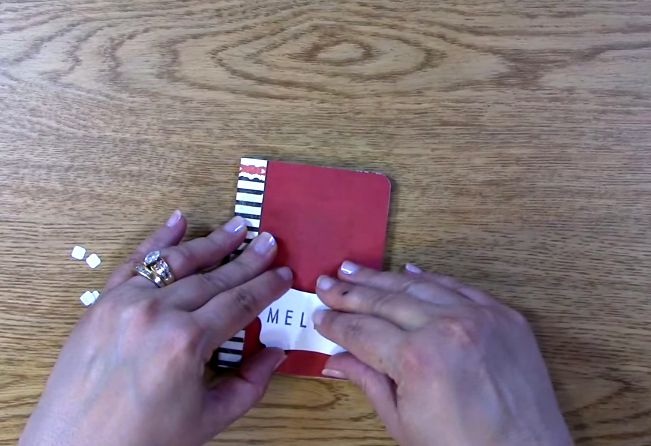
Apply adhesive to the back of the tag.

Create Your Own Planner Journal Project - Part 1 - Making Your Planner Covers u

Apply to the solid colored card stock on the chip board cover.

Create Your Own Planner Journal Project - Part 1 - Making Your Planner Covers v

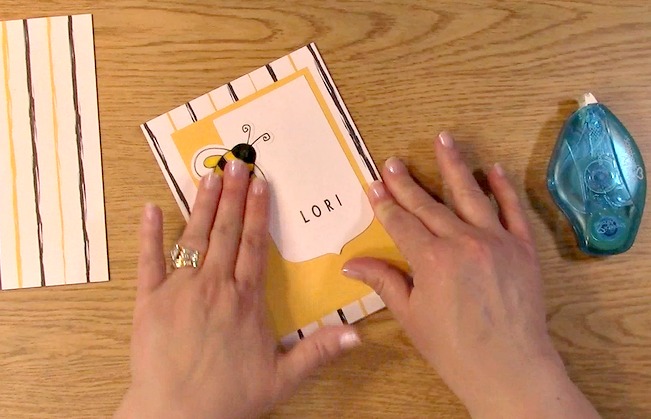
Apply adhesive to the bee image and adhere to the front cover.

Create Your Own Planner Journal Project - Part 1 - Making Your Planner Covers y

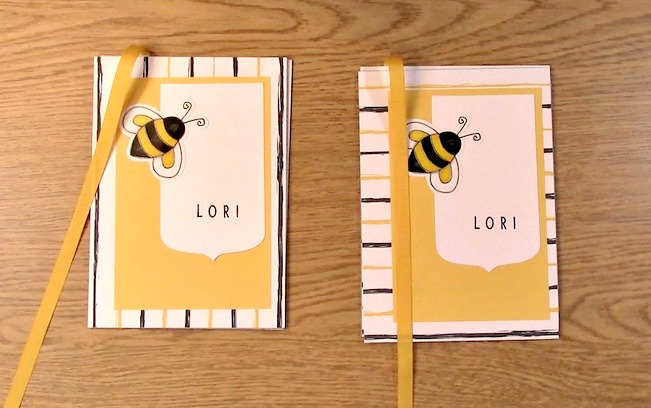
Your Create Your Own Planner Journal Project – Part 1 is complete! Rather than create the same exact project again for the tutorial versus the example, I thought it would be cool to see the difference in how it looks if you could see both completed which is why I did it two different ways. Here they are side by side.

Please be sure to stay tuned for the continuation of this project. Thank you for joining us and we hope you enjoyed going on A Creative Journey with Melissa.

melissa-written-signature


Craft personalized Sign Language planner, journal, midori clips, etc.

Craft personalized Sign Language planner, journal, midori clips, etc. is what we have for you today. There are so many ways and reasons you would make these clips that I can’t wait to see what you come up with. This is a CAS (clean and simple) design for you to use as inspiration or “clip-lift” (copy the idea) for your own creation.

Craft your own personalized Sign Language clips

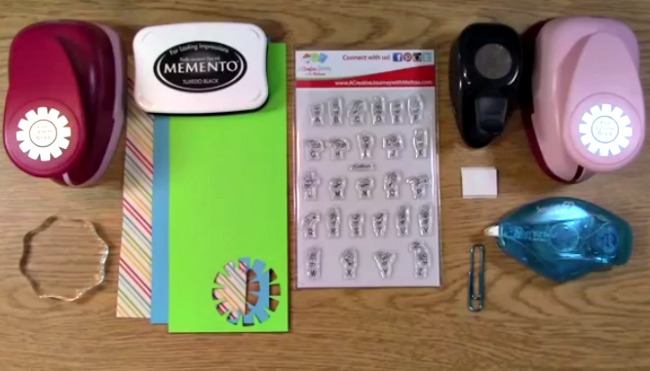
Supplies Needed to Craft your own personalized Sign Language clips 

Sign Language Alphabet Stamp Set

Stamp Block

Ink

Foam Rectangles/Squares for 3-D look

Scrap Patterned Paper

Scrap Colored Paper

Punches

Ink

Adhesive

Paper for Stamping on

Paper Clips

Craft your own personalized Sign Language clips b

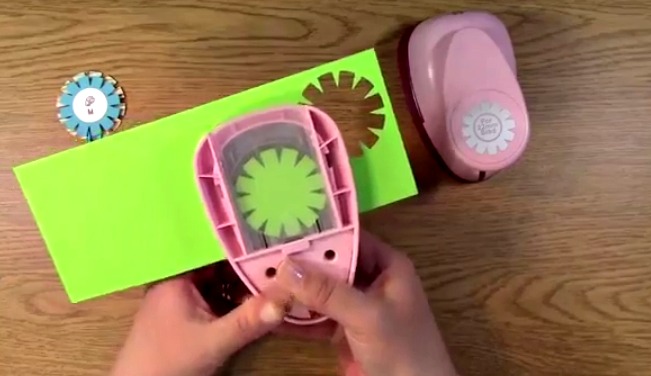
Take out your patterned and colored paper. Punch out your shapes.

Craft your own personalized Sign Language clips c

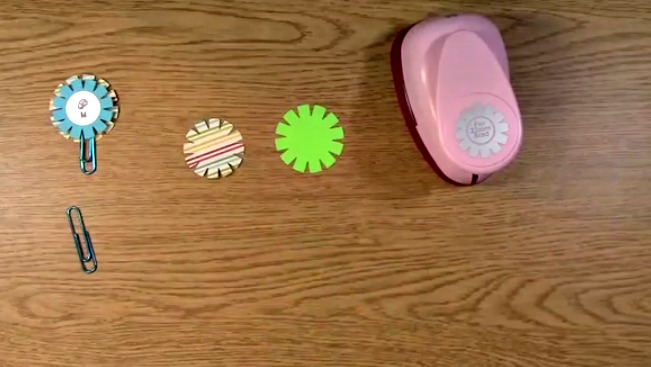
Be sure one is larger than the other so that they will layer nicely.

Craft your own personalized Sign Language clips d

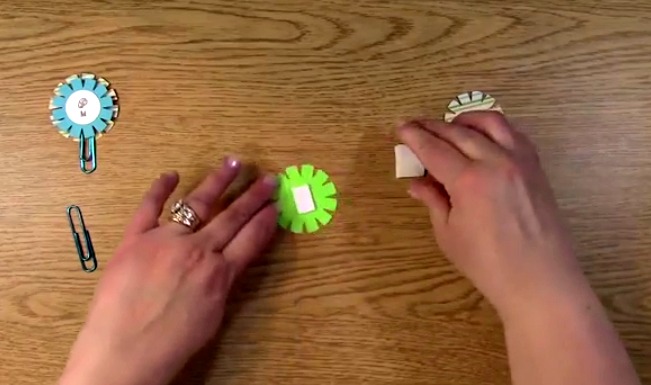
Apply 3-D Foam adhesive to the bottom punched out layer.

Craft your own personalized Sign Language clips e

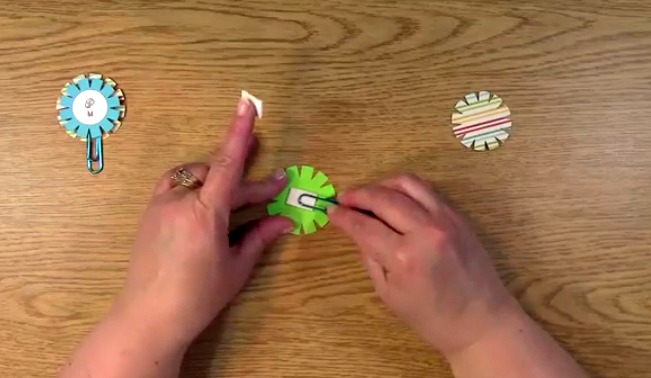
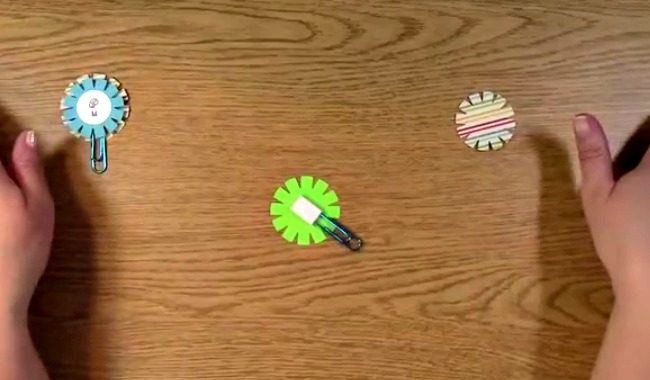
Add the paper clip to the top of the foam adhesive allowing most of it to hang off of your creation enabling use for planners, bookmarks, midori’s, etc.

Craft your own personalized Sign Language clips f

Add your second 3-D foam adhesive rectangle to the top of the paper clip.

Craft your own personalized Sign Language clips g

Apply the smaller punched out shape to the top of the foam rectangle.

Craft your own personalized Sign Language clips i

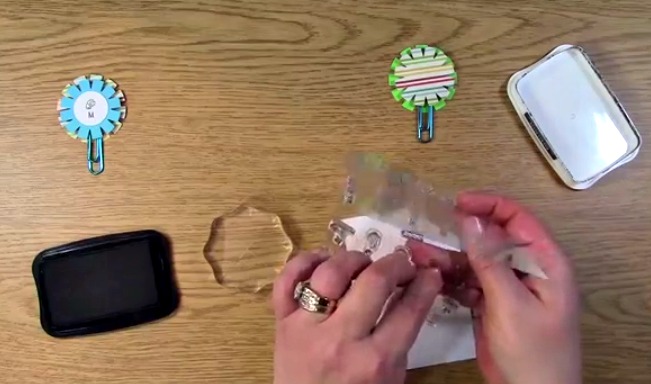
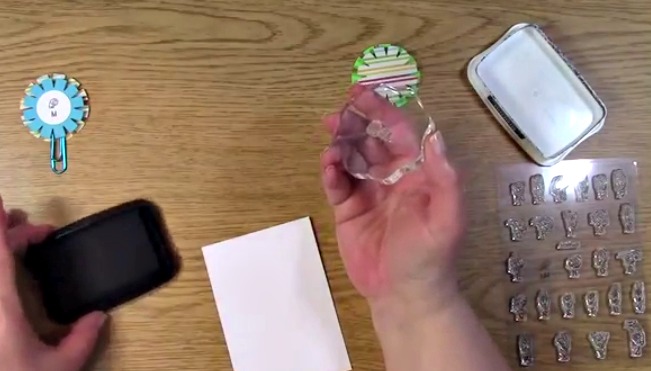
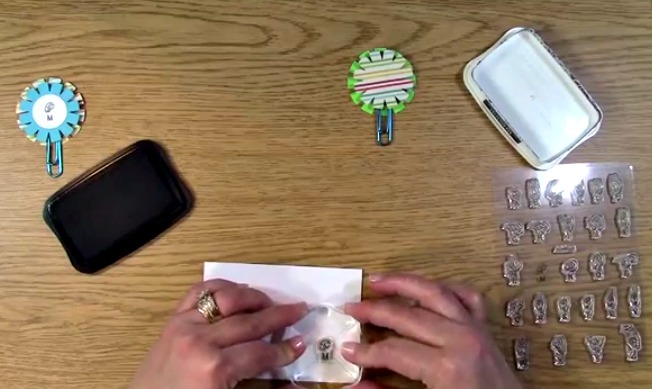
Take out your stamp block, Sign Language Alphabet Stamp Set, Ink and paper to stamp on. Peel off the Sign Language Alphabet letter of your choice.

Craft your own personalized Sign Language clips j

Place your stamp on the block.

Craft your own personalized Sign Language clips k

Ink your stamp.

Craft your own personalized Sign Language clips l

To Craft personalized Sign Language planner, journal, midori clips, etc. you will now need to stamp your letter on your paper.

Craft your own personalized Sign Language clips m

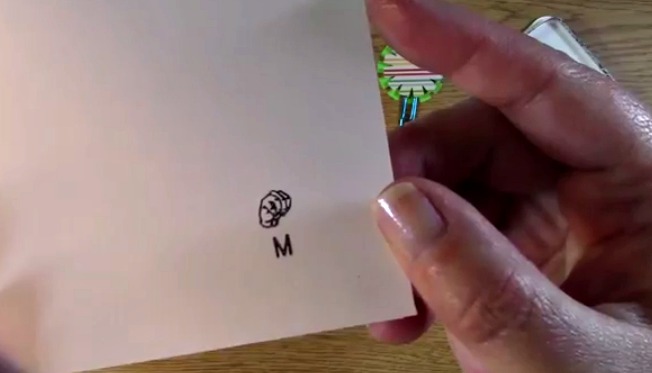
Here is a close-up of the stamped image.

Craft your own personalized Sign Language clips n

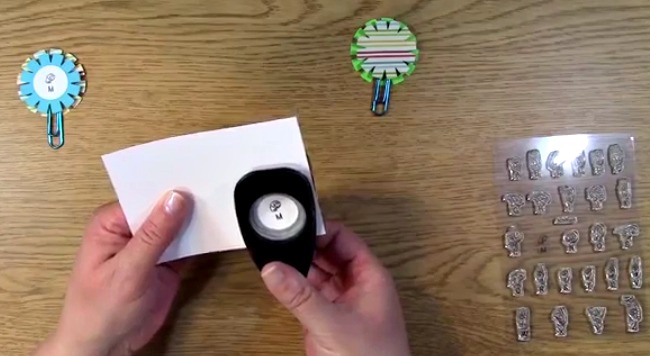
Using your chosen punch, punch out the stamped letter.

Craft your own personalized Sign Language clips o

Apply adhesive to the back of the stamped letter.

Craft your own personalized Sign Language clips p

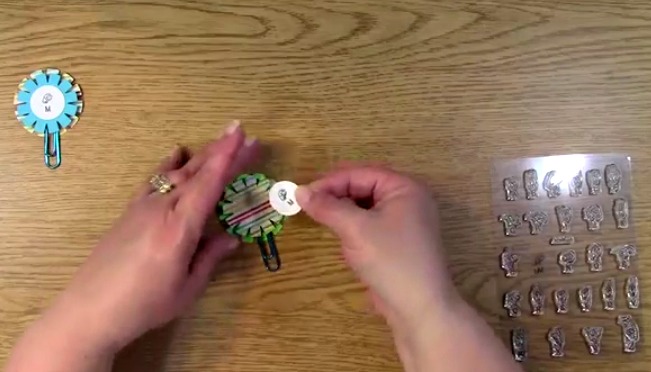
Apply the stamped image to the top of the punched out shape.

Craft your own personalized Sign Language clips r

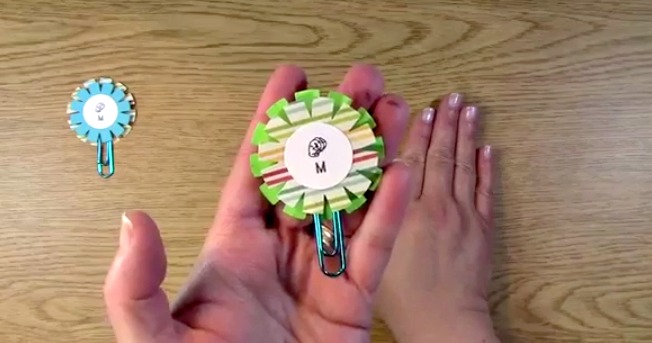
Here is your finished clip! You now know how to Craft personalized Sign Language planner, journal, midori clips, etc.!

Craft your own personalized Sign Language clips s

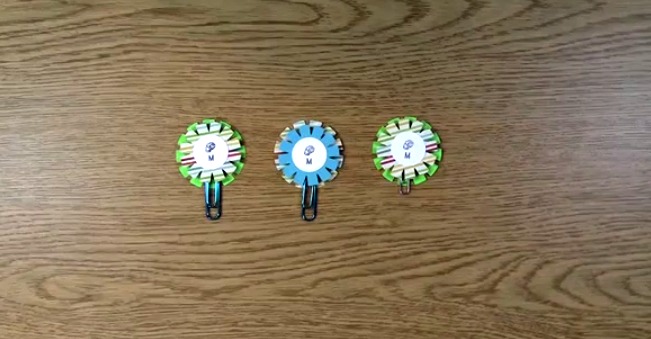
Here are a few clips that I made showing you the different look whether you have a solid color by the alphabet letter or patterned as well as a smaller clip is used for the middle creation.

Thank you so much for joining us today. We hope we have inspired you to create your own clips and we would love to hear what you have created! Please be sure to share it with us. Thank you for going on A Creative Journey with Melissa.
melissa-written-signature

Create Your Own Pocket Mini Journal, Planner, Date Book or Notebook!

Do you want to Create Your Own Pocket Mini Journal, Planner, Date Book or Notebook? Then you have come to the right place! You will look at composition books in a new way! I will show you how to use a mini composition book and decorative paper to create your own one of a kind Pocket Mini Journal, Planner, Date Book or Notebook! Not only is it simple to do, it is really inexpensive and you can use them for gifts too! Whether you like to learn by video or pictorial, we have them here!

Thanks for joining us today and let’s get started.

Here are the supplies you will need:

Paper for the cover and back of the mini composition book

Paper for the binding seam of the book

Paper for the Name Tag

Crafty Power Tape

Everyday Alphabet Upper Case and Emoticon Stamp Set

Punch

Mini Composition Book

Foam Squares

Scissors

Ribbon

Paper Clip

Alignment Grid Stamp Block

Ink Pad

Supplies w text

First take out your paper clip and your ribbon. Take out ribbon and clip

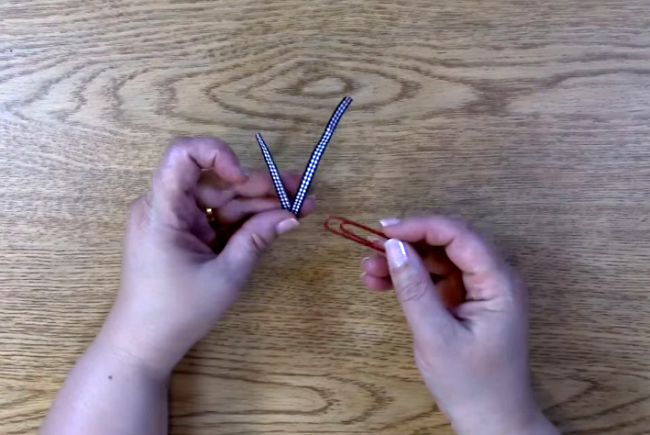
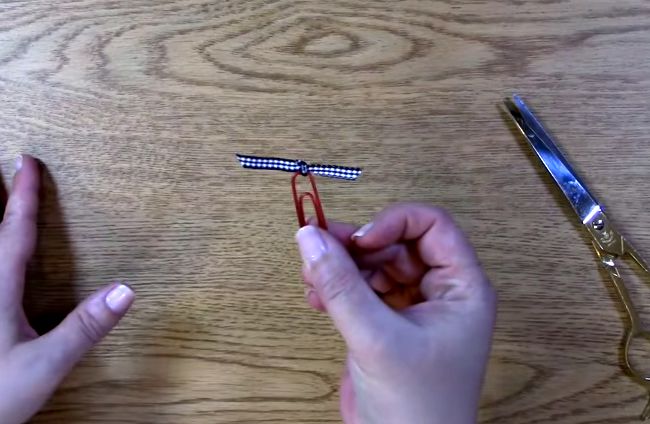
Tie your ribbon around your paper clip. Trim Ribbon. Set aside.

Tie a knot on the paper clip with the ribbon

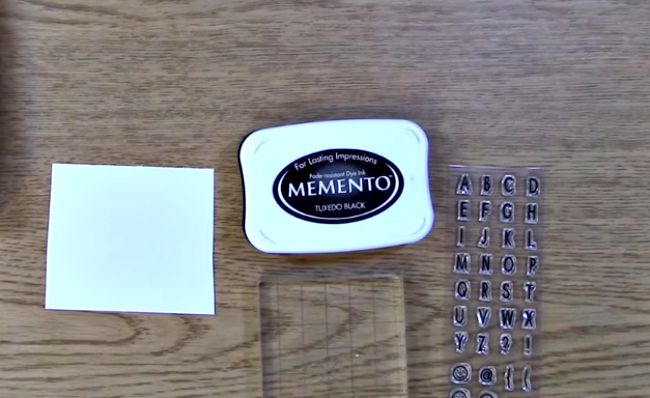
Take out your Everyday Alphabet and Emoticon Stamp Set, Acrylic Block with Grid, Ink and Paper.

Take out block, ink , stamps and paper

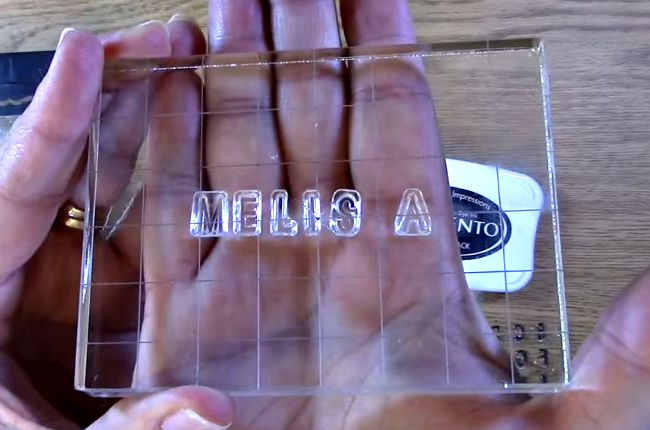
Place your stamps on the acrylic block. If you need to use one letter twice like the example, Leave a space for it in your word so you can go back and add it later.

 place stamps on block

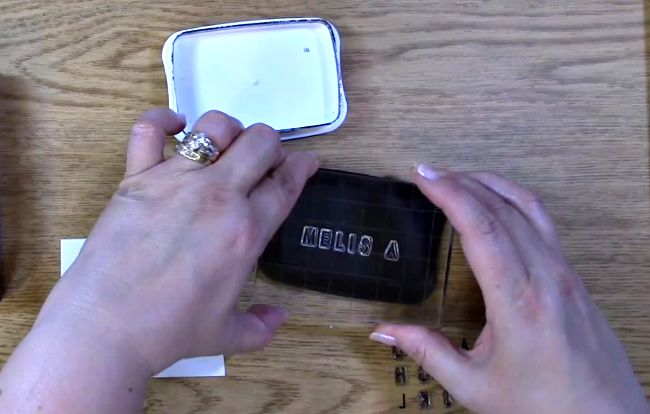
Ink your stampsInk letters

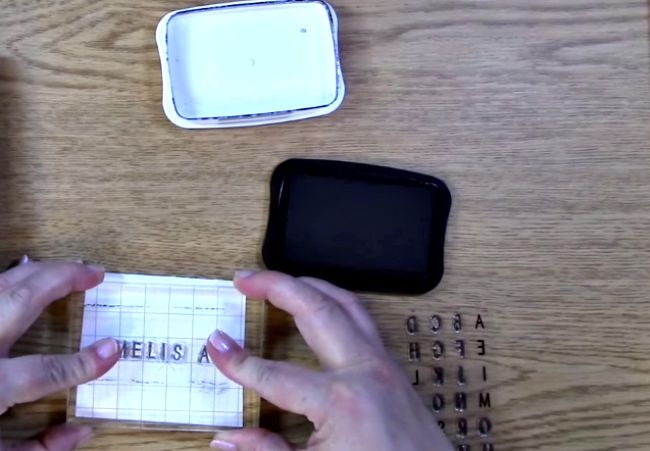
Stamp your letters onto your paper

stamp letters

Clean off your stamps and remove the stamps you don’t need. Ink and stamp the letter(s) you need to add for your creation. In this case, I needed to add another “S” to it to spell the name Melissa. here I am just stamping the “S” to fill in where I didn’t have two of them to use.

add additional letters

Here is the finished stamped name.

Stamped name

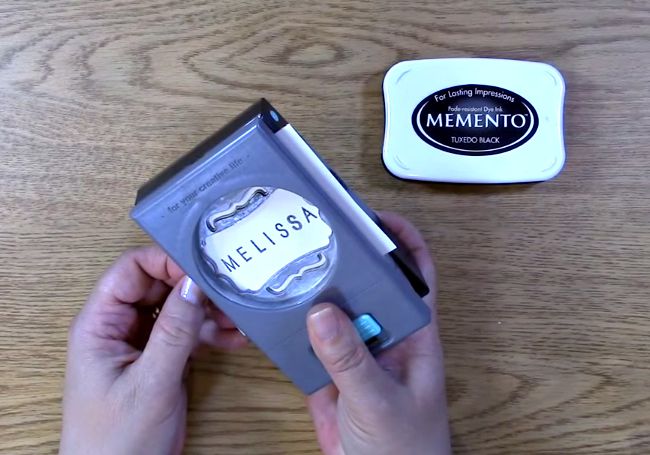
Take your punch and punch out the name for your creation.

punch out letters

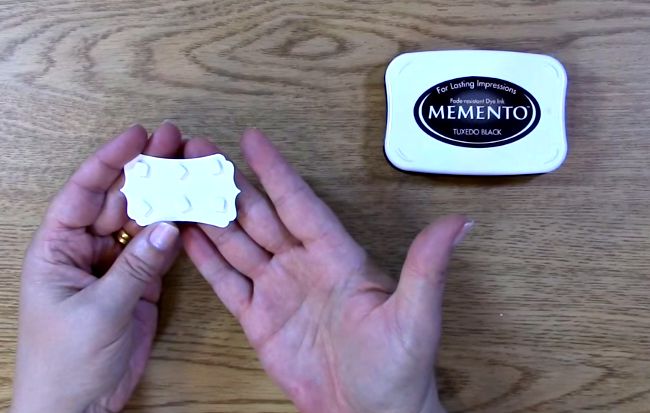
Place foam squares on the back of the punched out paper. Set aside.

add foam squares and set aside

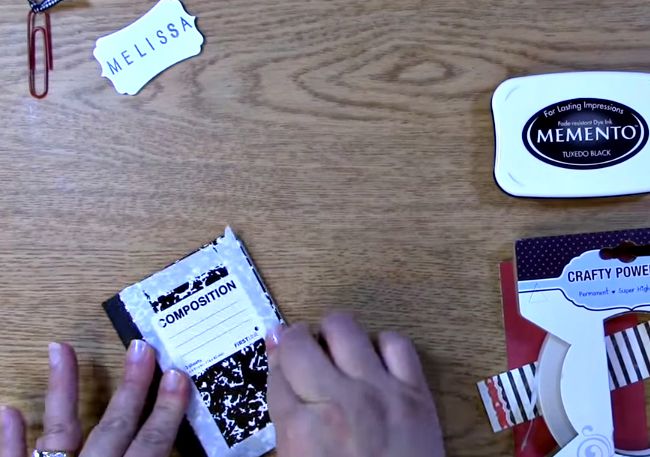
Take out your paper, crafty tape, and mini composition book. There are two ways you can add adhesive to your project. Either directly onto the book or directly onto the paper and then place it on the book. I will show you both ways.

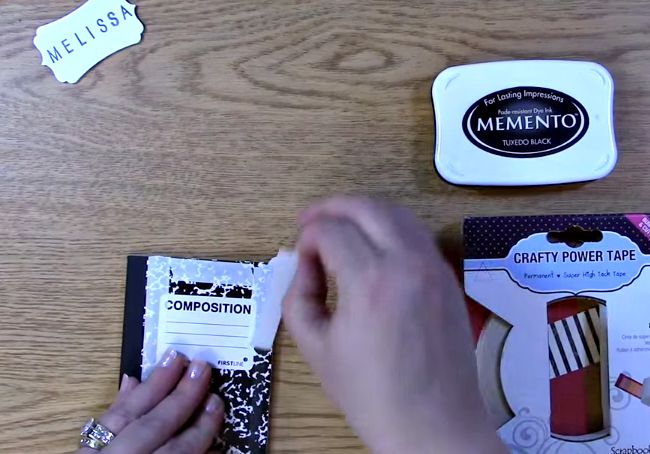
For this example, you will adhere your crafty power tape to the edges of the front of your book. Make sure the adhesive is on by rubbing over it with your finger. adhere tape to bookRemove the backing from the tape.

remove tape backing

Place your decorative piece of paper on the composition book. Rub your finger along all edges of where the adhesive is to ensure proper adhesion.

push down on paper to ensure tape is adhered properly

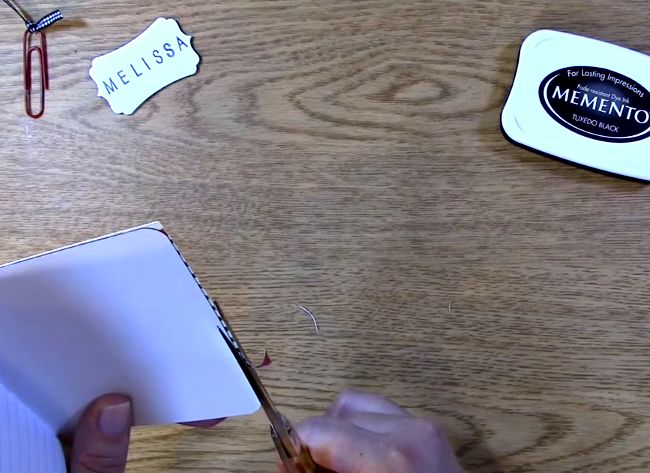
Trim the excess paper off of the edges of the book.

trim edges

Here is the second way you can place adhesive on your project for the cover and back.

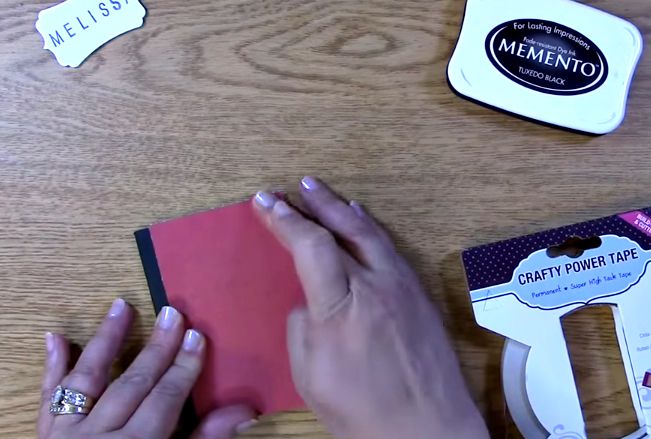
Turn the book over. Get your second piece of paper and place your adhesive directly on the paper.

Apply tape to the back of the paper

Remove your tape backing, adhere to book and rub along the edges to ensure proper adhesion.

push down on paper to ensure paper is adhered

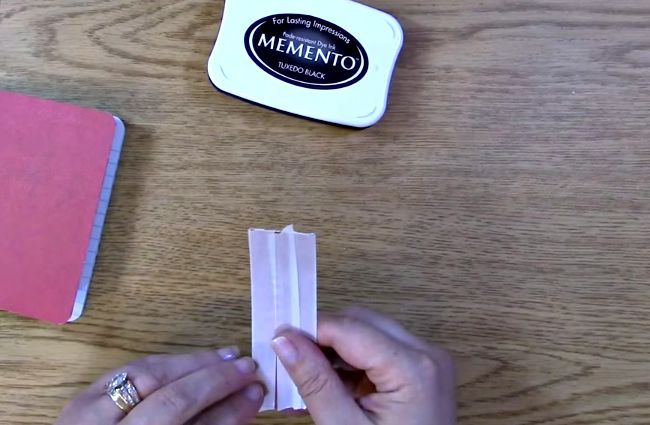
 Take your paper for the binding and apply your power crafty tape to the entire area taking extra notice to the edges of the paper and center. Rub the tape backing onto the paper making sure the adhesive has adhered to the paper. Trim excess edges.

Apply adhesive to the paper to cover the bindingRemove the backing from the tape and be sure there isn’t any adhesive over lapping the edges of the paper.

Check to be sure none of the glue hangs over.

Place the binding paper onto the book. Be sure to rub with fingers to ensure proper adhesion.

Adhere binding paper to book

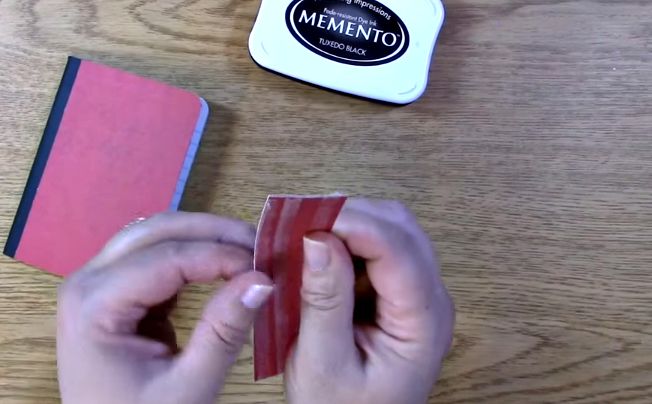
Take the book and having the piece of paper face down, use the pressure and the table to adhere the paper then slowly roll the book away from you and to the other side trying to make a hard crease on the edges of the book.

Roll the paper to form to the binding of the book

Make sure you rub the entire booking and especially the binding area so that the adhesive is fully adhered. Trim excess edges.

Press down paper to adhere to book

Take your punched out tag and remove the backing from the foam squares. Adhere to your composition book.

adhere label

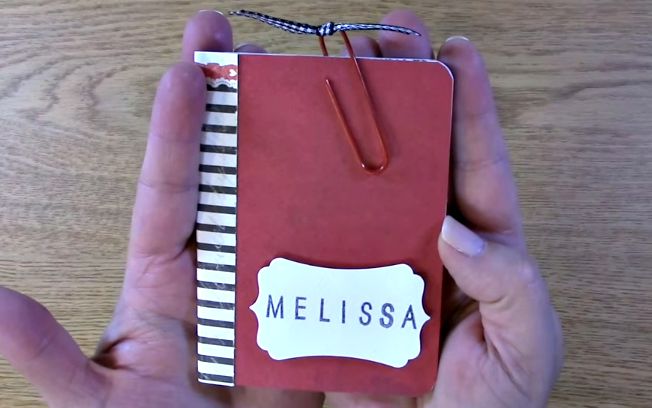
Take your paper clip and place it on your book. Your project is complete!

Finished project

Thank you for joining us today! We hope you enjoyed creating this adorable book and would love to hear how you plan to use it! We appreciate that you have taken the time to spend it with us and we hope you enjoyed going on A Creative Journey with Melissa.
melissa-written-signature

Planner Clips, Hair Clips, Book Marks, OH MY!

Planner Clips, Hair Clips, Book Marks, OH MY! This is EXACTLY what I thought when I was creating these clips and I have since come up with more ideas as well! Would you like to learn how to create a clip that can be used for multiple purposes? In this video, I will show you how to easily make these clips that have a number of uses. You can make Planner Clips, Project Life Clips, Hair Clips, Pocket Letter Clips, Book Marks, Money Clips, OH MY! The possibilities are ENDLESS!

Whether you prefer to learn by the video above or the pictorial below, we have you covered so let’s get started!

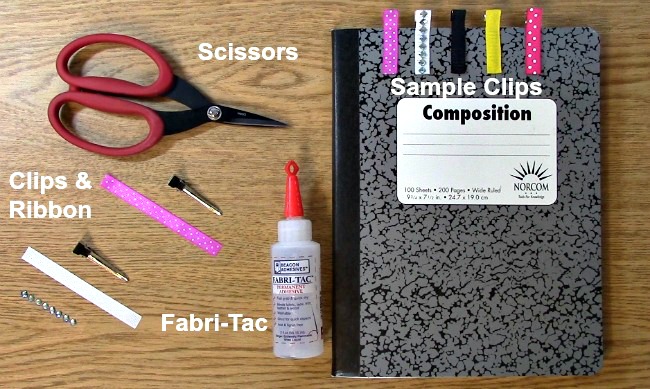
Here are the items you will need to create this project:

Hair Clips

Grosgrain Ribbon ( 1/4″ thick which is what I used)

Beacon Fabri-Tac Glue

Sharp Scissors

Embellishments
Supplies

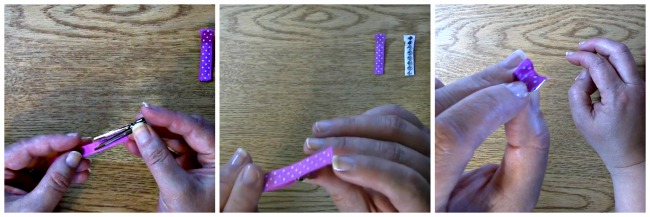
You will want to use your ribbon to measure exactly how much you will need to cover the inside top, top and back area of the clip. This should be done each time you use a different sized or brand clip, as they can vary. It is the same exact way you would create your clip with adhesive.

Collage for Measuring

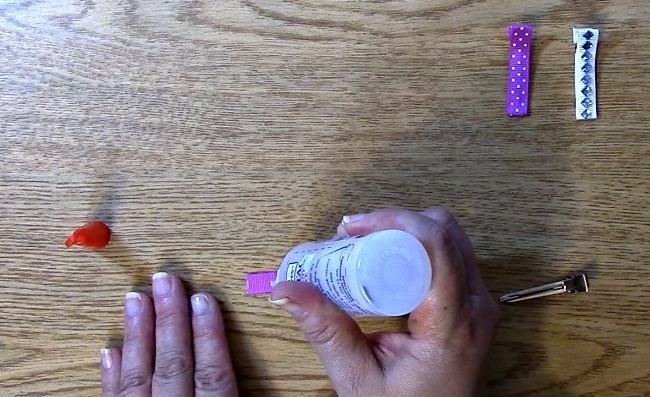
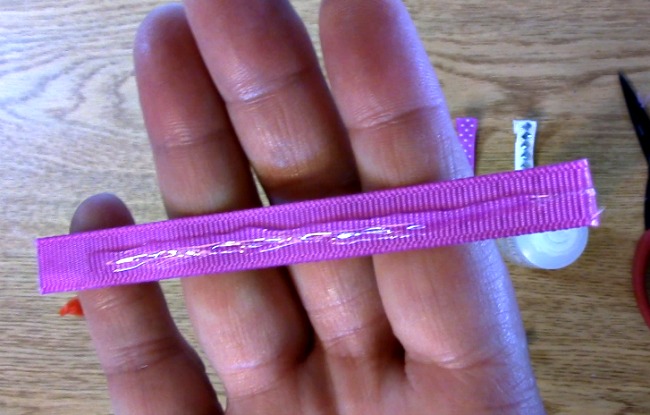
Now, for the project! Take your measured ribbon and run a line of adhesive on one side of the ribbon (not the patterned side) leaving a small area on each end empty for overage.Apply adhesive to the back side of the ribbon

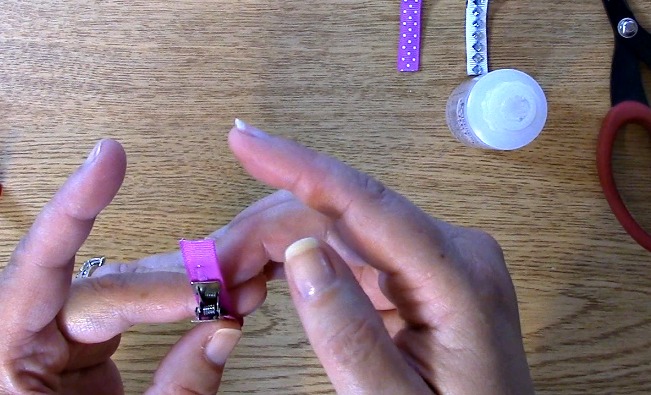
To assemble, you will start with the inside top of the clip. You will have the pattern of your ribbon facing down (as you have just placed your glue facing up.)

close up of adhesivePlace the ribbon on the inside of the clip so that the glue is facing up and will adhere to the top part of the inside of the clip.

place ribbon on the inside of the clip glue facing up

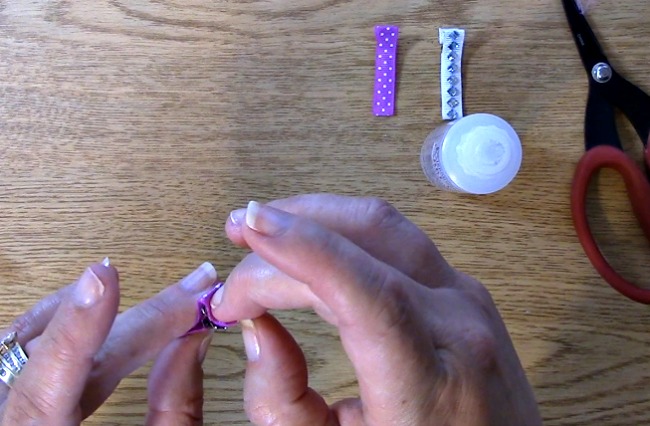
 Wrap the ribbon around so that you cover the top of the clip.

One the inside of the clip and the top of the clip are done, you now have to cover the back side of the clip

Take the remaining part of the ribbon and wrap it around the back to hide the spring area.

adhere the ribbon to the back of the clip

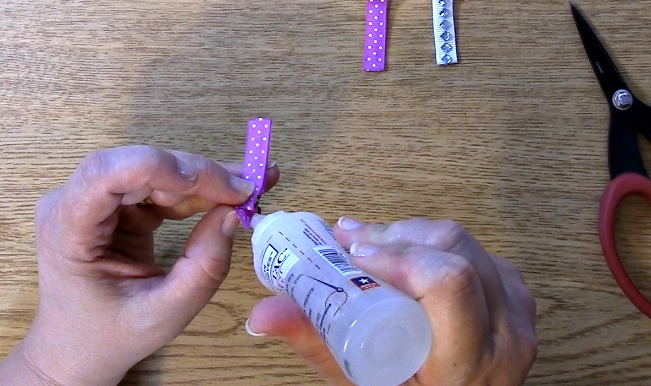
Add adhesive sparingly as needed in areas where necessary.

add adhesive sparingly where needed

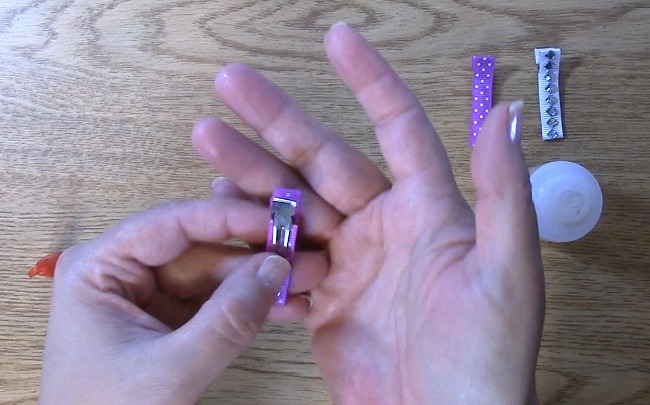
Adjust your ribbon so that they line up and are centered.

Look over the ribbon and adjust so that it is even and centered

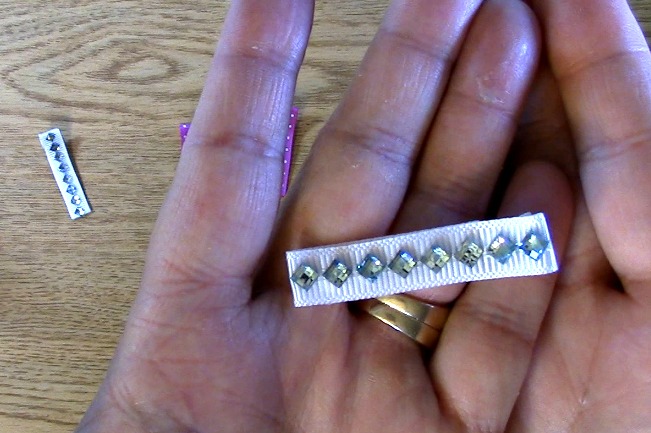
Take your project one step further! Add embellishments like rhinestones, flowers, more ribbon and whatever you choose!

Add embellishments

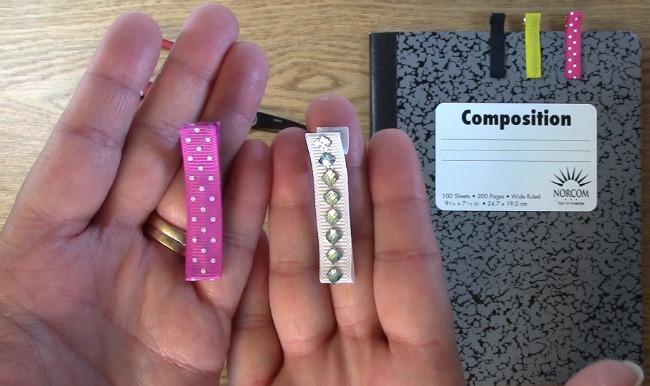
You are done!

clip close up

We hope that you enjoyed our project today. We would love to hear what type of uses YOU come up with for this adorable project.

Thank you for joining us and for going on A Creative Journey with Melissa.
melissa-written-signature