Tag Archive for: quick and easy

Weathered Wood Frame in Minutes using Alcohol Ink Part 2: Personalize it with Love

Weathered Wood Frame in Minutes using Alcohol Ink Part 2: Personalize it with Love is what we are doing today. If you haven’t seen our first video on how to make your own weathered wood frame please go here to check it out. Today, we are going to put the word LOVE on your frame with jute twine. If you haven’t done this before, it is easy with fabulous results! You can check out our video above or our step by step instructions below or BOTH! Let’s get started!
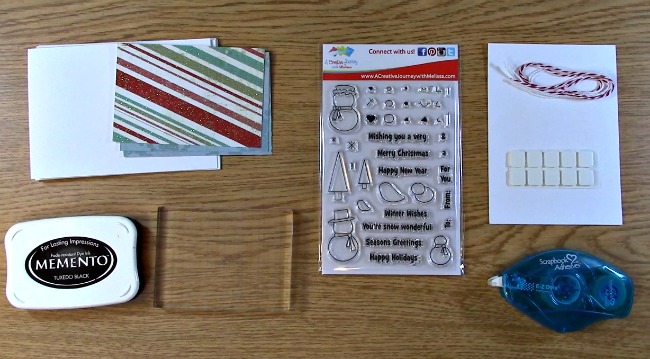
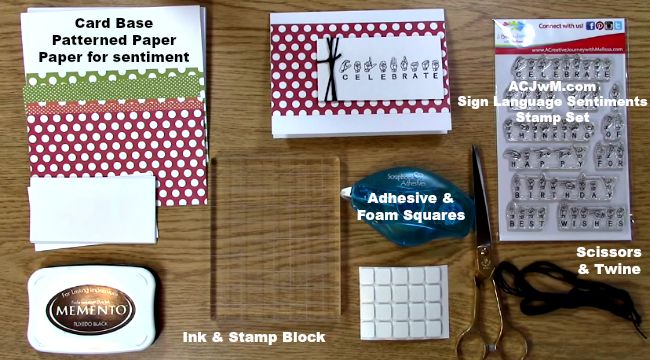
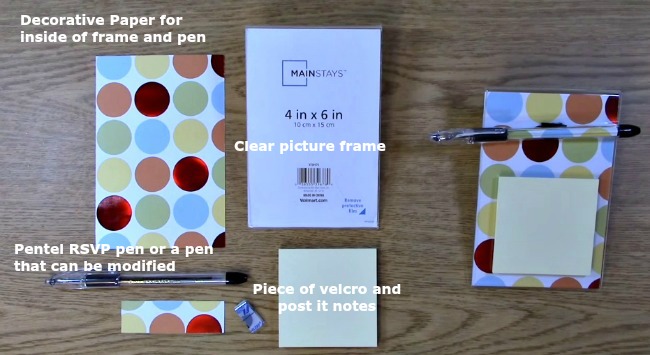
Supplies Needed

Frame

Jute Twine

Liquid Adhesive

Scissors

Paperclipssupplies 1-4-16

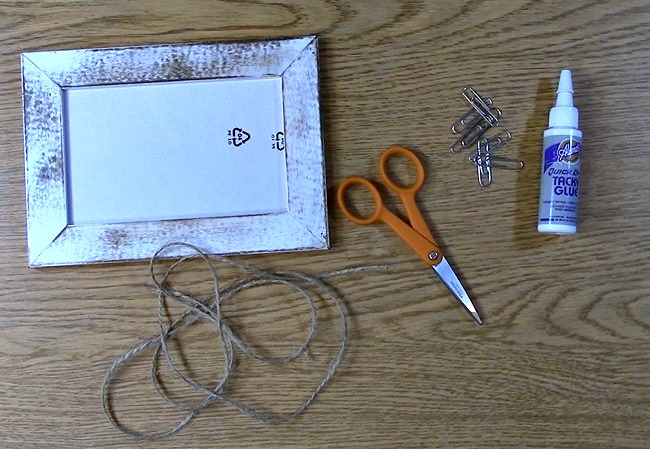
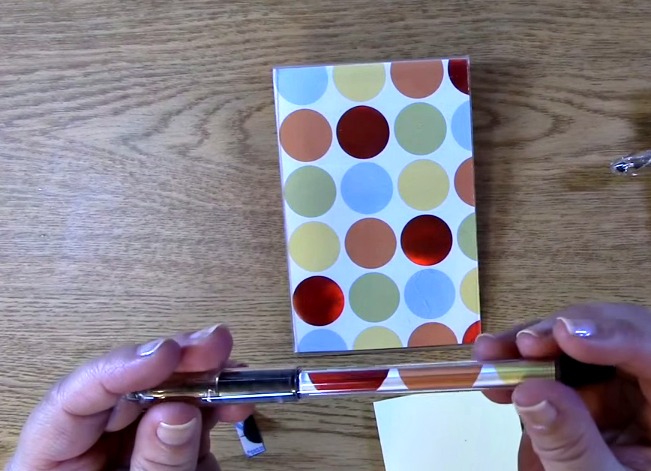
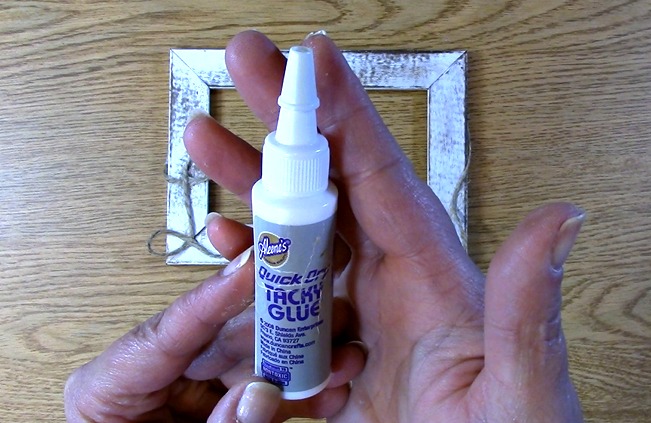
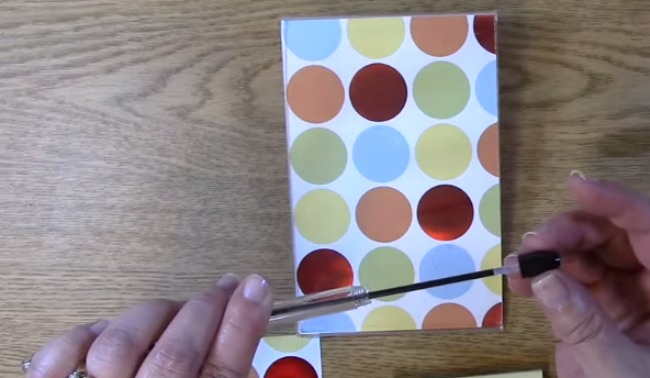
To start Weathered Wood Frame in Minutes using Alcohol Ink Part 2: Personalize it with Love, get out your jute and liquid adhesive. I used Aleene’s Quick Dry Tacky Glue.

Aleenes Glue

Take your jute twine and be sure to leave enough on the ends so that you can have some play if you wish to embellish more on your frame. For every letter, be sure you do a practice run to see how it will look before applying adhesive.

figure out first letter
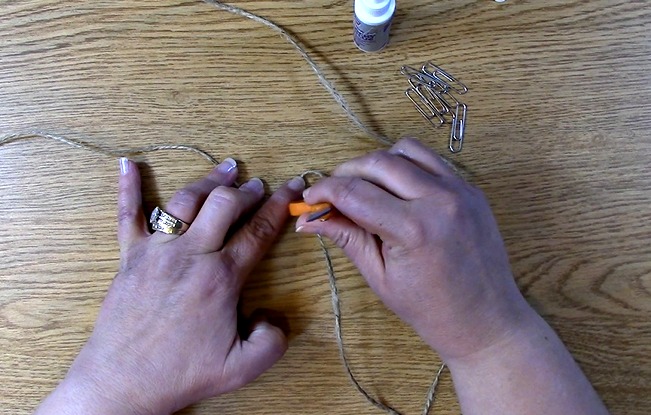
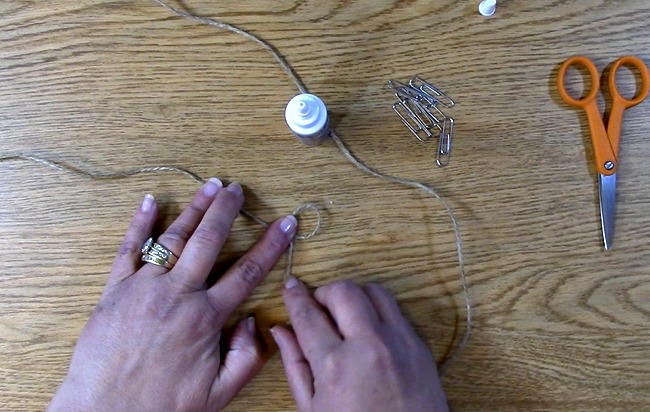
Apply your adhesive to your first letter “intersection” or where the jute crosses for the letter.

apply glue to twine
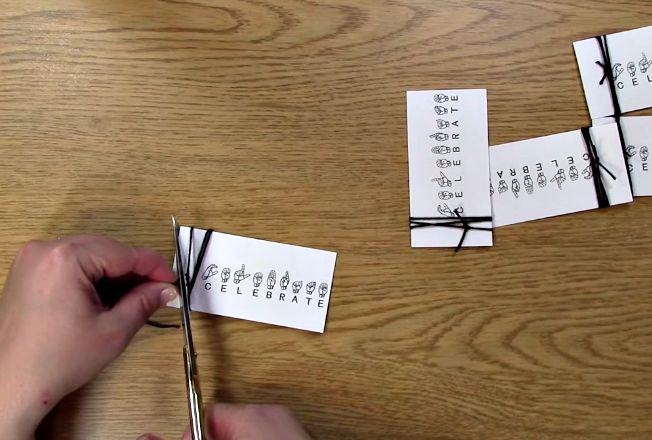
Create your letter and press down on the area where the adhesive was placed. Get out a pair of scissors or an item you can use to place pressure safely on your twine.

use scissors or an object to press the twine together with the adhesive
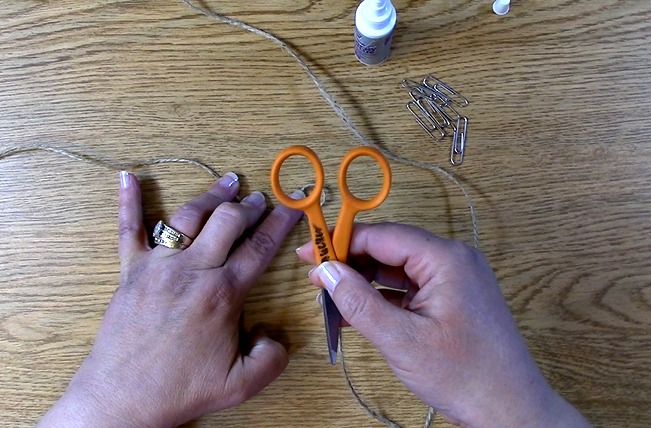
I used the back of my pair of scissors or you can use any item that you can place pressure on the area safely in which the adhesive was applied. This will help to get the adhesive in the fibers to ensure adhesion.

use the back of the scissors

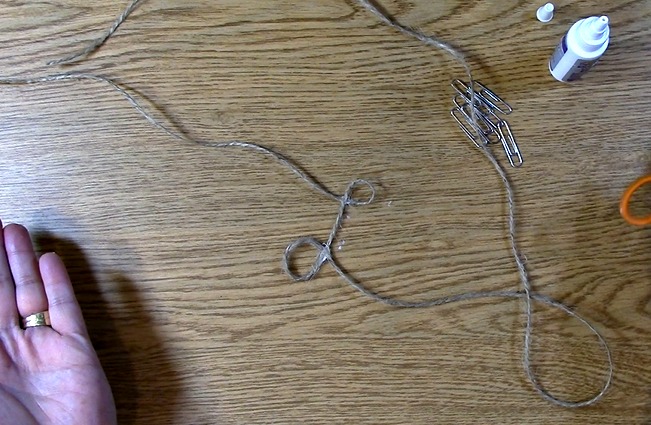
Apply adhesive to the second area of the letter “L”. Apply pressure as instructed above. This is what it looks like once that is done.

the first letter is complete

Repeat the gluing process for all of the letters.

letter o

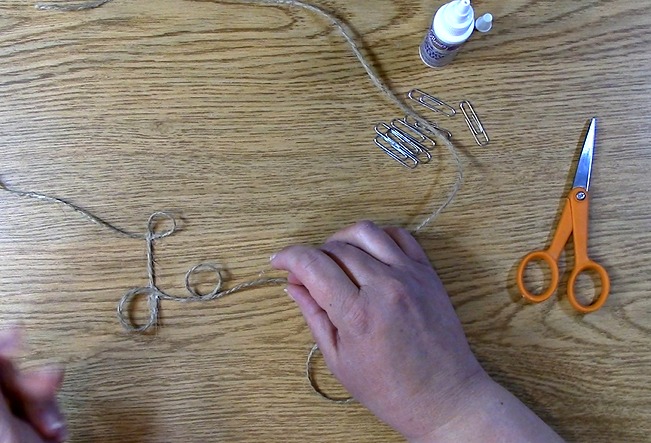
For the letter “V” I pinched the areas simply with my fingers to create the angular areas for the letter.

pinch the v areas together for a better angle

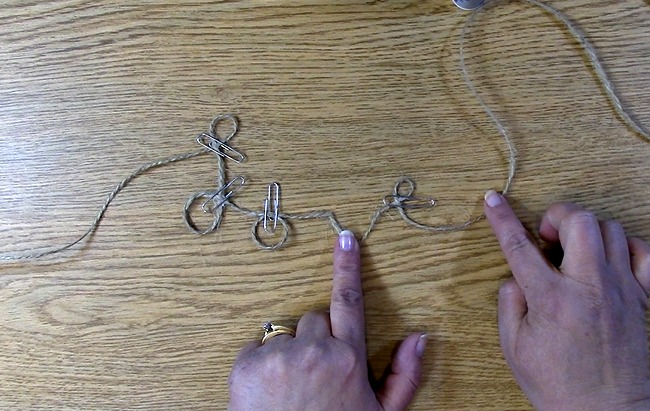
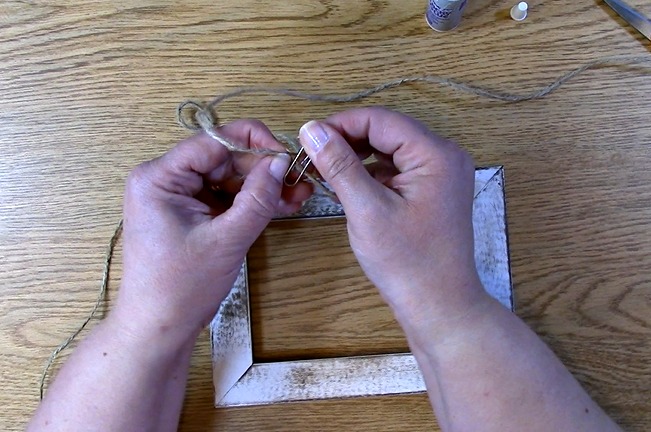
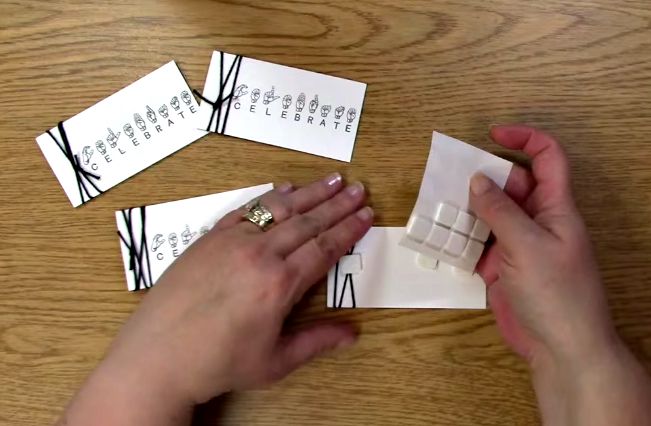
Once all of the gluing is done (or you can do this after each letter is glued) place paperclips on the areas that were glued to ensure pressure on those areas. Set aside to dry for 1-2 hours or more depending on how much glue you have used and how much time you have.

Paper clip all areas
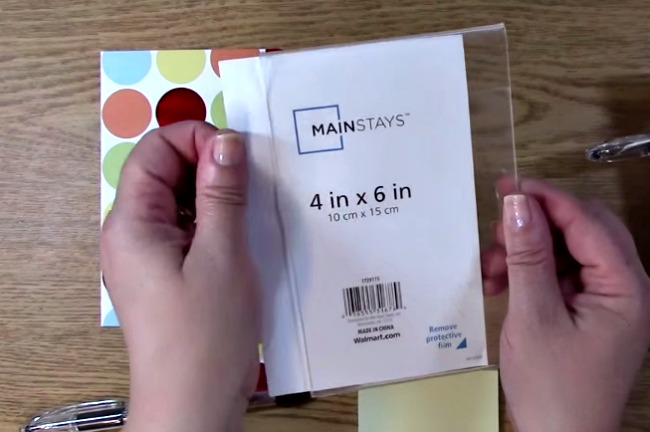
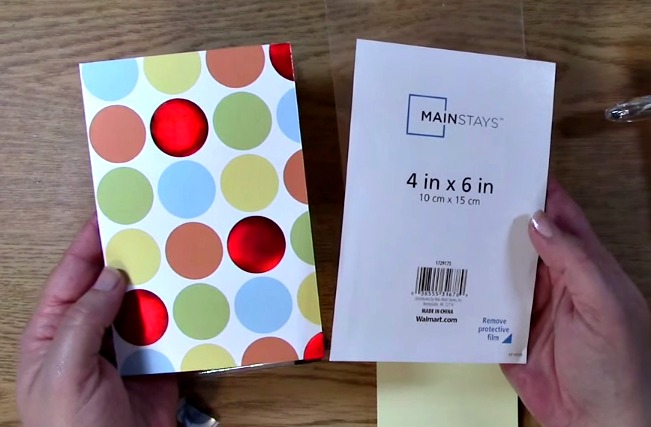
Take out your frame. Take out all of the inside pieces and glass so that you are left with only the frame.take all of the inside glass and mats out of the frame leaving the frame by itself

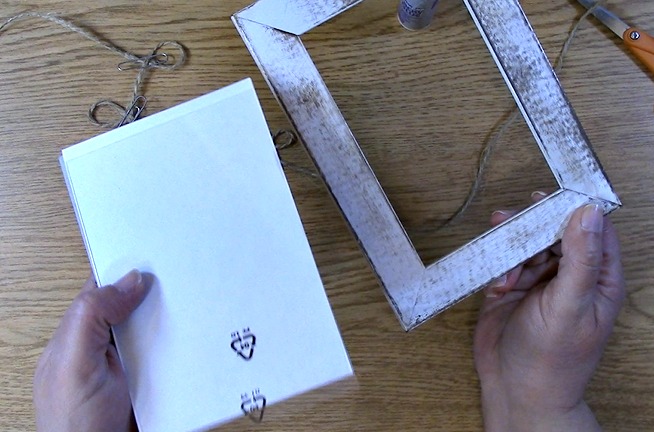
Take out your jute twine word creation. Check to see if dry. If it is, remove the paperclips from the twine.
remove paper clips

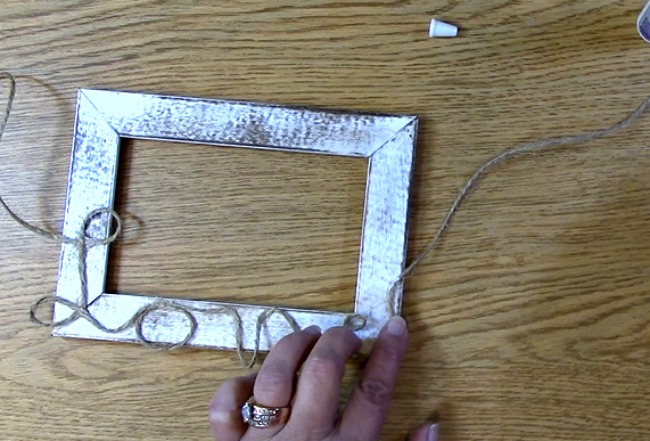
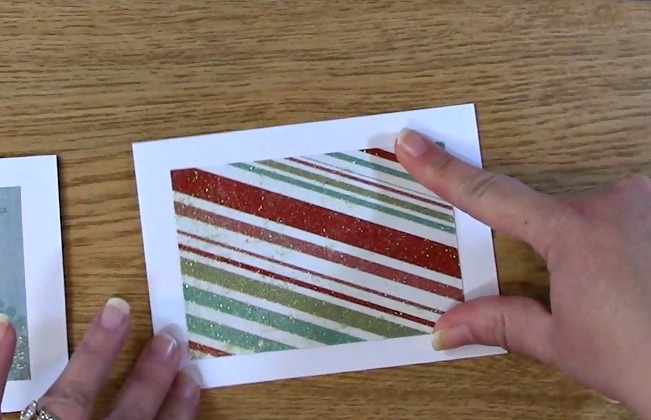
Loosely place the word on the frame to check out the placement of where it will go.

place twine on frame to layout placement

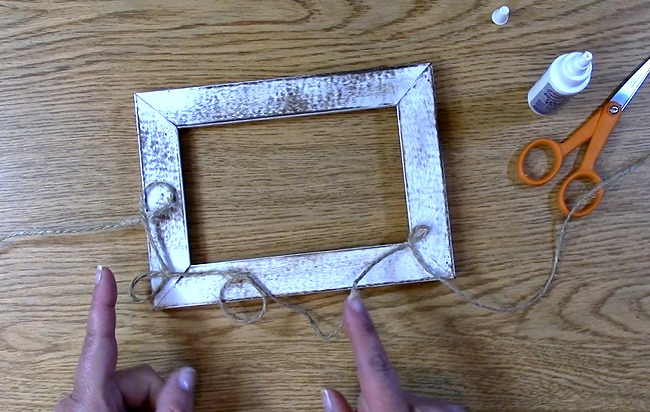
Take the adhesive and place some on the back of the word “intersections” where it had been glued previously. Press down on the letter onto the frame.

apply pressure to l onto frame

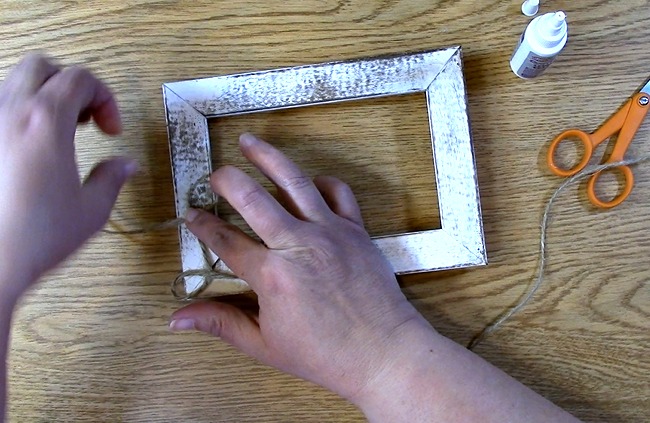
Continue to adhere the letters onto the frame holding it in place to ensure its adhesion.

apply adhesive to the e

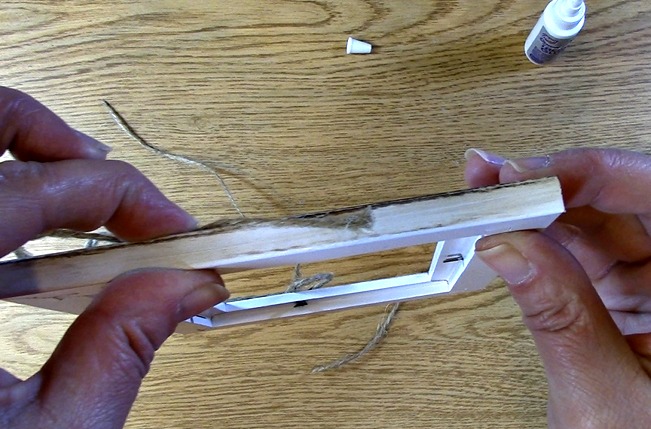
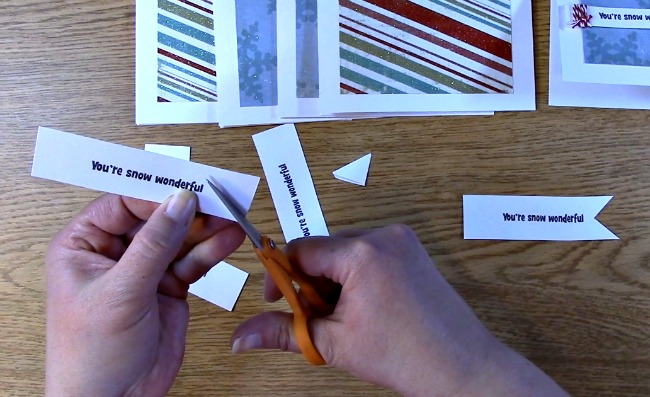
Take the ends of the twine and trim so that it fits for your end result. I wanted the word to end on the side of the frame so I trimmed accordingly. Spread the ends of the twine so that there is a little bit more for the adhesive to adhere to. Place adhesive on the first end and adhere to the side of the frame.

adhere the twine to the side fo the frame

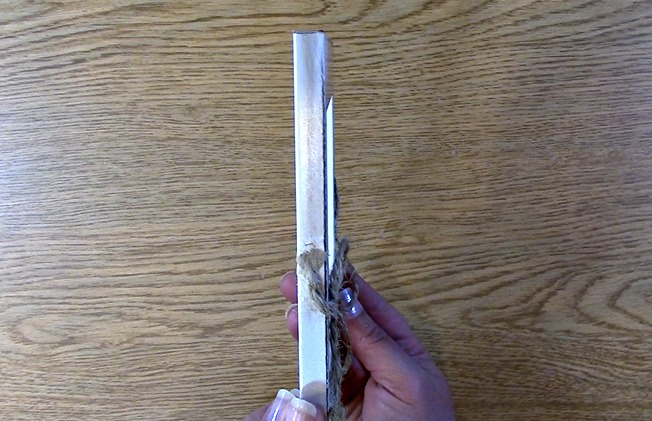
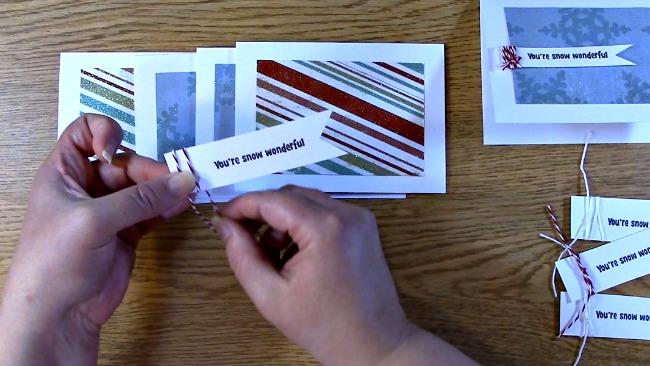
Adhere the other side of the twine to the other side of the frame.

other side of the frame

Apply pressure to any areas that may come loose. Add more adhesive where necessary. Your project is complete!

finished frame

Set aside to dry for 1-2 hours or longer as you feel necessary.

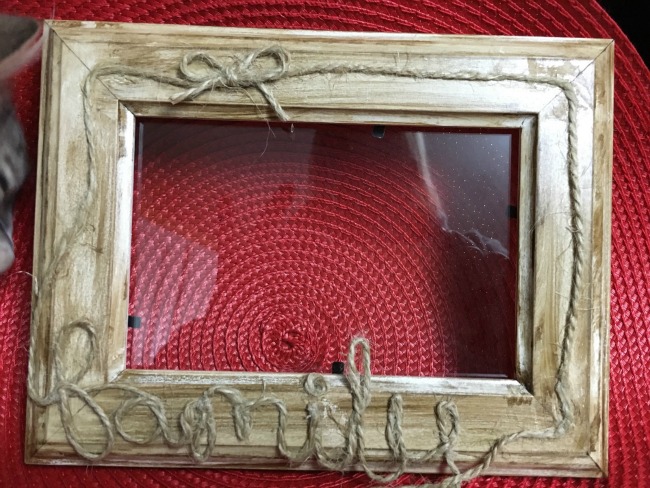
Here are the frames I made for my sister. I totally forgot to take pics so she was sweet enuf to send them to me.

IMG_1741

IMG_1737_1

Thank you so much for joining us today for Weathered Wood Frame in Minutes using Alcohol Ink Part 2: Personalize it with Love. We hope you enjoyed the project today and be sure to subscribe to our YouTube channel as well as our blog. You will want to stay tuned as we will be reporting on our visit to CHA next week and will be having giveaways as well!

Thank you for going on A Creative Journey with Melissa 🙂
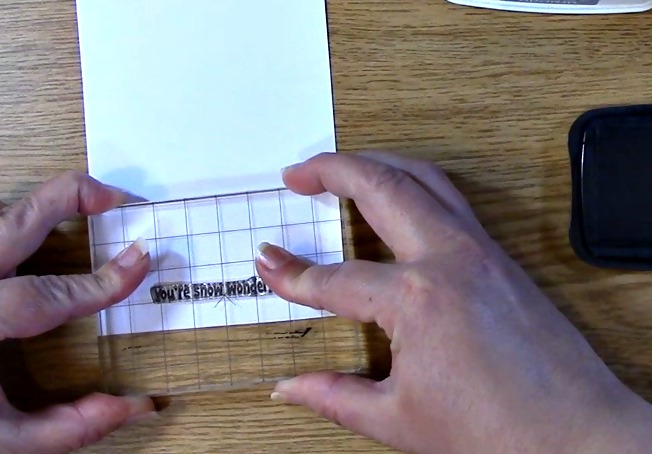
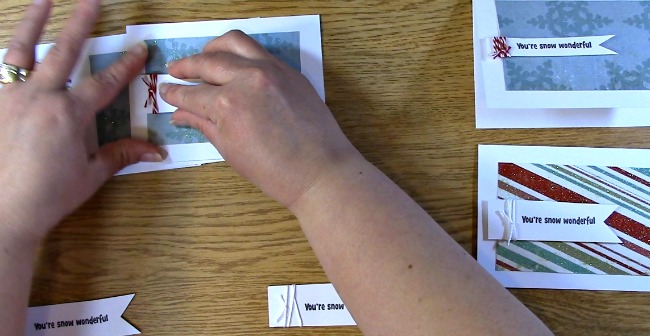
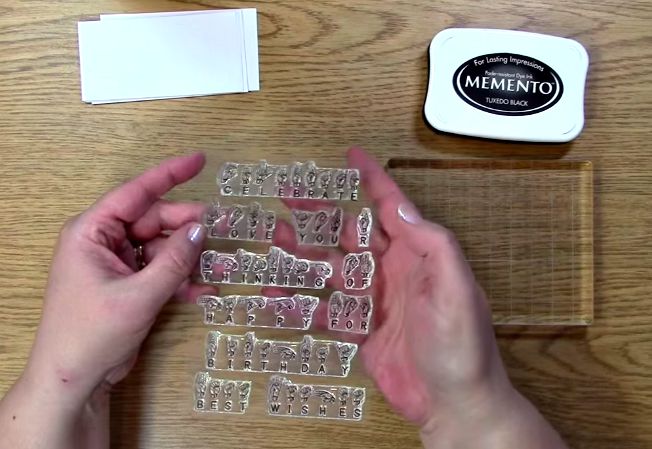
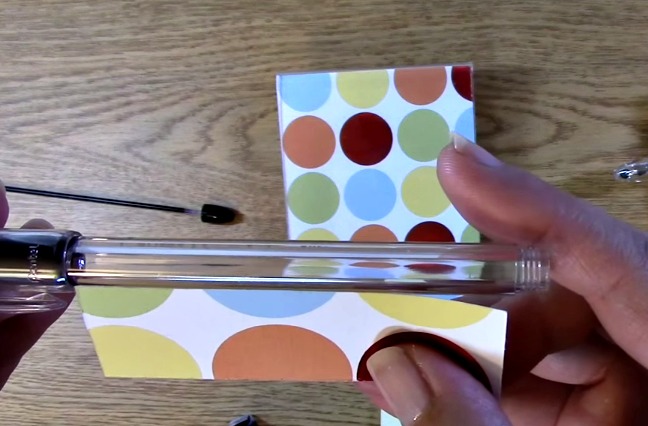
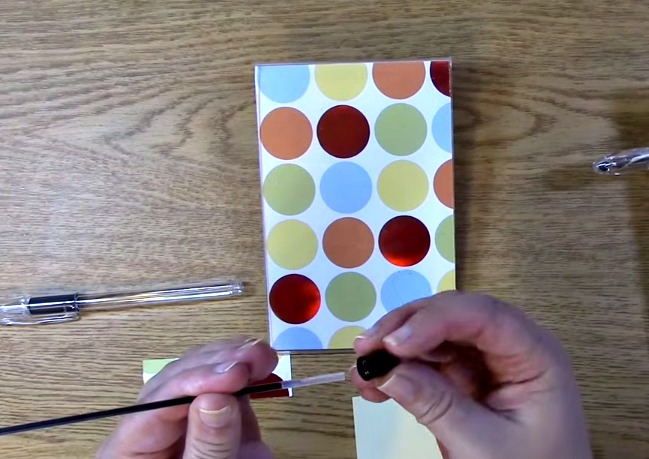
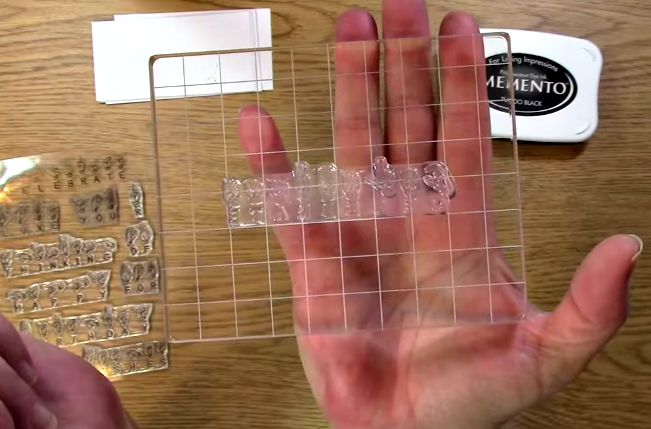
melissa-written-signature

Quick and Easy Handmade Holiday Thank You Notes in 15 minutes

Quick and Easy Handmade Holiday Thank You Notes in 15 minutes is what we are doing today! I love to create quick and easy projects. What better way to show someone you care than to create a thank you note! My kids have been fortunate enough to already have received some holiday gifts so I thought what better way to show our appreciate than a handmade thank you note! Some of these items you may already have in your stash which is great because if you are anything like me, you have overspent on your holiday budget! So, let’s get started!

Supplies you will need:

You’re Snow Wonderful Stamp Set

Adhesive

Stamp Block

Foam Squares

Twine

Scissors

Memento Ink

Card Base

Decorative Paper

Paper to stamp sentiment onsupplies

Take your paper to stamp your sentiment on, ink. block and You’re Snow Wonderful stamp set. Place your stamp on your block, ink your sentiment and stamp on your paper. Repeat as needed for the number of projects you are creating.stamp sentiment

Take out your decorative paper, adhesive and card bases.

cards w deco paper

Apply adhesive to the back of the decorative paper.

apply adhesive

 Apply decorative paper to card bases.

adhere paper to card base

Take the paper with the stamped sentiments on it and cut into strips.

cut sentiment

Cut a triangle out of one side of the strip.

cut triangle out of sentiment

Take your twine and wrap it around the end without the cut out. Tie it in a knot and trim excess.

wrap twine around sentiment

Apply foam squares to the back of the sentiment.

apply foam squares

Adhere your sentiments to the card base.

adhere sentiment to card base

Your projects are complete! Quick and Easy Handmade Holiday Thank You Notes in 15 minutes!

Thank you cards

Thank you for joining us today for Quick and Easy Handmade Holiday Thank You Notes in 15 minutes and we hope you enjoyed going on A Creative Journey with Melissa!

melissa-written-signature

5 cards in 15 minutes using Sign Language Stamps

Would you like to create 5 cards in 15 minutes using Sign Language Stamps? In this video, I will give you step by step instructions to do just that! If you like to learn by watching a video (above) or by looking at a pictorial (below) we have you are covered? Ready, Set, Let’s Get Started!!

The supplies you will need:

Sign Language Sentiment Stamps

Stamp Block

Adhesive

Foam Squares

Ink

Card Base

Patterned Paper

Paper for sentiment

Scissors

TwineSupplies w text

I have created these cards in an assembly line. You will repeat everything five times or as many times as you need to for the number of cards you are making. Take out your ink, paper for your sentiment, stamp block and Sign Language Sentiments Stamp Set.

Take out stamps, ink, paper and stamp block

Place your sentiment on your stamp block.take stamp and place on stamp block Ink your sentiment

Ink your stamp
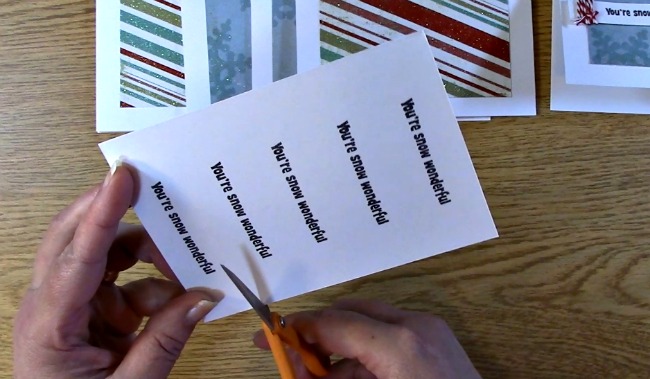
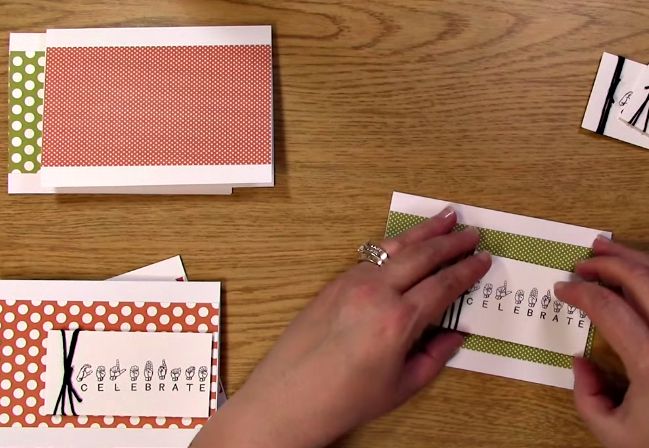
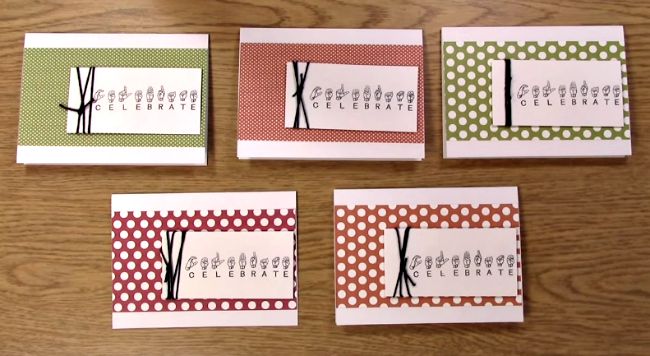
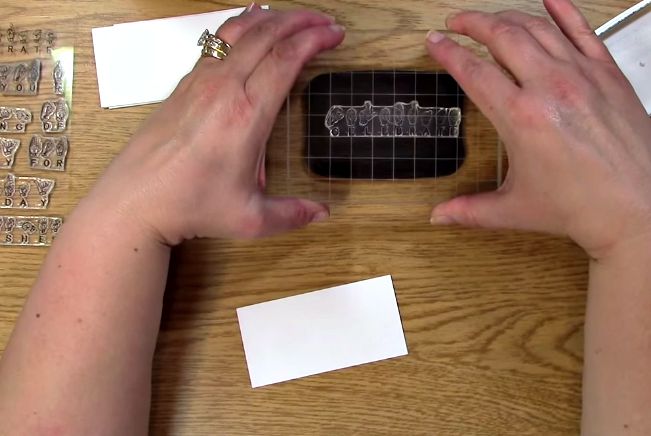
Stamp your sentiment on your paper. Repeat inking  and stamping your sentiment five times.

stamp sentiment on paper

Take your twine, wrap it around your sentiments and tie a knot. Repeat five times.

wrap twine around sentiment paper, tie and trim excess

Place 3-D foam squares to the back of the sentiments. Repeat five times.

place foam squares on the back of the sentiment paper

Place adhesive on the back of the patterned paper. Repeat five times.

apply adhesive to the back of the patterned paper

Adhere patterned paper to card base. Repeat five times.

apply patterened paper to the card base

Remove foam square backings from your stamped sentiment papers. Repeat five times.

remove foam square backing

Place sentiment on card base. Repeat five times.

apply sentiment to card

Here are the five card creations! Including all explanations this took 15 minutes! You can do it too!

Please be sure to share your creations with us!

five cards

 Thank you for joining us today and we hope you enjoyed going on A Creative Journey with Melissa.

melissa-written-signature

Inexpensive and Quick Handmade Gifts

How would you like to learn how to make inexpensive and quick handmade gifts? You have found the right place! In this video you will see how to make a super fast and adorable post it note holder that is very INEXPENSIVE! Whether you want to give a birthday, teacher, friend, grand parent or anyone a gift for any occasion we have you covered! You can make it super simple or embellish it to add a little flair to your creation!

Whether you like to learn by video or by pictorial, we have you covered so let’s get started!

Here are the supplies you will need:

Decorative Paper (or you can stamp/design your own)

Pentel RSVP pens or pens that can be opened and modified

Piece of velcro

Clear picture frame

Post it Notes

Take out the piece of paper in the clear photo frame. Leave the protective coating on the frame to avoid scratches during the creation process.

pull out sheet

Use the paper as a guide for the paper you are placing inside there. Cut so that the pieces match. It is the easiest way to ensure a perfect fit!

use as template

Take your frame and slide in your decorative paper. Set aside.

slide decorative paper inside photo frame

Paper inside frame

Take out your pen and paper. Remove the ink from the pen. Set aside. This will leave you with an empty pen chamber for your decorative paper.

unscrew cap off of pen

This is where the decorative paper goes

I pre-cut my paper so it would fit into the pen. I measured the length approximately a 1/4 inch less than the area in which I wanted to be covered for the pen decor. I made the paper 1″ in width and these measurements worked perfect for this pen style.

Take our your paper for the inside of the pen. Roll it so that you can get it into the shape of a tube that will fit inside your empty pen chamber.

roll paper to fit into the pen

Place ink inside of the pen where the decorative paper tube hole is

The paper will not be completely down in the pen chamber.

line up paper line to words on pen

Take the cap off of the ink and use the back to carefully push the paper into the pen chamber completely. Do not do it vigorously or you will damage the paper. I use this because I know it fits, it is durable enough for the job and its already there!Cap does come off easily put back on if falls off

Carefully use the back of the ink tube to push the paper fully into the pen chamber
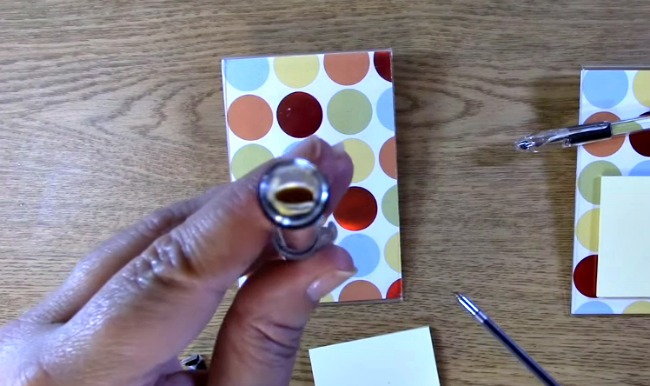
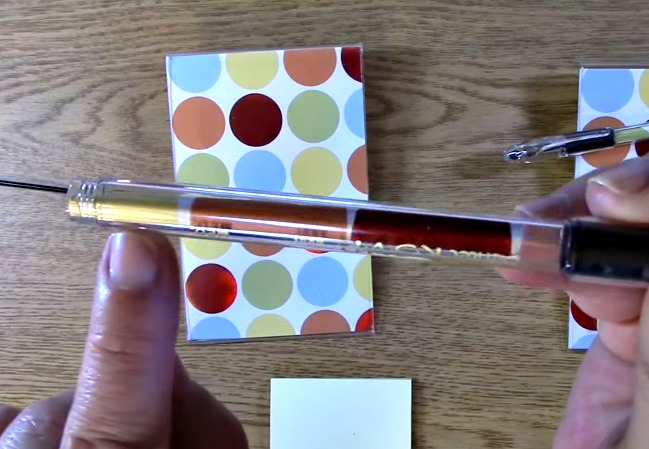
Place your cap back on the ink, the ink inside your pen and screw the cap back onto the pen.

Pen decor is complete

Take out your post it note pad and place it on the frame holding the back for counter presser.

place post it notes on the photo frame

Place the velcro on the frame where you would like it to be for your pen placement. If your velcro does not have adhesive on it, place an adhesive on it that works well with a slick surface. I prefer adhesive on my velcro already. Remove the backing so that the other adhesive area is visable.

Place velcro where you want the pen to be

Place your pen onto the adhesive of the velcro. Hold the back of the frame when doing so for good counter pressure.

place pen on velcro

Your project is complete!

close up

Remember you can vary any part of this tutorial to fit your needs or creativity. This is a VERY BASIC version of what can be done with this. We hope you will share with us your version of this project!

Thank you for joining us today. Be sure to subscribe to our newsletter, YouTube channel, and blog posts! We are honored that you have come to visit and we hope you enjoyed going on A Creative Journey with Melissa.

melissa-written-signature