
SAVE MONEY and Reuse Packaging for an AWESOME EMBOSSED LOOK
SAVE MONEY and Reuse Packaging for an AWESOME EMBOSSED LOOK is what we have for you today.
If you are looking for the amazing 2016 Summer Coffee Lovers Blog Hop, You will want to click here for my post. If you would like to see how I created the second card on my post, you have come to the correct place! Get ready to get your creative on! I can’t wait to show you how easy this is! You can even mass produce this card for numerous uses! I LOVE IT! Let’s get started!
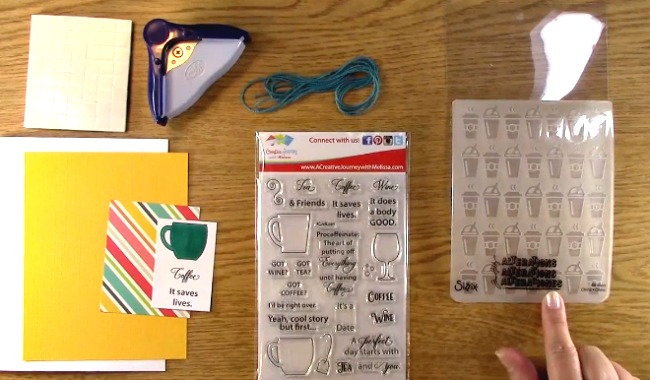
Supplies Needed
Coffee, Tea and Wine – OH MY! Stamp Set
Manual Die Cut Machine
Die Cut Platforms
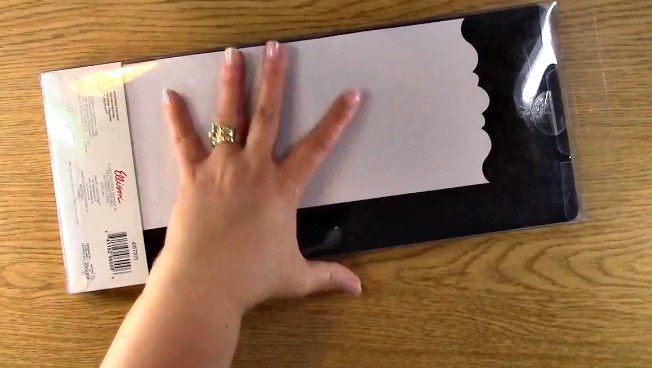
Embossing Folder
Clear Packaging
Adhesive
Glue strips/Glue Dots
Card base
Mat for card base
Decorative paper
Twine
Paper for stamped image
Memento Ink
Scissors
Corner Rounder
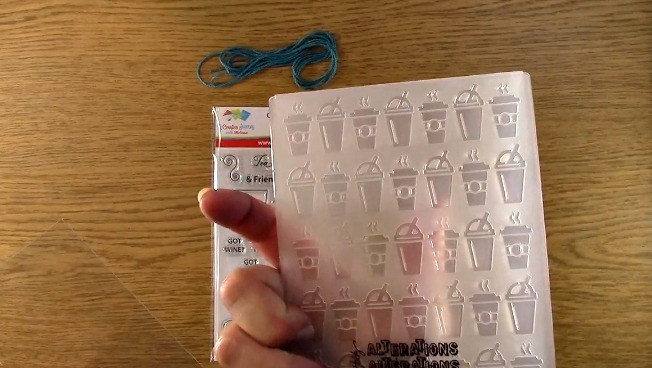
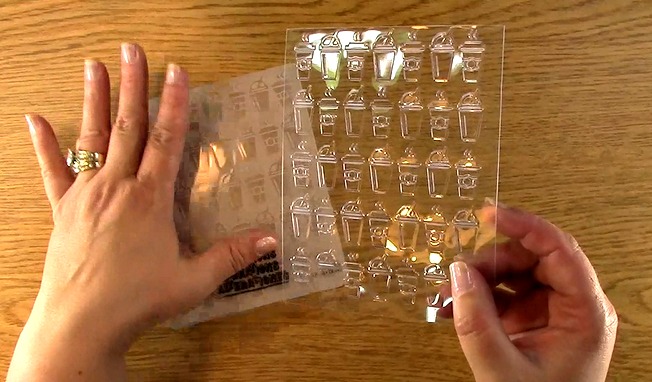
Today we are going to SAVE MONEY and Reuse Packaging for an AWESOME EMBOSSED LOOK! What I used for the embossed part of this card was the packaging from a Sizzix die. I took the packaging and trimmed it into pieces that would be easier to store and more user friendly to use.
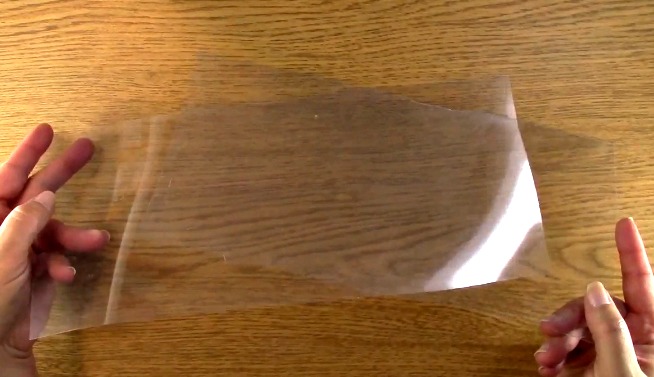
This is what it looks like once I trimmed the edges off.
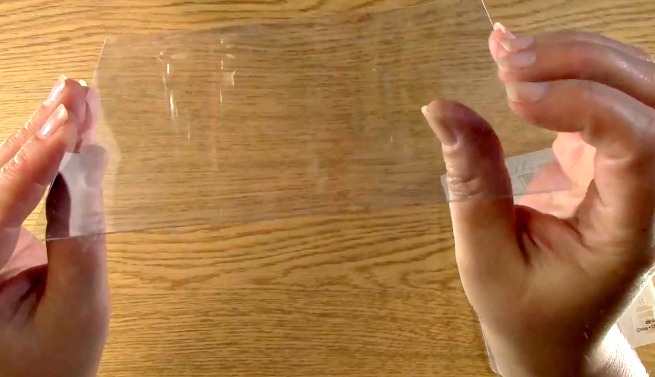
I then trimmed it so it would fit within the embossing folder that would work perfectly for the card I was making.
Take out your embossing folder.
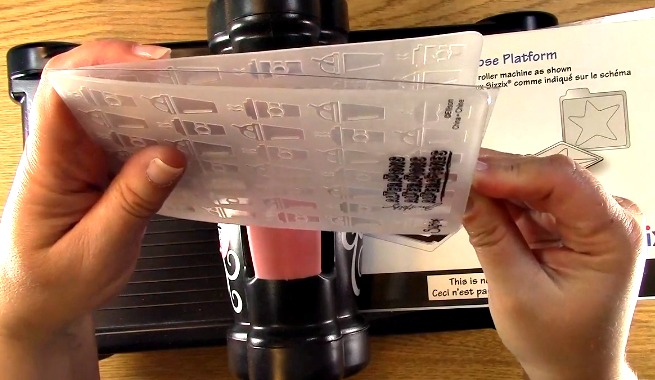
Place your pre-cut packaging and place it inside the embossing folder.
Close your embossing folder.
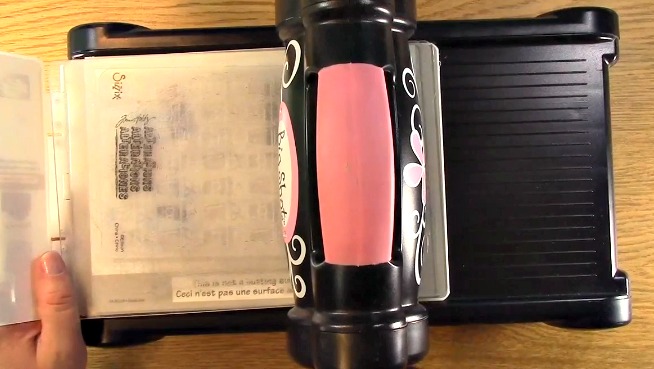
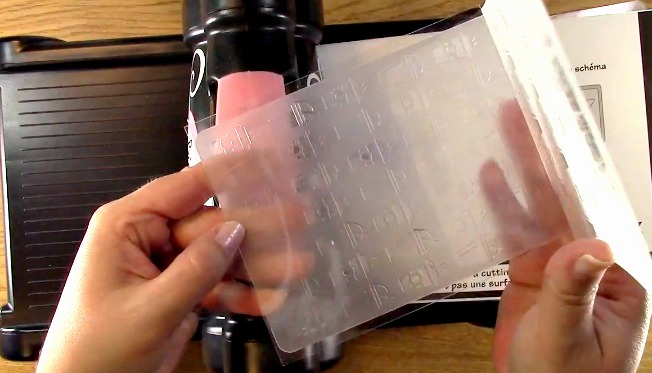
Place your embossing folder on the sizzix platform sandwiched between the clear platforms. Then place the combination in the sizzix die cut machine.
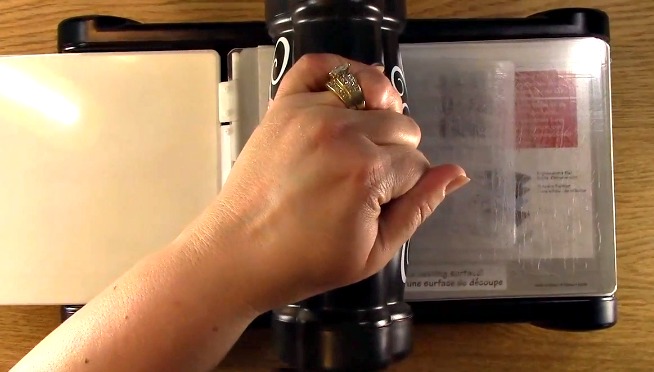
Turn the handle so that the embossing folder runs through the die cut machine.
This is how AMAZING it looks! Remember, this is SAVE MONEY and Reuse Packaging for an AWESOME EMBOSSED LOOK!! YES!! RECYCLED PACKAGING!! YES IT REALLY IS! Set your embossed material aside.
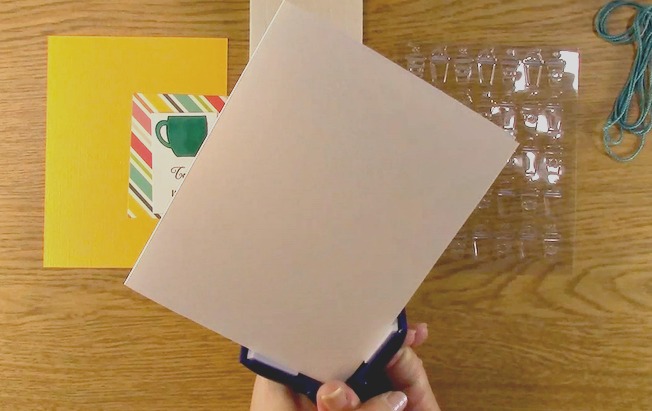
Take out your card base and use the corner rounder on all four sides.
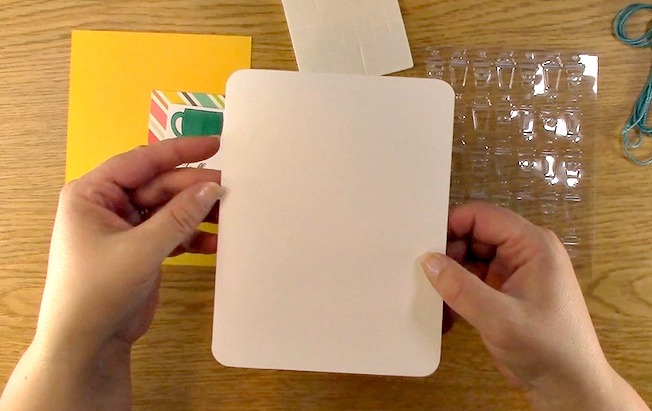
This is what it will look like once it has been completed.
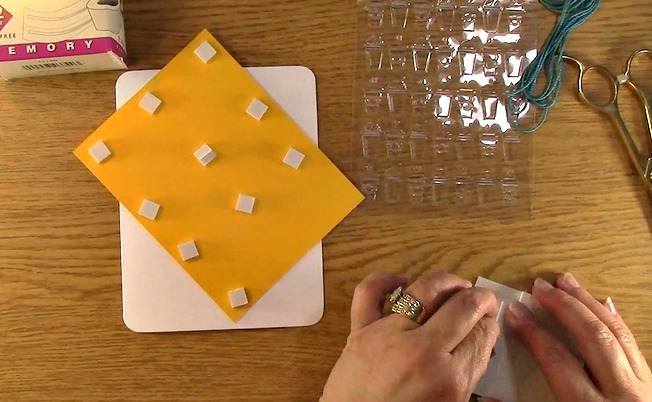
Take out your paper that you will use as a mat on your card. Place your foam squares on the back of the colored paper and remove the backing of the foam squares.
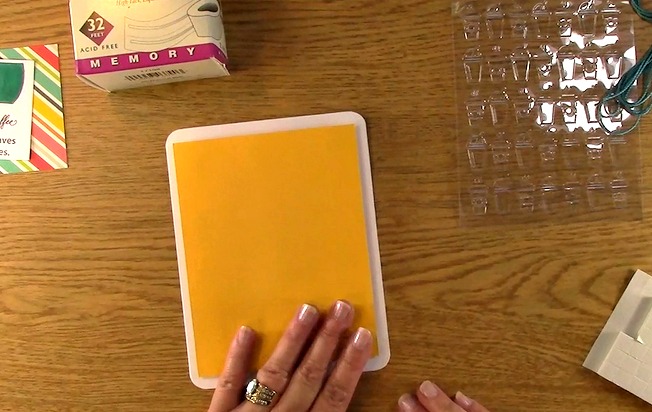
Place your colored paper on the card base.
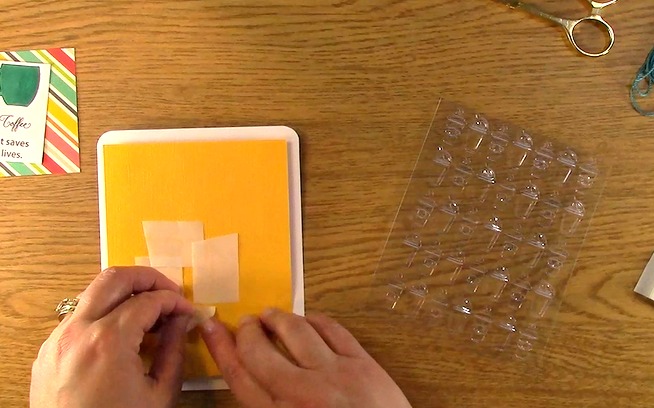
Take your glue strips or glue dots out. Place them on your colored card stock in an area where it will be covered with your mat and sentiment. Remove the backing from the glue strips.

This is what it looks like once the backing was removed.
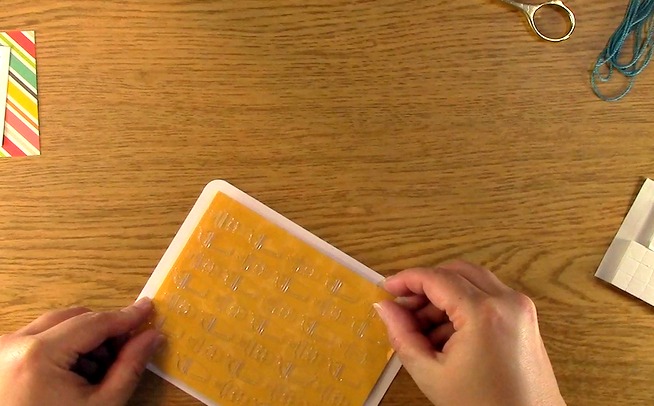
For this part of the SAVE MONEY and Reuse Packaging for an AWESOME EMBOSSED LOOK tutorial, place the clear embossed material on your colored card stock.
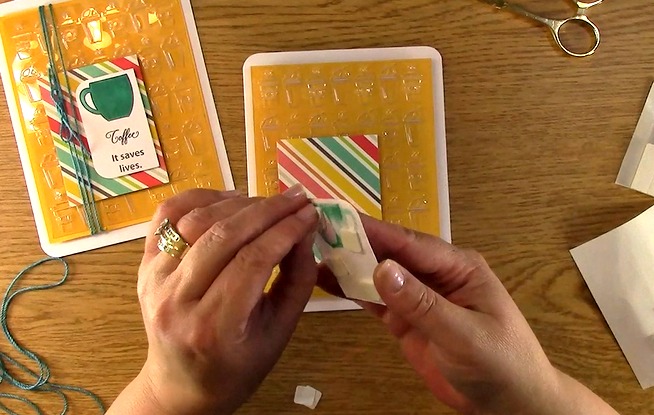
Take out the patterned paper mat for the sentiment. Place glue squares on the back of the paper. Remove the backing paper.
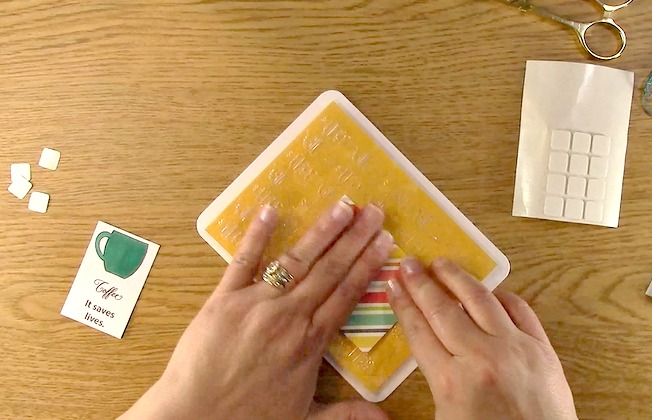
Adhere the patterned mat to the clear embossed sheet.
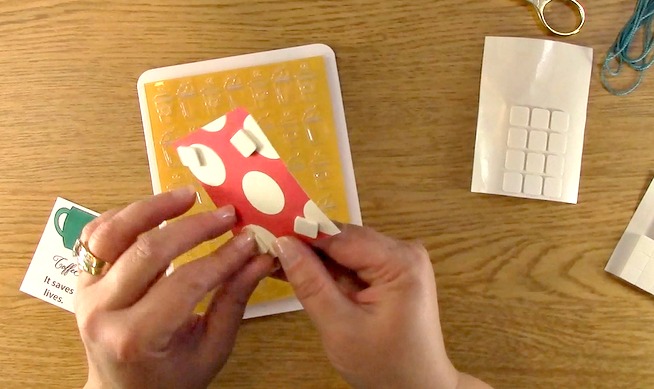
Stamp your sentiment and image. Use Chameleon Pens to color the coffee cup. Once this is done, Using the corner rounder, round the corners of only two sides of the sentiment.
This is what it will look like once that has been completed.
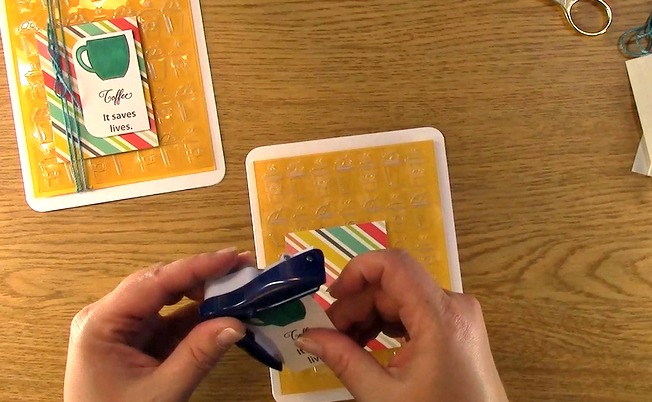
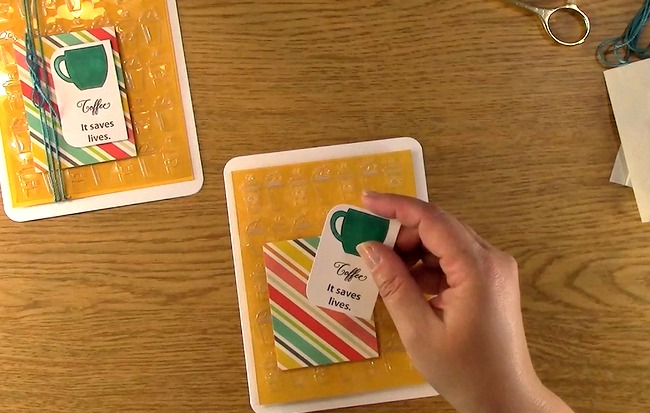
Place foam squares on the back of the sentiment. Remove the paper backing from the foam squares.
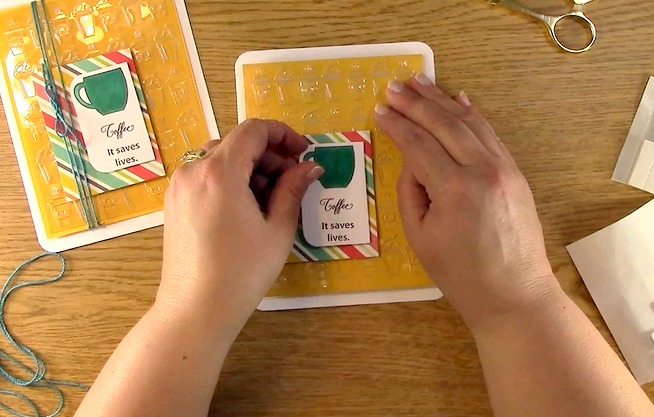
Adhere the sentiment to the patterned mat.
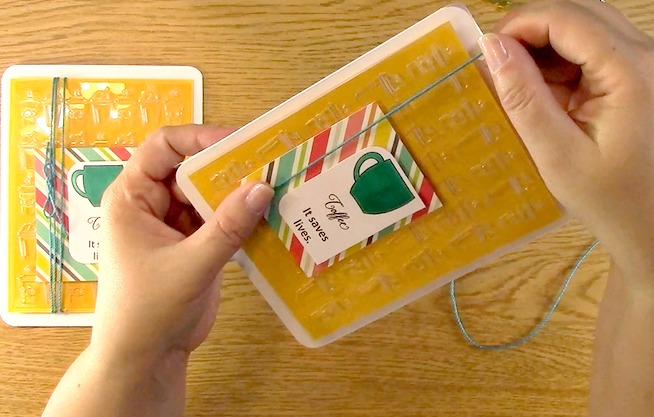
Take out the twine. Leave enough for you to make a bow on the front of the card. Start to wrap the twine around the card.
Wrap the twine around the card front three times.
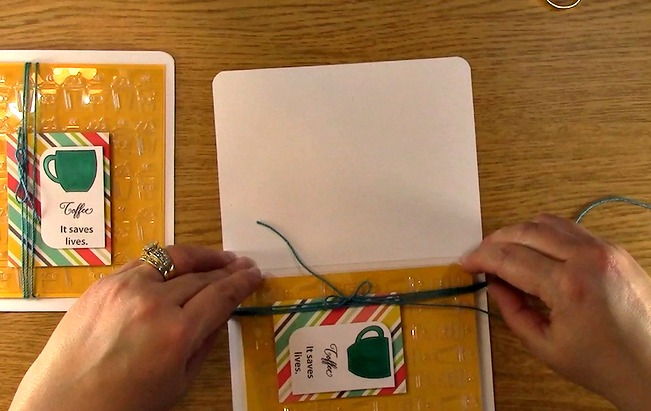
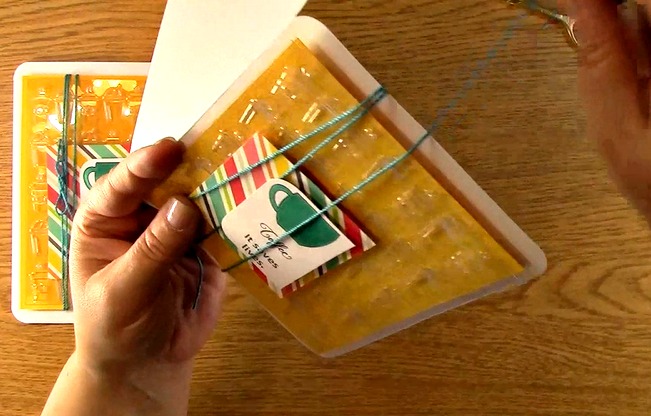
Tie a bow in the front of the card.
Trim the excess twine.
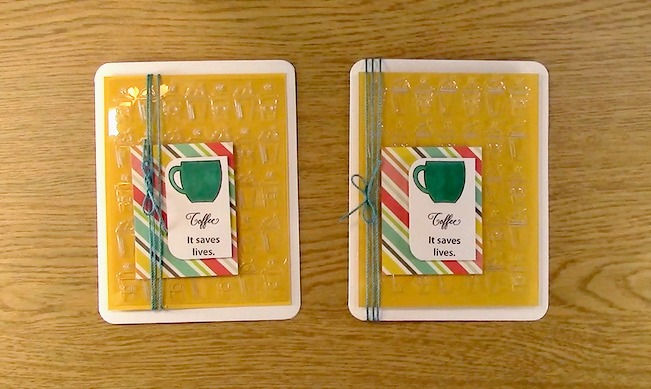
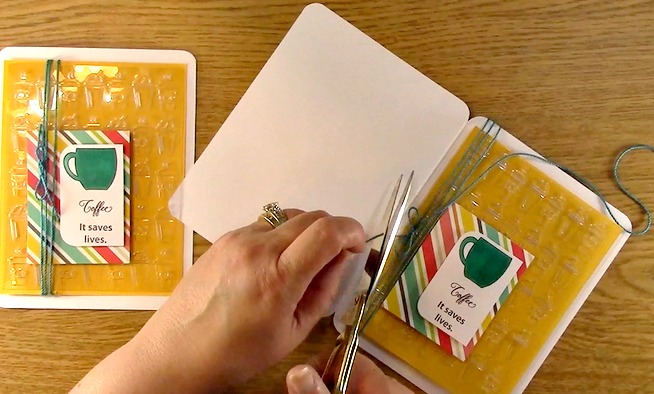
Your project is complete! As you can see, I did the second one differently. I realized after I had already adhered the card front that I had wrapped the twine around the colored card stock before adhering it.
Since I do the videos live without editing, I found a compromise to my error and just wrapped the twine around the entire card front. Not only was this a great solution, it also gives you two different looks and two different ways to do the front of the card!
Thank you so much for joining us today for. We hope you enjoyed this creation and can’t wait to hear how you incorporate this technique into your next creation! Thank you for joining us today and we hope you enjoyed going on A Creative Journey with Melissa.
