Seasons Greetings Rudolph Card
Seasons Greetings Rudolph Card Project is what we have for you today. This card is perfect for anyone that you want to share some holiday cheer with. We are having an awesome sale on our website too! Be sure to check it out as it is the best sale of the year and it ends soon!

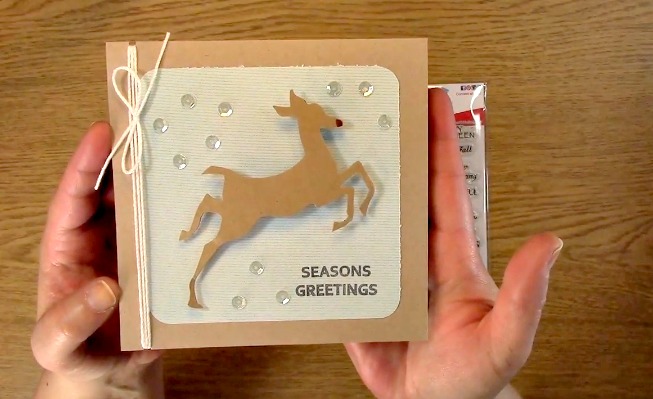
Now that we got the shopping out of the way… Are you ready to get crafty? Let’s get rollin! This is the adorable project we are creating – Seasons Greetings Rudolph Card Project!
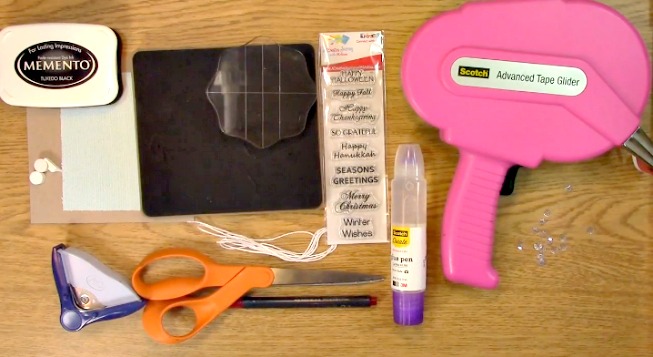
Supplies Needed for the Seasons Greetings Rudolph Card Project
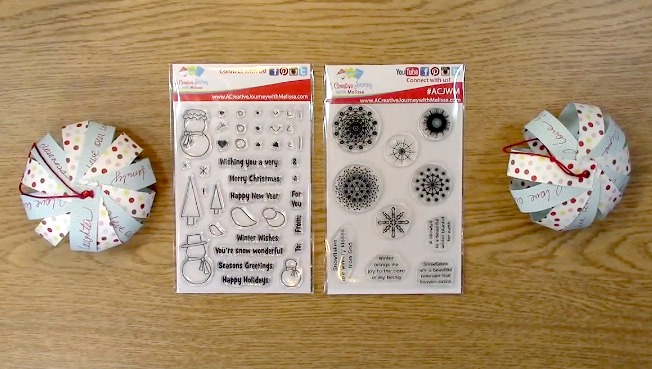
A Creative Journey with Melissa Fall and Winter Holiday Sentiments Stamp Set
Card Base (5.5″ square)
Patterned Paper for Card Mat (4.5″ square)
Memento Ink
Corner Rounder
Tim Holtz Reindeer Flight Die
Iridescent Sequins
3-D Foam Adhesive circles
Clear Liquid Adhesive
Tape Runner (ATG)
Sizzix Die Cut Machine and Platforms
Red Spica glitter pen
White Twine
Scissors

Beginning with the Patterned Card Mat Paper and corner rounder, round the corners of all four sides of your paper.

Take out your A Creative Journey with Melissa Fall and Winter Holiday Sentiments Stamp Set , Acrylic Stamp Block and Memento Ink.

Peel off your Seasons Greetings Stamp and adhere to your acrylic stamp block.

Ink your stamp and stamp your sentiment on your patterned mat paper.
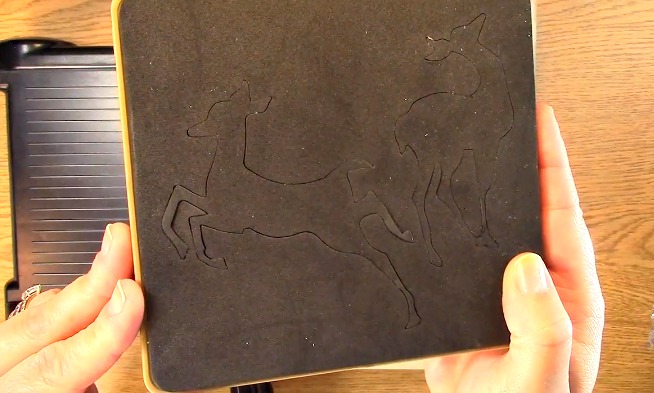

Take out your Tim Holtz Reindeer Flight Die.
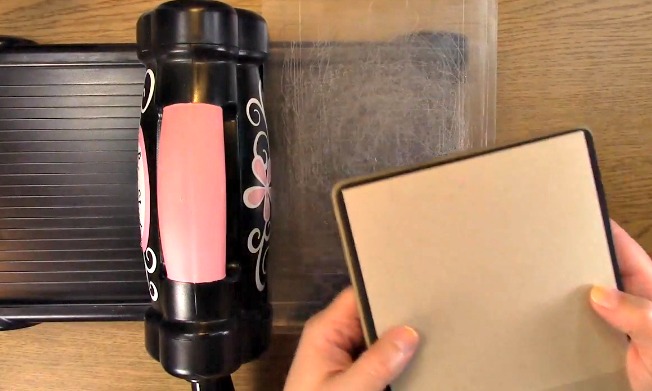
You will also need your Paper to die cut your reindeer as well as a Die Cut Machine and Die cut platforms. Place your paper on top of the die cut area on your die.
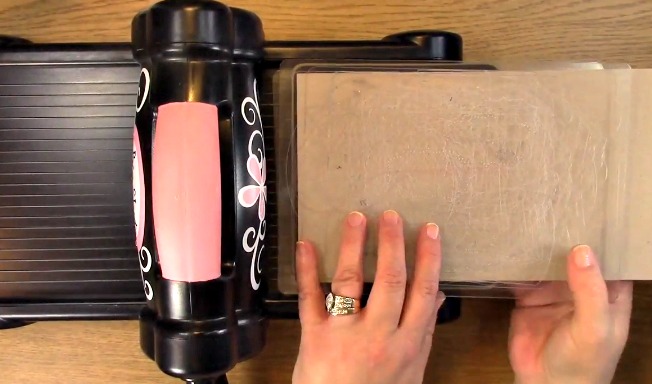
Using a clear platform, place one under your die and one on top of the paper you are cutting. Run the die cut “sandwich” through your die cut machine.
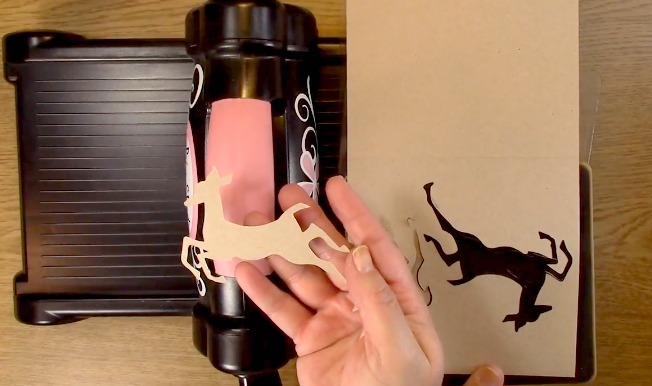
This is what the deer die cut will look like once cut for your Seasons Greetings Rudolph Card Project.

Take out your Red Spica glitter pen and color the end of the reindeer nose.

Take out your 3-D foam circles and place them on the back of the reindeer.
*Creative Tip: When you are finished using the foam circles, be sure to use the rest of the material as well. It works great for any area and you can cut it to any size or shape you need from what is left!
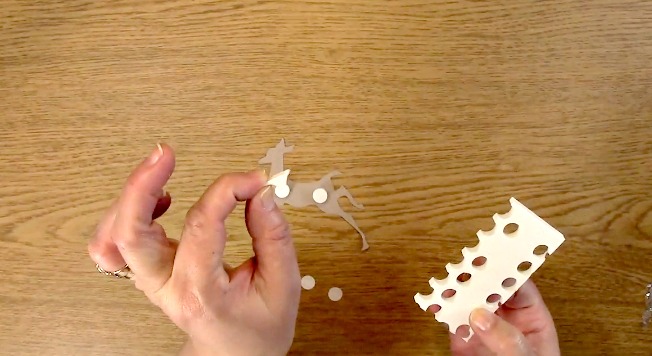
This is a perfect example of using the excess for a perfect shape of the head for the reindeer!
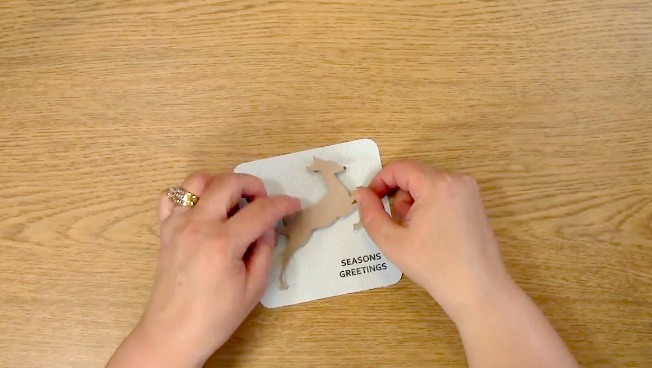
Remove the paper from the 3-D foam and place your reindeer on your stamped patterned card mat.
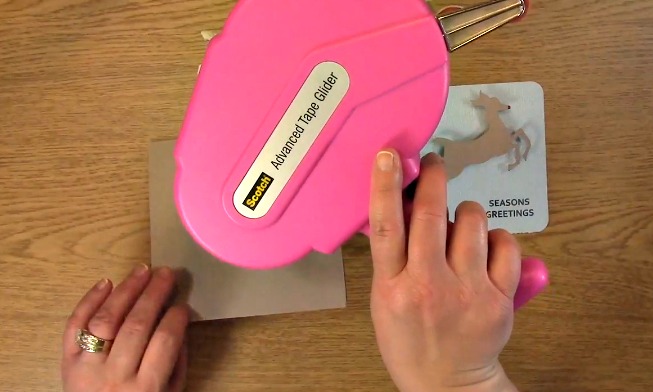

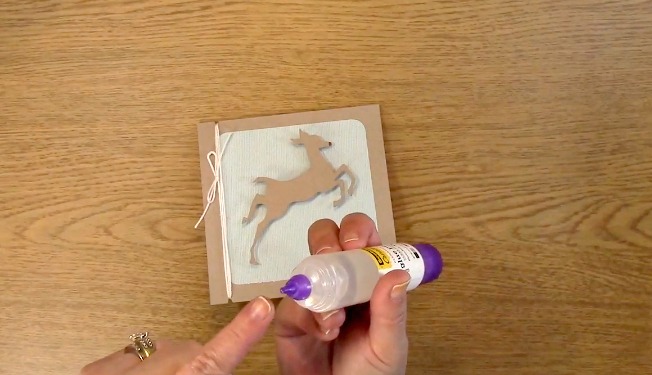
Place adhesive on your card front.

Place your reindeer card mat on top of the card front. Your Seasons Greetings Rudolph Card Project is coming along nicely.

Cut a notch out of the top of the card and on the bottom only the front panel. You are doing this for the white twine.
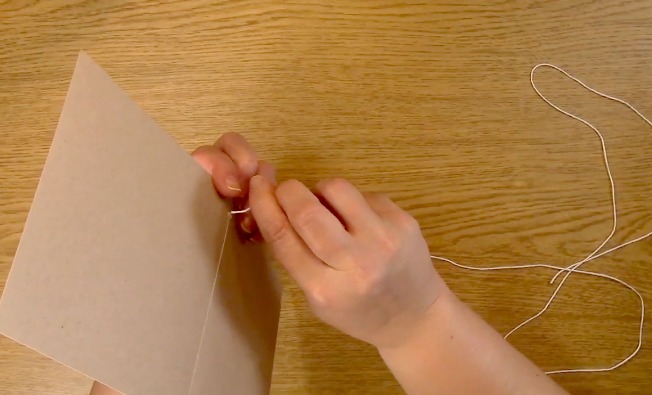
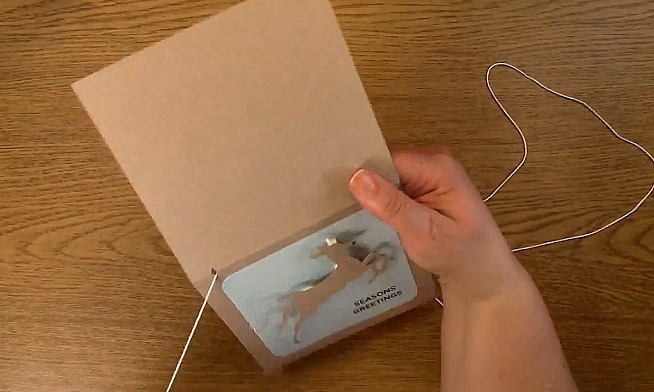
Push your twine from the back of the card through to the front and repeat twice.
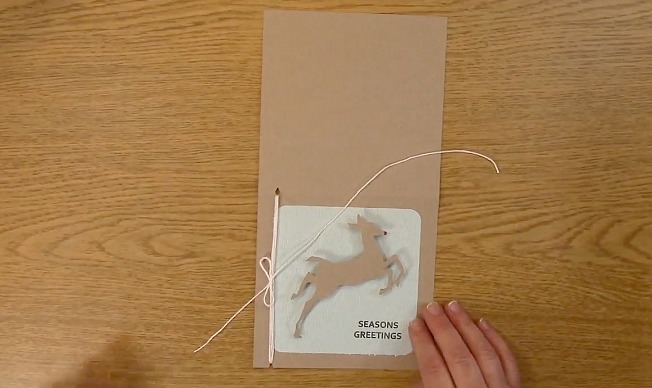
Tie your twine in a bow as shown and cut off the excess twine with your scissors.

*Creative Tip: Rather than retie your bow, if you gently bend your paper you can adjust where your bow is by moving your twine. Once you have it where you want it, gently release the bend and you are ready to go!
Using liquid adhesive with sequins, you will want a precise applicator tip. This liquid glue is perfect for the sequin application.

Place a small dot of liquid adhesive on each sequin and place on the card front.

Here you can see on the left there is a more specific pattern for the Seasons Greetings Rudolph Card Project while the right card has a more scattered set of sequins on the card front.
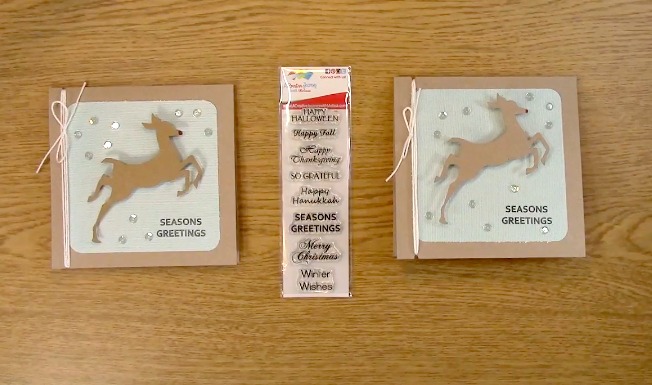
For this weeks giveaway, we have the A Creative Journey with Melissa Fall and Winter Holiday Sentiments Stamp Set.
To qualify to win, you must be BOTH:
A public follower on YouTube, subscribe to our mailing list/blog posts and you may also comment on this blog post for an additional entry to win! Winners will be announced next week on our Mondays with Melissa blog post!
BE SURE TO check to see if you are a winner EVERY WEEK. If you do not contact me within two weeks of the announcement of winning, you will forfeit your prize. Thank you for your understanding.
Subscribe to BOTH with MATCHING NAMES to be eligible. If I am unable to match you with your subscription to both the email list and the YouTube Channel, you will miss your chance to win a prize. If I can’t decipher if you are a matching subscriber (if your profile doesn’t show publicly who you subscribe to) and I can’t confirm you have subscribed to both, you will not be eligible.