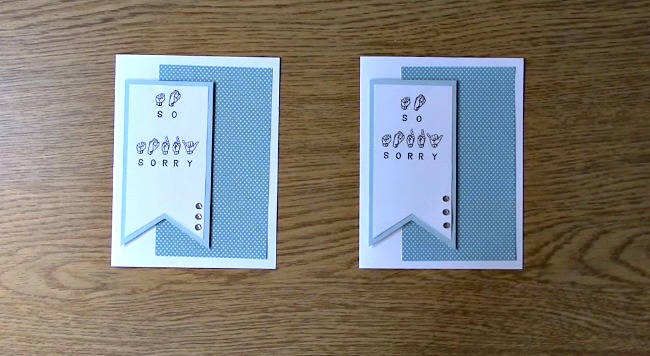
Sign Language Sentiments 2 Sympathy Card
Sign Language Sentiments 2 Sympathy Card is what we have for you today. I have created more sympathy cards in the past two months that I care to for a life time. Sadly, one of my crafty friends husband’s passed away. I knew I was going to create a card for her and her family so I decided I would share how I did it. Creating sympathy cards are always difficult so I figured the more ideas we have the better, hoping we won’t have to create one any time soon if at all.

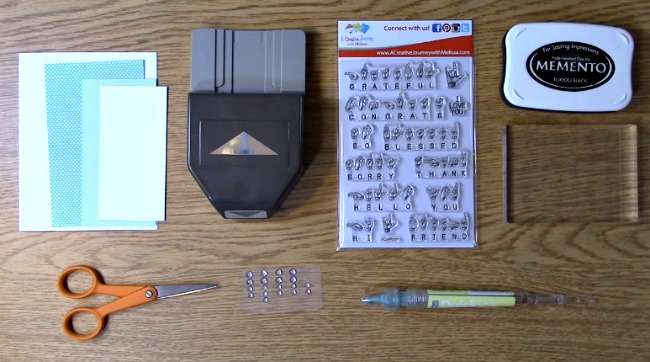
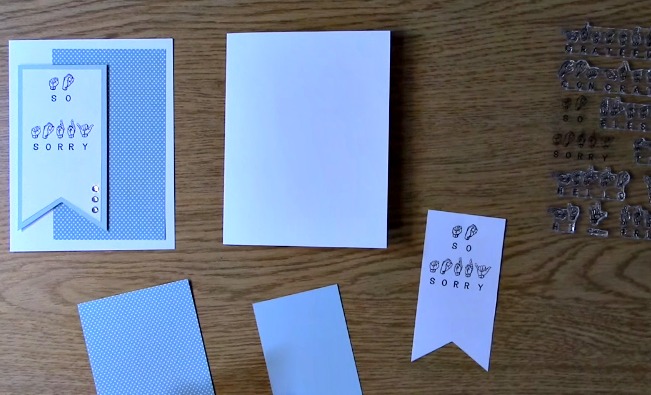
Supplies Needed for the Sign Language Sentiments 2 Sympathy Card Project
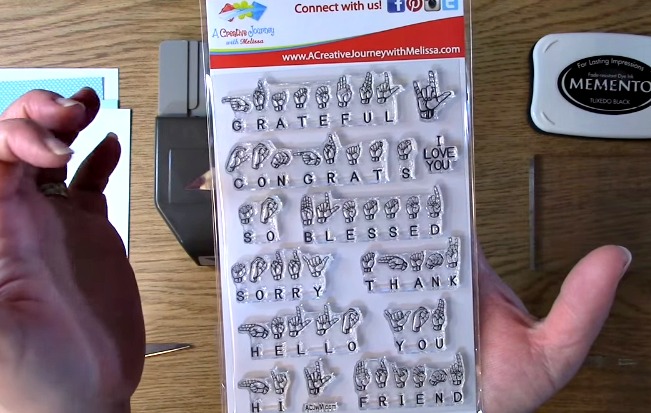
A Creative Journey with Melissa Sign Language Sentiments 2 Stamp Set
Black Ink
Card Base
Paper to stamp sentiment on
gray mat for sentiment
black mat for sentiment
Gray paper for Label die
Embossing folder for label die cut
3-D foam adhesive
Adhesive
Pearls
Decorative circle with pearls

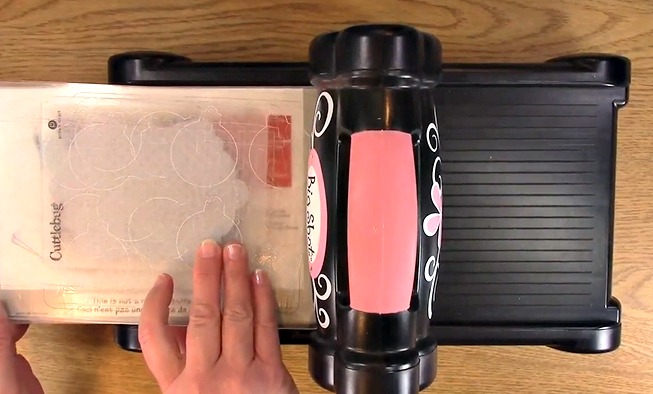
For your Sign Language Sentiments 2 Sympathy Card Project you will first want to take out your die, paper, die cut machine and platforms. Place your clear platform, die, paper then the other clear platform on your die cut machine. Run your die through the die cut machine.

Die cut your label from the gray paper. Here is the die cut label.

Take out your embossing folder and place your die cut label inside.
Emboss your label die cut for your Sign Language Sentiments 2 Sympathy Card Project.

This is what your label will look like once it has been embossed. I LOVE THE TEXTURE!

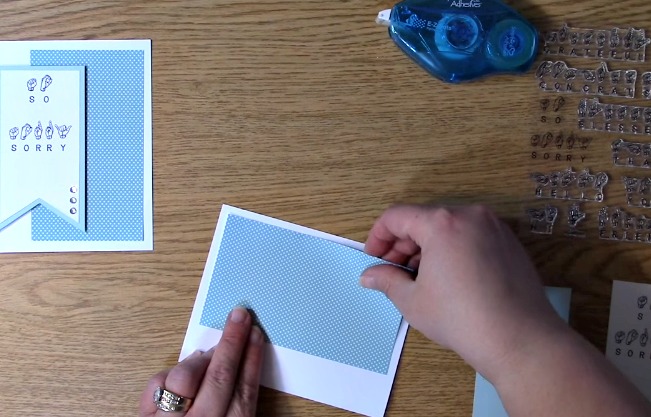
Take out your card base. Using your adhesive, place adhesive on the back of the label and adhere to your card base.

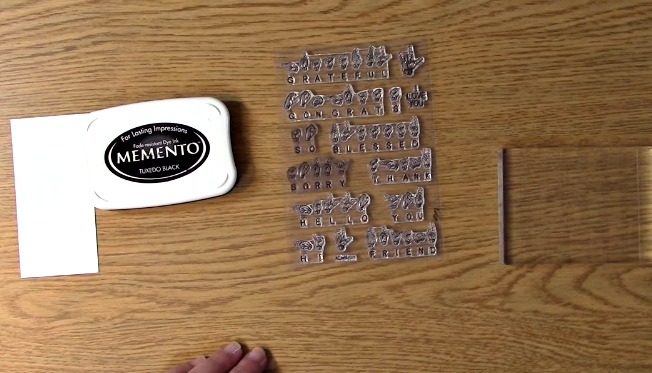
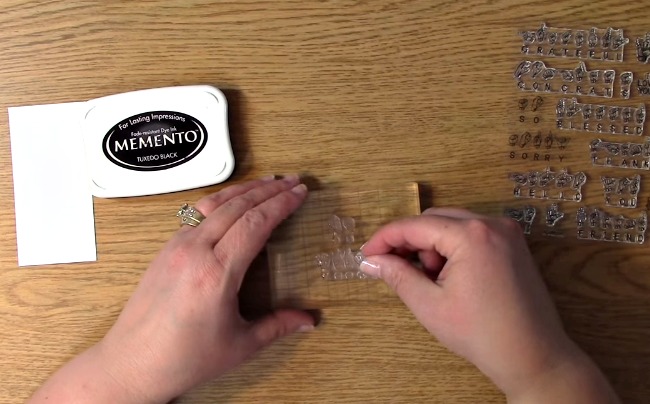
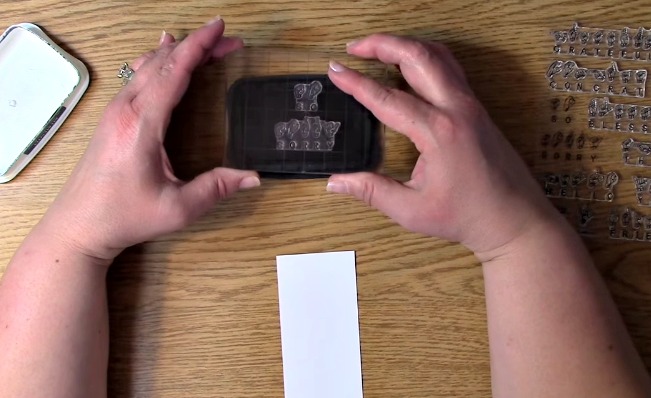
A Creative Journey with Melissa Sign Language Sentiments 2 Stamp Set and your Acrylic Stamping Block. Place the words So Sorry on your block.

Ink your sentiment for your Sign Language Sentiments 2 Sympathy Card Project.

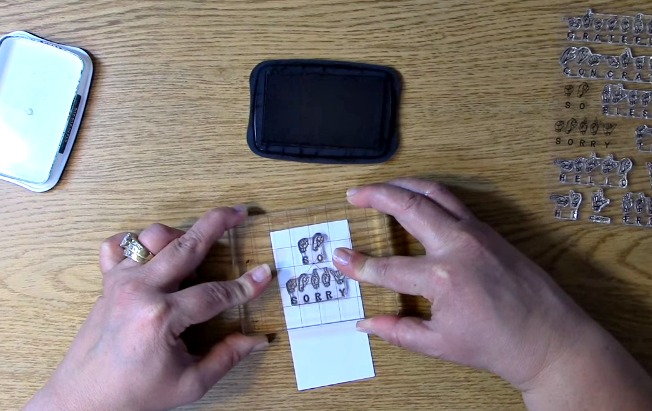
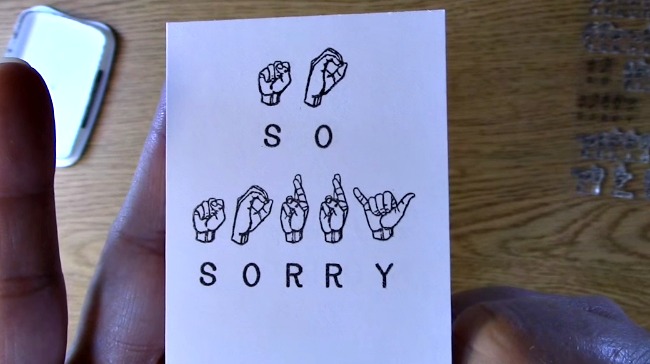
Stamp your sentiment on your paper.

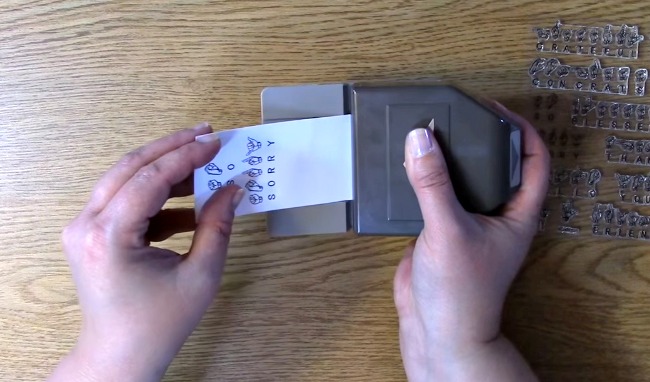
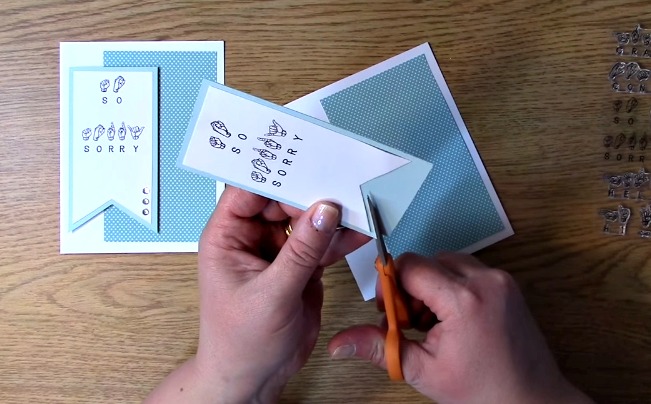
Using your square punch, punch out your sentiment.
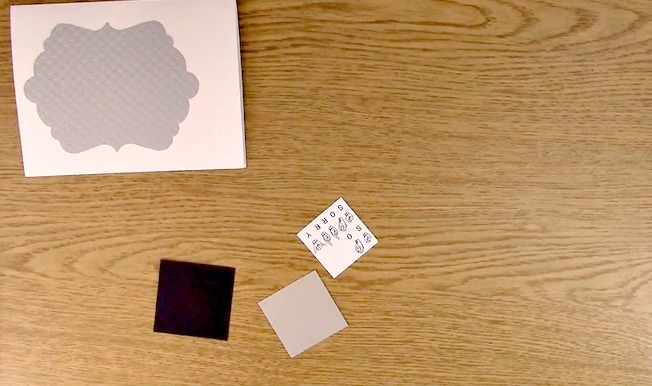
Here are the squares you will be layering for your sentiment.

Apply adhesive to the back of the sentiment and gray squares. Layer them in order of size 1.75″, 2″ and 2.25″ as shown.

Take out your card base, quicker poker picker upper and your pearls. Place one large and two small pearls on the left side of your label.

*Side Note: I love this tool and I actually have a few of them! This is the Quik Kutz Quicker Picker Upper. It is a must have for all tool boxes!

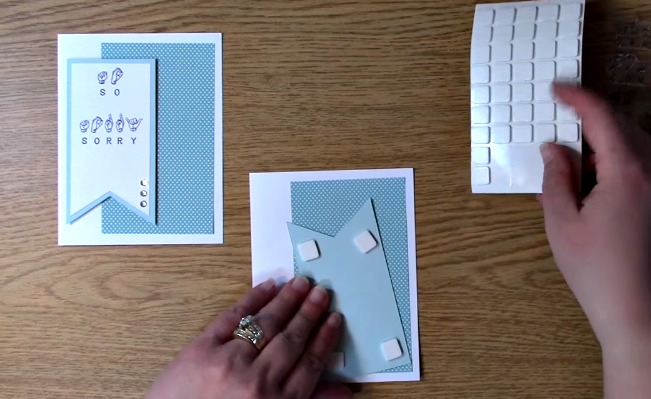
Apply six foam rectangles to the back of the sentiment squares.

Peel off the side of the sentiment where the pearls will go. Place your pearl embellishments on. 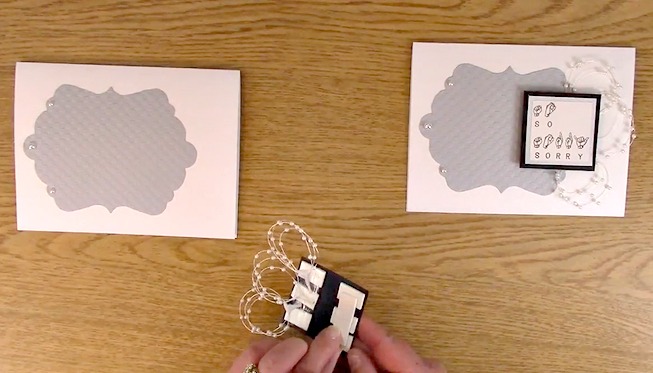
Add two foam rectangles to the other side of the square as shown to make up for the additional height from the pearl stem.

Apply additional adhesive on top of the pearl stems and foam rectangles to ensure proper adhesion.

Take off the backing of the foam rectangles on the two additional ones and apply to the card front.

You have completed your sympathy card.

For this weeks giveaway we are giving away the A Creative Journey with Melissa Sign Language Sentiments 2 Stamp Set !! Winners announced next week so be sure to check back!
To qualify to win, you must be BOTH:
A public follower on YouTube, subscribe to our mailing list/blog posts and you may also comment on this blog post for an additional entry to win! Winners will be announced next week on our Mondays with Melissa blog post!
BE SURE TO check to see if you are a winner EVERY WEEK. If you do not contact me within two weeks of the your name being picked, you will forfeit your prize. Thank you for your understanding.
Subscribe to BOTH with MATCHING NAMES to be eligible. If I am unable to match you with your subscription to both the email list and the YouTube Channel, you will miss your chance to win a prize. If I can’t decipher if you are a matching subscriber (if your profile doesn’t show publicly who you subscribe to) and I can’t confirm you have subscribed to both, you will not be eligible.

For last weeks giveaway we are giving away the A Creative Journey with Melissa Sentiments For All Occasions Stamp Set!!
The winner is Cyndi E!
Winner, please send me your contact information via contact page on our website, which post you are a winner from and I will get your prize out to you! Thank you so much for being a YouTube follower and subscribing to our mailing list/blog posts!
Thank you for joining us for the Sign Language Sentiments 2 Sympathy Card Project. I hope you take this time to enjoy your loved ones and spend time with them. You never know how long you have. CHECK BACK TO SEE IF YOU ARE A WINNER!
Have a wonderful week and thank you for going on A Creative Journey with Melissa.

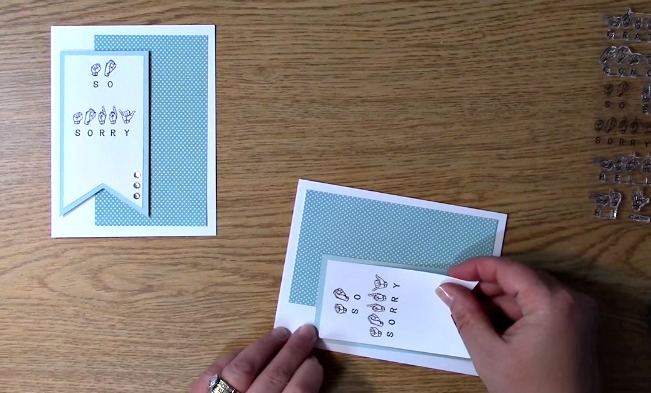
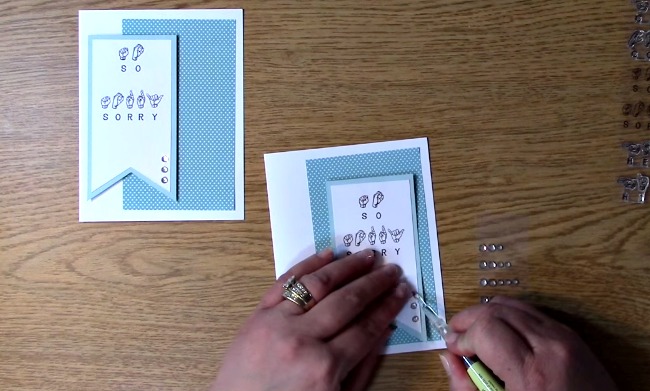
 Adhere your matted sentiment to your card base.