Tag Archive for: sign language sentiments

Six Giveaways Chase My Blues Away

Six Giveaways Chase My Blues Away is what we have today. No tutorial today just giveaways… Sounds good right? You know when you get kind of in a funk and on top of it have a lot of stuff going on? It can get overwhelming, right? Yes! For me too! What better way for me to cheer myself up than cheer up someone else?! You got it!

We have 6 giveaways today! Be sure you check back to claim your prize otherwise it will go back into the prize bin for another giveaway.

Some of the prizes for the Six Giveaways Chase My Blues Away are prizes that haven’t been claimed. I have giveaways every week so be sure to check back next week to see if you are a winner!

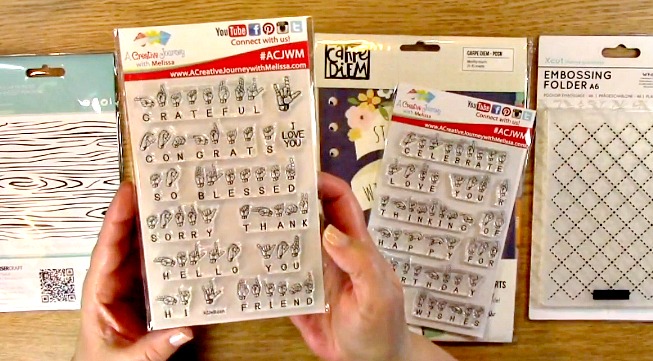
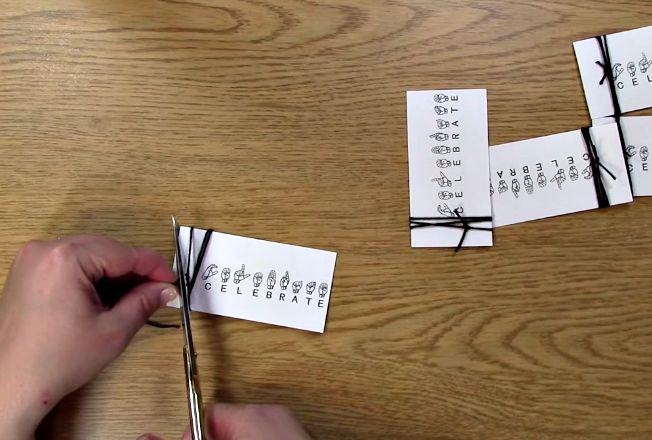
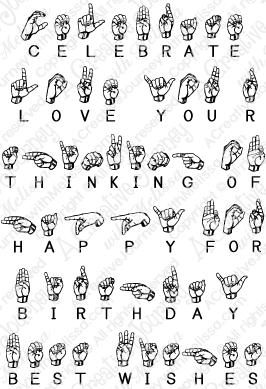
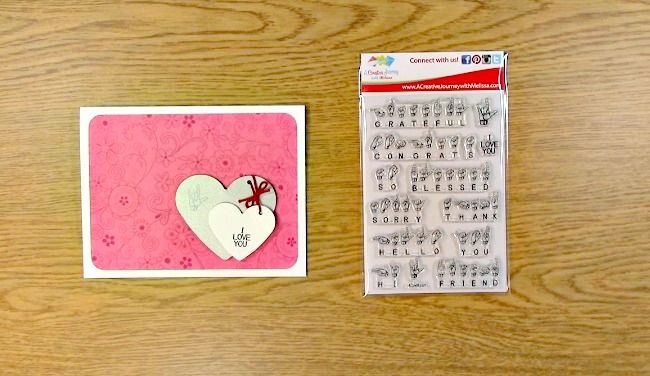
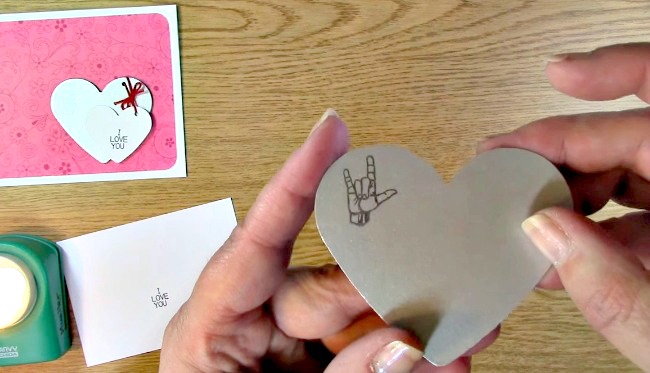
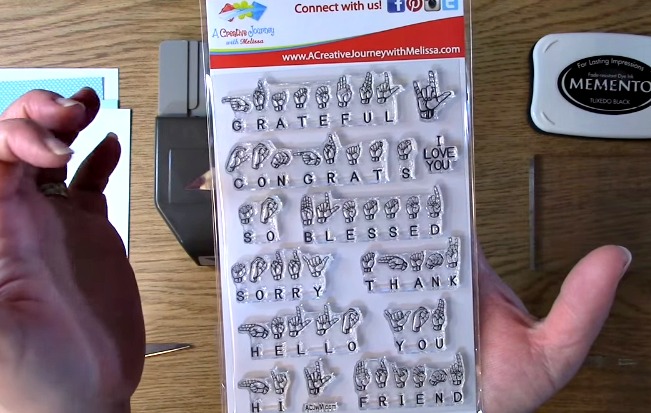
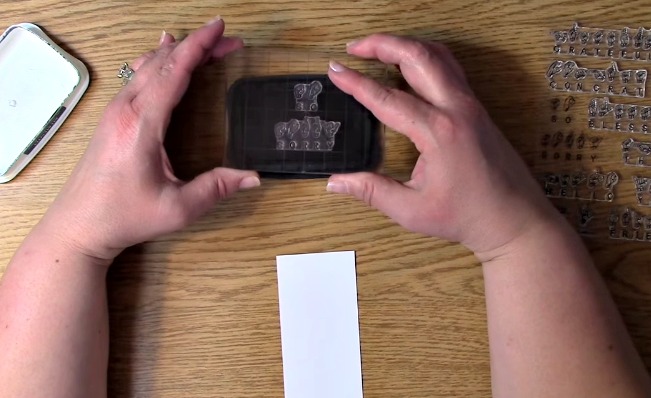
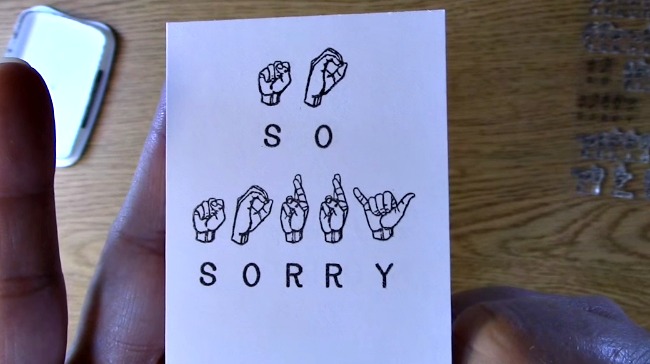
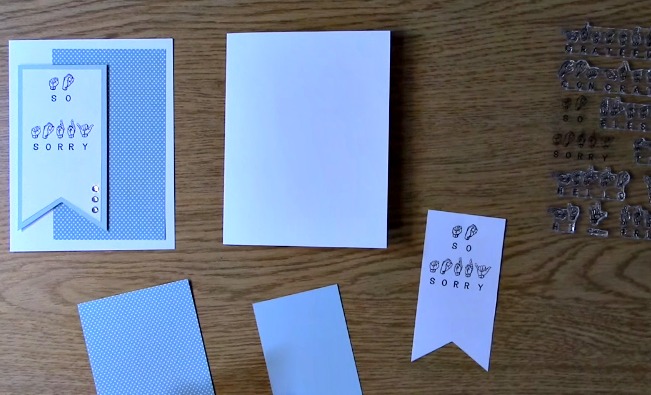
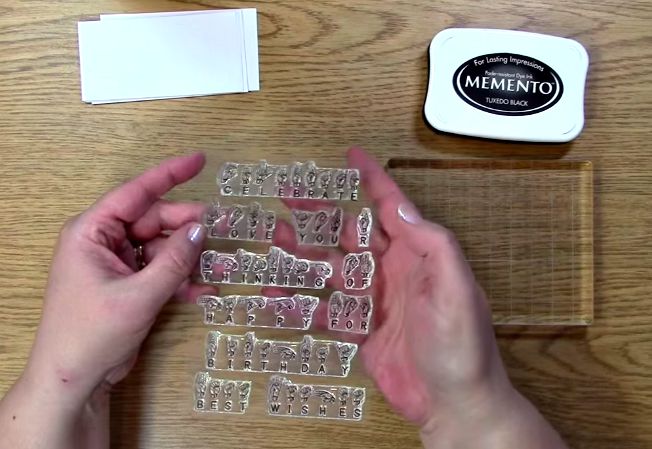
Our first giveaway is the A Creative Journey with Melissa Sign Language Sentiments 2 Stamp Set.

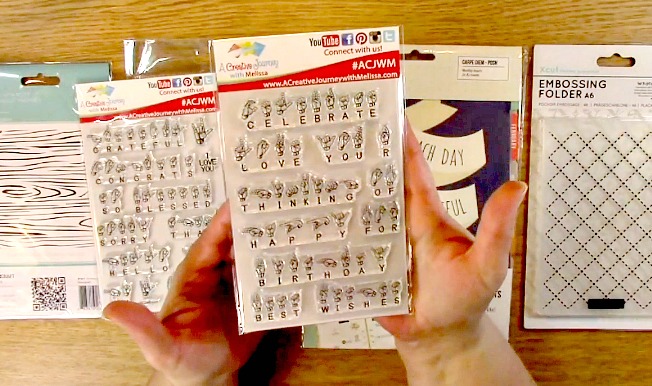
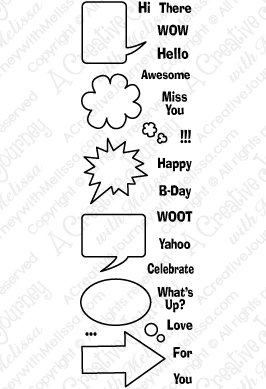
For my second giveaway for the Six Giveaways Chase My Blues Away is the A Creative Journey with Melissa Sign Language Sentiments Stamp Set

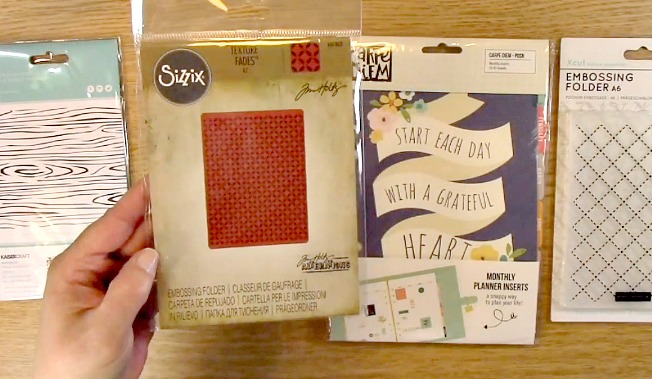
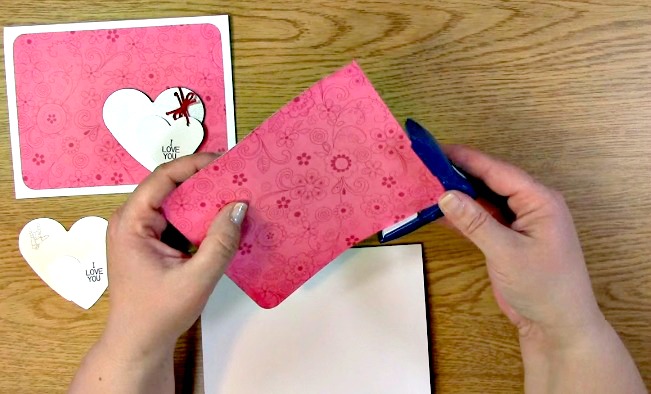
The third giveaway for the Six Giveaways Chase My Blues Away is this awesome textured embossing folder by Tim Holtz. Definitely one of my go to embossing folders!

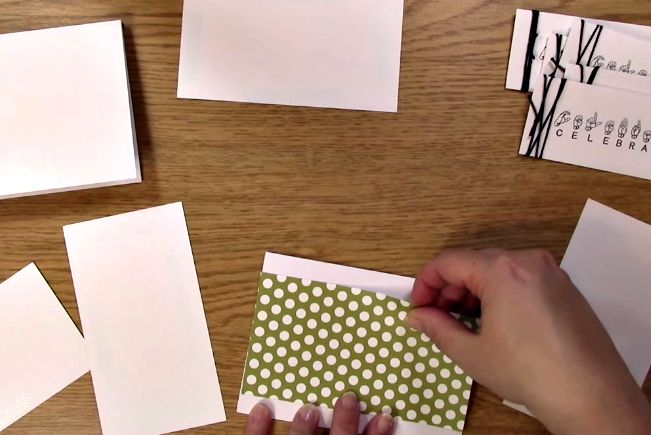
This giveaway is for the planners. You are going to LOVE this set! It is not only filled with goodies, it is quite lovely too!

This awesome embossing folder is so much fun to work with! You can ink, stain, paint, sand and water color the paper before or after giving your paper an awesome and beautiful look! You can even use it plain with paper and it looks very elegant.


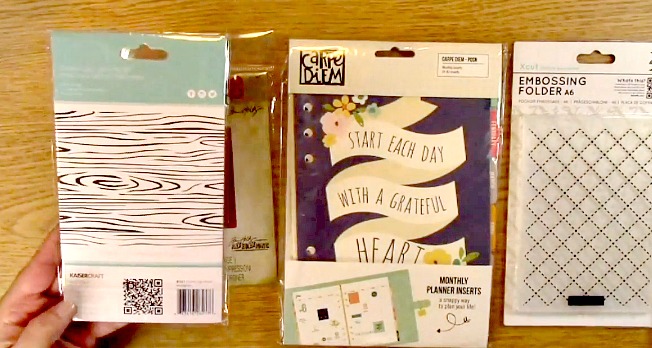
The sixth and last giveaway for the Six Giveaways Chase My Blues Away is this lovely wood grain embossing folder. This folder would work great for a masculine background, behind a bird image, an outdoor scene and really just about anything! Seriously the possibilities are endless!

 Now for this weeks GIVEAWAY we are giving away all of the AWESOME products above. There will be SIX WINNERS!

To qualify to win, you must be BOTH:

A public follower on YouTube, subscribe to our mailing list/blog posts and you may also comment on this blog post for an additional entry to win! Winners will be announced next week on our Mondays with Melissa blog post!

If you do not contact me within two weeks of the announcement of winning, you will forfeit your prize. Thank you for your understanding.

Subscribe to BOTH with MATCHING NAMES to be eligible. If I am unable to match you with your subscription to both the email list and the YouTube Channel, you will miss your chance to win a prize. If I can’t decipher if you are a matching subscriber (if your profile doesn’t show publicly who you subscribe to) and I can’t confirm you have subscribed to both, I won’t be able to enter you in for the prize. **DO NOT COMMENT WITH YOUR ENTIRE EMAIL ADDY. Only give me the first 6 NOT INCLUDING YOUR HOST. Just enough for me to match your name will work perfectly.

Now for last weeks GIVEAWAY we are giving away the amazingly versatile A Creative Journey with Melissa Outside and In Stamp Set!

The winner is Lisa Maxner!

Lisa,  please send me your contact information via contact page on our website, which post you are a winner from and I will get your prize out to you! Thank you so much for being a YouTube follower and subscribing to our mailing list/blog posts!

Thank you for joining us for the Six Giveaways Chase My Blues Away. I already am cheered up and am thrilled there will be six winners next week! I hope I cheered you up too!

Have a wonderful week and thank you for going on A Creative Journey with Melissa.

Sign Language Sentiments 2 stamp set I Love You Card

The Sign Language Sentiments 2 stamp set is so versatile. It works perfectly for this Valentine’s Day I created for my husband. In this video, I will show you how I used the Sign Language Sentiment stamp set 2 how I created this card step by step. Whether you like to learn by video (above) or pictorial (below) we have you covered! This is something you can refer back to again and again! Enough “talking” let’s get started!

Sign Language Sentiments 2 stamp set I Love You Card

This is the card we are creating with the Sign Language Sentiments 2 stamp set.

Here are the supplies you will need :

Card Base

Patterned Paper

Paper for Hearts

Paper Punches

Memento Black Ink

Stamp Block

Red Twine

Corner Rounder

Scissors

Adhesive

Foam Squares

Sign Language Sentiments 2 stamp set I Love You Card b

Take out your Sign Language Sentiments 2 stamp set, Paper to stamp on, ink, and stamp block.

Sign Language Sentiments 2 stamp set I Love You Card c

Stamp your sentiments on your paper.

Sign Language Sentiments 2 stamp set I Love You Card e

Sign Language Sentiments 2 stamp set I Love You Card d

Take out your punches and punch your sentiments.

Sign Language Sentiments 2 stamp set I Love You Card f

Take our your decorative paper. Using your corner rounder punch, punch the corners on all four sides.

Sign Language Sentiments 2 stamp set I Love You Card g

Add adhesive to the back of your decorative paper.

Sign Language Sentiments 2 stamp set I Love You Card h

Adhere paper to your card base.

Sign Language Sentiments 2 stamp set I Love You Card i

Add a foam square to the back of the smaller heart and adhere to the larger heart.

Sign Language Sentiments 2 stamp set I Love You Card j

Using your 1/8″ punch, punch a whole on both of the hearts where you would like to have a bow placed.

Sign Language Sentiments 2 stamp set I Love You Card k

This is what it looks like before you add the twine.

Sign Language Sentiments 2 stamp set I Love You Card l

Thread your twine from the bottom through the top and tie a bow.

Sign Language Sentiments 2 stamp set I Love You Card m

This is what it will look like once it is tied.

Sign Language Sentiments 2 stamp set I Love You Card n

Add your foam squares to to the back of the larger heart.

Sign Language Sentiments 2 stamp set I Love You Card o

Adhere the heart to the card base.

Sign Language Sentiments 2 stamp set I Love You Card Master wm

Here is the completed card using Sign Language Sentiments 2!

Although this is simple to make, I think the twine along with the offset hearts really make the creation sweet and heartfelt. Who wouldn’t love this card. Yes, my husband SURE DID! We hope you enjoyed this creation and enjoyed going on A Creative Journey with Melissa.

melissa-written-signature

Stamp Set Sneak Peek – Sign Language Sentiments 2

We have a Stamp Set Sneak Peek – Sign Language Sentiments 2 today! Due to popular demand we decided to create a second set that goes with Sign Language Sentiments and really helps to round out the set and we hope you enjoy it. We have a super quick tutorial on this card so let’s get started!

FIRST! Here is the Stamp Set Sneak Peek – Sign Language Sentiments 2! This along with three other stamp sets will be releasing WEDNESDAY! Be sure to come back here as we will have the details here for you to check out our instagram for an instagram hop.We will be giving away some prizes too!

Stamp Set Sneak Peek - Sign Language Sentiments 2 a

Now, onto the cute card and tutorial!

Stamp Set Sneak Peek - Sign Language Sentiments 2 aa

Here are the supplies you will need:

Sign Language Sentiments 2 (Releasing on Wednesday)

Stamp Block

Adhesive (not shown in pic)

Memento Black Ink

Banner 3 in 1 Punch

Card base

Two papers for matting

Paper for stamping

Scissors

Rhinestones

Rhinestone tool or tweezers

Stamp Set Sneak Peek - Sign Language Sentiments 2 c

Take out your paper, ink stamps and stamp block.

Stamp Set Sneak Peek - Sign Language Sentiments 2 d

Adhere your stamps to the block.

Stamp Set Sneak Peek - Sign Language Sentiments 2 e

Ink the stamp.

Stamp Set Sneak Peek - Sign Language Sentiments 2 f

Stamp your sentiment onto the paper.

Stamp Set Sneak Peek - Sign Language Sentiments 2 g

Here is a closer look of the result.

Stamp Set Sneak Peek - Sign Language Sentiments 2 h

Use the punch to trim the end of the paper.

Stamp Set Sneak Peek - Sign Language Sentiments 2 i

Take out your paper for the card base and the sentiment mat.

Stamp Set Sneak Peek - Sign Language Sentiments 2 j

Adhere your paper to the card base. Set aside.

Stamp Set Sneak Peek - Sign Language Sentiments 2 k

Adhere your paper to the back of the sentiment.

Stamp Set Sneak Peek - Sign Language Sentiments 2 l

Trim to fit the sentiment.

Stamp Set Sneak Peek - Sign Language Sentiments 2 m

Take out your foam squares. Add your foam squares to the back of the sentiment.

Stamp Set Sneak Peek - Sign Language Sentiments 2 p

Take out your rhinestones. Add your rhinestones to the sentiment.

Stamp Set Sneak Peek - Sign Language Sentiments 2 n
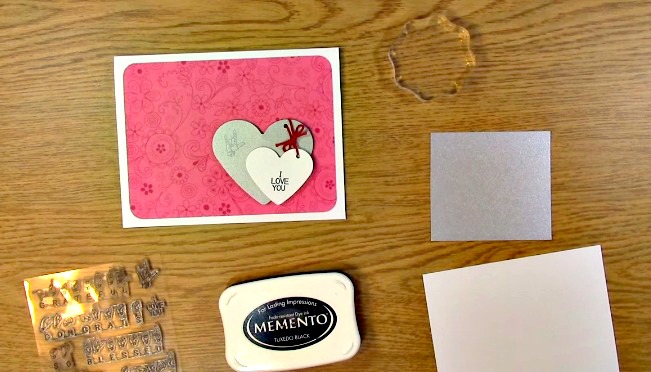
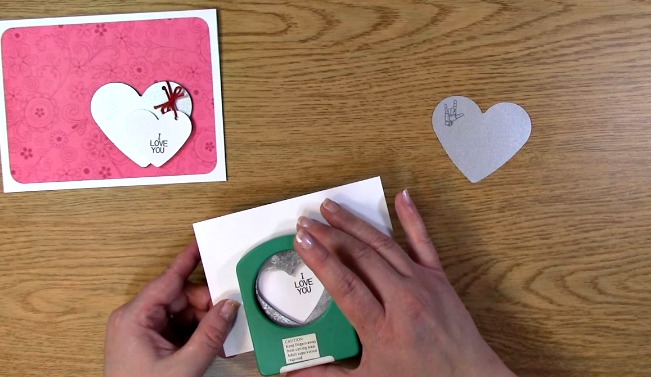
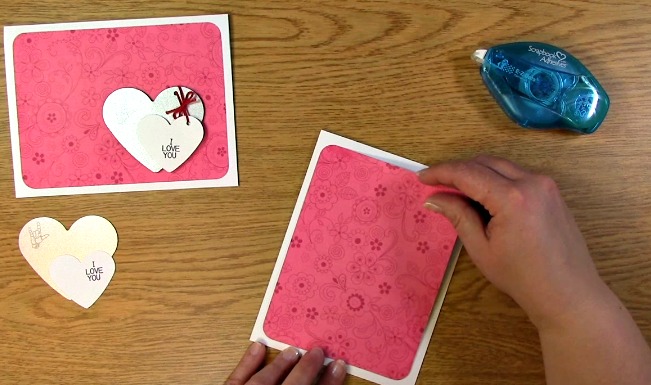
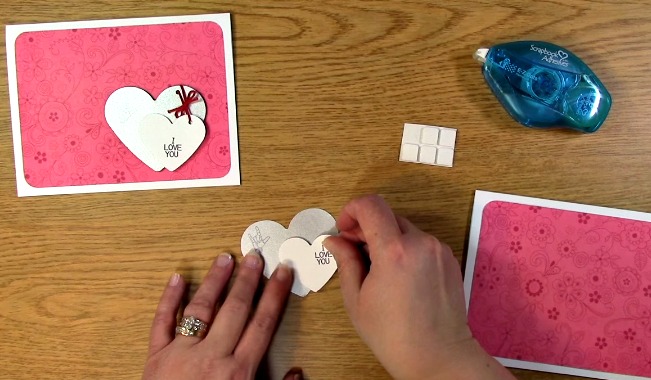
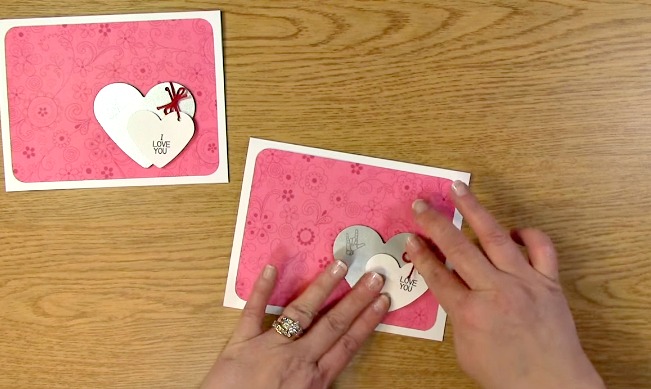
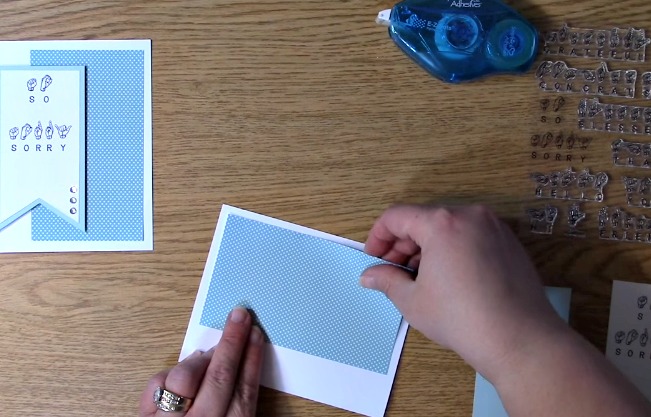
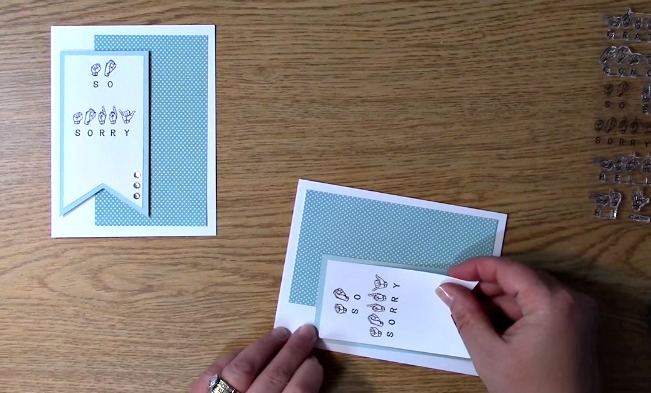
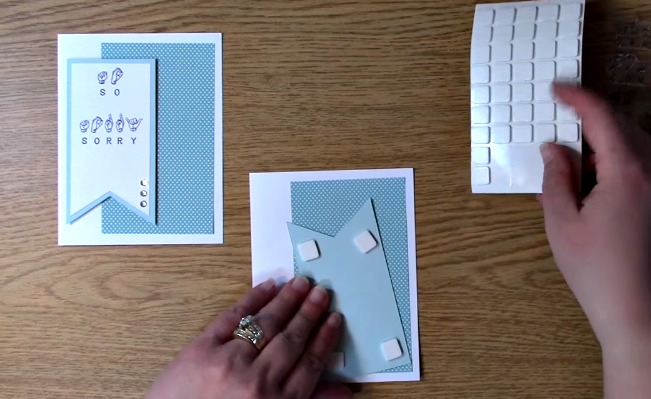
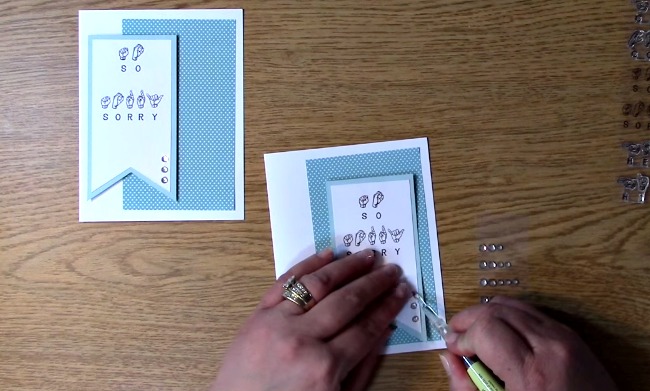
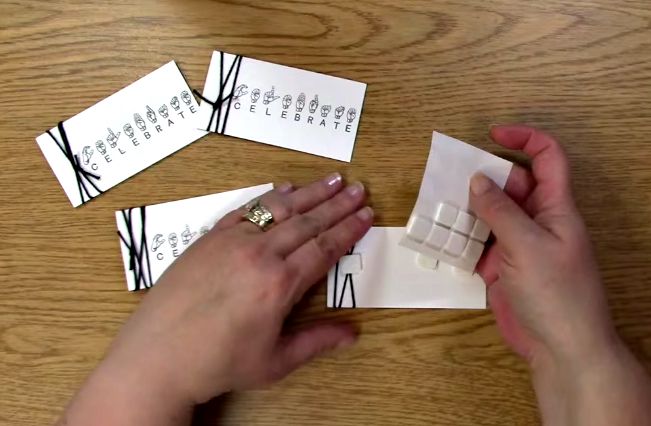
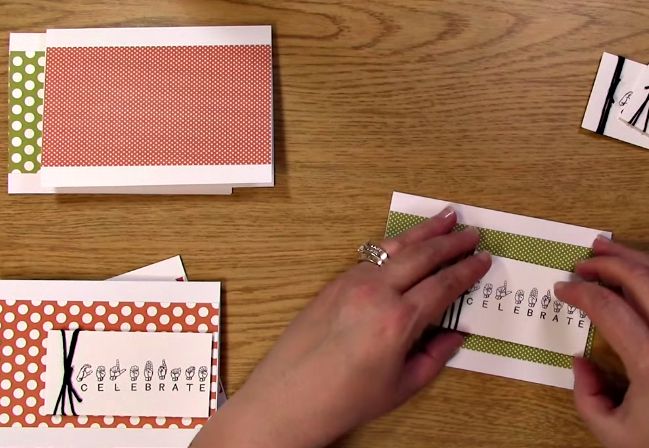
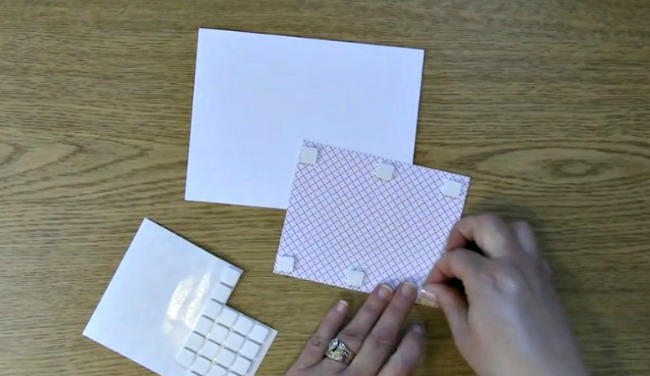
Adhere your matted sentiment to your card base.
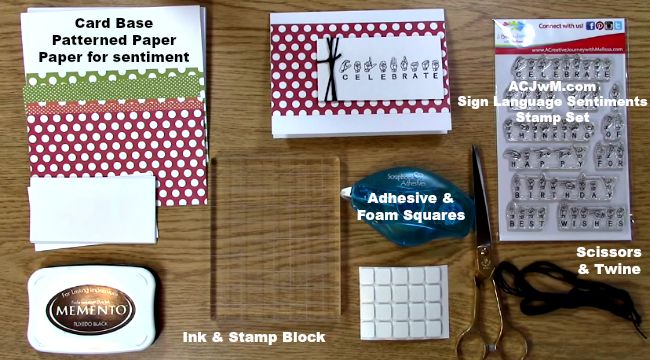
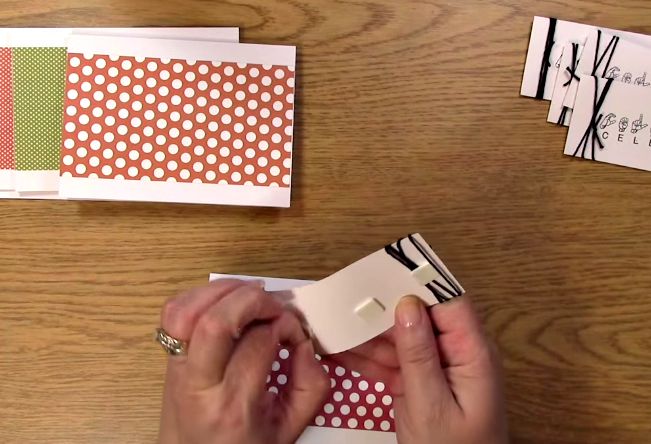
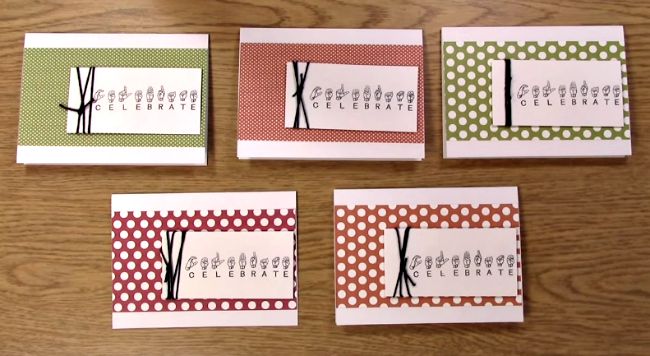
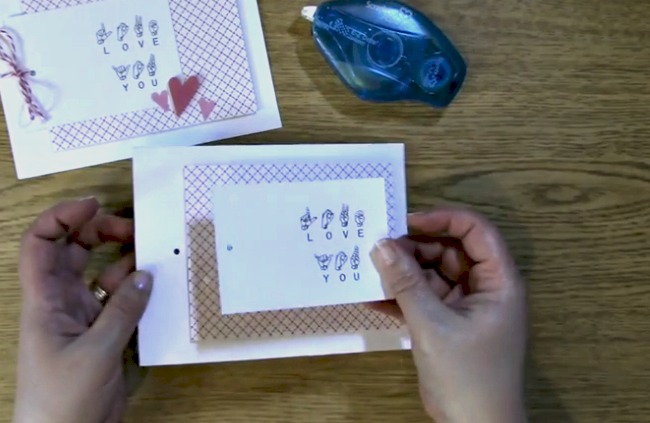
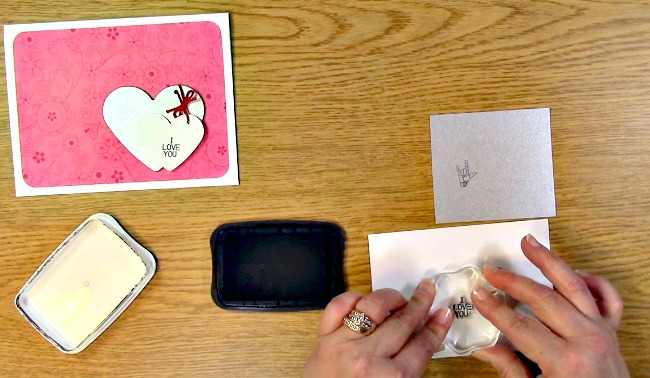
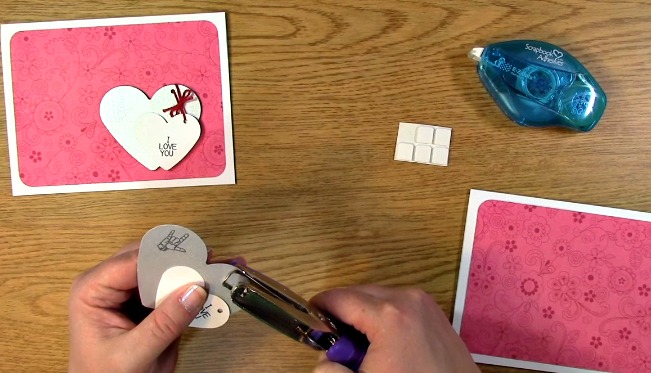
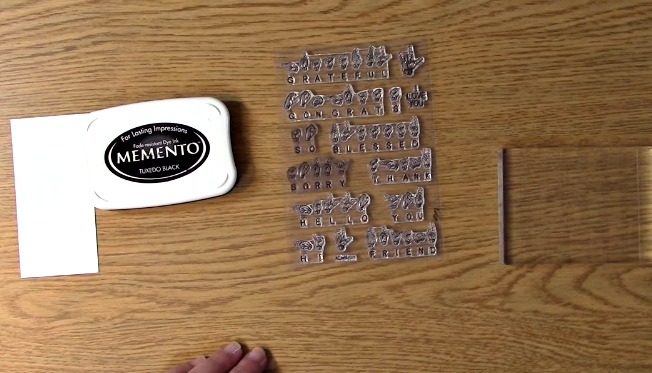
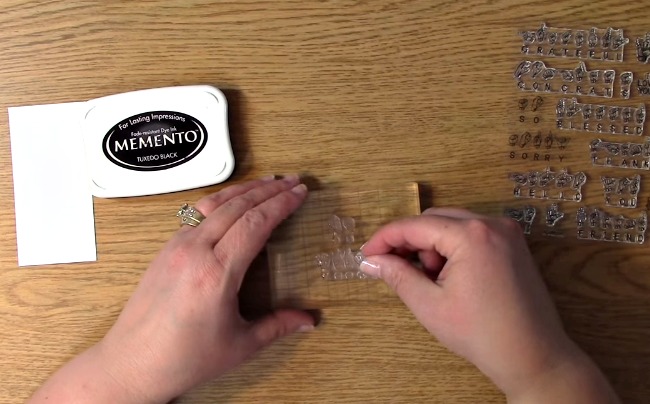
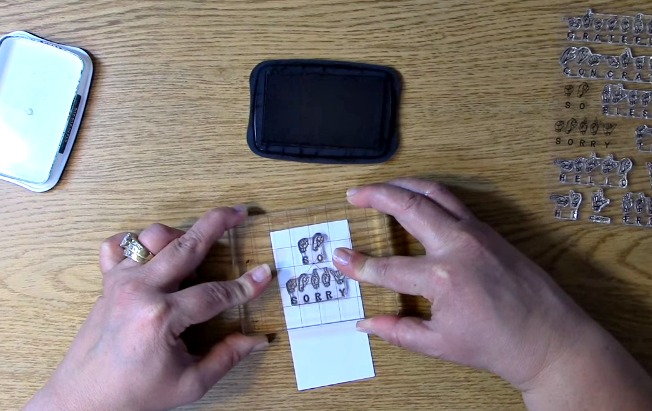
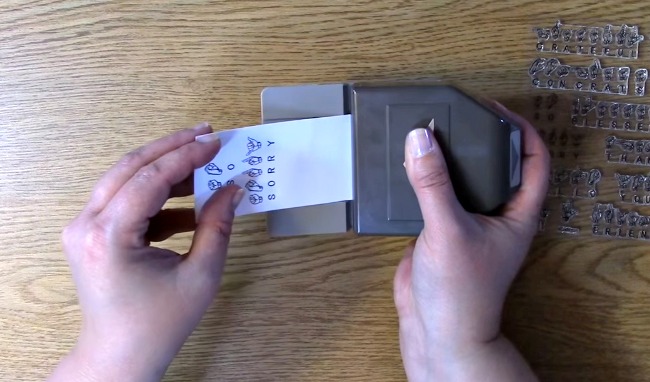
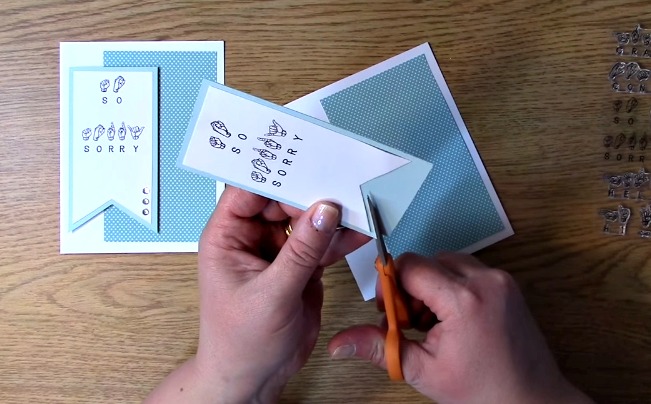
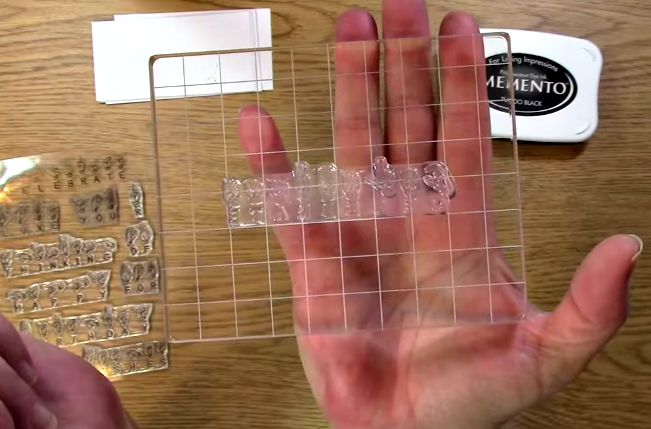
Stamp Set Sneak Peek - Sign Language Sentiments 2 o

Your project is complete!

We are so excited! We have three other sets coming out on Wednesday so be sure to check out our Instagram Hop! We will be giving away a few prizes as well. The instagram hop is something new we are trying out so we hope you enjoy it! Thank you so much for joining us today and we hope you enjoyed going on A Creative Journey with Melissa.

melissa-written-signature

5 cards in 15 minutes using Sign Language Stamps

Would you like to create 5 cards in 15 minutes using Sign Language Stamps? In this video, I will give you step by step instructions to do just that! If you like to learn by watching a video (above) or by looking at a pictorial (below) we have you are covered? Ready, Set, Let’s Get Started!!

The supplies you will need:

Sign Language Sentiment Stamps

Stamp Block

Adhesive

Foam Squares

Ink

Card Base

Patterned Paper

Paper for sentiment

Scissors

TwineSupplies w text

I have created these cards in an assembly line. You will repeat everything five times or as many times as you need to for the number of cards you are making. Take out your ink, paper for your sentiment, stamp block and Sign Language Sentiments Stamp Set.

Take out stamps, ink, paper and stamp block

Place your sentiment on your stamp block.take stamp and place on stamp block Ink your sentiment

Ink your stamp
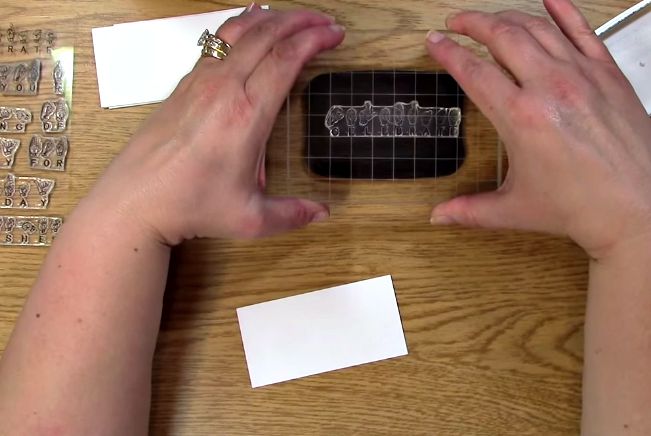
Stamp your sentiment on your paper. Repeat inking  and stamping your sentiment five times.

stamp sentiment on paper

Take your twine, wrap it around your sentiments and tie a knot. Repeat five times.

wrap twine around sentiment paper, tie and trim excess

Place 3-D foam squares to the back of the sentiments. Repeat five times.

place foam squares on the back of the sentiment paper

Place adhesive on the back of the patterned paper. Repeat five times.

apply adhesive to the back of the patterned paper

Adhere patterned paper to card base. Repeat five times.

apply patterened paper to the card base

Remove foam square backings from your stamped sentiment papers. Repeat five times.

remove foam square backing

Place sentiment on card base. Repeat five times.

apply sentiment to card

Here are the five card creations! Including all explanations this took 15 minutes! You can do it too!

Please be sure to share your creations with us!

five cards

 Thank you for joining us today and we hope you enjoyed going on A Creative Journey with Melissa.

melissa-written-signature

What’s New Wednesday – Blog Hop, Releases, Giveaways!

Welcome to What’s New Wednesday!!

Hi There! I am Melissa Mueller, the owner of A Creative Journey with Melissa . Welcome to the monthly NEW PRODUCT RELEASES for A Creative Journey with Melissa. We will be introducing new products EVERY SECOND WEDNESDAY of the month. We are also having a blog hop this month so be sure to follow along for an opportunity to win one of FIVE PRIZES! The best way to ensure you are alerted to our latest and greatest info is to subscribe to our E-mail Updates to get the most up to date info! If you didn’t know, I also have a Mondays with Melissa which is a YouTube series. I have videos every Monday showing some type of design preference and/or a tutorial on how to do something you may not have done before. Sometimes we even have sneak peeks! We would love it if you connected with us and followed along! You can check out the latest video below but be sure to connect with us above at the top right where you can go directly to our social media areas. We would love to connect with you!

Now.. onto some fun! If you came here  by chance, you are in luck! We are having a blog hop with awesome creations as well as giving away five prizes!

Here are the three new stamp releases and I am thrilled to be able to share these new products and some great creations along this hop with you today.

Speech Bubbles Mini

Speech Bubbles Mini stamp set

Speech Bubbles Large

Speech Bubbles - Large Stamp Set

Sign Language Sentiments

Sign Language Sentiments  Stamp Set

I would like to show you this amazing creation done by a friend of mine Raven. I love her style, color choice and well.. I just love her! She is an amazing Mom, supporter of mine and really did an amazing job with the Speech Bubbles Mini Set and I thought you would like to check it out!

Here is my Monday’s with Melissa video if you didn’t catch it before and my card creation using the Sign Language Sentiments stamp set.

I would love it if you would check it out and see what you think!

Below is a list of the Blog Hop Line-Up participants. All you need to do is click on the blog hop participant’s picture (don’t click on me because you saw my post above and my video- you are already here:) ) and then follow the directions on their blog post. You must comment on all blogs and follow all directions to be eligible. If you do so, you will be entered in to win one of five prizes!

Melissa

 Alena

Brandie

Rhoda

Haidee

Giveaways

Speech Bubbles Mini Stamp Set

Speech Bubbles Large Stamp Set

Sign Language Sentiments Stamp Set

TWO $10 gift certificate for Joann’s

Thank you for visiting and please be sure to hop along the blog hop to all of our other amazingly talented Creative Crew Team Members and follow the directions on each blog and become a follower if you aren’t already. If you qualify, you will be entered in the giveaway for one of the FIVE prizes if you do so! Entries for this blog hop will end Friday 4/10/15 at 8 PM Pacific Time. Winners will be announced on Saturday, 4/11/15 on the A Creative Journey with Melissa’s blog HERE . The post with the winner information will not be live (active or available) until Saturday. You must contact Melissa with your shipping information via Facebook PM, comment on her blog or e-mail me within three days of the winning announcement blog post or your prize will be forfeited. At this time, only US Residents are eligible. Thank you for your understanding.

Next up on the blog hop is Alena and I know she has some really cool creations using the Sign Language Sentiments set and more… Check it out HERE

Be sure to check back to see if you are a winner on Saturday. Thanks so much for hopping along with us!

melissa-written-signature

Using Twine & Sign Language Sentiments on a Card – It’s a SNEAK PEEK!!

Have you ever thought about using different items for your creations? What about twine? Have you thought about using bakers twine on a creation you have created to add a little color or pop? Thanks for joining us for Monday’s with Melissa. Today I am going to be showing you how to create a card using twine and give you a sneak peek of the stamp sets coming out Wednesday! Whether you learn better by video or a pictorial, we have both! Let’s Get To It!!!

Here is a list of the supplies you will need to create this:

Shaped Punches

Card

Patterned Paper for Base of Card

Paper for Stamped Sentiment

Coordinating Colored Paper

3-D Foam Squares

1/8 hole punch (works best with the diameter of bakers twine)

Twine

Tape Runner/Adhesive

Scissors

Ink

Sentiment Stamps ( We used the to be released on 4-8-15 Sign Language Sentiments Stamp Set )

Acrylic Stamp Block

Adhere foam squares to the patterned paper

Adhere paper to card

Line up sentiment paper on card for placement of the hole for the twine. This is needed because you are punching a hole through both the sentiment paper as well as the card so that they can be  lined up for proper twine bow placement.

Punch a hole through the sentiment paper and the card at the same time so they will line up for the twine attachment. Set the sentiment paper aside.

Punch out your heart shapes out of the colored card stock.

Take out your ink, stamps, sentiment paper and block.

Place sentiment on stamp block, ink stamp and stamp on the pre-punched sentiment paper.

Place adhesive on the back of the stamped sentiment paper

Adhere stamped sentiment paper onto the card ensuring the holes punched earlier are aligned.

Put the twine through both the holes on the card and sentiment.

Tie a bow with the twine and trim off the excess.

Adhere foam square to the back of the large heart and place on the card.

Place adhesive to the back of the two smaller hearts (You can also use pop squares on the smaller hearts as well. This is a design choice.)

You have your completed card 🙂

We hope you have enjoyed this tutorial… If you would like to see the sneak peek of the stamp sets that are to be released on Wednesday, check out our video above and be sure to come back on Wednesday for What’s New Wednesday for our Blog Hop which includes the new sign language sentiment stamp set as well as two other stamp sets to be released, creations and GIVEAWAYS!!

I would love to hear your feedback so be sure to leave a comment!

Thanks for going on

A Creative Journey with Melissasignature