Tag Archive for: sign language

Stamp Set Sneak Peek – Sign Language Sentiments 2

We have a Stamp Set Sneak Peek – Sign Language Sentiments 2 today! Due to popular demand we decided to create a second set that goes with Sign Language Sentiments and really helps to round out the set and we hope you enjoy it. We have a super quick tutorial on this card so let’s get started!

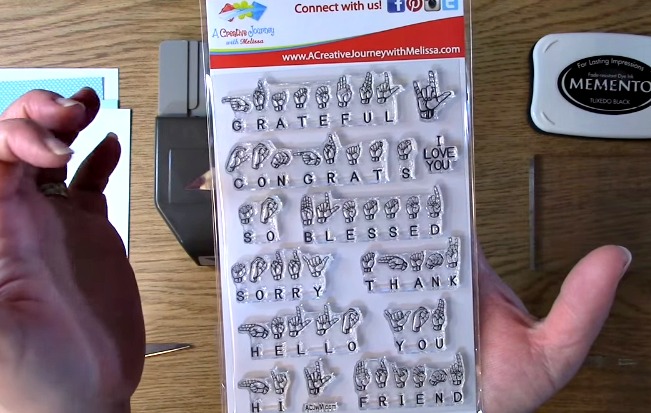
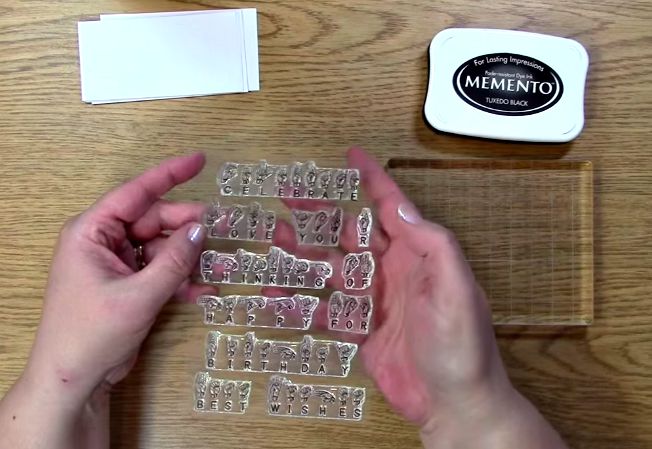
FIRST! Here is the Stamp Set Sneak Peek – Sign Language Sentiments 2! This along with three other stamp sets will be releasing WEDNESDAY! Be sure to come back here as we will have the details here for you to check out our instagram for an instagram hop.We will be giving away some prizes too!

Stamp Set Sneak Peek - Sign Language Sentiments 2 a

Now, onto the cute card and tutorial!

Stamp Set Sneak Peek - Sign Language Sentiments 2 aa

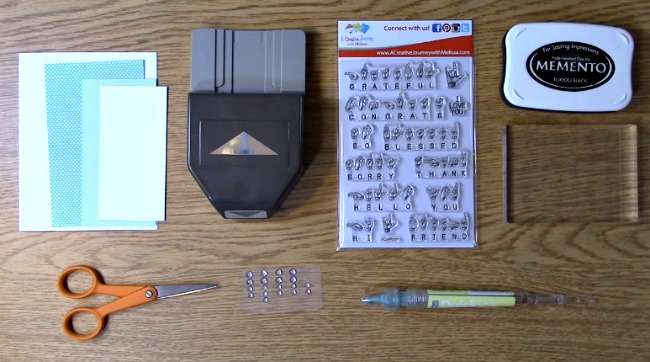
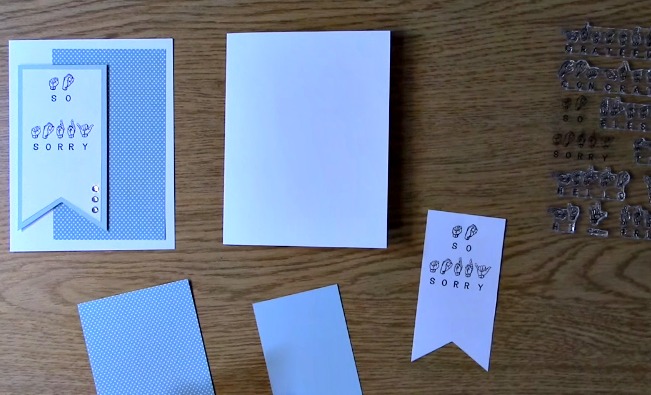
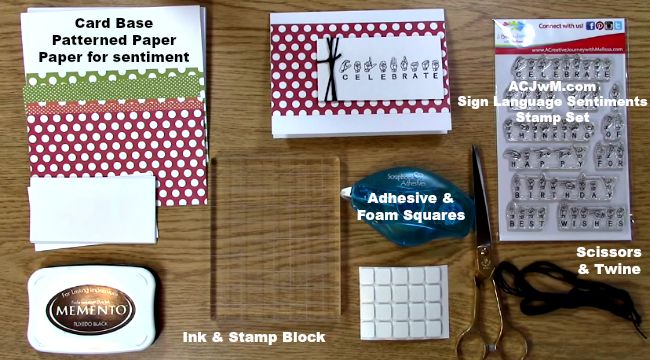
Here are the supplies you will need:

Sign Language Sentiments 2 (Releasing on Wednesday)

Stamp Block

Adhesive (not shown in pic)

Memento Black Ink

Banner 3 in 1 Punch

Card base

Two papers for matting

Paper for stamping

Scissors

Rhinestones

Rhinestone tool or tweezers

Stamp Set Sneak Peek - Sign Language Sentiments 2 c

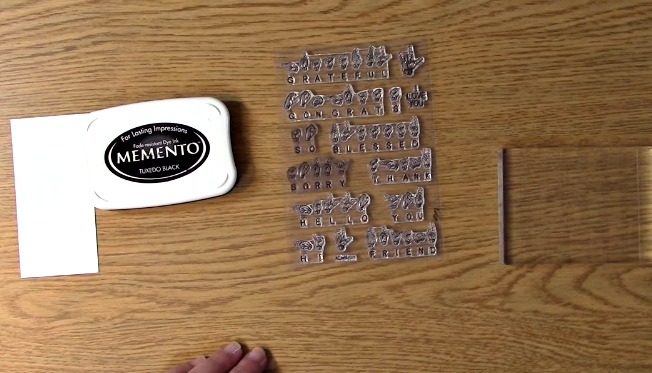
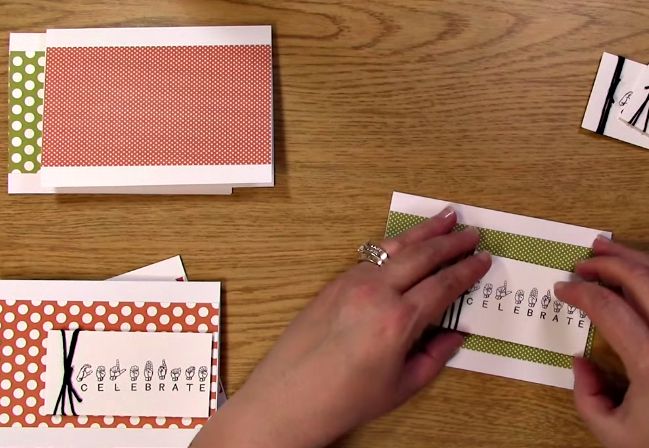
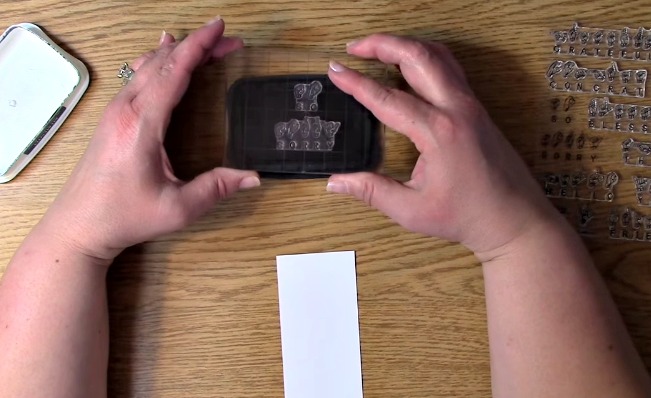
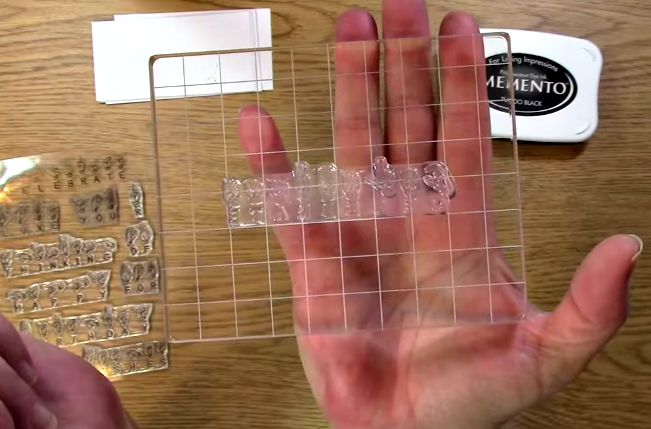
Take out your paper, ink stamps and stamp block.

Stamp Set Sneak Peek - Sign Language Sentiments 2 d

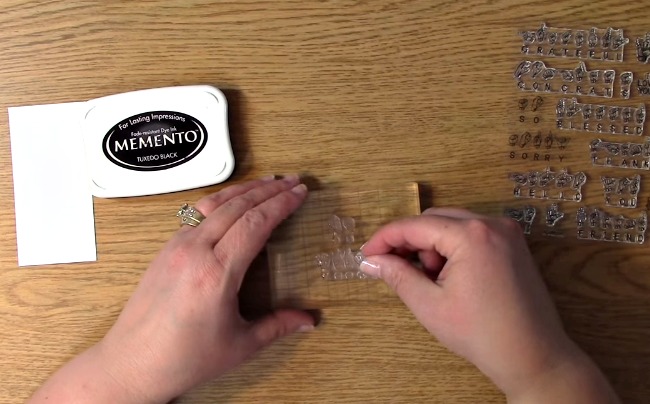
Adhere your stamps to the block.

Stamp Set Sneak Peek - Sign Language Sentiments 2 e

Ink the stamp.

Stamp Set Sneak Peek - Sign Language Sentiments 2 f

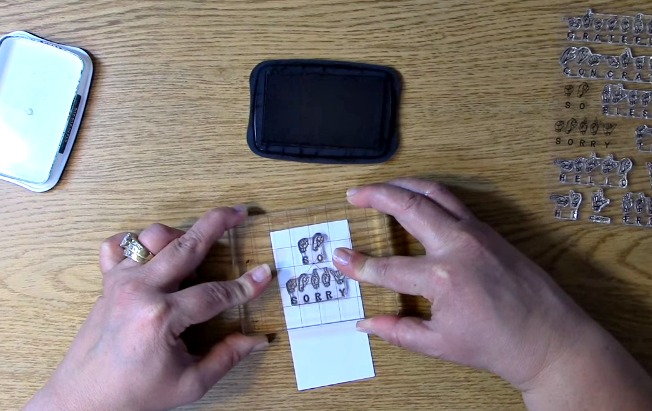
Stamp your sentiment onto the paper.

Stamp Set Sneak Peek - Sign Language Sentiments 2 g

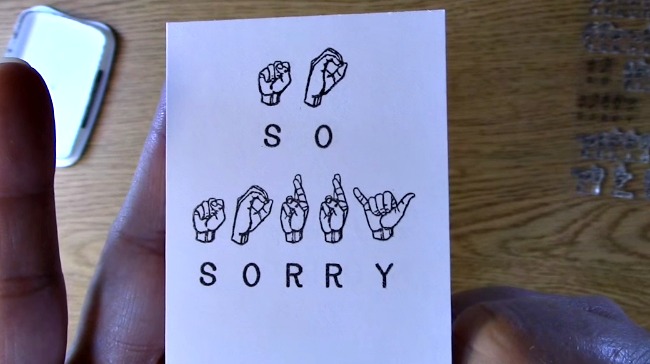
Here is a closer look of the result.

Stamp Set Sneak Peek - Sign Language Sentiments 2 h

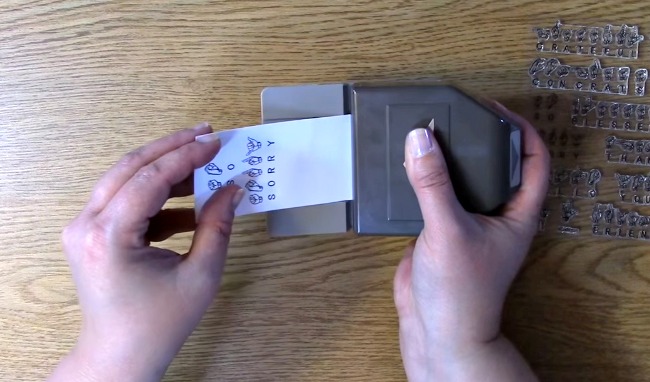
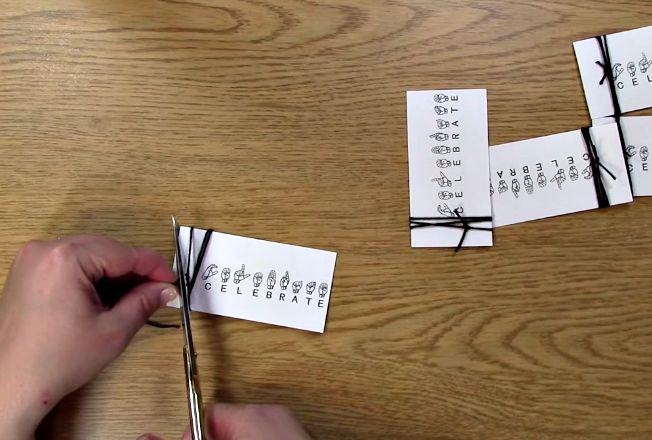
Use the punch to trim the end of the paper.

Stamp Set Sneak Peek - Sign Language Sentiments 2 i

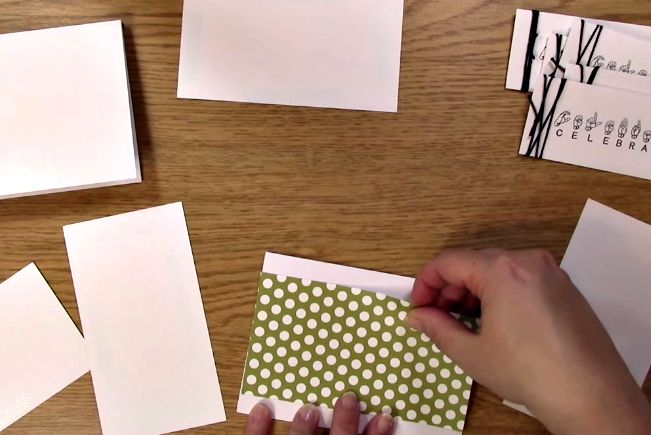
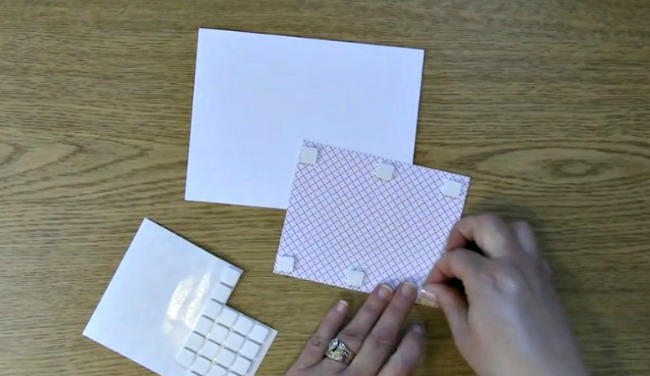
Take out your paper for the card base and the sentiment mat.

Stamp Set Sneak Peek - Sign Language Sentiments 2 j

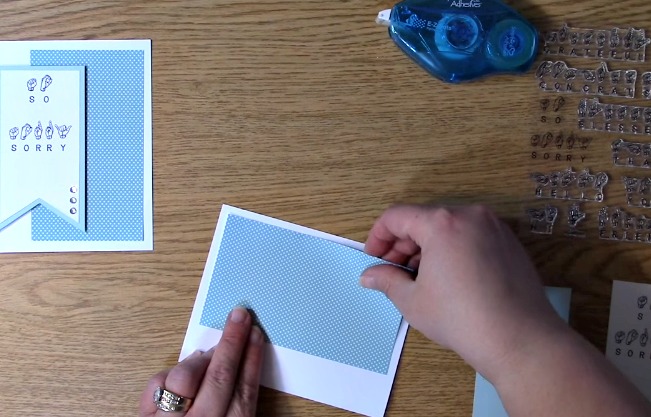
Adhere your paper to the card base. Set aside.

Stamp Set Sneak Peek - Sign Language Sentiments 2 k

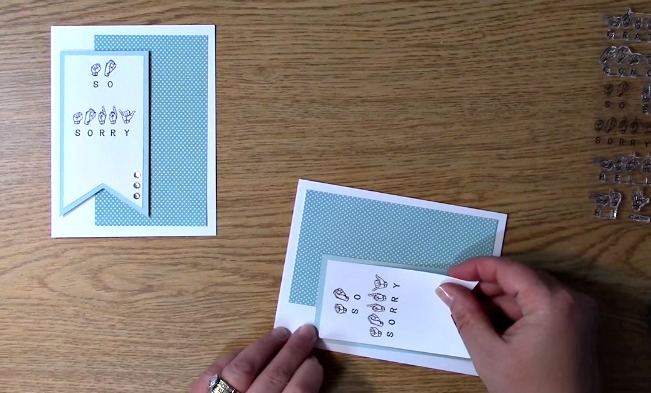
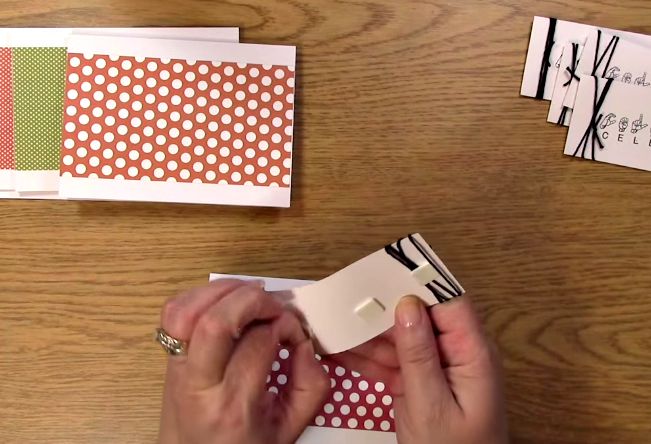
Adhere your paper to the back of the sentiment.

Stamp Set Sneak Peek - Sign Language Sentiments 2 l

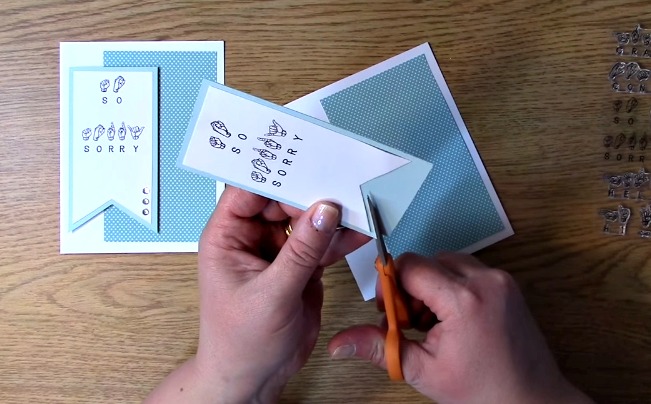
Trim to fit the sentiment.

Stamp Set Sneak Peek - Sign Language Sentiments 2 m

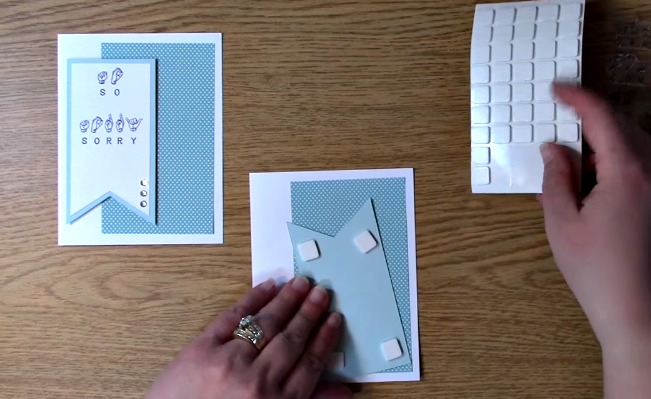
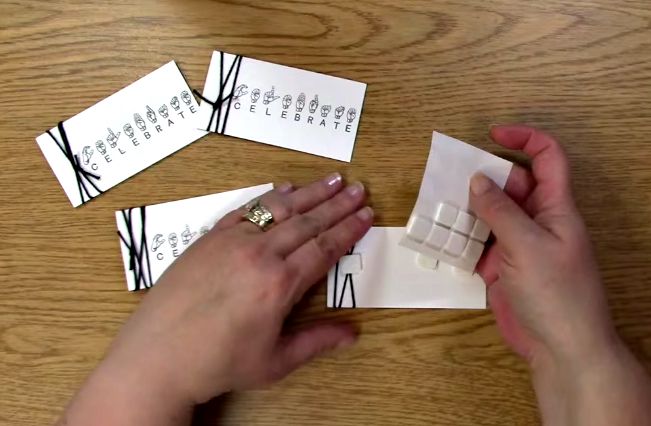
Take out your foam squares. Add your foam squares to the back of the sentiment.

Stamp Set Sneak Peek - Sign Language Sentiments 2 p

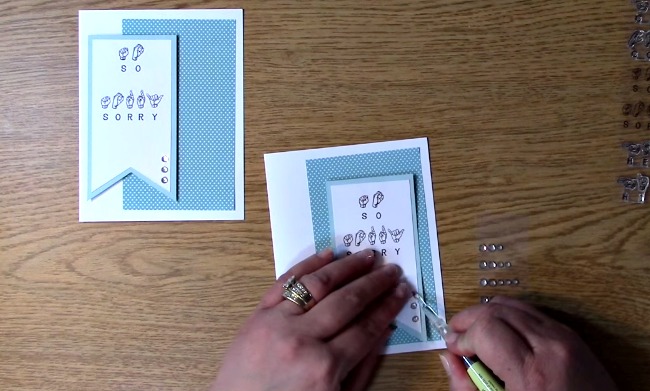
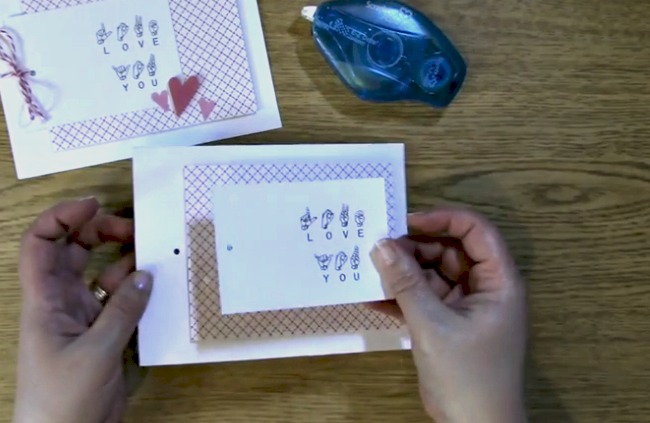
Take out your rhinestones. Add your rhinestones to the sentiment.

Stamp Set Sneak Peek - Sign Language Sentiments 2 nAdhere your matted sentiment to your card base.

Stamp Set Sneak Peek - Sign Language Sentiments 2 o

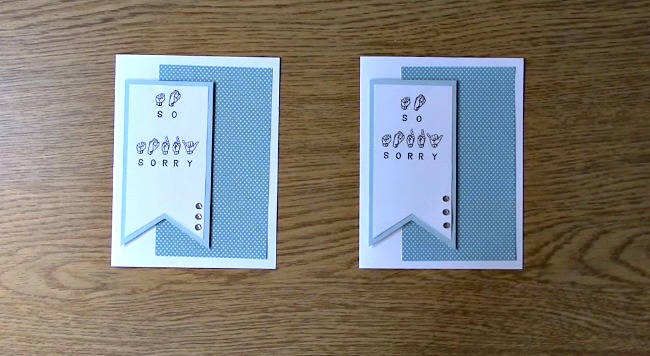
Your project is complete!

We are so excited! We have three other sets coming out on Wednesday so be sure to check out our Instagram Hop! We will be giving away a few prizes as well. The instagram hop is something new we are trying out so we hope you enjoy it! Thank you so much for joining us today and we hope you enjoyed going on A Creative Journey with Melissa.

melissa-written-signature

5 cards in 15 minutes using Sign Language Stamps

Would you like to create 5 cards in 15 minutes using Sign Language Stamps? In this video, I will give you step by step instructions to do just that! If you like to learn by watching a video (above) or by looking at a pictorial (below) we have you are covered? Ready, Set, Let’s Get Started!!

The supplies you will need:

Sign Language Sentiment Stamps

Stamp Block

Adhesive

Foam Squares

Ink

Card Base

Patterned Paper

Paper for sentiment

Scissors

TwineSupplies w text

I have created these cards in an assembly line. You will repeat everything five times or as many times as you need to for the number of cards you are making. Take out your ink, paper for your sentiment, stamp block and Sign Language Sentiments Stamp Set.

Take out stamps, ink, paper and stamp block

Place your sentiment on your stamp block.take stamp and place on stamp block Ink your sentiment

Ink your stamp
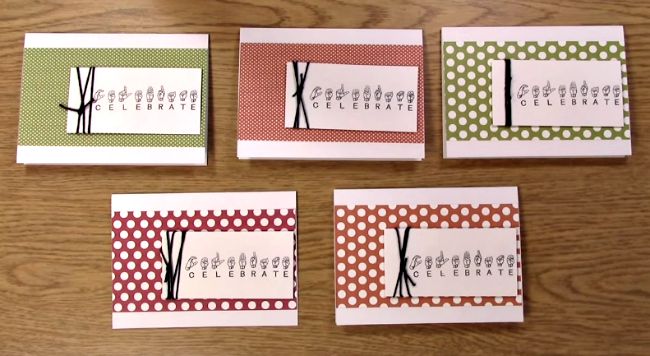
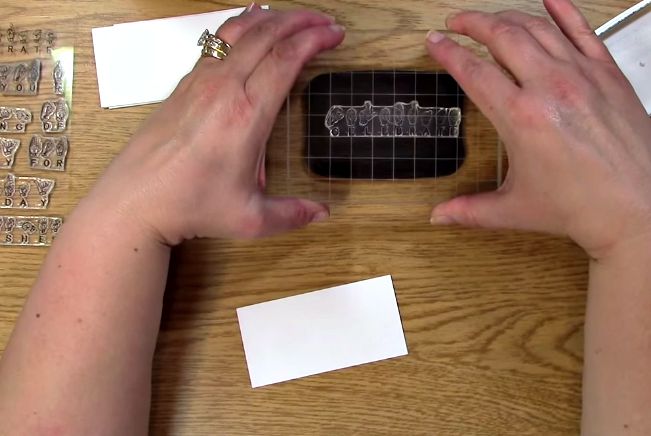
Stamp your sentiment on your paper. Repeat inking  and stamping your sentiment five times.

stamp sentiment on paper

Take your twine, wrap it around your sentiments and tie a knot. Repeat five times.

wrap twine around sentiment paper, tie and trim excess

Place 3-D foam squares to the back of the sentiments. Repeat five times.

place foam squares on the back of the sentiment paper

Place adhesive on the back of the patterned paper. Repeat five times.

apply adhesive to the back of the patterned paper

Adhere patterned paper to card base. Repeat five times.

apply patterened paper to the card base

Remove foam square backings from your stamped sentiment papers. Repeat five times.

remove foam square backing

Place sentiment on card base. Repeat five times.

apply sentiment to card

Here are the five card creations! Including all explanations this took 15 minutes! You can do it too!

Please be sure to share your creations with us!

five cards

 Thank you for joining us today and we hope you enjoyed going on A Creative Journey with Melissa.

melissa-written-signature

Using Twine & Sign Language Sentiments on a Card – It’s a SNEAK PEEK!!

Have you ever thought about using different items for your creations? What about twine? Have you thought about using bakers twine on a creation you have created to add a little color or pop? Thanks for joining us for Monday’s with Melissa. Today I am going to be showing you how to create a card using twine and give you a sneak peek of the stamp sets coming out Wednesday! Whether you learn better by video or a pictorial, we have both! Let’s Get To It!!!

Here is a list of the supplies you will need to create this:

Shaped Punches

Card

Patterned Paper for Base of Card

Paper for Stamped Sentiment

Coordinating Colored Paper

3-D Foam Squares

1/8 hole punch (works best with the diameter of bakers twine)

Twine

Tape Runner/Adhesive

Scissors

Ink

Sentiment Stamps ( We used the to be released on 4-8-15 Sign Language Sentiments Stamp Set )

Acrylic Stamp Block

Adhere foam squares to the patterned paper

Adhere paper to card

Line up sentiment paper on card for placement of the hole for the twine. This is needed because you are punching a hole through both the sentiment paper as well as the card so that they can be  lined up for proper twine bow placement.

Punch a hole through the sentiment paper and the card at the same time so they will line up for the twine attachment. Set the sentiment paper aside.

Punch out your heart shapes out of the colored card stock.

Take out your ink, stamps, sentiment paper and block.

Place sentiment on stamp block, ink stamp and stamp on the pre-punched sentiment paper.

Place adhesive on the back of the stamped sentiment paper

Adhere stamped sentiment paper onto the card ensuring the holes punched earlier are aligned.

Put the twine through both the holes on the card and sentiment.

Tie a bow with the twine and trim off the excess.

Adhere foam square to the back of the large heart and place on the card.

Place adhesive to the back of the two smaller hearts (You can also use pop squares on the smaller hearts as well. This is a design choice.)

You have your completed card 🙂

We hope you have enjoyed this tutorial… If you would like to see the sneak peek of the stamp sets that are to be released on Wednesday, check out our video above and be sure to come back on Wednesday for What’s New Wednesday for our Blog Hop which includes the new sign language sentiment stamp set as well as two other stamp sets to be released, creations and GIVEAWAYS!!

I would love to hear your feedback so be sure to leave a comment!

Thanks for going on

A Creative Journey with Melissasignature