Tag Archive for: snowflake beauty stamp set

Quick and Easy! Coffee Cup Embossed Recycled Packaging Gift Card Holder

Quick and Easy! Coffee Cup Embossed Recycled Packaging Gift Card Holder is what we have for you today. I love to reuse packaging for my crafts. This is a tutorial on how to do just that!
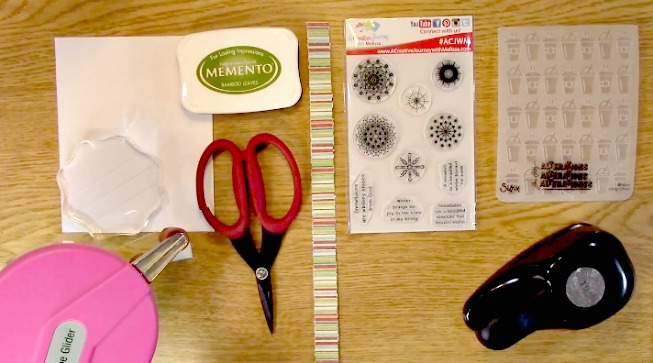
Supplies Needed for the Quick and Easy! Coffee Cup Embossed Recycled Packaging Gift Card Holder Project

A Creative Journey with Melissa Snowflake Beauty Stamp Set

Acrylic Stamp Block

1.25″ Circle Punch

Sizzix Die # 660281 Box and Card Die

Sizzix or manual die cut machine

Scissors

Paper to stamp image on

Green Ink

.75″ x 12″ strip of patterned paper

Tim Holtz Coffee Cup Embossing Folder

Red Tape – Strong adhesive for the packaging

Adhesive for adhering paper to the box

IF YOU ARE HERE FOR THE 2017 WINTER COFFEE LOVERS BLOG HOP PLEASE CLICK HERE. You are of course welcome to check this post out too and enter to win the prize on this post as well! If you aren’t.. Be sure to check it out as you can see lots of coffee project inspiration as well as win a number of prizes from some great sponsors!
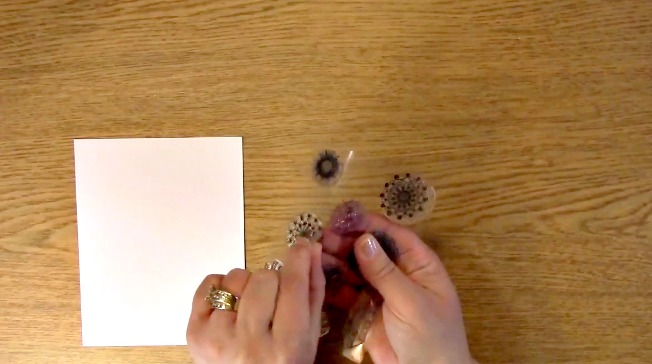
To begin the Quick and Easy! Coffee Cup Embossed Recycled Packaging Gift Card Holder project, Take out your paper to stamp on, your acrylic block and your A Creative Journey with Melissa Snowflake Beauty Stamp Set.

Adhere your stamp to your acrylic block. Take out your green ink.
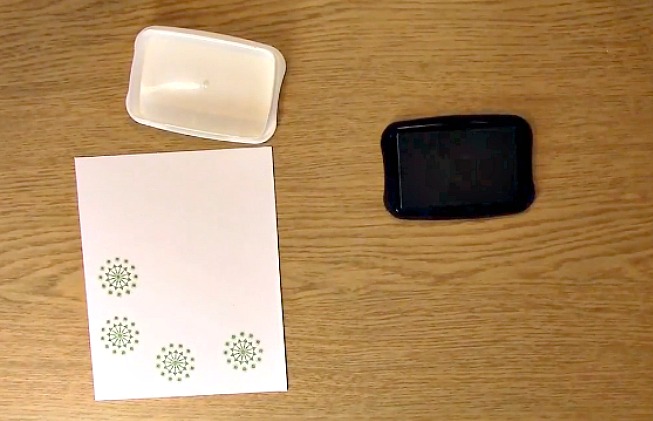
Stamp your snowflake onto your paper. I made a few extra so I can have them on hand in case I need to create an extra card.

Punch your snowflake images out with your circle punch.

This is a die inside it’s clear plastic packaging. When I get dies like this, I take them out of their packaging and cut the parts of the packaging that could be used in a die cut machine at a later time and set them aside. You would be amazed at how many times I have used them on my projects.

If you haven’t heard of this before, search in the box above or click on the menu for the icon and search for packaging and you will  find a few tutorials for some other ideas.

Here is a piece from a longer die that I have kept. This is what we are going to use to die cut our Quick and Easy! Coffee Cup Embossed Recycled Packaging Gift Card Holder Project. Sometimes you may have some blemishes on the packaging. You can solve that issue by embossing it!

Take out your manual die cut machine, two clear platforms and your die. Place a clear platform down on the base of the die cut machine. You will then place your die, clear recycled sheet of packaging and then your second clear platform. Using the handle, run your packaging through the die cut machine.

This is what it will look like once you have done that.

Take out your coffee cup embossing folder, regular platform, two clear platforms and your die cut machine. You can emboss just one side of your box like shown or you can do the entire box by folding your clear sheet in half and placing it in the folder.

This is what it looks like once it has been embossed!

Fold your box where all of the creases are from the die cut.
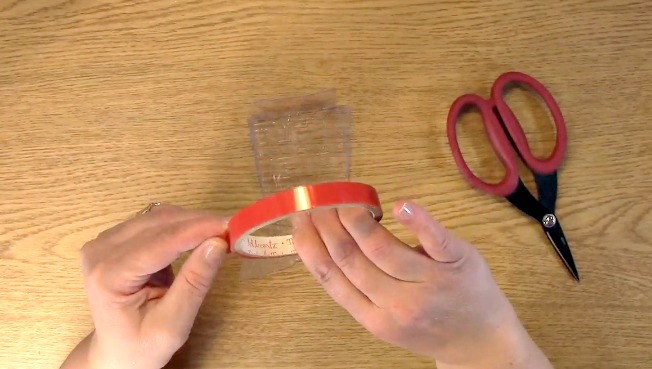
Take out your red tape or other strong adhesive.

Cut two pieces and adhere the two pieces of adhesive to the side of the box.

Remove the red protective piece revealing the adhesive.

Press firmly on the side of the box to the adhesive side ensuring its adhesion creating the box. You may lightly see some of the adhesive. If you do not care for that look, you can place paper on the outside of the box to cover it if you think it is too obvious. I personally thought it looked fine.

This is the die cut and embossed box before it has been put together completely and decorated.

Take out your strip of paper.

Using the gift card holder, measure how large of a piece you will need to wrap it around so it overlaps a little bit.

Trim excess paper off of your creation.

Apply adhesive to the back of the decorative paper.

Wrap your paper around the box ensuring the paper has adhered to the gift card holder.

Take out your stamped image, 3-D foam piece and box. Remove the adhesive back to the foam piece.

Place the foam piece on the back of the stamped image. Place the stamped image on the Quick and Easy! Coffee Cup Embossed Recycled Packaging Gift Card Holder Project.

Your Quick and Easy! Coffee Cup Embossed Recycled Packaging Gift Card Holder Project is complete!
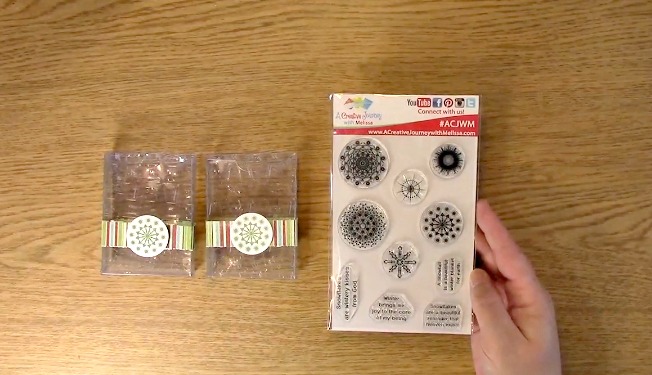
For this weeks giveaway, we are giving away the above A Creative Journey with Melissa Snowflake Beauty Stamp Set.

 To qualify to win, you must be BOTH:

A public follower on YouTube, subscribe to our mailing list/blog posts and you may also comment on this blog post for an additional entry to win! Winners will be announced next week on our Mondays with Melissa blog post!

BE SURE TO check to see if you are a winner EVERY WEEK. If you do not contact me within two weeks of the announcement of winning, you will forfeit your prize. Thank you for your understanding.

Subscribe to BOTH with MATCHING NAMES to be eligible. If I am unable to match you with your subscription to both the email list and the YouTube Channel, you will miss your chance to win a prize. If I can’t decipher if you are a matching subscriber (if your profile doesn’t show publicly who you subscribe to) and I can’t confirm you have subscribed to both, you will not be eligible.

Now for last weeks GIVEAWAY we are giving away the A Creative Journey with Melissa Coffee, Tea and Wine – Oh My! Stamp Set.

Jaratzed. you are the winner! Please send me your contact information via contact page on our website, which post you are a winner from and I will get your prize out to you! Thank you so much for being a YouTube follower and subscribing to our mailing list/blog posts!

Thank you for joining us for the Quick and Easy! Coffee Cup Embossed Recycled Packaging Gift Card Holder Project. I hope I have inspired you to create something that can be a tradition and keepsake for years to come! We will be announcing the winners from the 2017 Winter Coffee Lovers Bloghop as well as this weeks giveaway next Monday. BE SURE TO CHECK BACK!

Have a wonderful week and thank you for going on A Creative Journey with Melissa.


Yearly Handmade Ornament Tradition

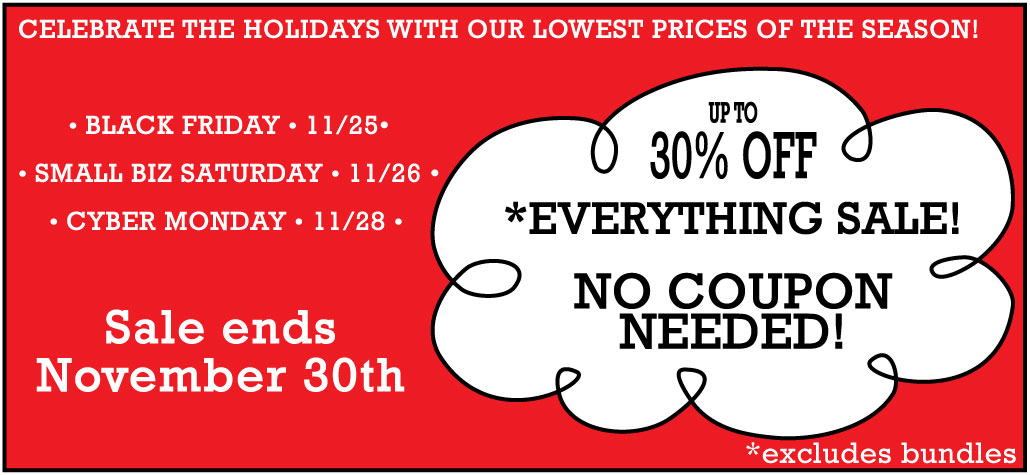
Yearly Handmade Ornament Tradition is what we have for you today. If you don’t already have a family tradition, no better time than the present to start one TODAY! This project is super easy and can be done every year for your tree, family, friends and even as gifts! Are you ready? Well, before we get started on the Yearly Handmade Ornament Tradition Project, we are having an awesome sale now through 11/30! Be sure to check it out and no coupon needed! Now, let’s get CREATIVE!

Supplies Needed for the Yearly Handmade Ornament Tradition Project

Crop A Dile

5- Patterned paper cut 1/2″ x 5″

5- Colored Paper without pattern cut 1/2″ x 5″

Red Twine 6″ long

Red Acid Free Pen

Scissors

2 Red Brads (mine have glitter to add a little sparkle)

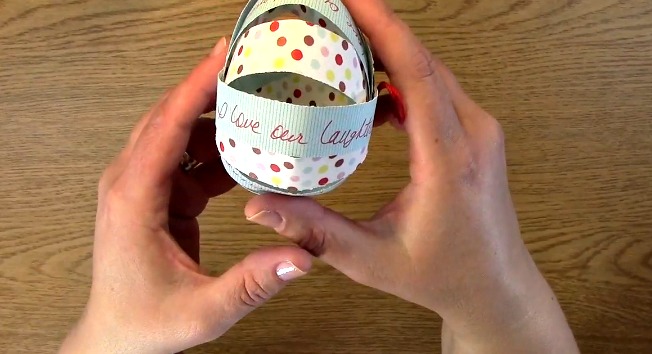
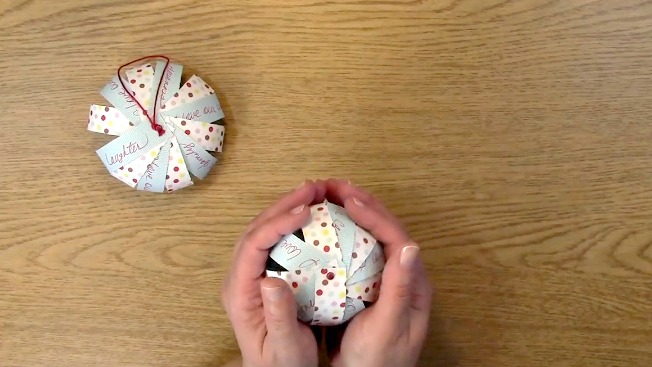
This is a side view of the Yearly Handmade Ornament Tradition Project I created. I written five of things that I love.. This shows  I love our laughter… And I really do!


To begin this project, take out your non patterned paper and acid free pen.

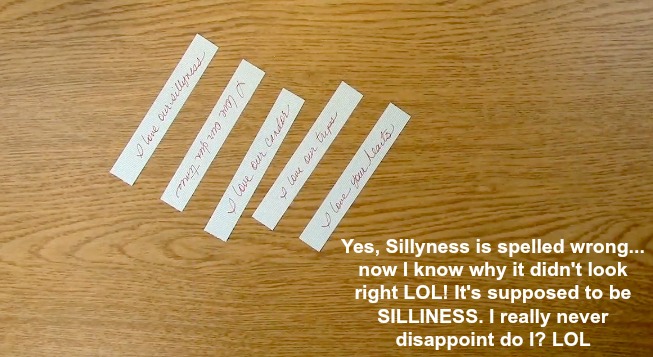
Using my red pen, I wrote five different things that I love about our family. I also spelled silliness wrong even said it didn’t look right in the video but it happens… lol

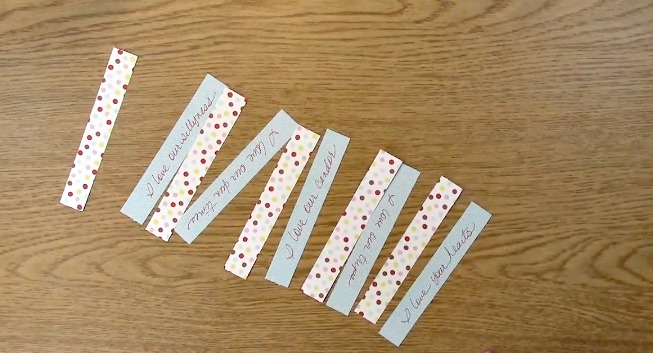
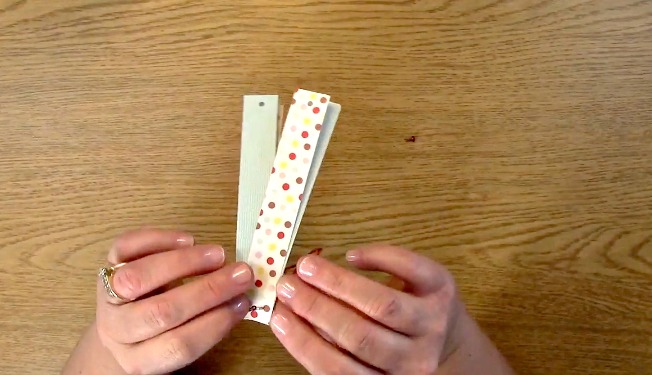
Take the written papers and patterned paper and switch every other one as shown above.

Put them in order in a concise pile as shown.

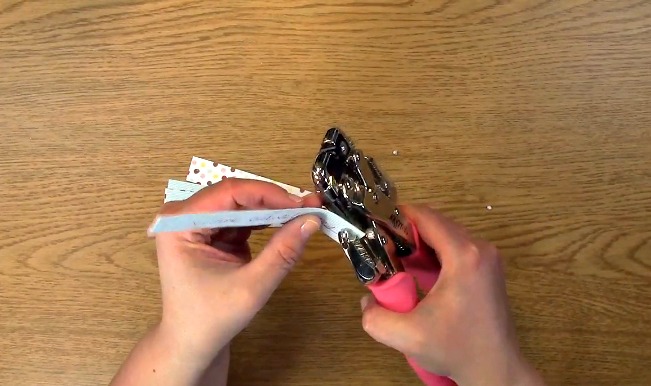
Using your Crop A Dile, punch holes in one side of the pile approximately 1/2 – 3/4 ” from the end of the paper.

Flip one of the papers around and use it as a guide. Punch a hole through the other side of the papers.

Now, you only have one paper with one side that doesn’t have a hole. Match that one up and punch the hold in the remaining side.

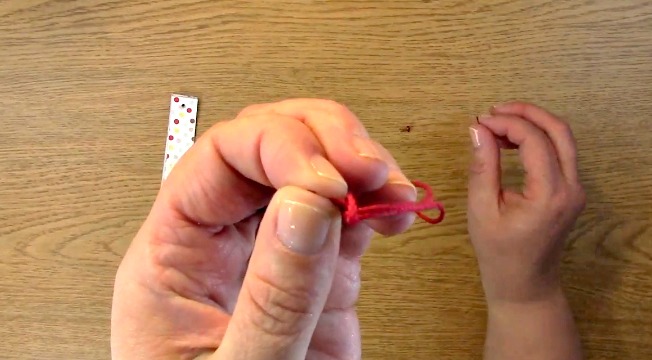
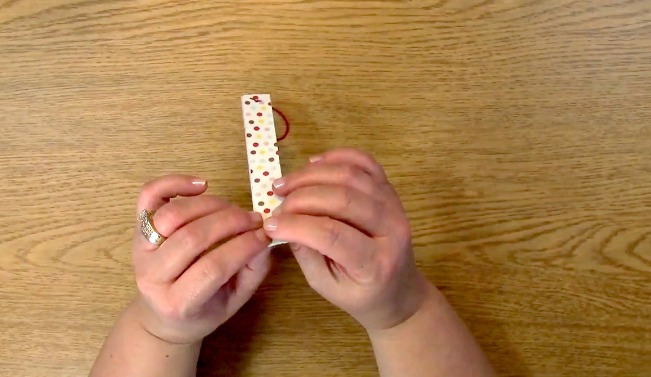
Take your twine and tie a knot at the end of the cut pieces. Do not make it a tight knot.

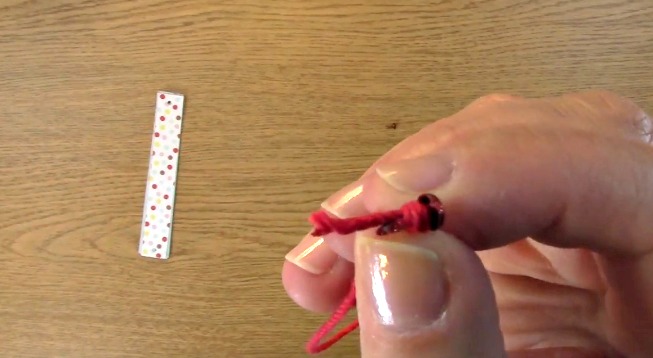
Take one of your brads and place the feet of the brad (pointy leg part LOL) and place it inside the knot as shown. Pull the knot tightly to keep it in place.

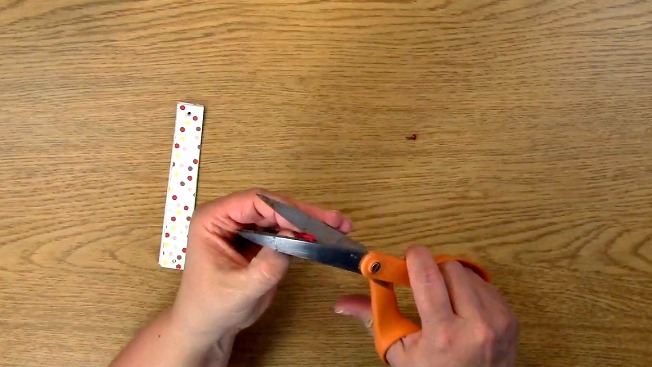
Trim the excess twine relatively close to the knot without unraveling it.

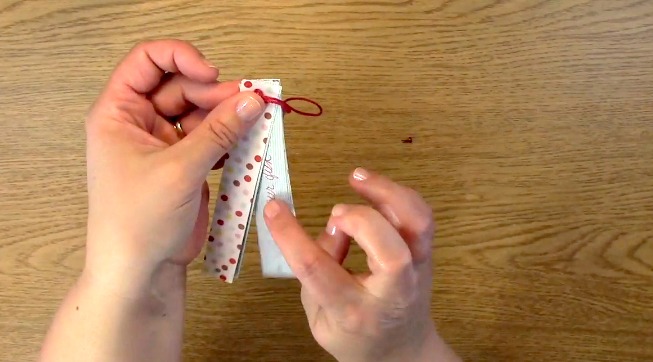
Place your brad/twine into the side where the writing is showing like above.

Open up the brad legs to keep the papers held together. You do not need to have it super tight or else you will not be able to manipulate the paper into an ornament.

Put your second brad into the hold on the other side of the paper as shown. Make sure the top of the brad is on the same side as the other one with the twine. This will give a cleaner look on the outside of the ornament once it is complete.

Like the other brad, you will also open the legs on the brad up so it keeps the paper in place but not too tight or else again, you won’t be able to create the ornament.

This is what the back of the paper looks like once brads are placed.

Here is what the front looks like with the brads and twine showing.

For the design of the Yearly Handmade Ornament Tradition Project, you can either make a slight rounded look or you can fold in half gently to give the look that I used. Either way looks great!

Separate your papers like shown above, one paper at a time.

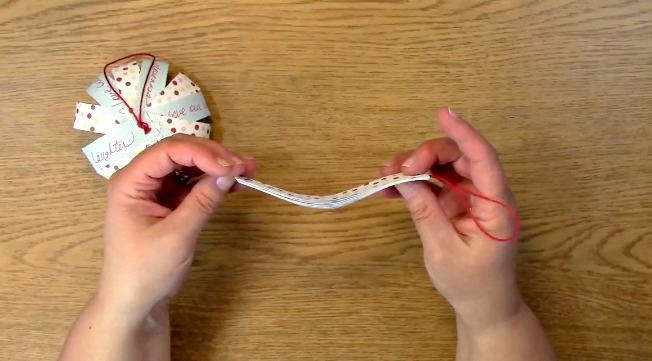
The best way to try to get it relatively even is to compress the ornament so that you can see how it lines up as shown. This will give you a much better visual to see where the papers align. You will NOT get it perfect. Trust me from experience LOL!

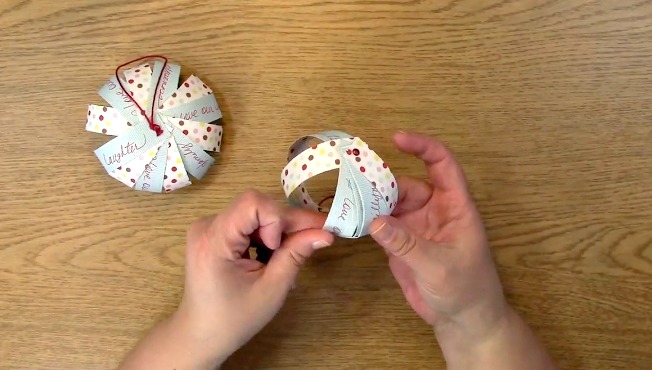
Now, take your ornament and squeeze it gently into a ball shape as shown. This gives a great rounded look as shown to the above left.

This is the completed Yearly Handmade Ornament Tradition Project. You can see the top on the left and the side on the right.

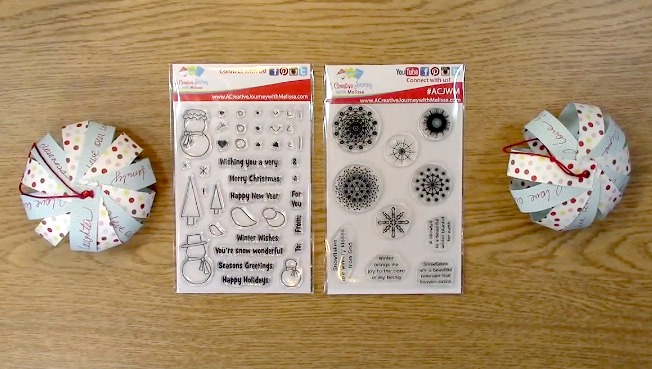
Now for this weeks GIVEAWAY we are giving away TWO STAMP SETS which means TWO WINNERS! We are giving away the A Creative Journey with Melissa You’re Snow Wonderful Stamp Set and the A Creative Journey with Melissa Snowflake Beauty Stamp Set.

To qualify to win, you must be BOTH:

A public follower on YouTube, subscribe to our mailing list/blog posts and you may also comment on this blog post for an additional entry to win! Winners will be announced next week on our Mondays with Melissa blog post!

If you do not contact me within two weeks of the announcement of winning, you will forfeit your prize. Thank you for your understanding.

Subscribe to BOTH with MATCHING NAMES to be eligible. If I am unable to match you with your subscription to both the email list and the YouTube Channel, you will miss your chance to win a prize. If I can’t decipher if you are a matching subscriber (if your profile doesn’t show publicly who you subscribe to) and I can’t confirm you have subscribed to both, I won’t be able to enter you in for the prize. **DO NOT COMMENT WITH YOUR ENTIRE EMAIL ADDY. Only give me the first 6 NOT INCLUDING YOUR HOST. Just enough for me to match your name will work perfectly.

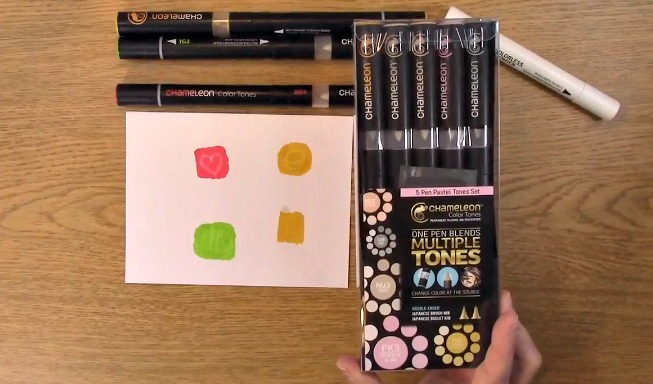
 Now for last  weeks GIVEAWAY we are giving away the Chameleon Pen set! The winner is Sue D!

Sue D,  please send me your contact information via contact page on our website, which post you are a winner from and I will get your prize out to you! Thank you so much for being a YouTube follower and subscribing to our mailing list/blog posts!

Thank you for joining us for the Yearly Handmade Ornament Tradition Project . I hope I have inspired you to create something that can be a tradition and keepsake for years to come! Please be sure to share what you come up with!

Have a wonderful week and thank you for going on A Creative Journey with Melissa.
 

SUPER EASY Holiday Gift Card Holder

SUPER EASY Holiday Gift Card Holder is what we have for you today. Can you believe Christmas is only 48 days until Christmas? Me either! I don’t know about you but more and more I end up buying gift cards for people because I really want them to get what they want. Between distance and different tastes it is hard to know if someone will truly enjoy what you have in mind so gift cards to the rescue. Although it can be a bit easier to give a gift card for a gift, why not add a little bit of personal touch to it and create a gift card holder? This project is not only really cute and versatile for any gift card need but it is a SUPER EASY Holiday Gift Card Holder!

Supplies Needed for the SUPER EASY Holiday Gift Card Holder Project

A Creative Journey with Melissa Snowflake Beauty Stamp Set

Acrylic Stamp Block

3 complimentary Ink Pads

Card Base

Paper to Stamp On

Scissors

Hole Punch

Corner Rounder

Adhesive

Twine

Fold your white card stock in half.

Trim one inch down from the top.

Cut into the crease of the paper as shown.

This is what the paper will look like once it is laying flat.

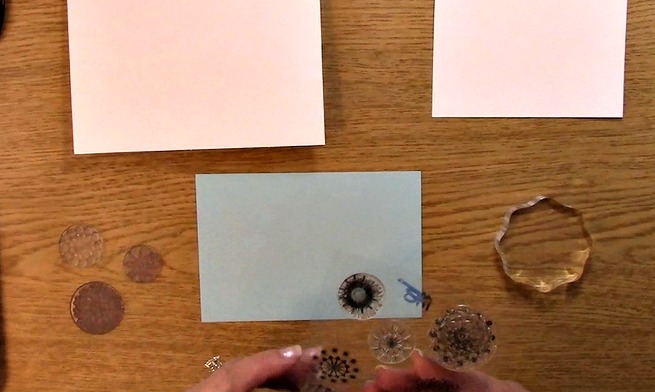
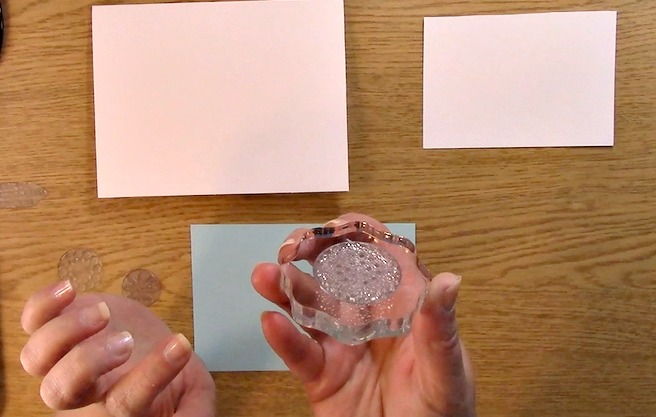
Pick out one of your snowflake stamps and place on your acrylic stamp block. Ink your snowflake stamp with the first color.

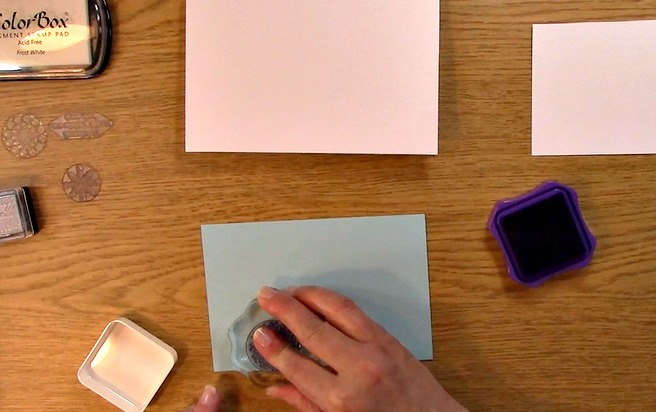
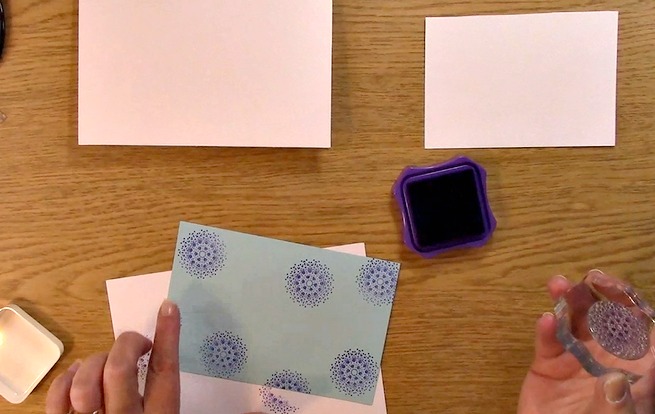
Stamp your snowflake on your paper. Repeat inking and stamping a few more times on your paper.

This is what the SUPER EASY Holiday Gift Card Holder looks like with it done with the first color.

Clean off your stamp. Ink your stamp with the second color and stamp on your paper. Be sure to leave some space for the third color.

Remove your snowflake stamp and replace it with a smaller one from the set onto your acrylic block.

Ink your snowflake with the third color.

Stamp your third color on your paper and fill in any areas needed.

Using the corner rounder, round the corners of the SUPER EASY Holiday Gift Card Holder.

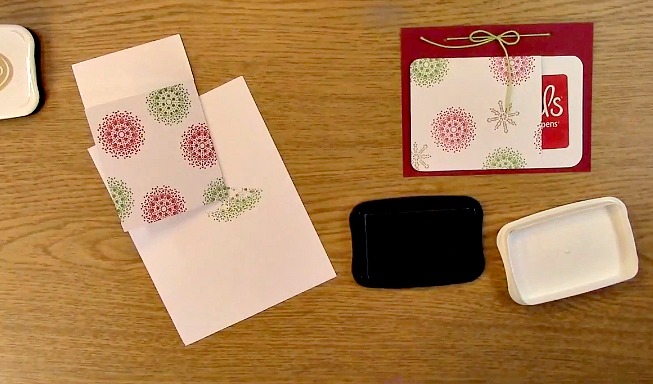
This is the SUPER EASY Holiday Gift Card Holder stamped with the three colors.

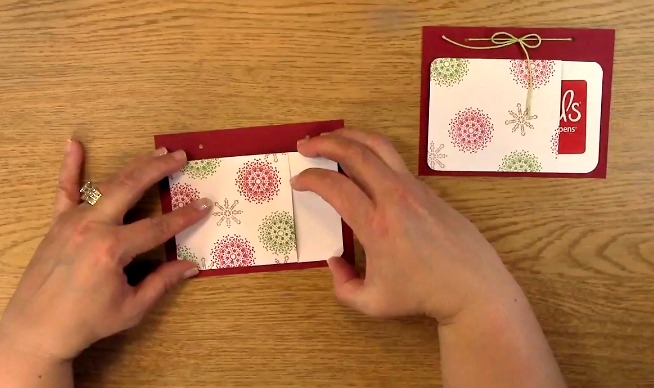
Take out your adhesive and place adhesive on the bottom and side of the gift card holder. Only two sides will have adhesive added to it otherwise the holder will be glued shut. Yes, speaking from experience LOL!

Take out your hold punch and punch two holes at the top of your card base for your bow.

Apply adhesive to the back of the gift card holder and place on the card base.

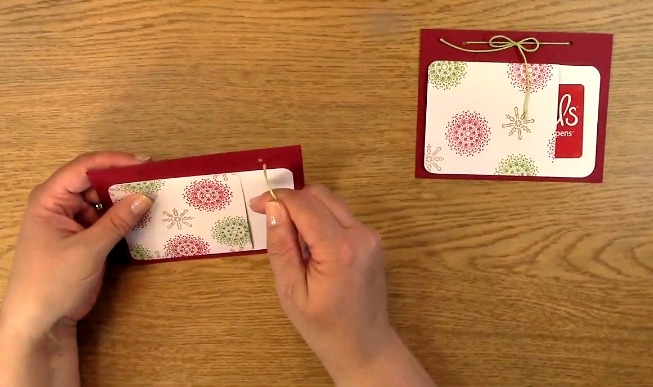
Take out your twine and put it into the hole to the right and pull out from the left. Tie your bow on the top of the card base.

Trim the excess twine from your bow.

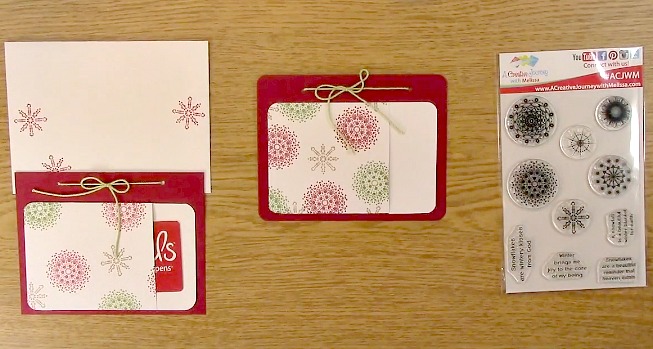
For an additional creative design, stamp your envelope with one of the images to compliment your gift card.

This is what it will look like! Clean and Simple!

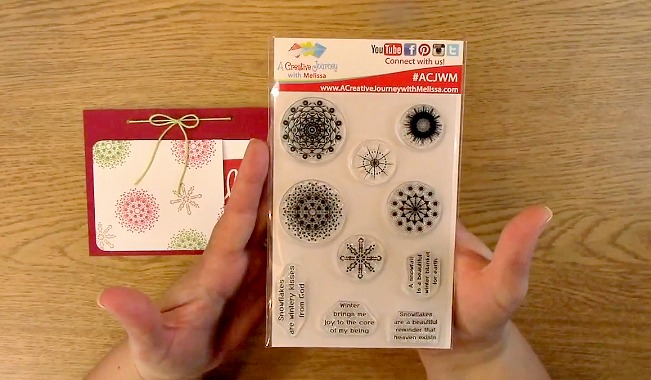
 Now for this weeks GIVEAWAY we are giving away the A Creative Journey with Melissa Snowflake Beauty Stamp Set!

To qualify to win, you must be BOTH:

A public follower on YouTube, subscribe to our mailing list/blog posts and you may also comment on this blog post for an additional entry to win! Winners will be announced next week on our Mondays with Melissa blog post!

If you do not contact me within two weeks of the announcement of winning, you will forfeit your prize. Thank you for your understanding.

Subscribe to BOTH with MATCHING NAMES to be eligible. If I am unable to match you with your subscription to both the email list and the YouTube Channel, you will miss your chance to win a prize. If I can’t decipher if you are a matching subscriber (if your profile doesn’t show publicly who you subscribe to) and I can’t confirm you have subscribed to both, I won’t be able to enter you in for the prize. **DO NOT COMMENT WITH YOUR ENTIRE EMAIL ADDY. Only give me the first 6 NOT INCLUDING YOUR HOST. Just enough for me to match your name will work perfectly.

Now for last weeks winners of our 6 prize giveaway!

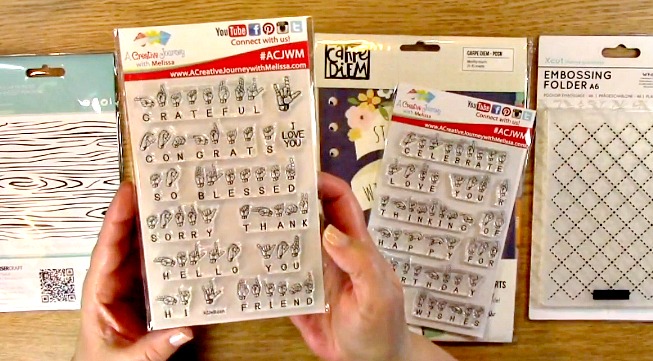
Our first giveaway is the A Creative Journey with Melissa Sign Language Sentiments 2 Stamp Set and the winner is Cheryl Gould.

For my second giveaway for the Six Giveaways Chase My Blues Away is the A Creative Journey with Melissa Sign Language Sentiments Stamp Set and the winner is Kim Miller.

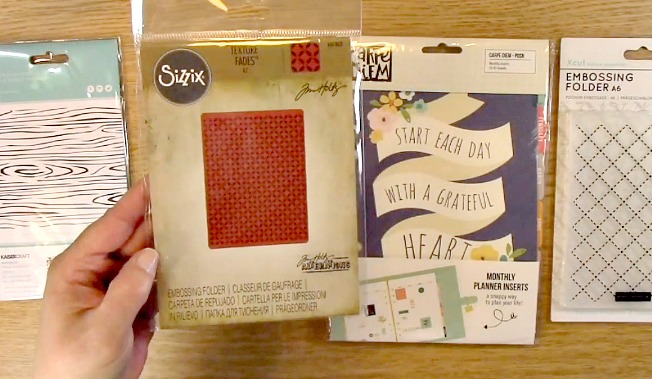
The third giveaway for the Six Giveaways Chase My Blues Away is this awesome textured embossing folder by Tim Holtz and the winner is Janis.

This giveaway is for the planners. You are going to LOVE this set!

It is not only filled with goodies, it is quite lovely too and the winner is Janice Ogata.

This awesome embossing folder is so much fun to work with an the winner is Sue P.

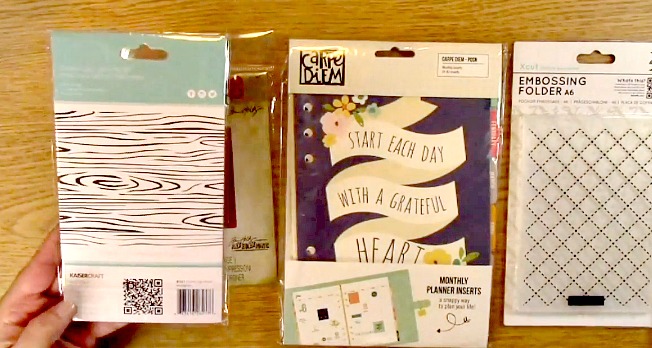
The last of the awesome 6 giveaways is this awesome wood grain embossing folder and the winner is Ava G.

Winners,  please send me your contact information via contact page on our website, which post you are a winner from and I will get your prize out to you! Thank you so much for being a YouTube follower and subscribing to our mailing list/blog posts!

Thank you for joining us for the SUPER EASY Holiday Gift Card Holder Project. I hope I have inspired you to create your own gift card holders and please be sure to share what you come up with!

Have a wonderful week and thank you for going on A Creative Journey with Melissa.

 

WEBSITE SALE + Michaels Craft Haul + Giveaway

Today we have a GREAT WEBSITE SALE + Michaels Craft Haul + Giveaway! Our video and post is SHORT and SWEET! We are having a GREAT sale on our website so be sure to check it out! If you have been holding off on buying anything, this is the time to do it! Saturday was my birthday and I went shopping on Thursday to spend some of my birthday money I was blessed to have been given. BOY did I SCORE! What better way to celebrate than do a giveaway? So that is what I am doing! I wanted to share my awesome haul with you and also do a giveaway!

sale-30-2016

For the WEBSITE SALE + Michaels Craft Haul + Giveaway,

The first thing I wanted to cover is our sale!! We are having it through 11/30 so be sure to pick up those stamp sets you have been eyeing before they are out of stock and we are excited it’s been a HIT SO FAR 🙂

website-sale-michaels-craft-haul-giveaway-a

For the WEBSITE SALE + Michaels Craft Haul + Giveaway, next I wanted to show you the craft haul!

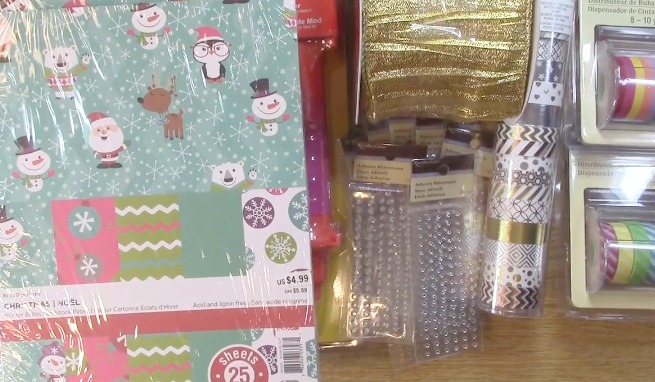
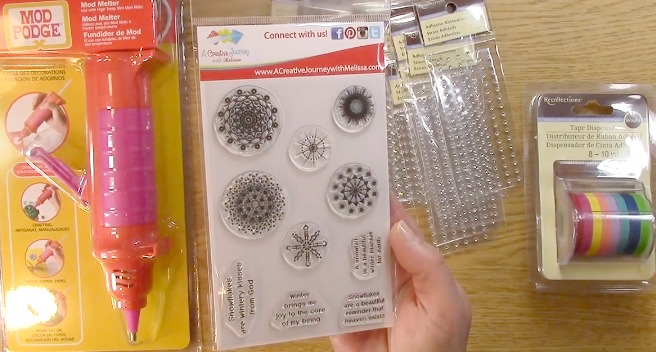
This is almost all of the craft haul. I have some hidden surprises under the paper that is A D O R A B L E, don’t you think? The plan is to use the paper for holiday thank you notes for the boys. While shopping, I bought a crafting cart and I do not have my crafting cart in here because I don’t have enough room to put it in the camera! Do you see a video in the future? SO DO I!!

website-sale-michaels-craft-haul-giveaway-b

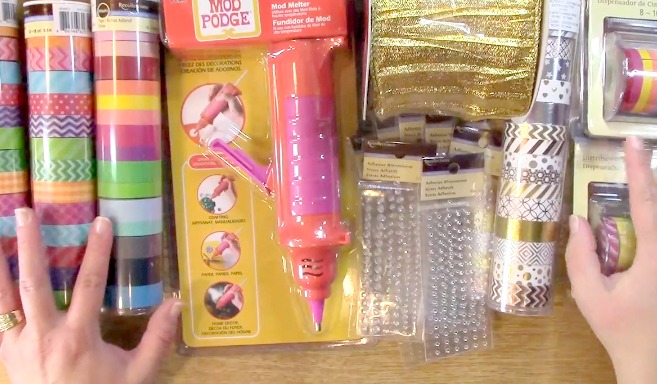
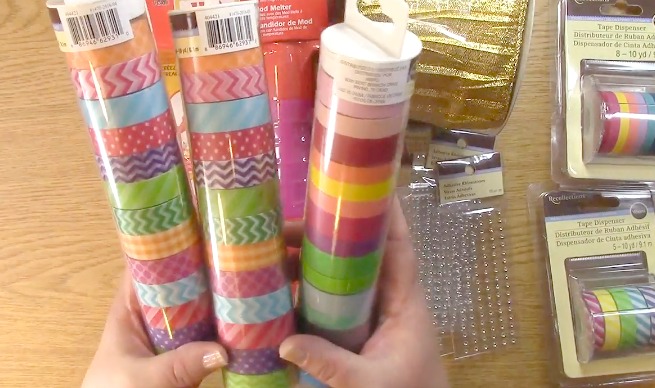
Here is what was underneath the paper! YES WASHI WASHI WASHI! I love making things with washi tape and I will be doing a few videos showing you awesome ways to make items with washi!

website-sale-michaels-craft-haul-giveaway-c

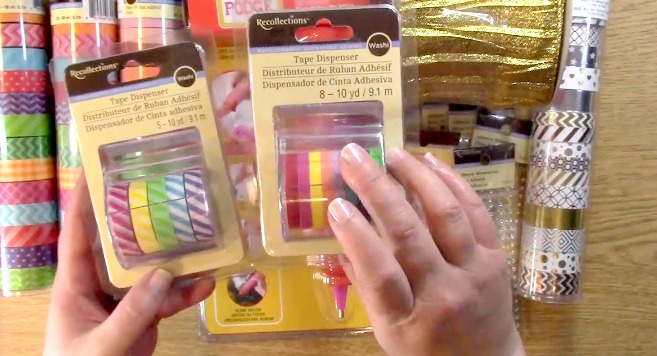
I loved these two washi tapes I picked up

The pattern and solid colors are so versatile and I am going to get SUPER creative with them!

website-sale-michaels-craft-haul-giveaway-d

I picked up this set of washi tape with weddings and celebrations in mind. You can purchase a number of stamp sets that we carry that would work wonderfully with this set while also creating something for a wedding, anniversary and so many other things! I was truly inspired!

website-sale-michaels-craft-haul-giveaway-e

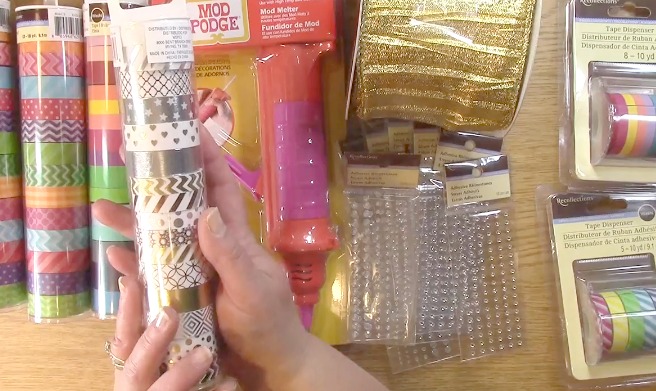
I had to give you a close up of this amazing washi tape collection! OMG! I thought of all of the projects I can use with these and I am excited to make some cool and colorful things!

website-sale-michaels-craft-haul-giveaway-f

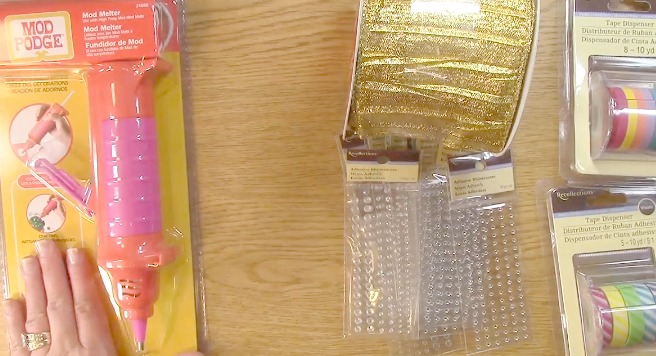
It’s a new mod melter! I love creating with the Mod Podge products. My friends Cathie & Steve have created amazing products and they are coming up with more all of the time! This was one thing I HAD TO GET! I can’t wait to use it!!

website-sale-michaels-craft-haul-giveaway-h

Now if you have watched any of my videos you know one of my favorite things to do is custom color items…

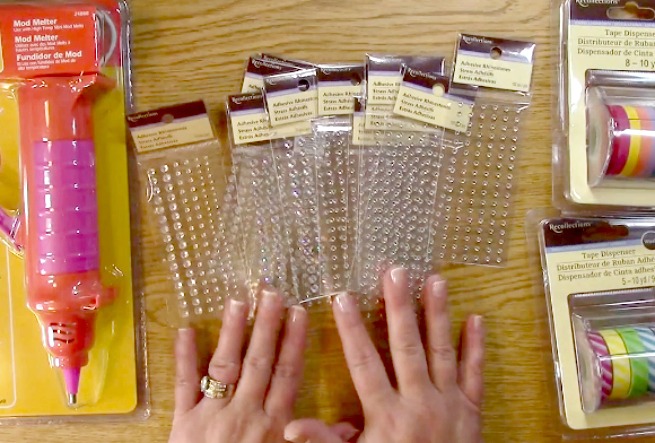
Well, I bought some rhinestones to play with! If you haven’t checked out my video on how to color your own embellishments, you can check it out here. That is my haul and I hope you liked checking out the crafty goodness 🙂

snowflake beauty

Now for the giveaway!

The winner of last weeks blog giveaway is Samantha Houp!

Samantha Houp says:
Fabulous card! Thank you for the awesome video!

Samantha, you are the winner of last weeks giveaway of the Snowflake Beauty stamp set. .

Please send me your contact information via contact page on our website and I will get your set out to you! Thank you so much ????

website-sale-michaels-craft-haul-giveaway-i

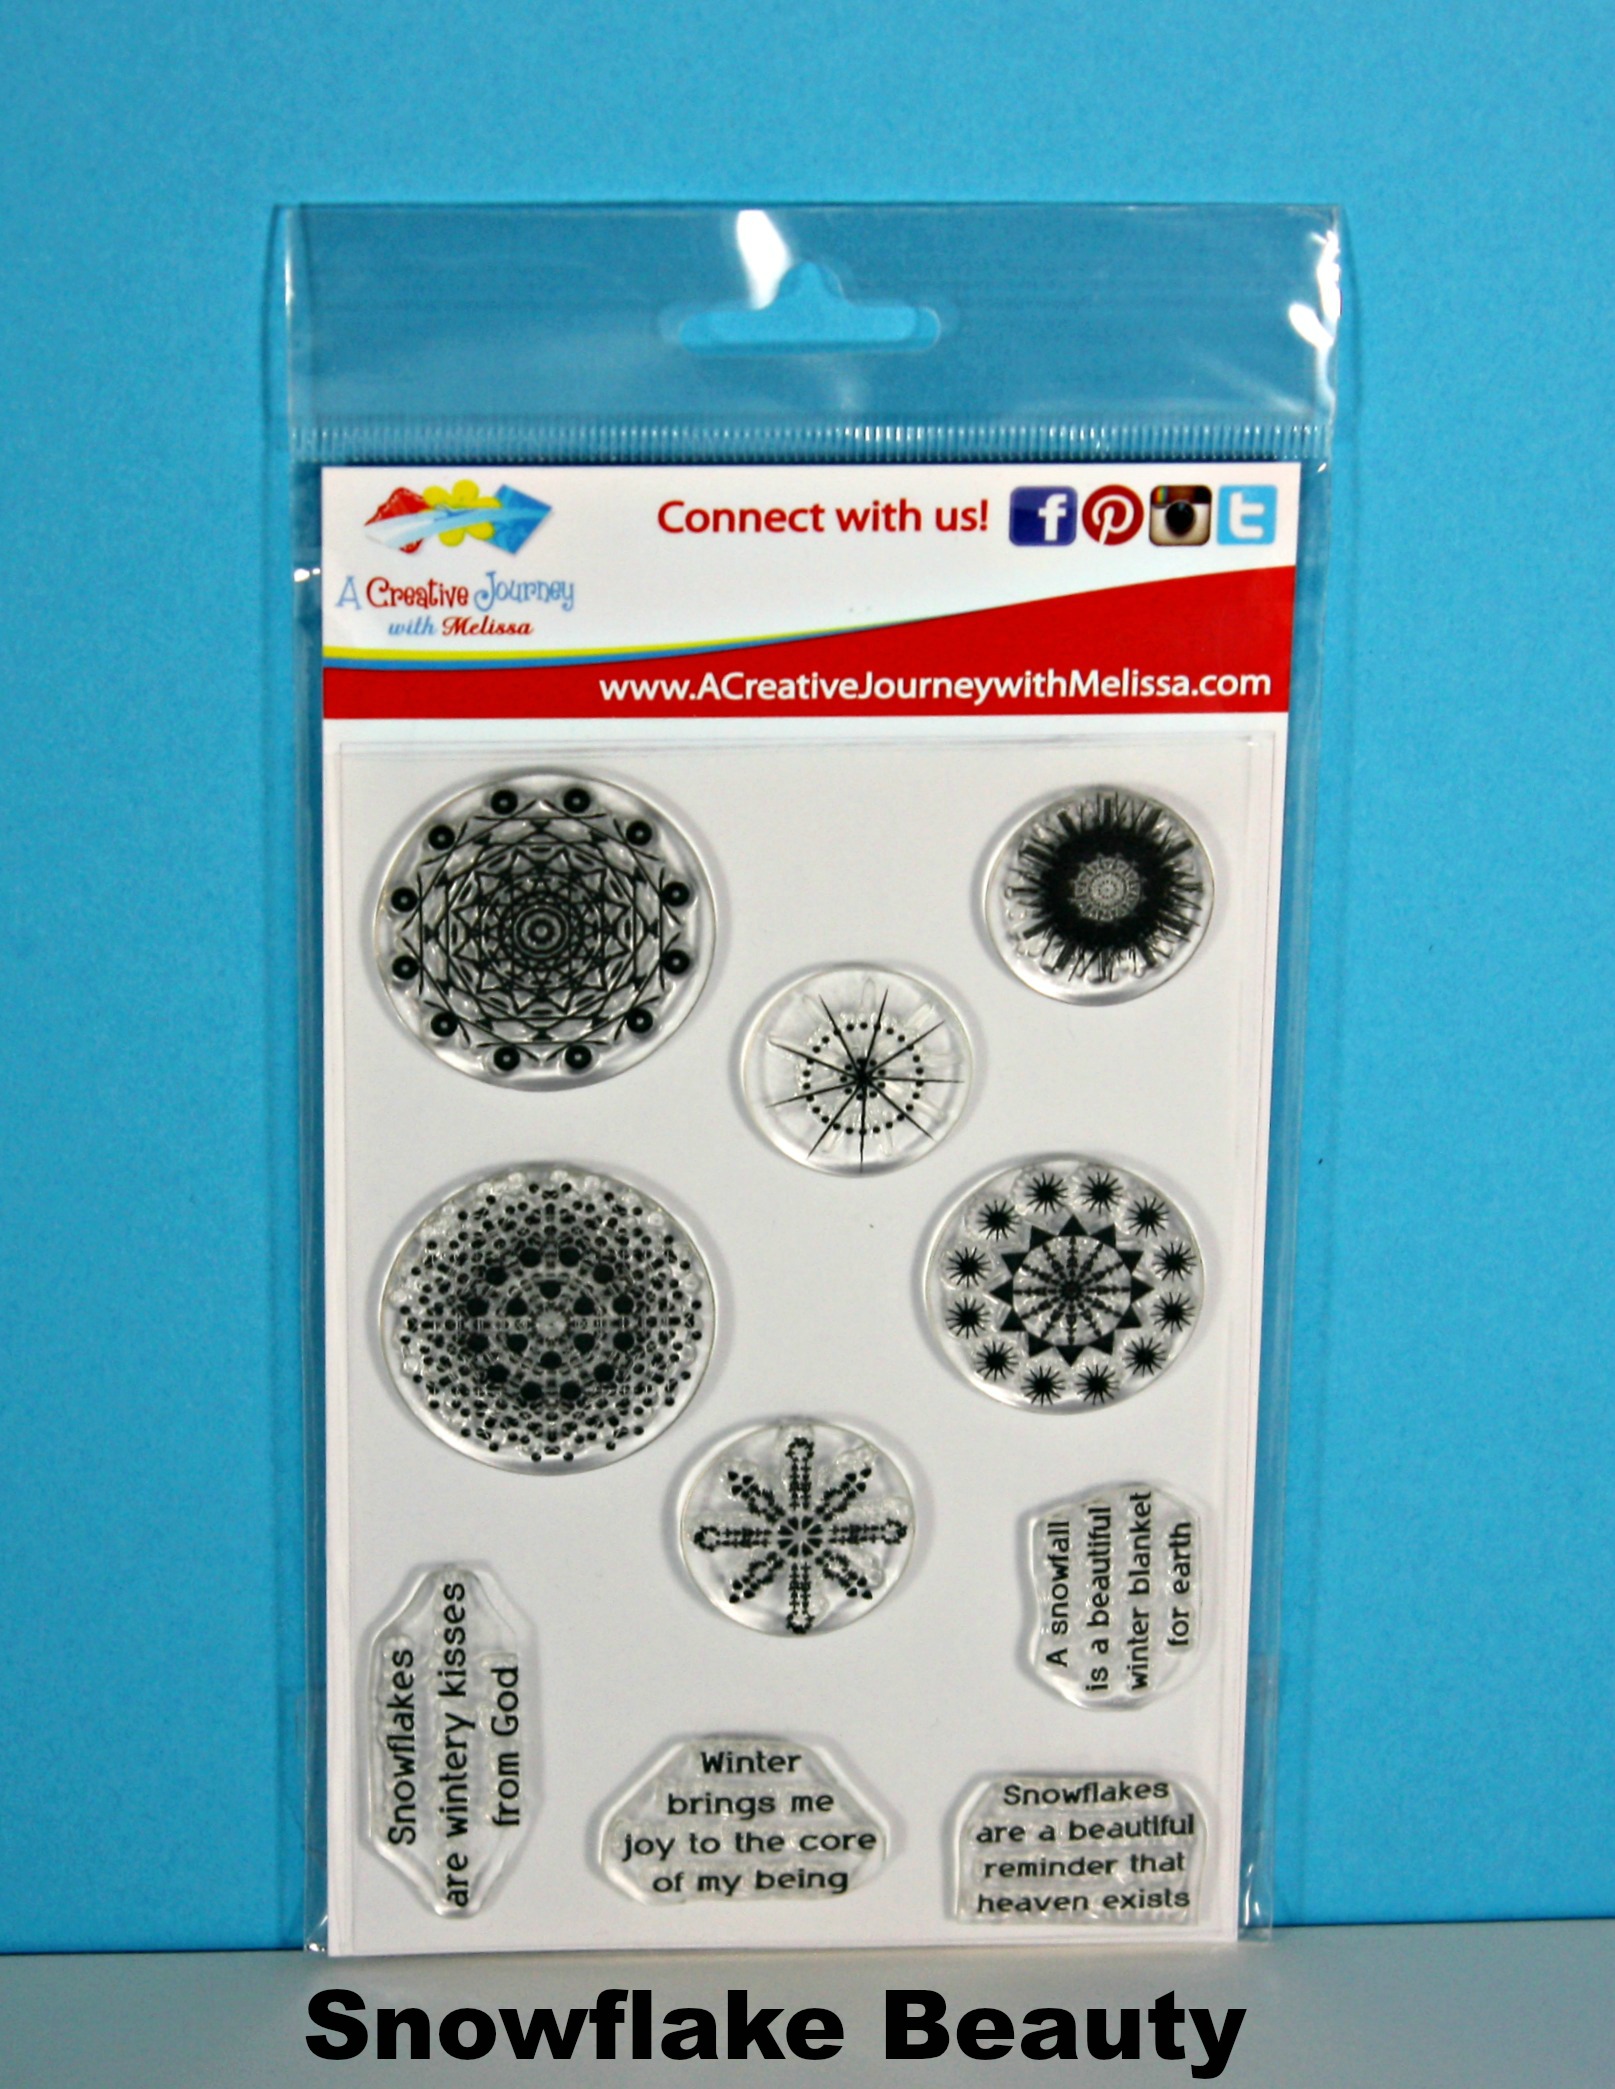
This week for the WEBSITE SALE + Michaels Craft Haul + Giveaway, we are giving away another set of the Snowflake Beauty stamp set. This stamp set is very versatile with religious and non religious sentiments. You can even use the snowflakes for a background design.

To qualify to win, you must be a follower on YouTube, subscribe to our mailing list/blog posts and you may also comment on this blog post for an additional entry to win!

Thank you so much for sharing in my excitement of my website sale and haul! I hope you enjoyed going on A Creative Journey with Melissa!

melissa-written-signature

Snowflake Stamped Card with Giveaway

Snowflake Stamped Card with Giveaway is what we have for you today. I wanted to do a different take on snowflakes from the norm. I love the color purple so why not add it to a snowflake card? Its perfect for any holiday card and the stamp set we are using has different sentiments that can be used for any winter holiday or celebration!

snowflake-stamped-card-with-giveaway-a

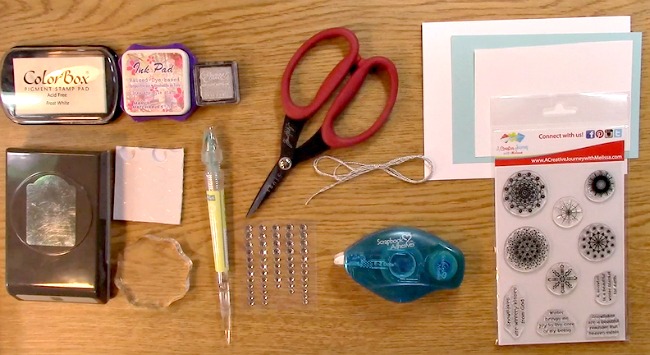
Here are the items you will need for the Snowflake Stamped Card card creation:

Snowflake Beauty stamp set

White, Purple and silver ink

Tag punch

Stamp block

Rhinestones & rhinestone quick stix tool

Adhesive

3-D pop dots

Scissors

Silver twine

Card

Card Mat

Paper to stamp sentiment on

snowflake-stamped-card-with-giveaway-c

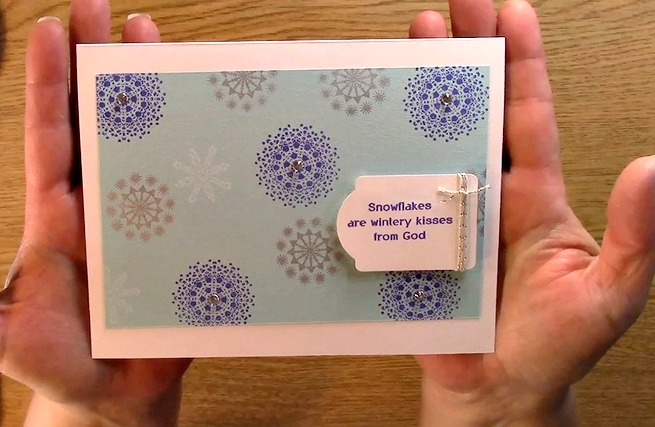
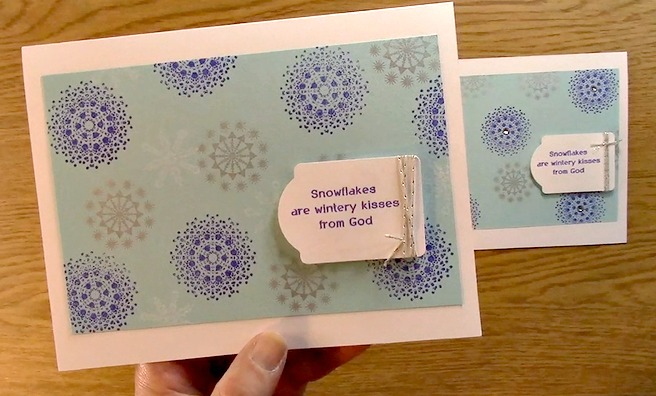
This is the Snowflake Stamped Card I created.

Notice the bling on the purple snowflakes. I think it gives a little pop to the creation along with the silver twine.

snowflake-stamped-card-with-giveaway-d

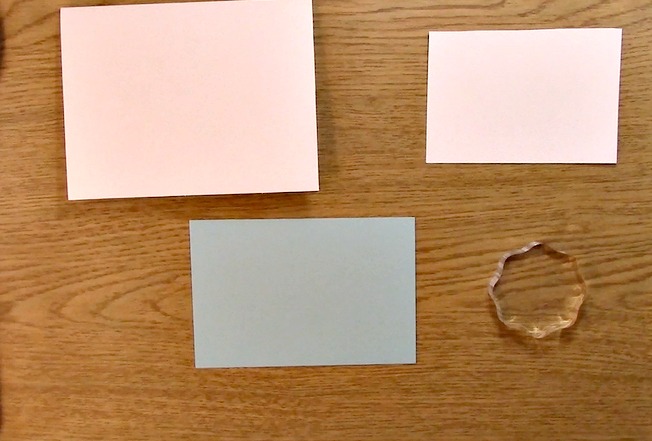
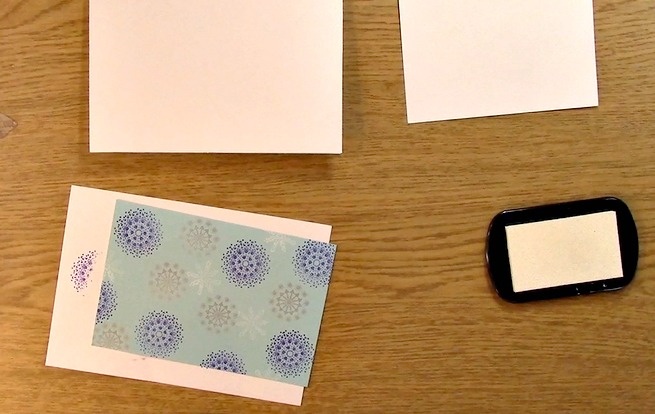
To start creating your Snowflake Stamped Card, take out your card base, mat, stamp paper and stamp block.

snowflake-stamped-card-with-giveaway-e

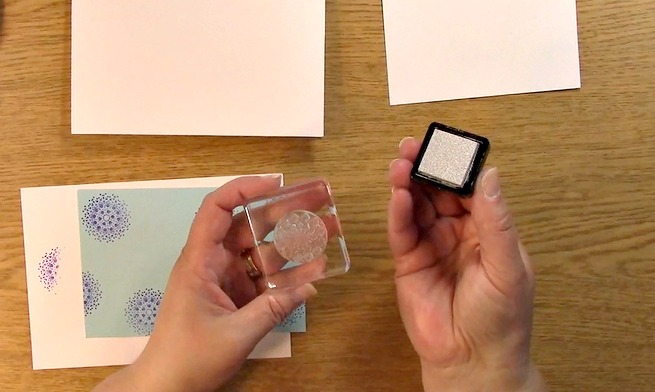
Take out your Snowflake Beauty stamp set and remove the stamps you are going to use on this project.

snowflake-stamped-card-with-giveaway-f

Add the snowflake stamp to your stamp block.

snowflake-stamped-card-with-giveaway-g

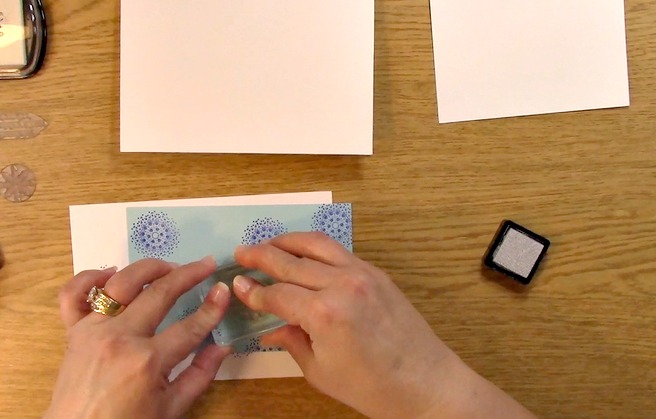
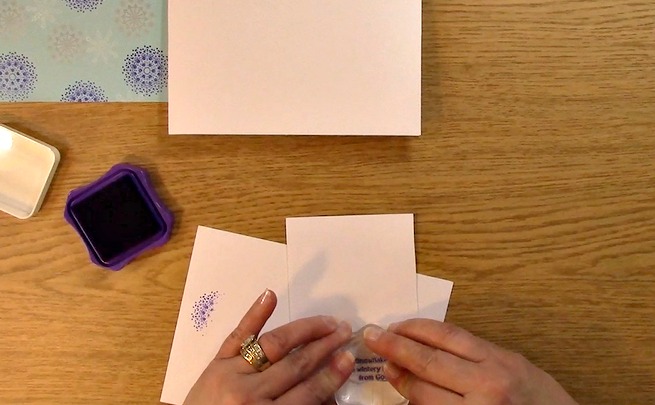
Take your purple ink pad out. Stamp your snowflake stamp on your Snowflake Stamped Card base. Re-ink your stamp for every image you stamp on your paper to ensure clarity and consistency.

snowflake-stamped-card-with-giveaway-h

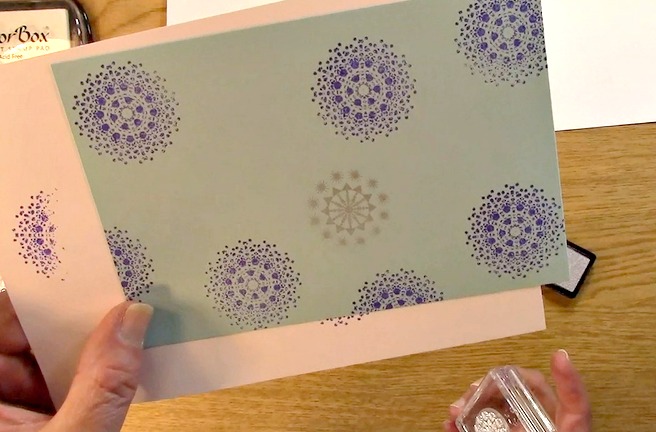
This is what the base will look like once you have stamped the purple snowflakes.

Clean off your stamp and place it back on your stamp sheet.snowflake-stamped-card-with-giveaway-i

Take out the next snowflake you wish to use for your Snowflake Stamped Card. Place it on your stamp block

snowflake-stamped-card-with-giveaway-j

Take your silver ink and ink your stamp. Stamp your card mat for your Snowflake Stamped Card.

snowflake-stamped-card-with-giveaway-k

This is a close up of the silver stamped image. Now you will want to re-ink your stamp for every image you stamp on your paper to ensure clarity and consistency for your Snowflake Stamped Card.

Clean off your stamp and place it back on your stamp sheet.

snowflake-stamped-card-with-giveaway-m

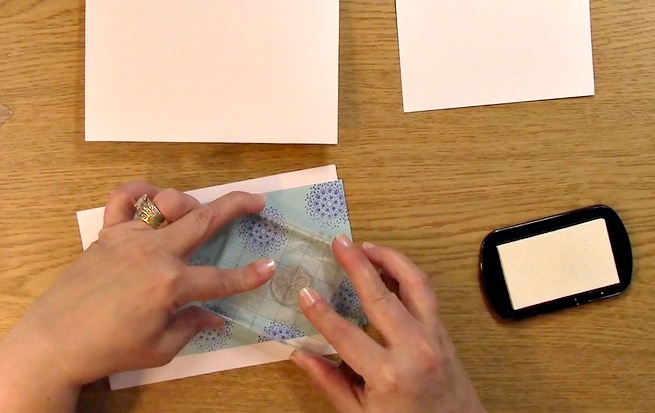
For the Snowflake Stamped Card, you want to take out your last snowflake stamp, white ink and ink pad. Place your stamp on your stamp block. Be sure you are re-inking your stamp for every image you stamp on your paper to ensure clarity and consistency for your Snowflake Stamped Card.

Clean off your stamp and place it back on your stamp sheet.

snowflake-stamped-card-with-giveaway-n

This is what the card mat looks like once it has been stamped. I love how the white snowflakes are barely visable almost as if they are a watermark.

snowflake-stamped-card-with-giveaway-o

Decide which sentiment you want for the card. Take off the sentiment, place it on your stamp block and ink the stamp. Stamp the sentiment on the paper.

Clean off your stamp and place it back on your stamp sheet.

snowflake-stamped-card-with-giveaway-p

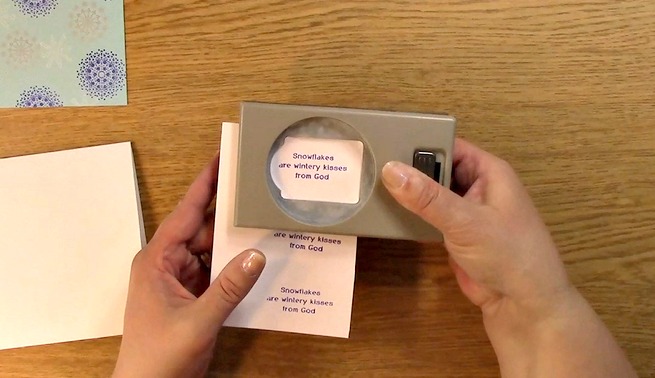
Using your tag punch, punch out your sentiment for your Snowflake Stamped Card.

snowflake-stamped-card-with-giveaway-r

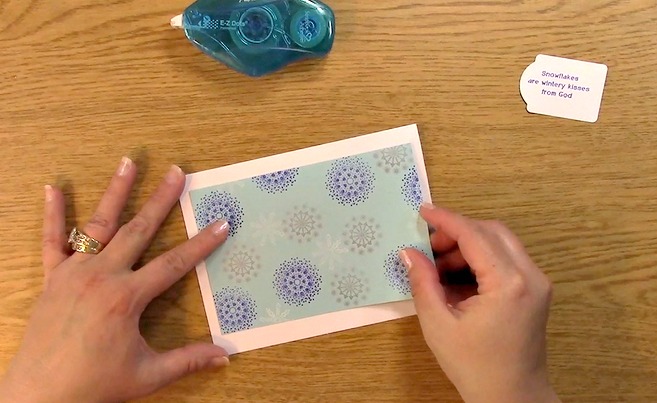
Apply adhesive to the back of the stamped mat paper. Place the snowflake stamped paper on the card base for your Snowflake Stamped Card.

snowflake-stamped-card-with-giveaway-s

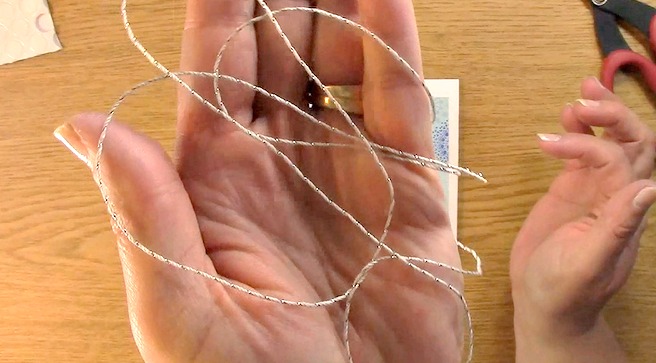
Now you will need your silver twine. This is something that can be really versatile for any celebration!

snowflake-stamped-card-with-giveaway-v

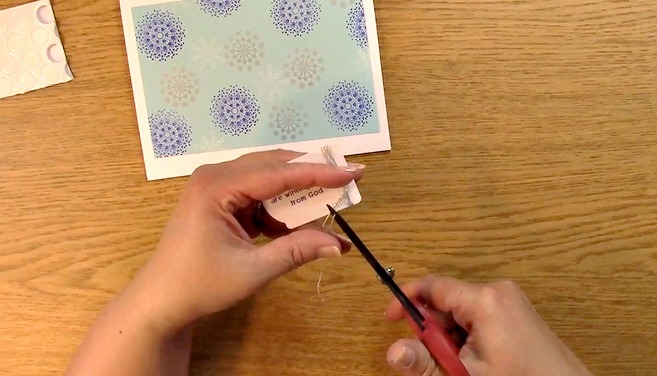
Wrap your silver twine around your punched out tag three times (or whatever you prefer) and tie a knot.

Take out your 3-d dots.

snowflake-stamped-card-with-giveaway-x

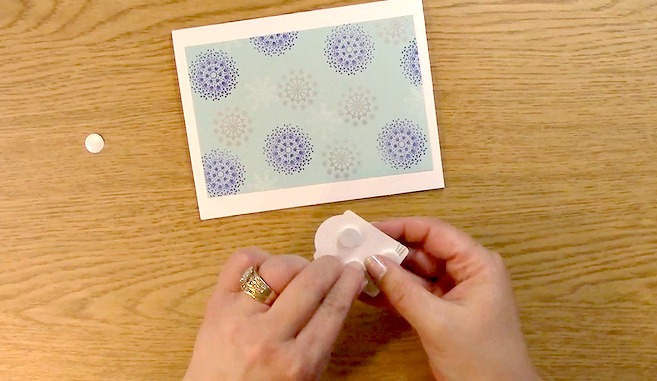
Apply three (or however many you feel you need) 3-d dots. Remove the paper on the back of the dots to expose the adhesive.

snowflake-stamped-card-with-giveaway-y

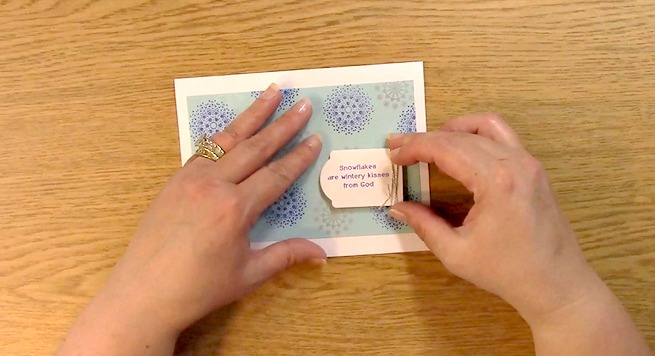
Place the tag to the card base.

snowflake-stamped-card-with-giveaway-za

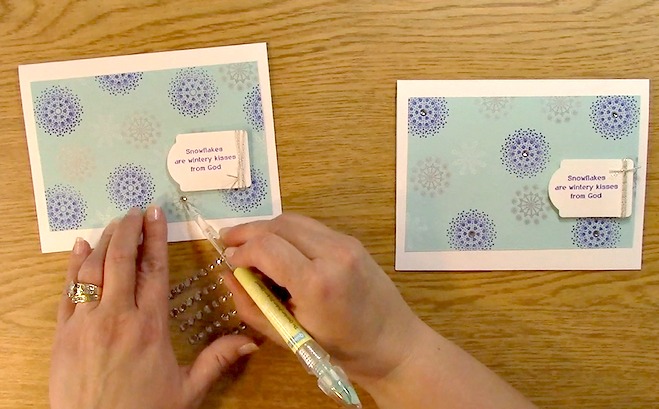
This is what the card looks like once it is finished. Although it looks great like this, I would prefer a little bit more bling to add that pop to your Snowflake Stamped Card.

Pull out your rhinestones and your quick stix tool.

snowflake-stamped-card-with-giveaway-zc

Remove a rhinestone from the sheet by using the quick stix tool. Place the rhinestone on the stamped card mat. For my original Snowflake Stamped Card, I chose to place it on the purple snowflakes. For this Snowflake Stamped Card, I decided to use the rhinestones on the silver snowflakes.

snowflake-stamped-card-with-giveaway-ze

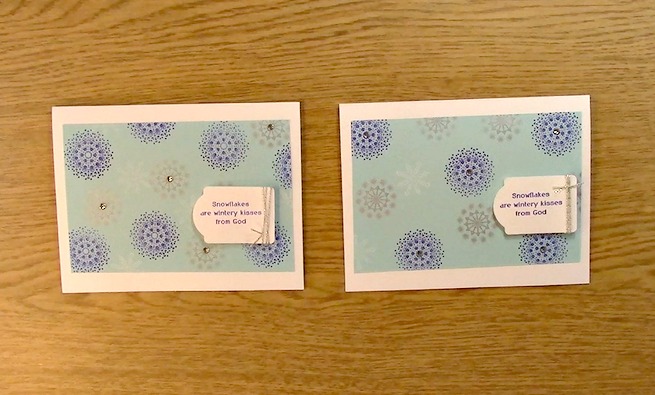
Your creation is complete! On the left is the card I just made here in my video and on the right is the example I made before I created my video.

Now for the giveaways!

The winner of last weeks blog giveaway is Jean Bullock!
Jean said:
I still don’t like my handwriting but your video and blog post has me thinking about others loving the handwriting because it’s the handwriting of someone we love. That’s rather a profound thing.

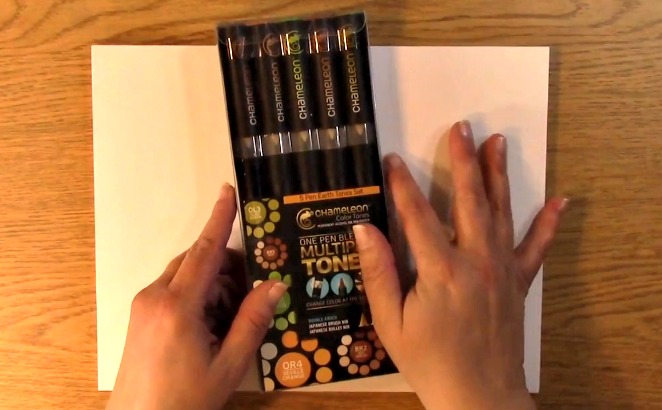
love-your-writing-and-chameleon-pen-giveaway-dJean you are the winner of last weeks giveaway of a set of 5 Chameleon Pens – Pens Earth Tone Set.

Jean, please send me your contact information via contact page on our website so I can get your set out to you! Thank you so much ????

snowflake beauty

This week we are giving away the Snowflake Beauty stamp set. This stamp set is very versatile with religious and non religious sentiments. You can even use the snowflakes for a background design.

To qualify you must be a follower on YouTube, subscribe to our mailing list/blog posts and you may also comment on this blog post for an additional entry to win!

We hope you enjoyed this creation and show us how you used our creation to inspire one for you!

Thank you so much for joining us and for going on A Creative Journey with Melissa.

melissa-written-signature