3-D Sympathy Card
For today’s tutorial we are going to create a 3-D Sympathy Card. I would love it if I never had to create a sympathy card ever again. This one really hurts. Unfortunately, a family that we have known for some time has lost their son/nephew/Grandson recently. Please be sure to say some prayers for them during this very difficult time. With that, we are going to create a 3-D sympathy card to send to them. Let’s get started.

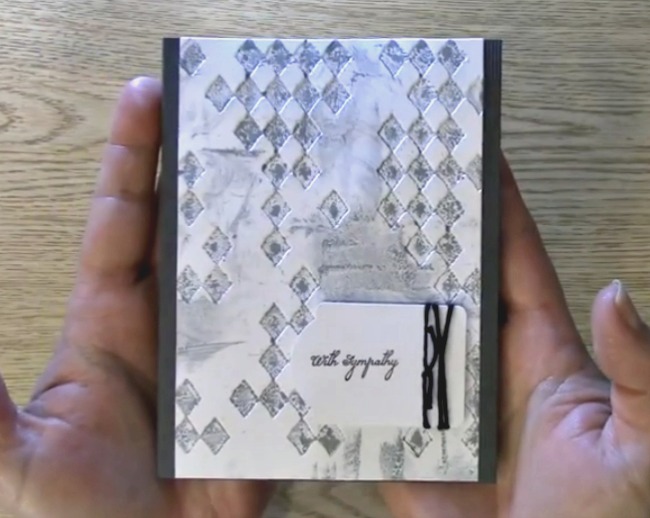
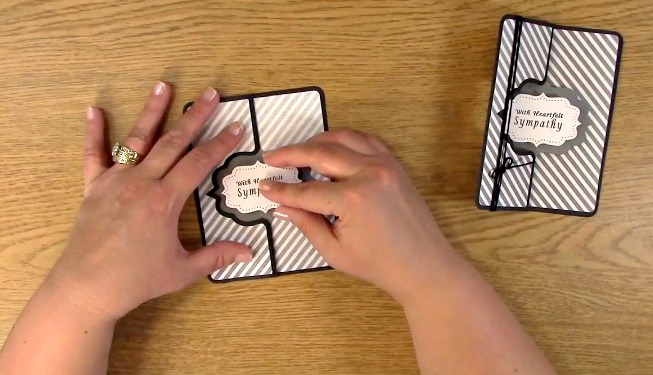
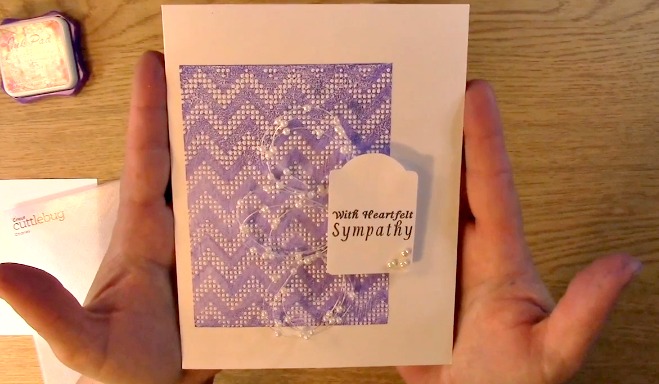
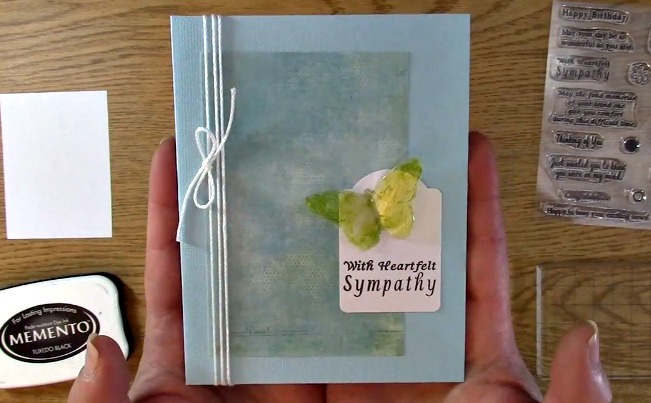
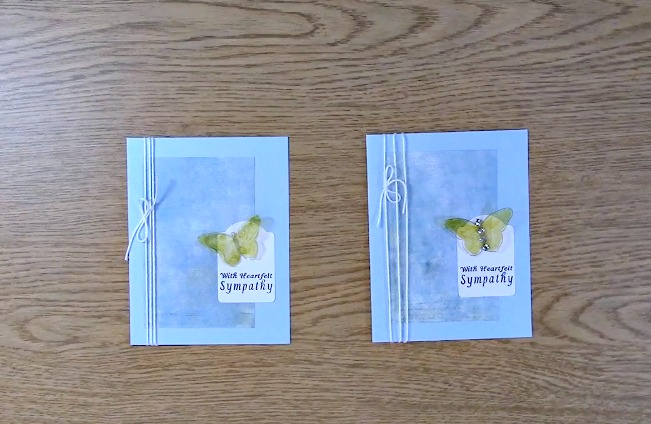
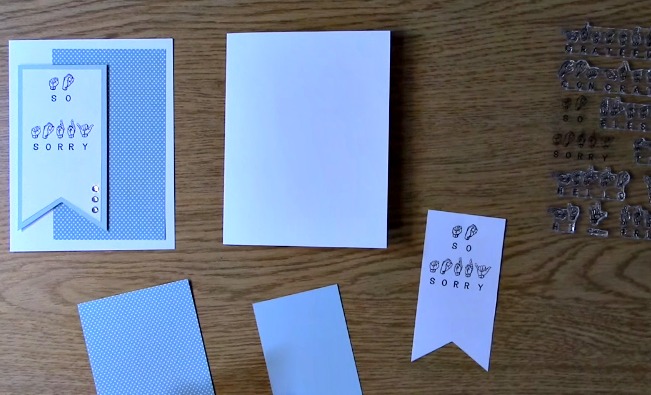
This is the 3-D Sympathy Card Project we are creating.

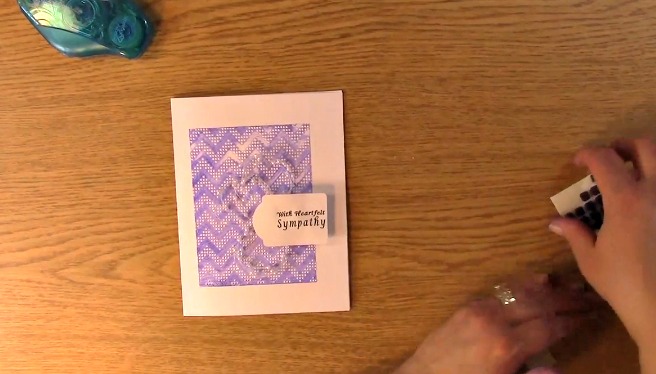
Here you can see where the 3-D Sympathy Card Project get’s it’s 3-d!

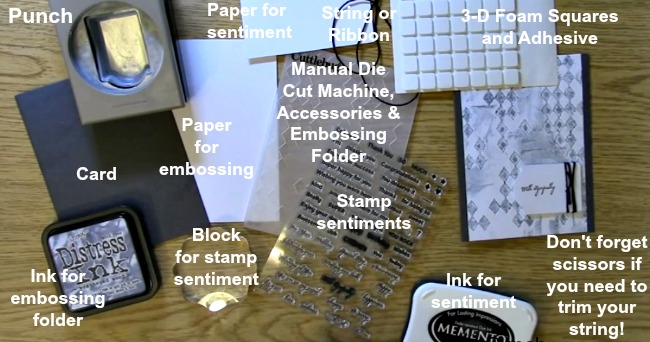
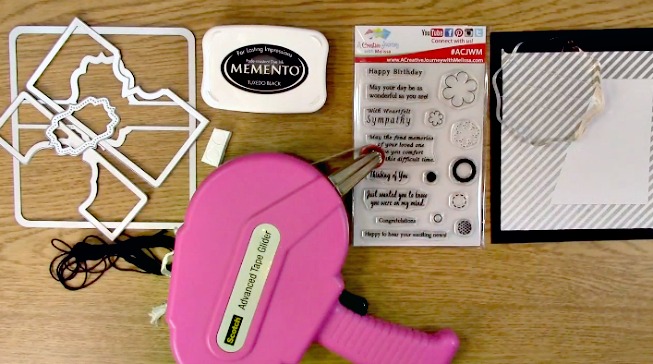
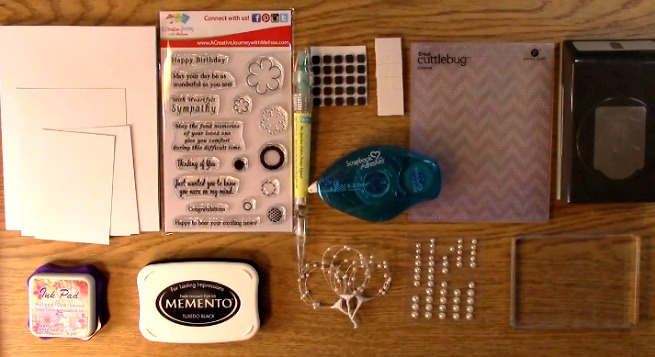
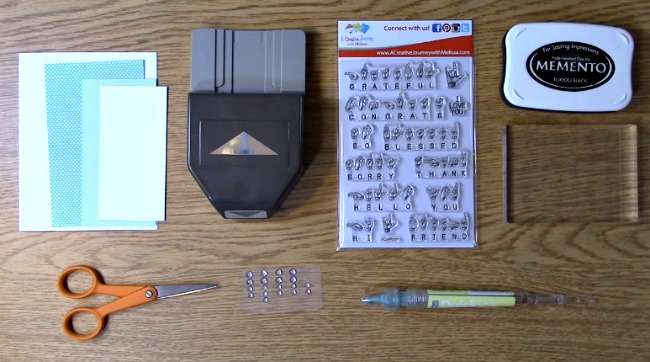
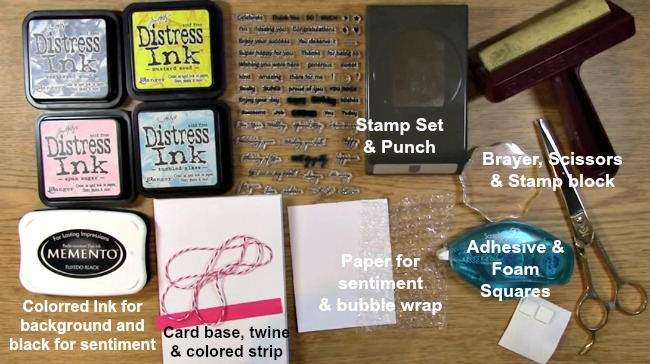
Supplies Needed for the 3-D Sympathy Card Project
A Creative Journey with Melissa Words of God Stamp Set
Black Ink
Adhesive
Card Base
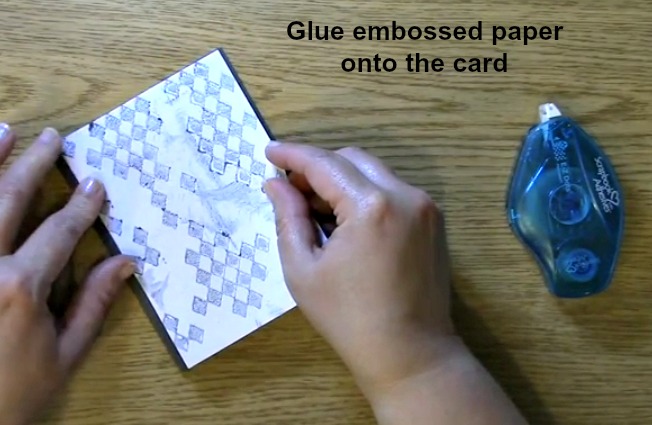
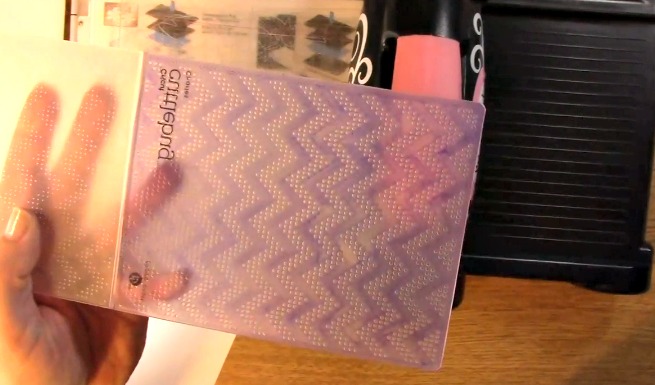
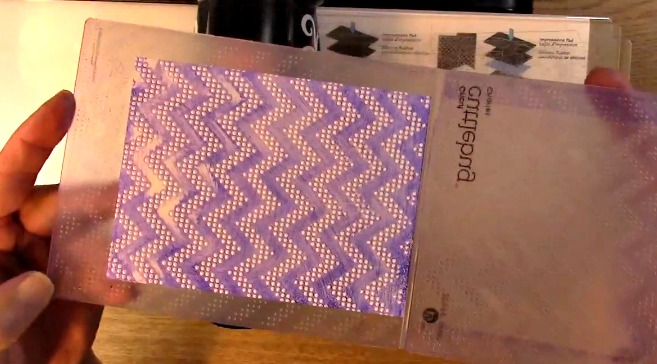
Decorative paper
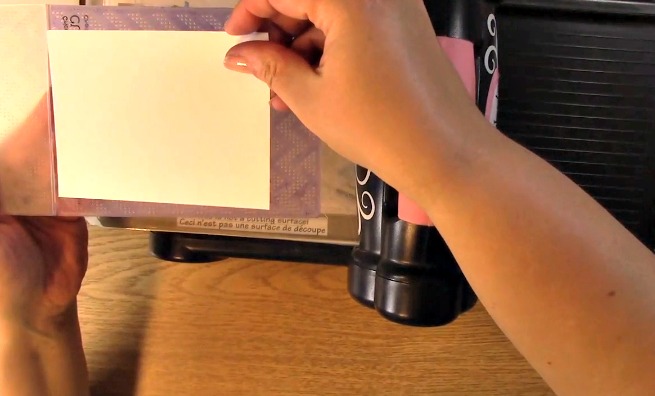
Paper to stamp on
Cross Die
3-d adhesive

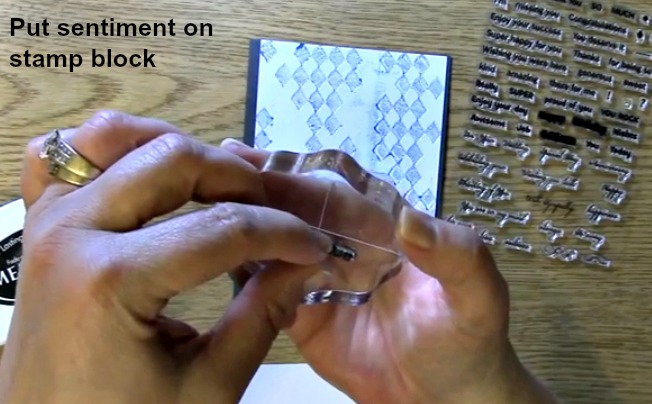
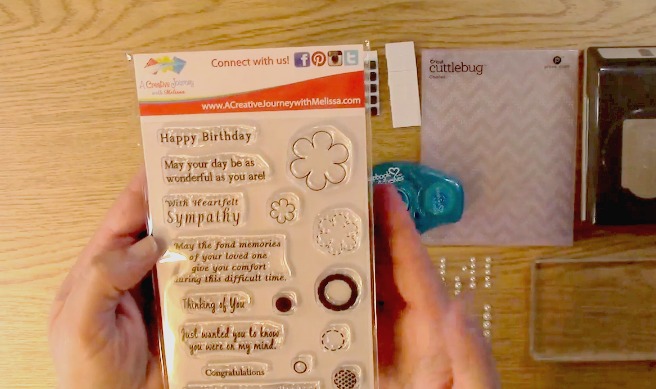
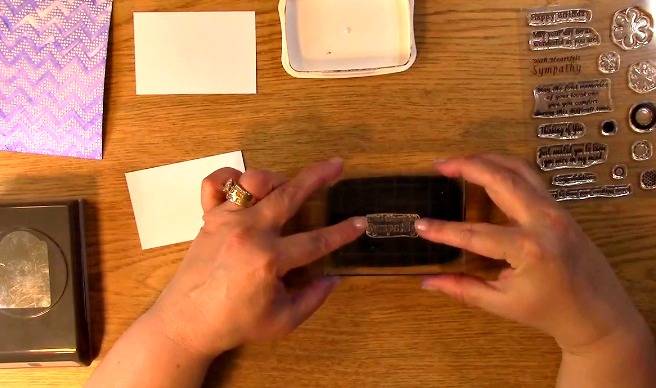
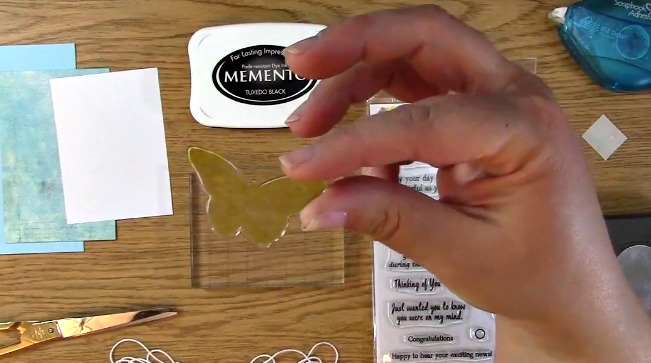
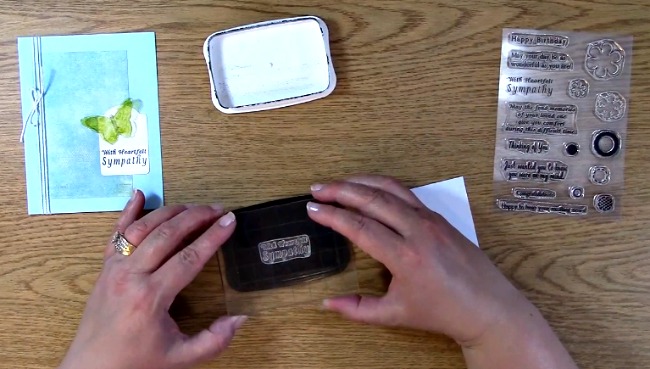
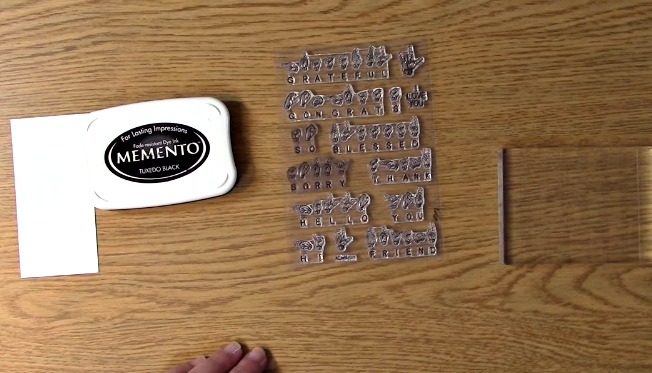
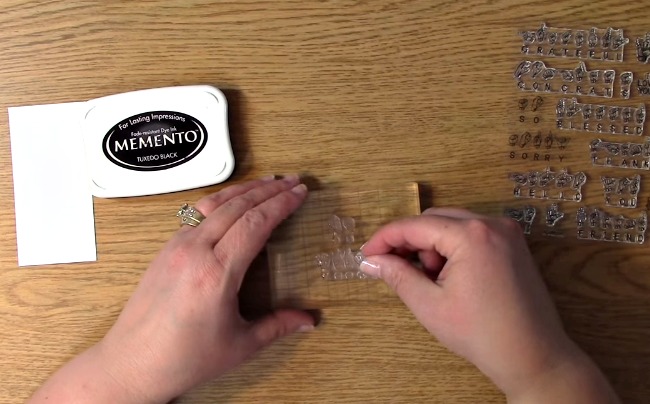
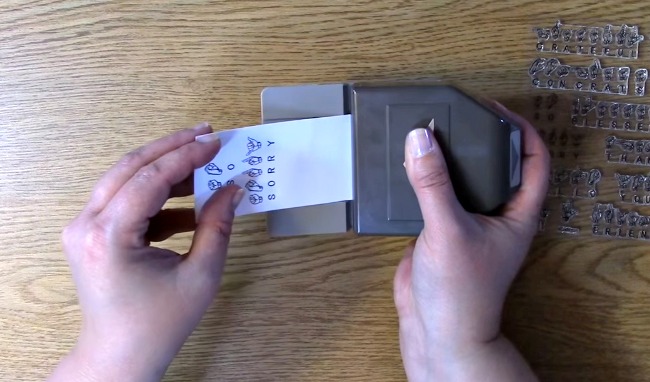
Take out your Words of God Stamp Set.

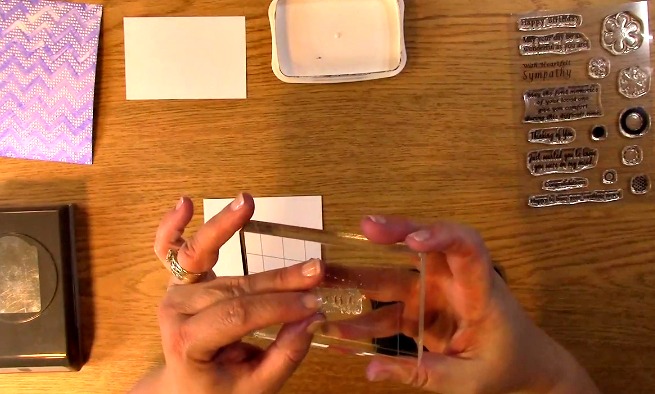
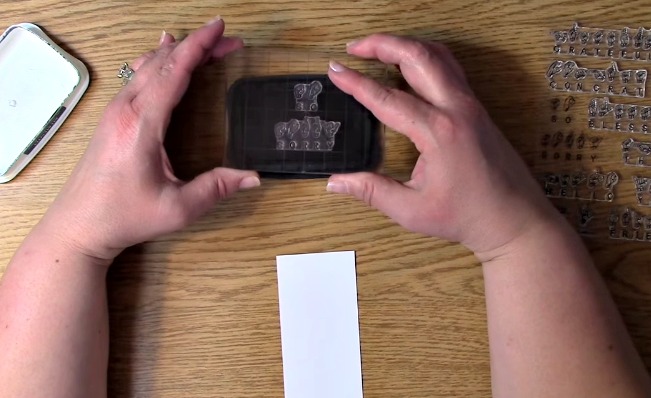
Place your sentiment from the Words of God stamp set on your acrylic block.

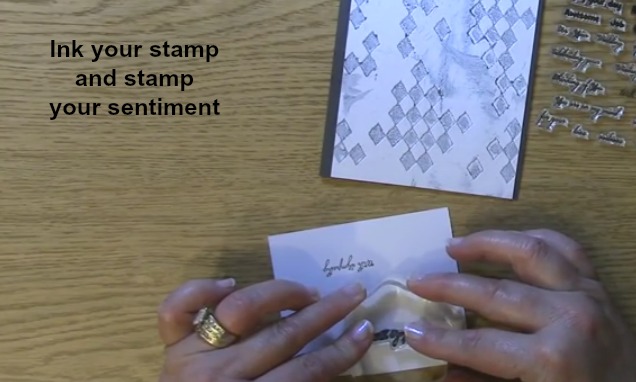
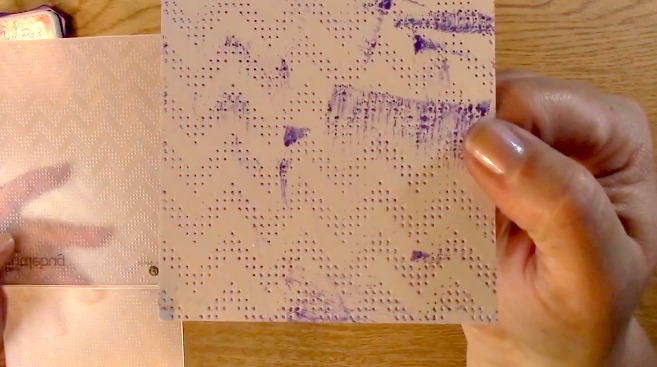
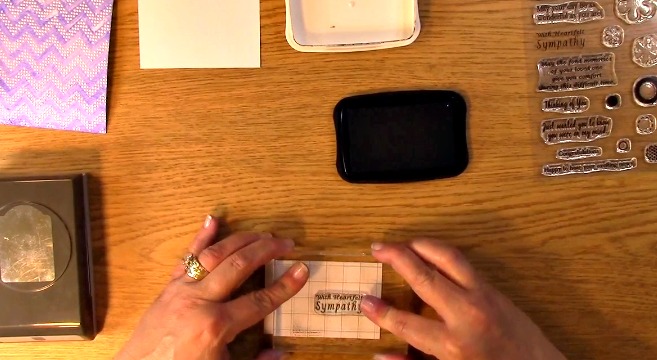
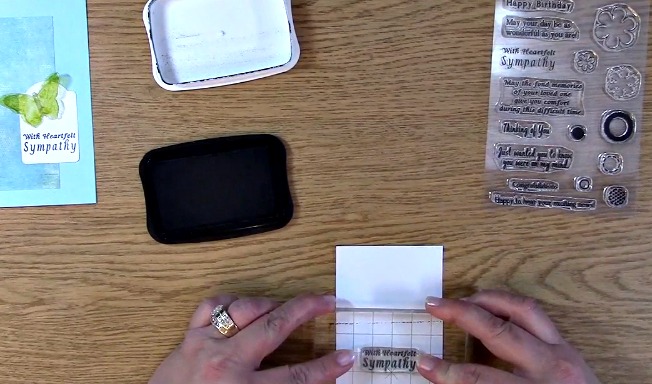
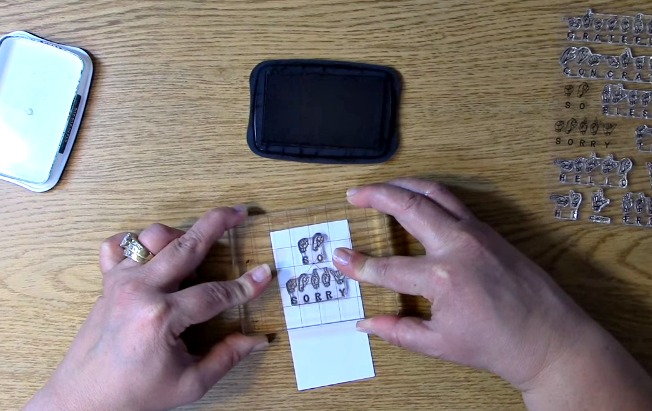
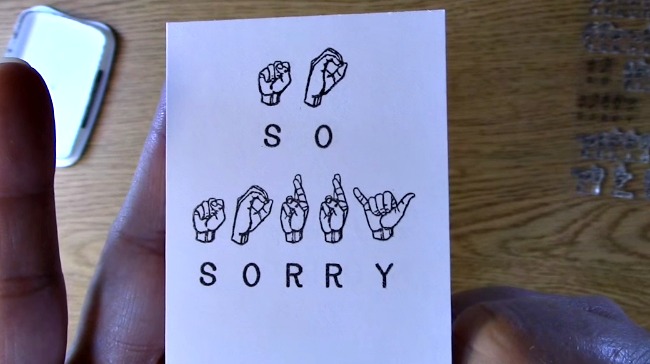
Ink our sentiment and stamp your sentiment on your paper.

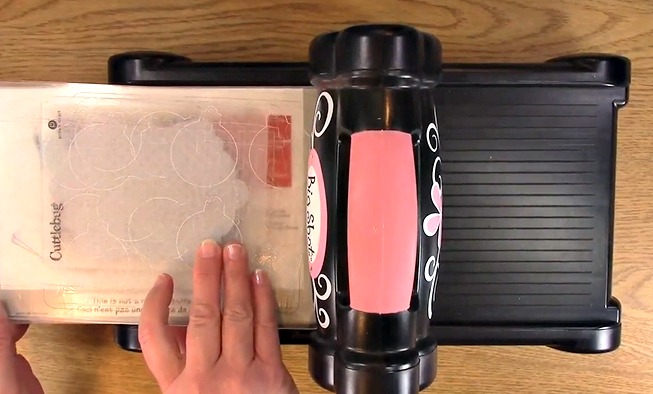
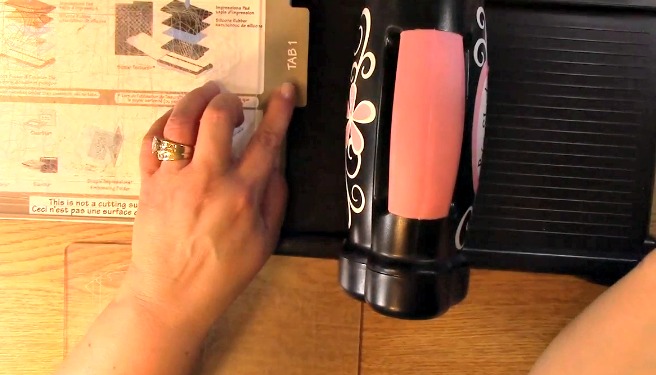
Take out your cross die for the 3-D Sympathy Card Project.

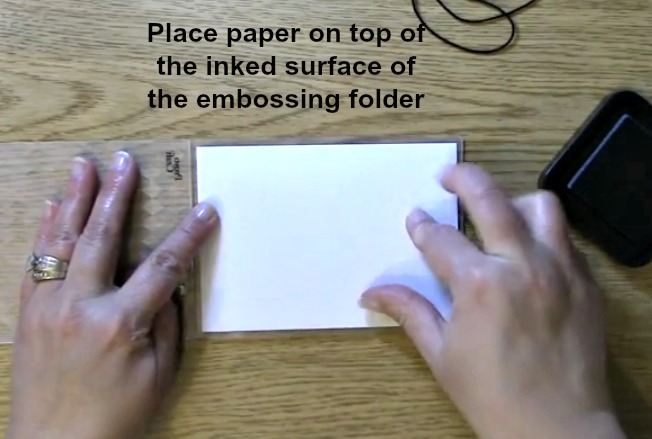
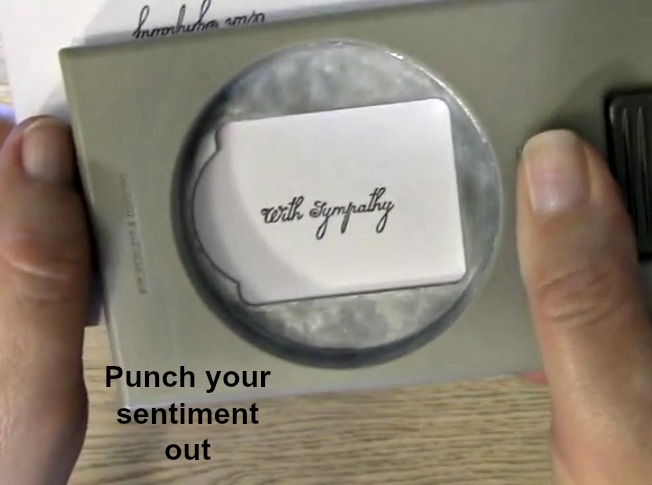
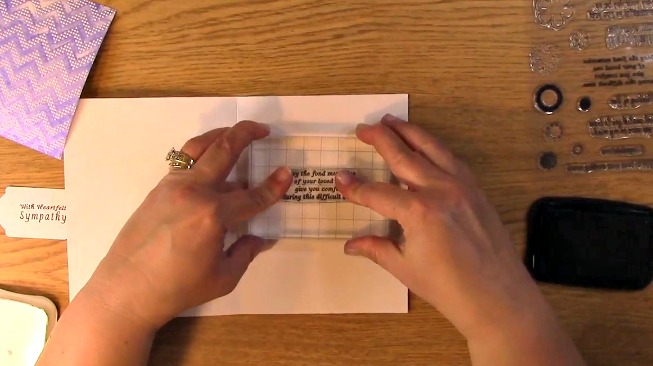
Place your cross die above your sentiment on your paper as shown above.

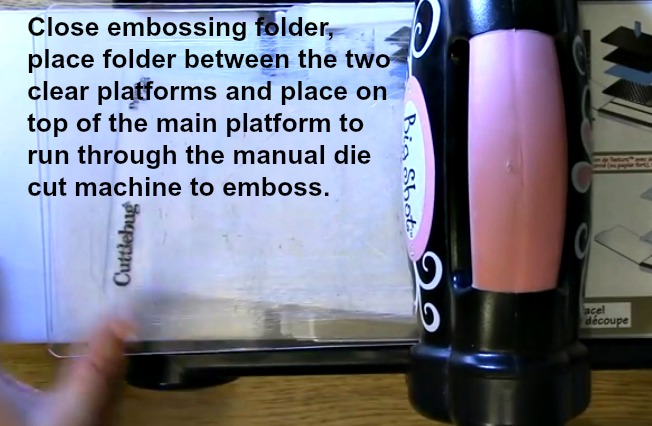
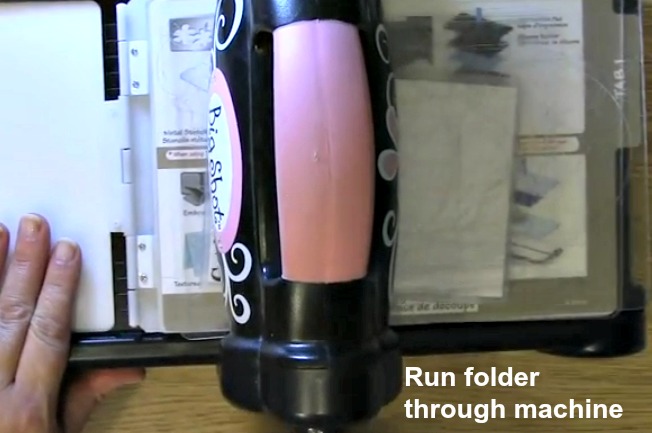
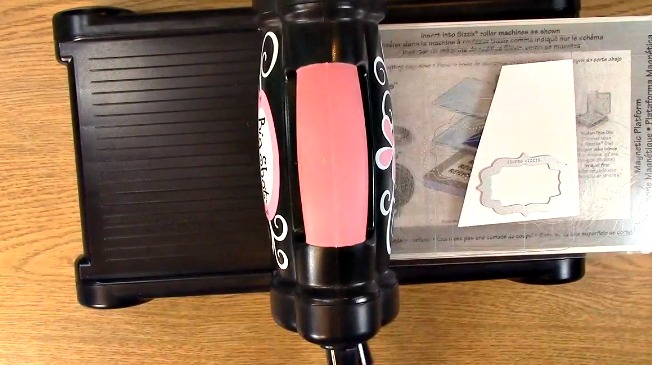
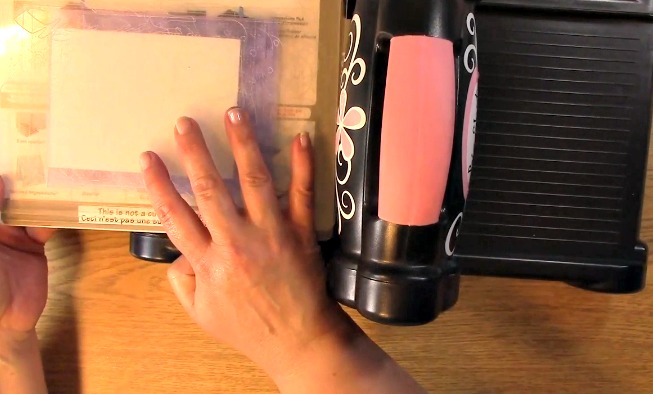
Run your die through your manual die cut machine.

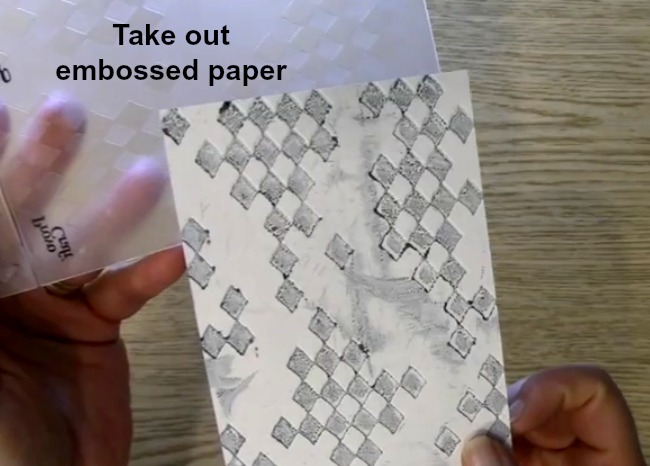
For the 3-D Sympathy Card Project, you could use either the negative space as shown above

or of the positive space of the cross.
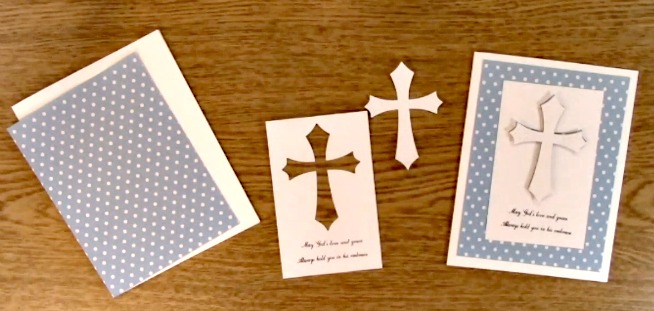
Either would make the project look great but I chose to use both giving you the 3-D Sympathy Card Project.

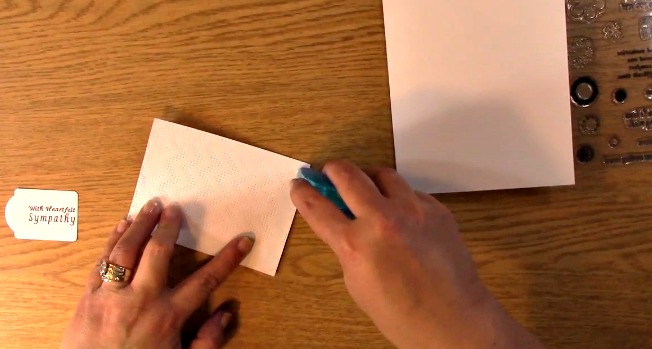
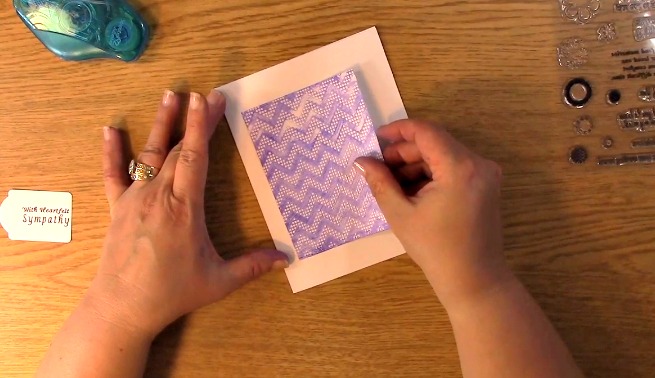
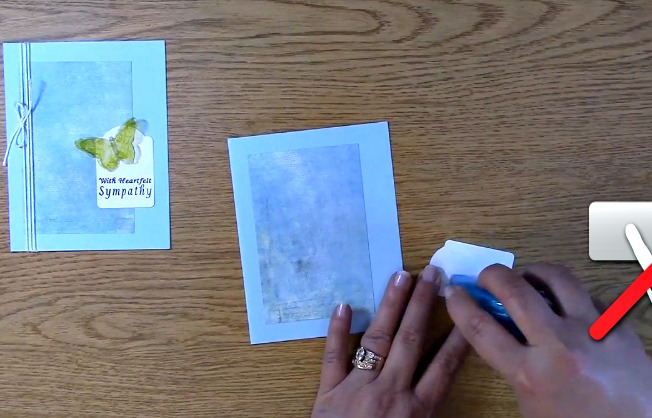
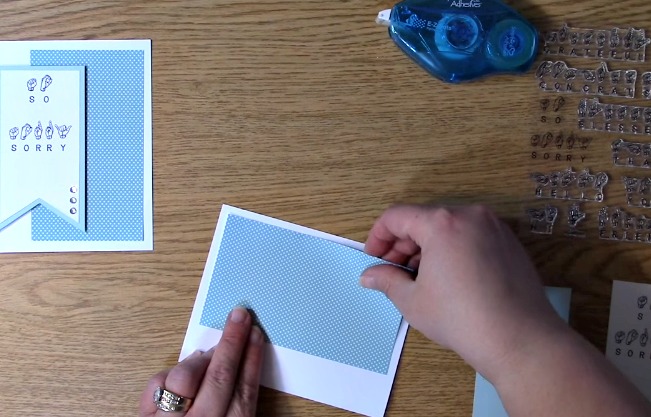
Take out your decorative paper, apply adhesive and adhere to your card base.

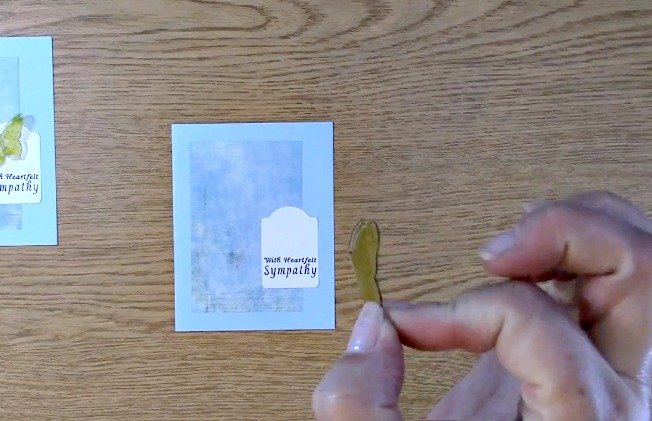
Apply adhesive to your sentiment die cut paper and adhere to your decorative paper.

Take out your cross die cut. Apply the 3-d adhesive to the back of the cross.

Adhere the cross in the negative area of your sentiment die cut paper as shown above.

You have completed the 3-D Sympathy Card Project!

For this weeks giveaway, we are giving away the Words of God stamp set.

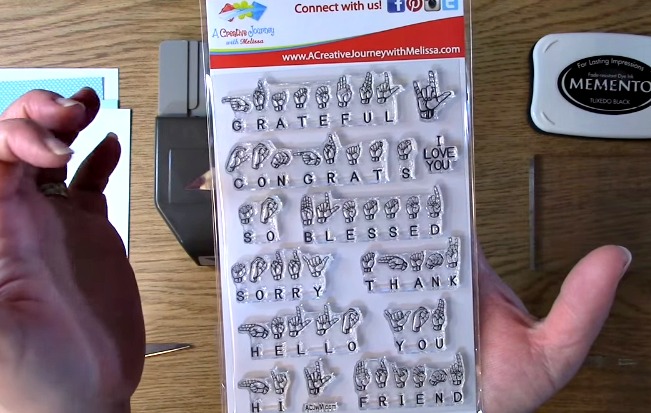
For last weeks giveaway, A Creative Journey with Melissa Sign Language Sentiments stamp set! Definitely one of the stamp sets in my tool box.
The winner is Kathy S.
Please be sure that you send me a message letting me know which post you won on and your contact info and I can get your prizes out to you!
Winners, please send me an message HERE and I will get your prize out to you!
For all of our giveaways including this one, in order for you to qualify for an entry to win, you would need to be a follower on YouTube, subscribe to our mailing list/blog posts (found on our blog page) and you may also comment on this blog post for an additional entry to win! When you subscribe, you will receive an e-mail on Mondays with our latest blog post. BE SURE TO READ IT to check to see if you are a winner EVERY WEEK. If you do not contact me within two weeks of the announcement of winning, you will forfeit your prize. NO EXCEPTIONS. Thank you for your understanding.
NOTE: If you are subscribed with two different names and I am unable to match you with your subscription to the blog and the YouTube Channel, you will be ineligible to win as I can’t decipher if you are a matching subscriber to both. Thank you for your understanding.
We hope you will subscribe to our YouTube Channel, Blog/Newsletter updates and check out our website!
As always, we appreciate your visit and we hope you enjoyed going on A Creative Journey with Melissa.


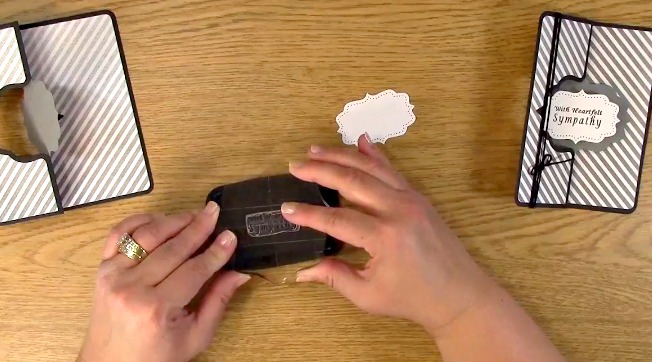


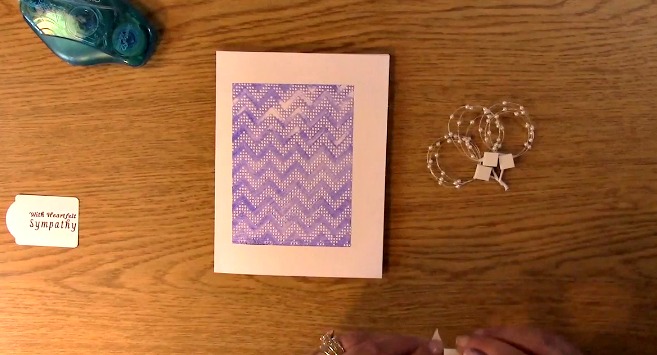


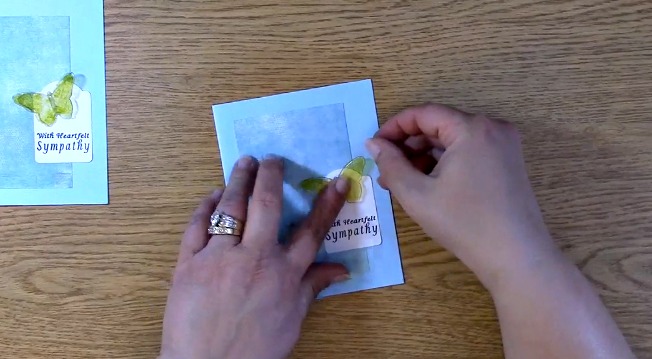


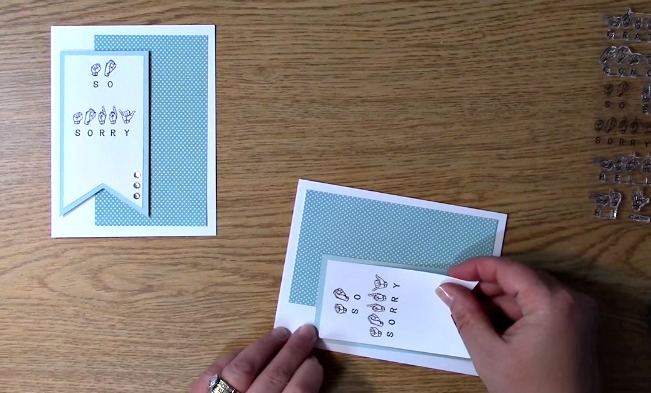
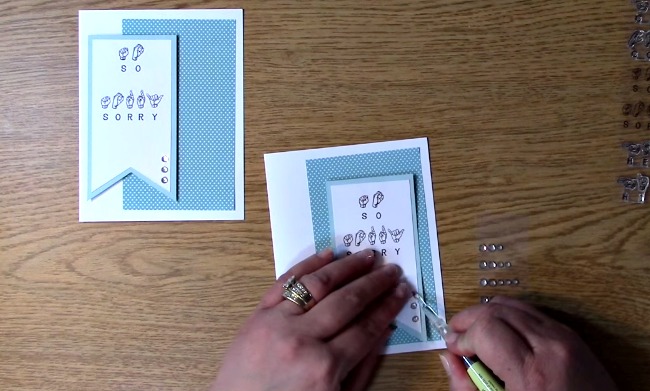
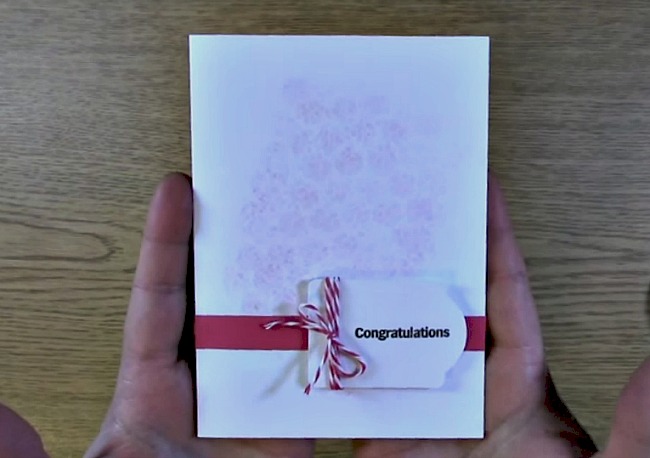
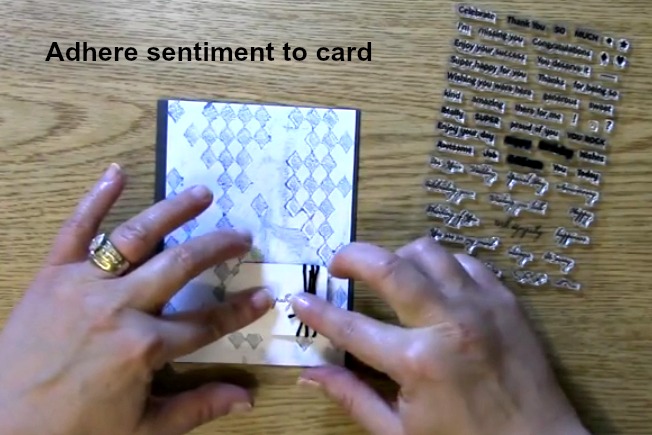
 Adhere your matted sentiment to your card base.
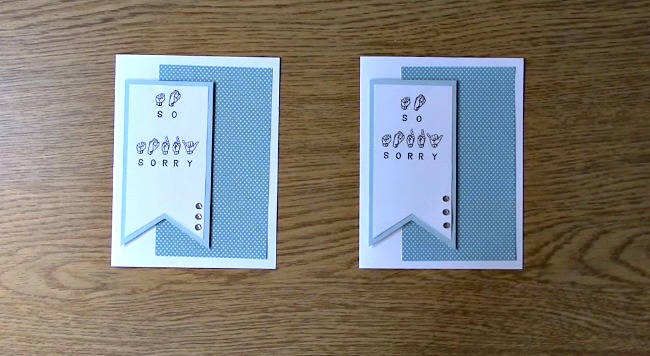
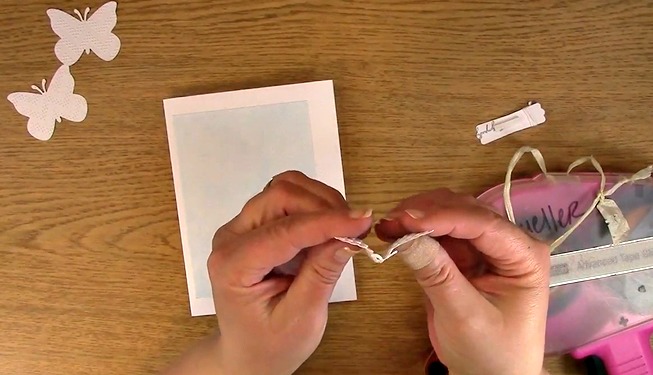
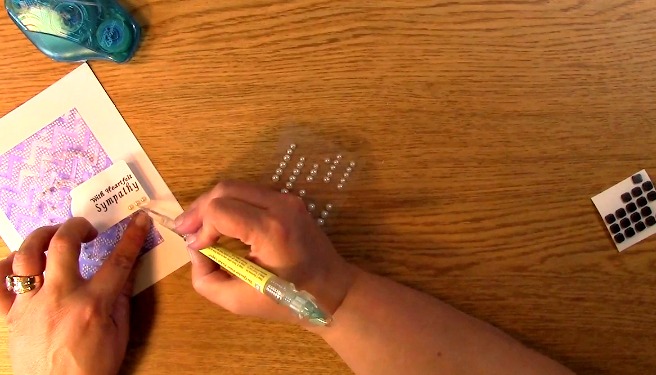
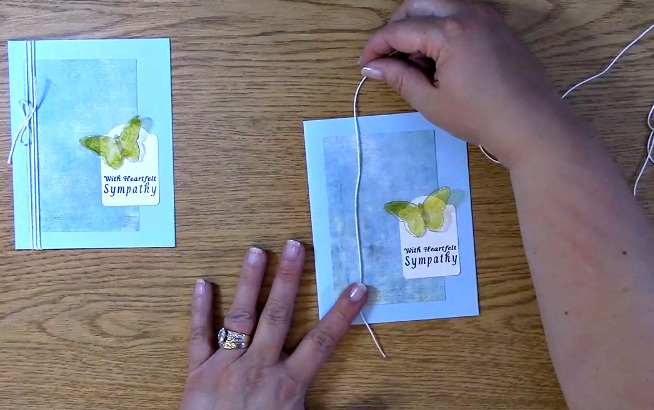
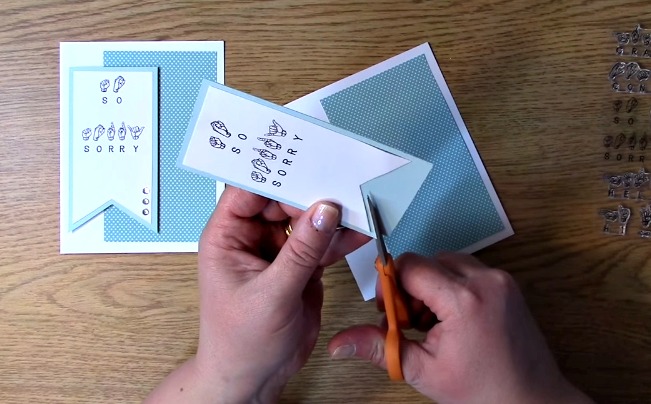
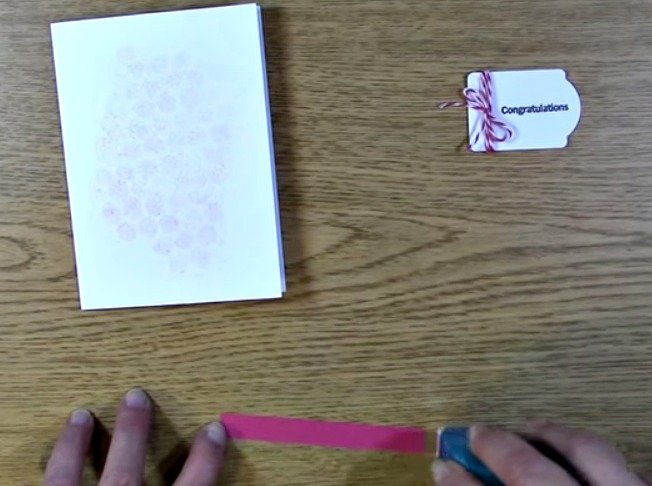 Adhere strip to the card base. Trim excess paper.
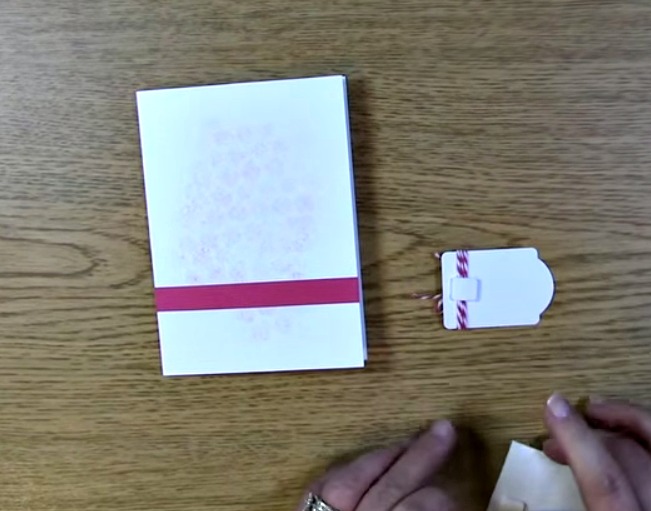
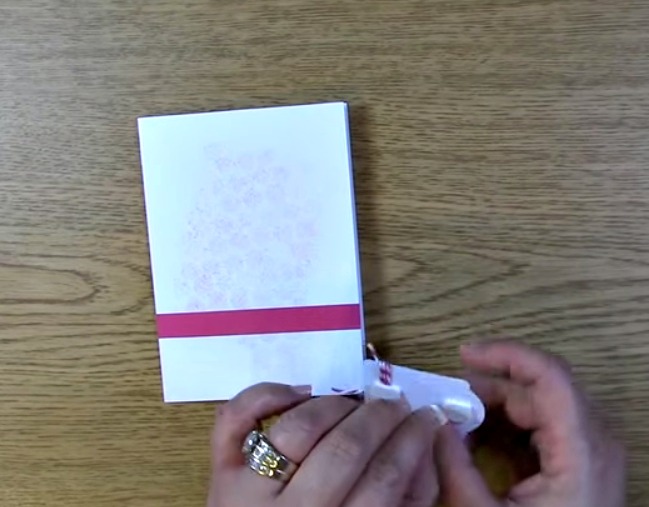
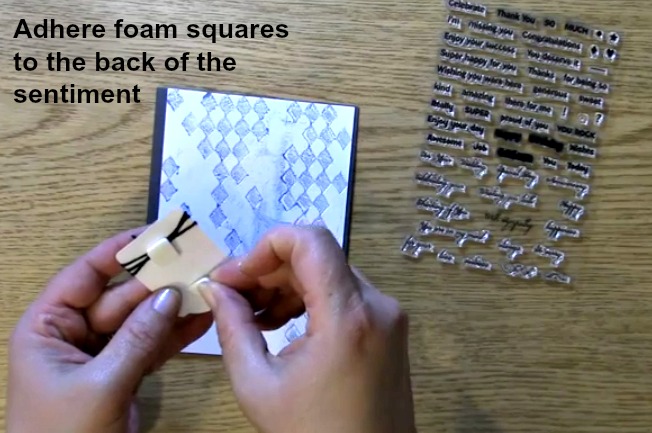
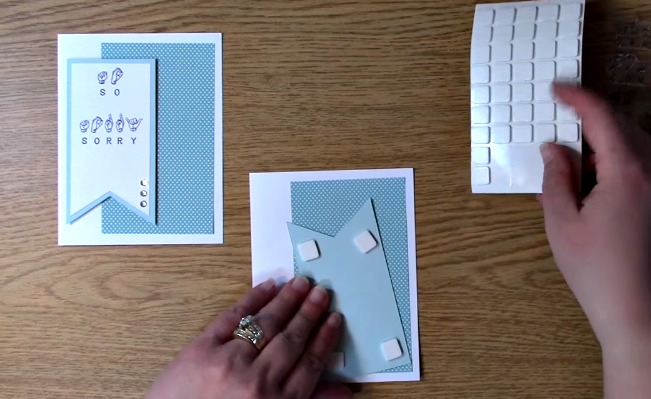
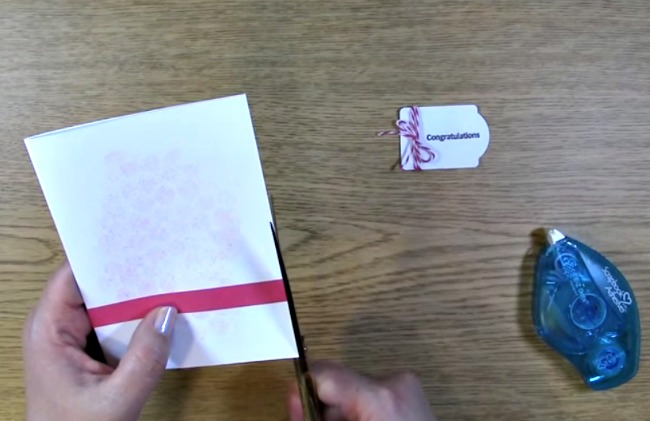 Keep card base out and take out the tag. Place foam squares on the back of the tag.