Tag Archive for: washi

WEBSITE SALE + Michaels Craft Haul + Giveaway

Today we have a GREAT WEBSITE SALE + Michaels Craft Haul + Giveaway! Our video and post is SHORT and SWEET! We are having a GREAT sale on our website so be sure to check it out! If you have been holding off on buying anything, this is the time to do it! Saturday was my birthday and I went shopping on Thursday to spend some of my birthday money I was blessed to have been given. BOY did I SCORE! What better way to celebrate than do a giveaway? So that is what I am doing! I wanted to share my awesome haul with you and also do a giveaway!

sale-30-2016

For the WEBSITE SALE + Michaels Craft Haul + Giveaway,

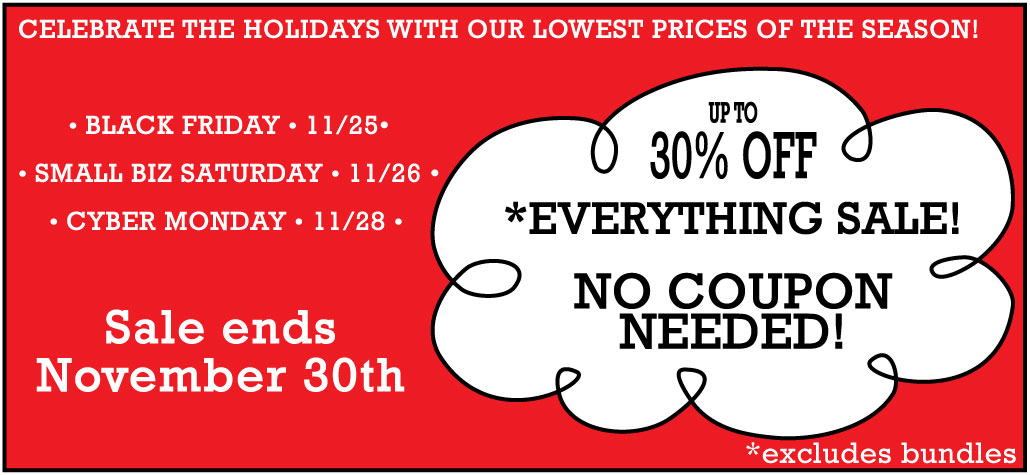
The first thing I wanted to cover is our sale!! We are having it through 11/30 so be sure to pick up those stamp sets you have been eyeing before they are out of stock and we are excited it’s been a HIT SO FAR 🙂

website-sale-michaels-craft-haul-giveaway-a

For the WEBSITE SALE + Michaels Craft Haul + Giveaway, next I wanted to show you the craft haul!

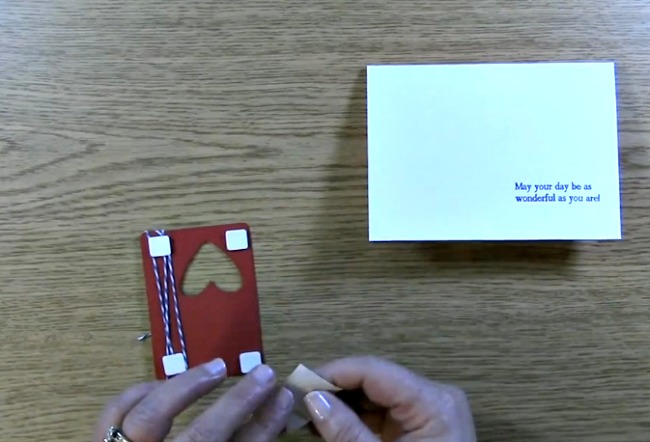
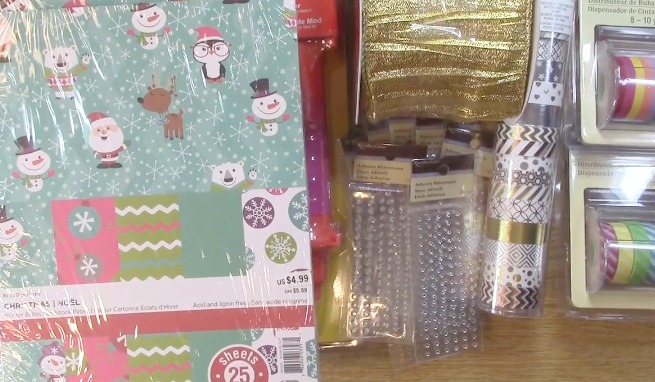
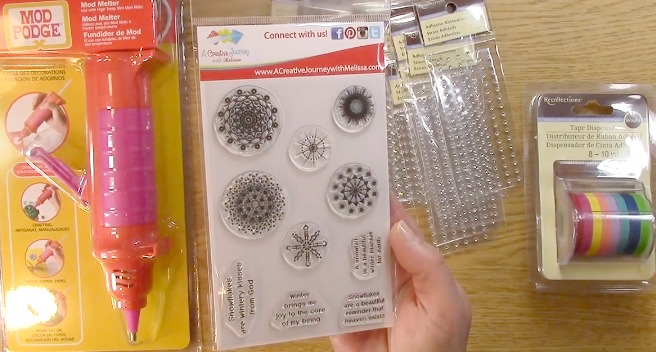
This is almost all of the craft haul. I have some hidden surprises under the paper that is A D O R A B L E, don’t you think? The plan is to use the paper for holiday thank you notes for the boys. While shopping, I bought a crafting cart and I do not have my crafting cart in here because I don’t have enough room to put it in the camera! Do you see a video in the future? SO DO I!!

website-sale-michaels-craft-haul-giveaway-b

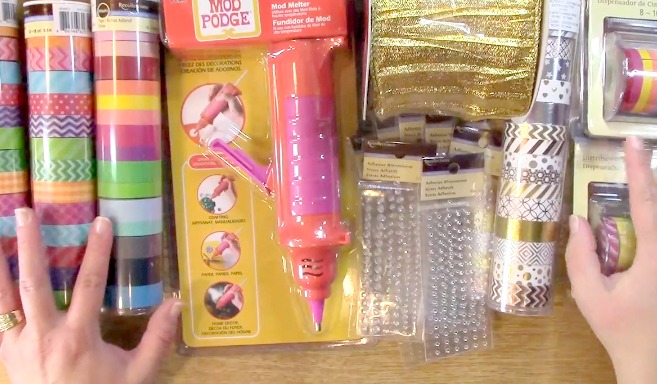
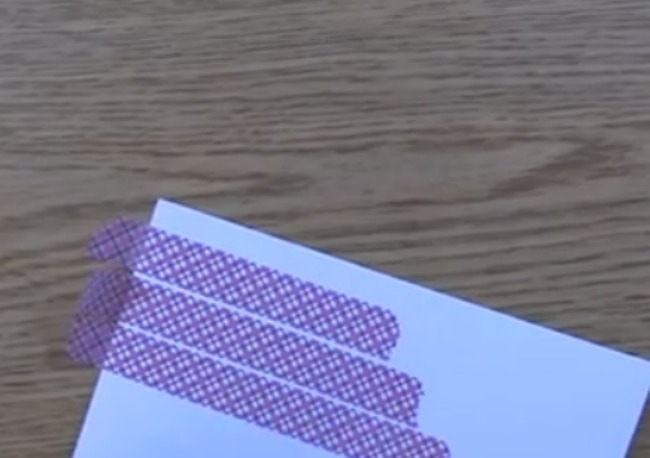
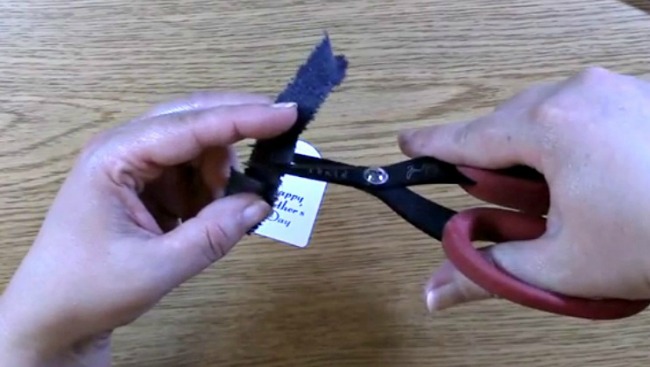
Here is what was underneath the paper! YES WASHI WASHI WASHI! I love making things with washi tape and I will be doing a few videos showing you awesome ways to make items with washi!

website-sale-michaels-craft-haul-giveaway-c

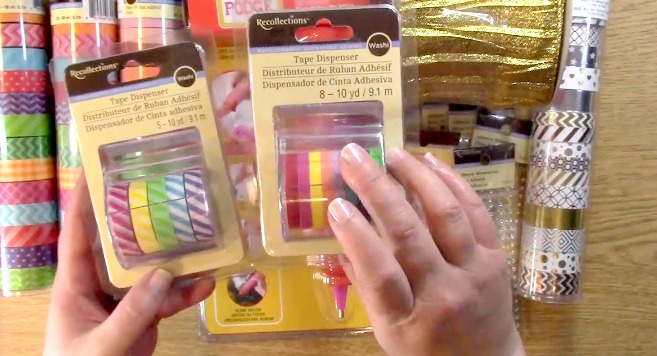
I loved these two washi tapes I picked up

The pattern and solid colors are so versatile and I am going to get SUPER creative with them!

website-sale-michaels-craft-haul-giveaway-d

I picked up this set of washi tape with weddings and celebrations in mind. You can purchase a number of stamp sets that we carry that would work wonderfully with this set while also creating something for a wedding, anniversary and so many other things! I was truly inspired!

website-sale-michaels-craft-haul-giveaway-e

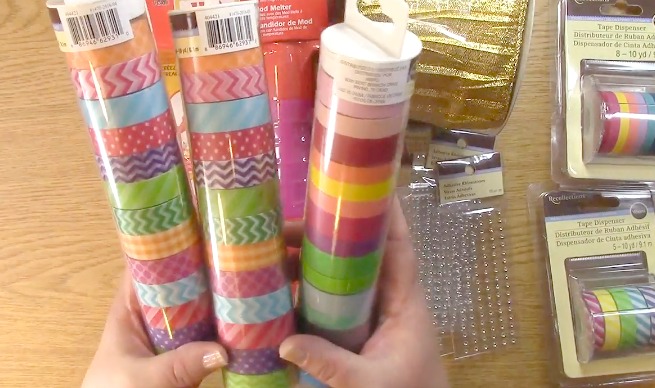
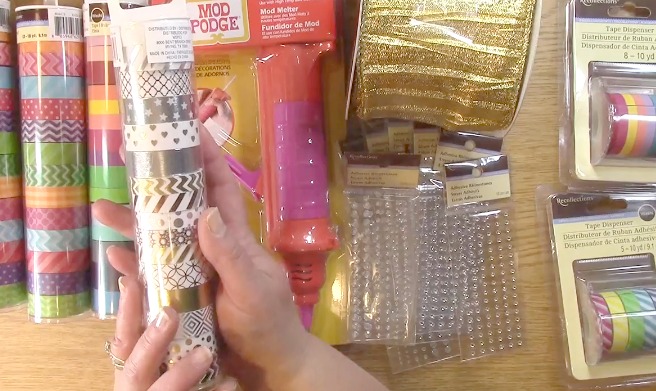
I had to give you a close up of this amazing washi tape collection! OMG! I thought of all of the projects I can use with these and I am excited to make some cool and colorful things!

website-sale-michaels-craft-haul-giveaway-f

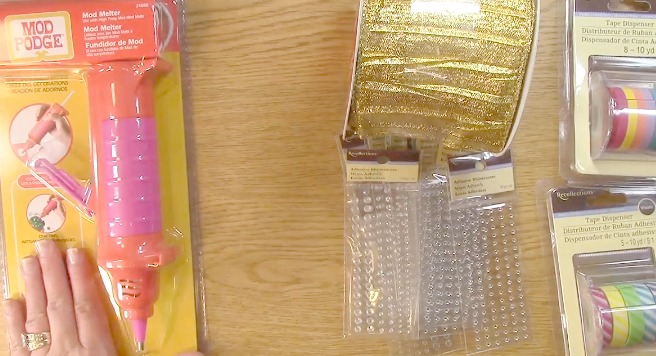
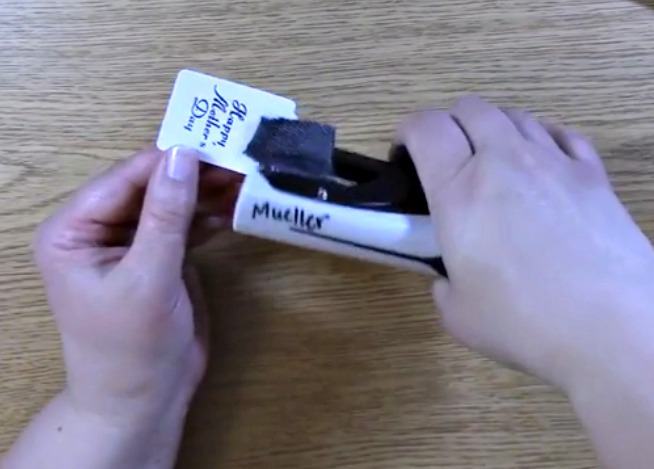
It’s a new mod melter! I love creating with the Mod Podge products. My friends Cathie & Steve have created amazing products and they are coming up with more all of the time! This was one thing I HAD TO GET! I can’t wait to use it!!

website-sale-michaels-craft-haul-giveaway-h

Now if you have watched any of my videos you know one of my favorite things to do is custom color items…

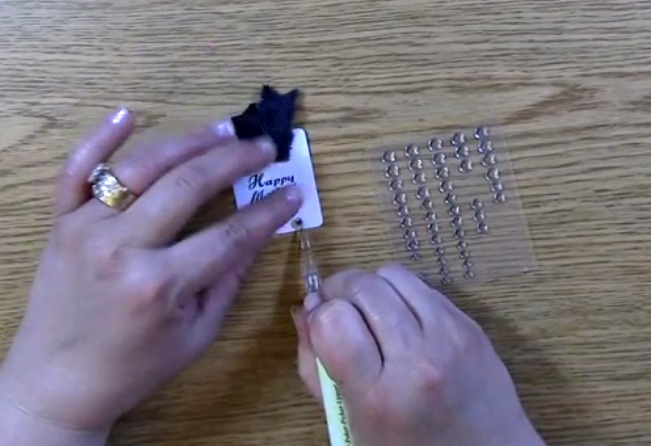
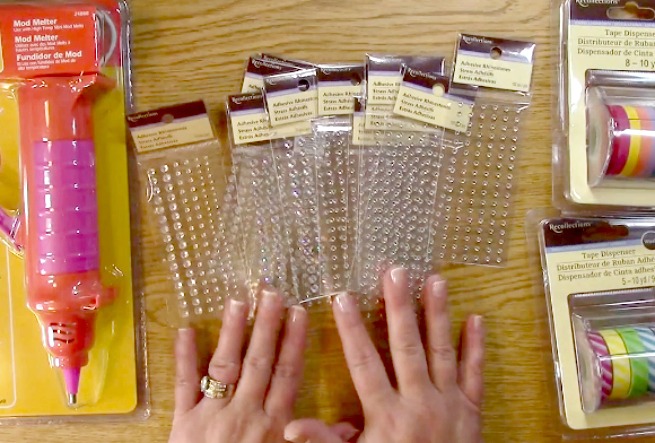
Well, I bought some rhinestones to play with! If you haven’t checked out my video on how to color your own embellishments, you can check it out here. That is my haul and I hope you liked checking out the crafty goodness 🙂

snowflake beauty

Now for the giveaway!

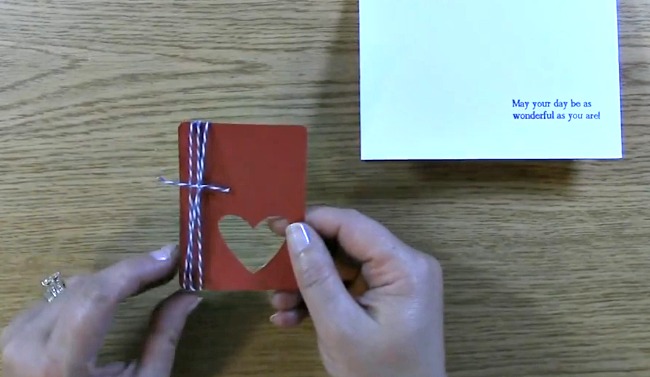
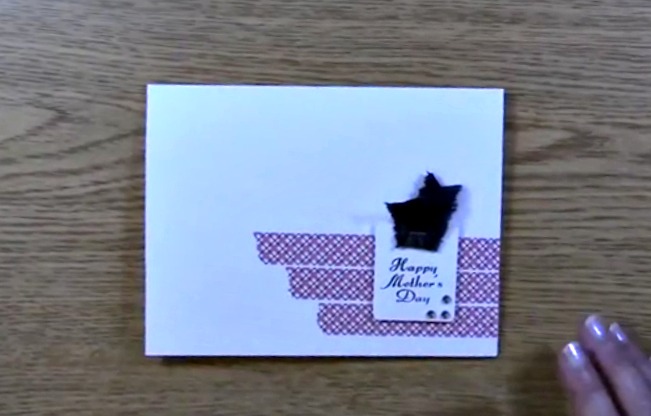
The winner of last weeks blog giveaway is Samantha Houp!

Samantha Houp says:
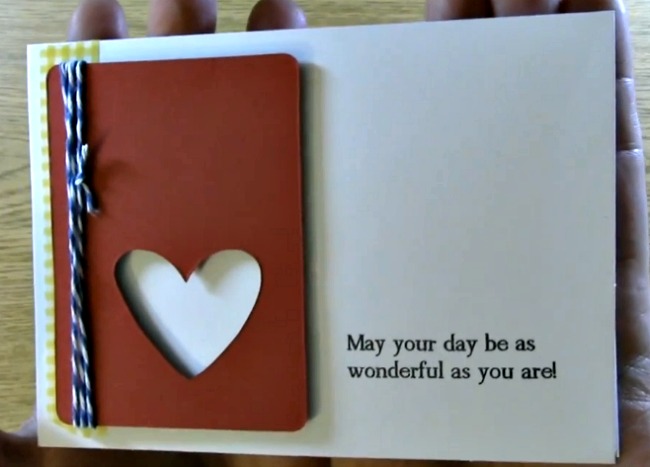
Fabulous card! Thank you for the awesome video!

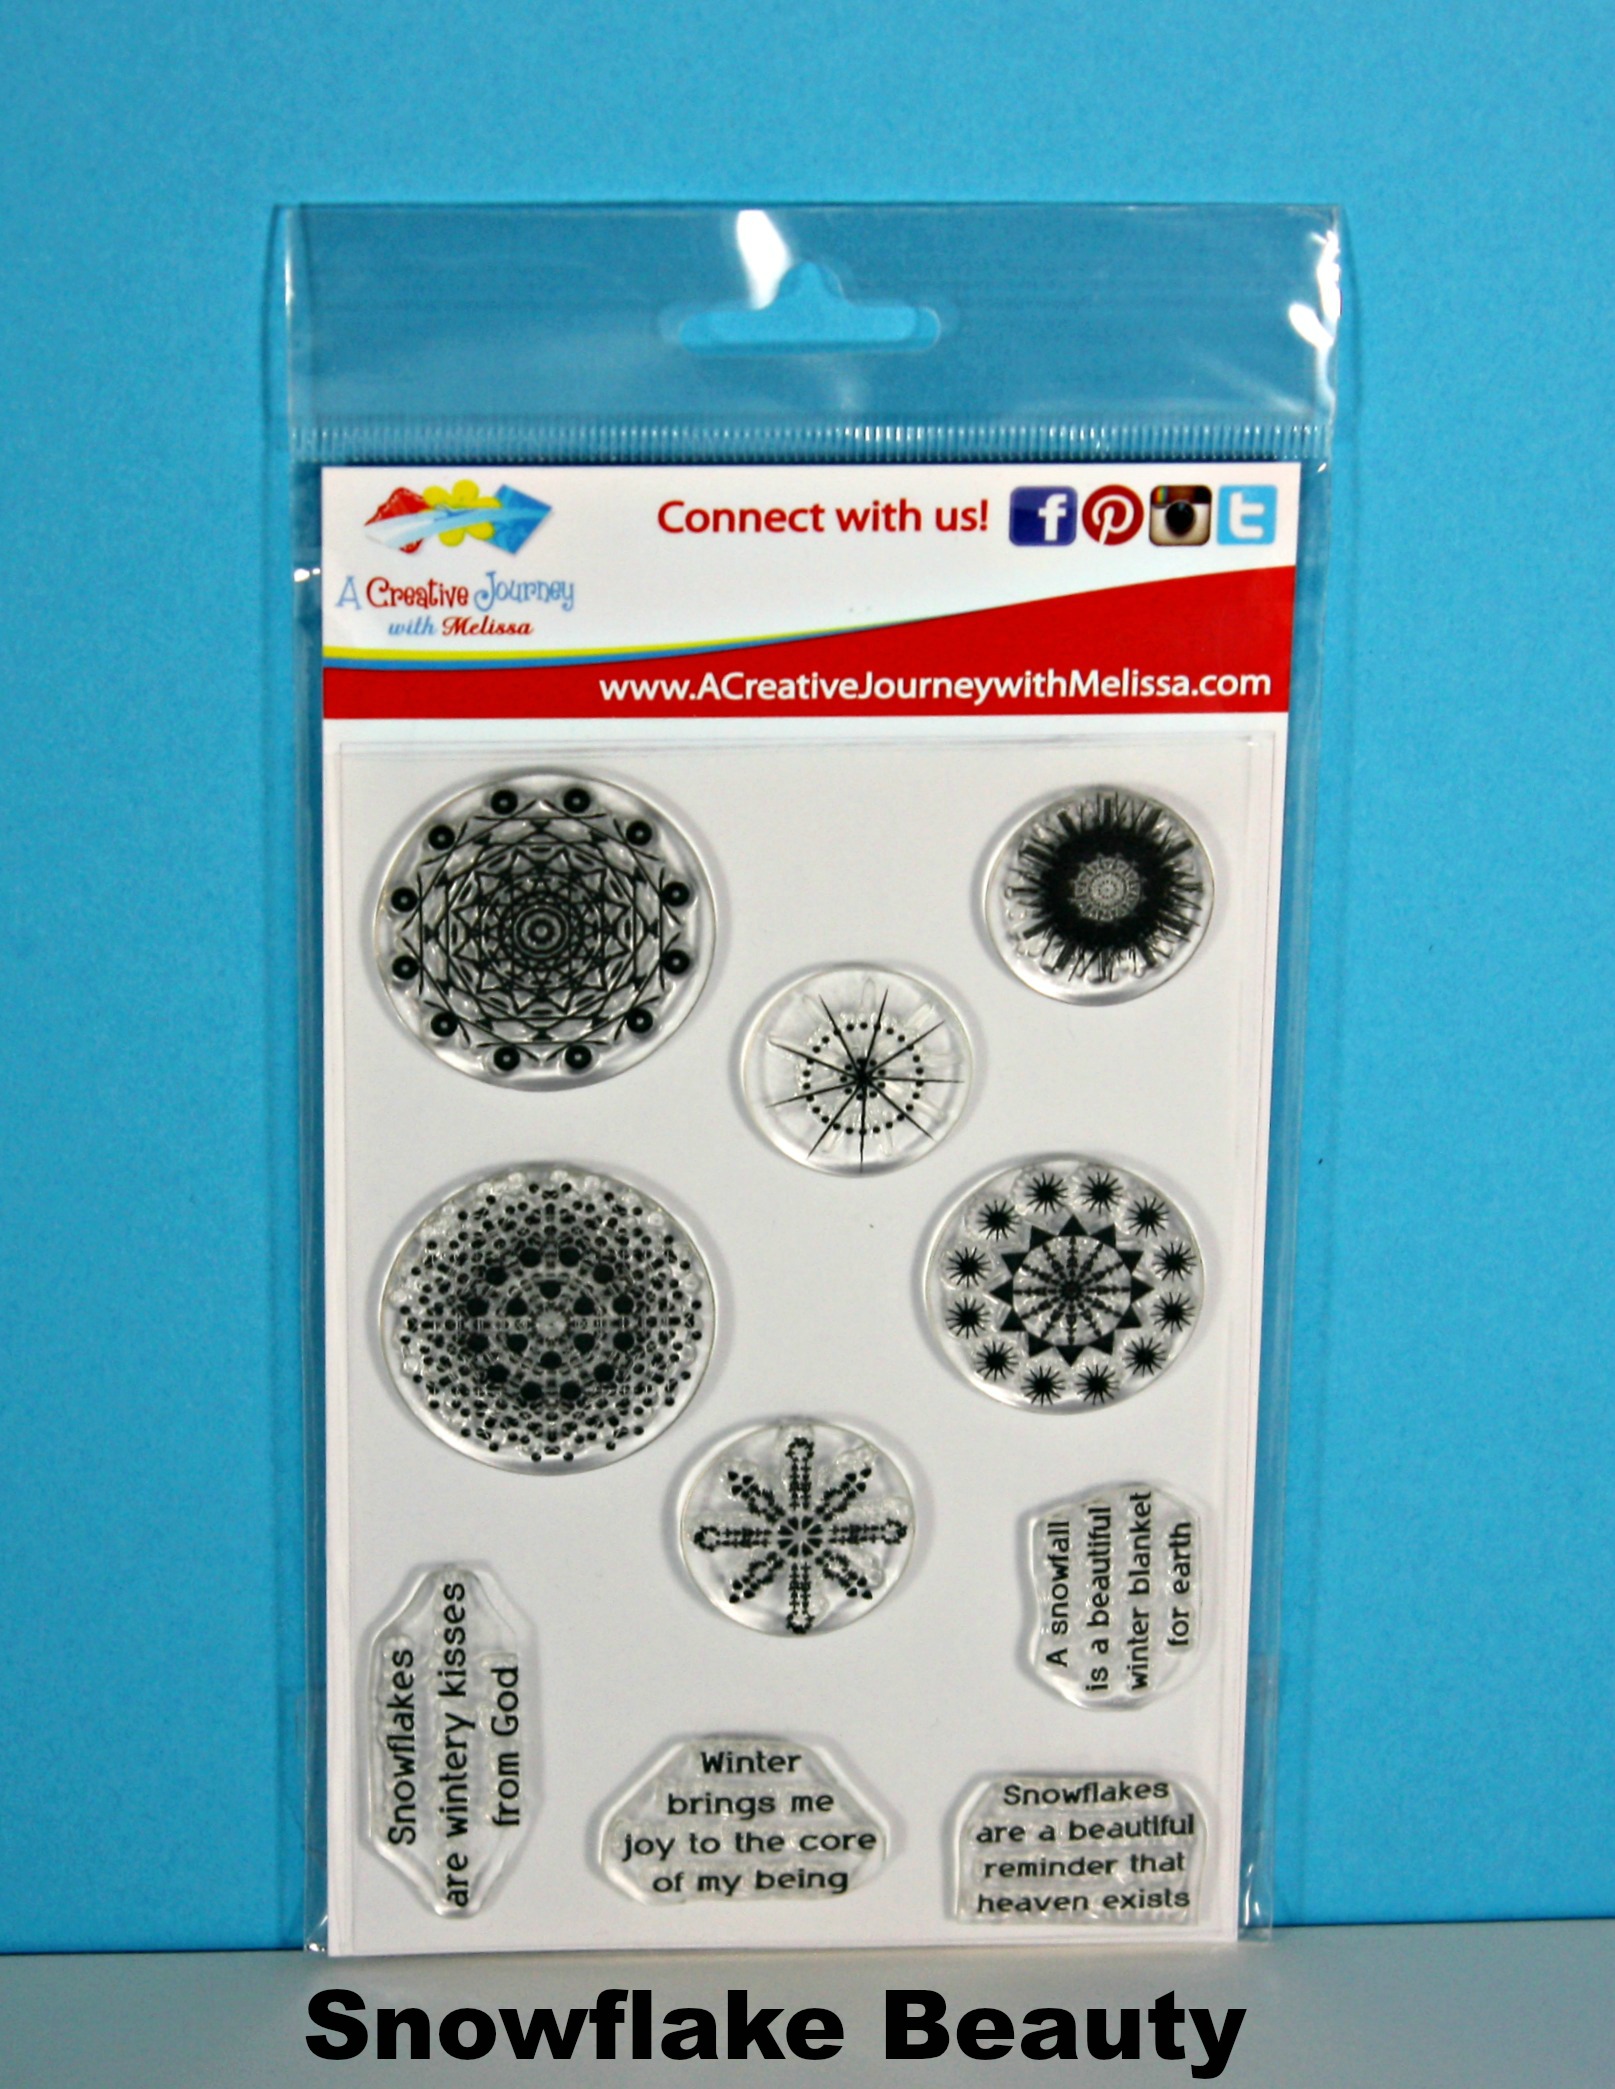
Samantha, you are the winner of last weeks giveaway of the Snowflake Beauty stamp set. .

Please send me your contact information via contact page on our website and I will get your set out to you! Thank you so much ????

website-sale-michaels-craft-haul-giveaway-i

This week for the WEBSITE SALE + Michaels Craft Haul + Giveaway, we are giving away another set of the Snowflake Beauty stamp set. This stamp set is very versatile with religious and non religious sentiments. You can even use the snowflakes for a background design.

To qualify to win, you must be a follower on YouTube, subscribe to our mailing list/blog posts and you may also comment on this blog post for an additional entry to win!

Thank you so much for sharing in my excitement of my website sale and haul! I hope you enjoyed going on A Creative Journey with Melissa!

melissa-written-signature

Quick Thank You Note with Washi, Twine, Stamps and Die Cut!

My son’s birthday was last week and I wanted to create some quick thank you notes for him to send to those who generously sent him gifts. I know that most of the time people don’t keep handmade cards but even still, I like to create so I thought I would create this quick card and share it with you. This design is really simple and the possibilities are ENDLESS! If you would like to create a quick thank you note and a really cute one, this project is for YOU! Whether you like to learn by video or by pictorial, we have you covered so LETS BEGIN!

Here are the items you will need to create this exact quick thank you note. Remember, you can mix and match options and design ideas to your liking. This is YOUR creation so make it the way YOU want to! We used our Outside and In stamp set for the outside sentiment. If you would like to check it out, you can find it hereSupplies

First, you will need to take out your manual die cutting machine, die cut, appropriate platforms and the paper you are cutting. Roll the die through the machine and remove the die cut you need for your creation. Set aside.

die cut shape

Take out your card base, ink, stamp and stamp block. Place your stamp on the block and ink it. Stamp your sentiment on your card base. Set aside.

stamp sentiment

Take your die cut shape, twine and foam squares out. Wrap your twine around the die cut shape and tie in a knot. Cut off excess string. Place your foam squares on the back of your die cut. You can take off the backing of the foam squares at this time or wait until you are going to place it on your creation. Either way is fine. Set aside.

put twine on die

put on foam squares

Take your stamped card base along with your washi tape. Place a piece of washi tape on your card where you would like it to be for your design.

apply washi tape

Take your die cut and place it on your card on top of the washi tape. Be sure the foam squares are placed firmly on your card base.

Apply die cut to card base

Your creation is complete!

Project

Thank you so much for joining us today for this creation. Be sure to subscribe to our blog and YouTube channel for tips, techniques and more! We hope you enjoyed going on A Creative Journey with Melissa today!

signature

Quick Card Using Washi Tape and Jeans! YES REALLY!

Quick Card Using Washi Tape and Jeans? YES REALLY! Today we are going to be creating a quick card using some washi tape and a piece of jean material. I always love to add a little texture or a different element with my creations. Keeps me on my toes and adds some character to my creations. Above you will see the video with instructions. If you prefer to learn by a pictorial, continue reading and we have you covered too! Let’s get started!

Supplies 4-20-15

Here is a list of supplies you will need:

Scissors

Ink

Punch

Card Base

Paper for stamping sentiment

3-D squares

Washi Tape

Rhinestones

Stamp Block

Jean Material

Rhinestone tool

Stapler

To get started, you will want to take out your card base and your washi tape. Create a pattern on your card base. I used three strips in varying length. Trim the excess washi tape.

Take out your piece of paper for your sentiment, ink, stamping block and sentiment. Stamp on paper.

Punch out your sentiment with desired shape punch.

Get jean material out and trim a piece that will fit nicely on the punched out sentiment.

Adhere jean material to punched out sentiment with a stapler.

This is the result

Adhere rhinestones to the tag

This is the result

Screenshot 2015-04-20 13.32.30

Take out 3-D foam squares, adhere to the back of the punched out sentiment.

Place sentiment onto the card base. You are DONE!

I hope you enjoyed this quick and easy card creation today! What other materials will you try on your future creations? We would love to hear about them!

Thanks for joining us today and we hope you enjoyed going on A Creative Journey with Melissa.

signature