Chameleon Pen Colored Wedding Card
Chameleon Pen Colored Wedding Card is what we have for you today! I love creating cards and love even more to give them! I love having a lovely card to give but sometimes time isn’t in the cards so to speak … Yes pun intended.. LOL This is why I like to create CAS – Clean and Simple cards. You can get the look of an elegant handmade card that only takes minutes! Ready to get CREATIVE? Let’s do this!

Supplies for Chameleon Pen Colored Wedding Card Project
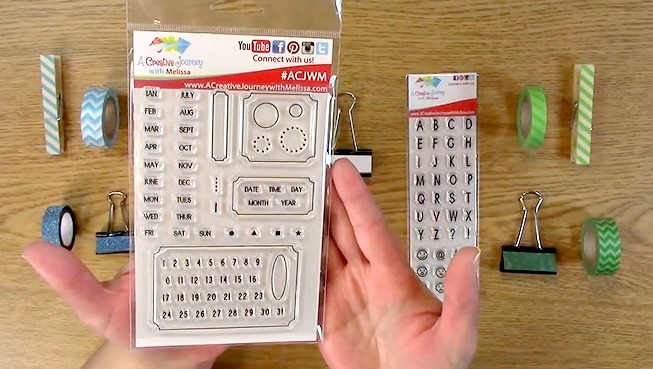
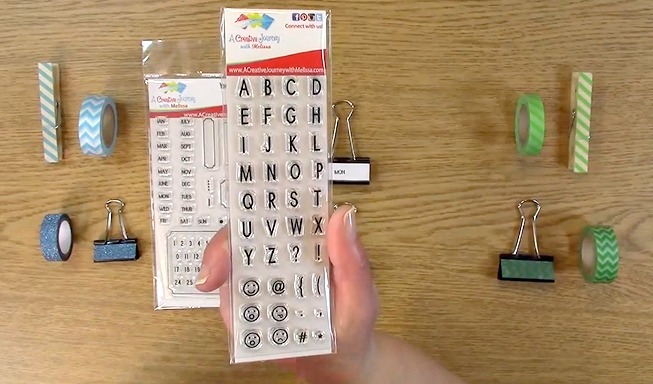
A Creative Journey with Melissa Wedding and Celebrations Stamp Set
Gelly Roll Star Dust Glitter Pen
Chameleon Pen NU1
Corner Rounder
Black Ink
Card Base
Mat
Paper to stamp sentiment on
Adhesive
Scissors (optional)
Twine (optional)
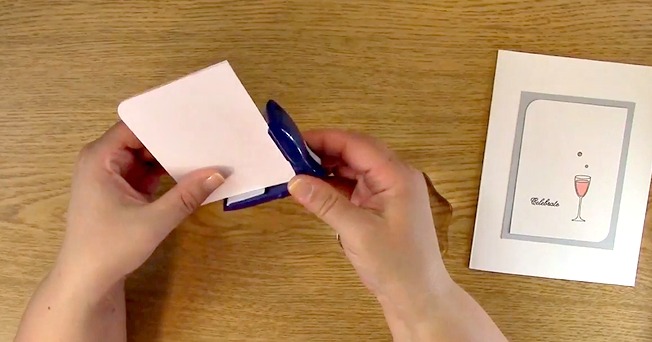
Take out your paper to be stamped on. Using the corner rounder, round the corners of only two sides. I chose the opposite sides as shown.

Take out your A Creative Journey with Melissa Wedding and Celebrations Stamp Set. Place the glass along with two of the bubbles.

Ink your stamps for the Chameleon Pen Colored Wedding Card.

Stamp your images on your paper as shown above.
.
Place your sentiment on your stamping block. Ink your sentiment and stamp your sentiment on your paper.

This is what it will looked like once stamped.

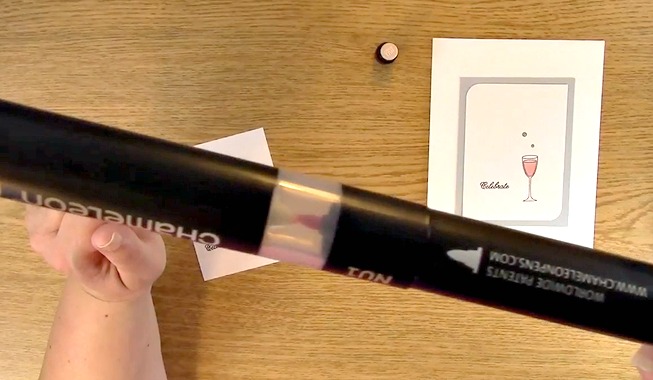
Take out your NU1 Chameleon Pen to get ready to color your Chameleon Pen Colored Wedding Card.
Remove off your pen cap from the bullet nib side. Take off the cap from the blending solution chamber. Place your blending solution top on to the pen so the nibs are touching as shown above.

Wait approximately 5-10 seconds with the pen upright. This will allow the blending solution to combine with the pigment side.

For your Chameleon Pen Colored Wedding Card, color the area where you want it lightest first. I chose the top part of the liquid. Be sure to fill in the color completely. Using a flicking motion upward from the bottom of the liquid, I colored to show the bottom was a little bit darker in color.
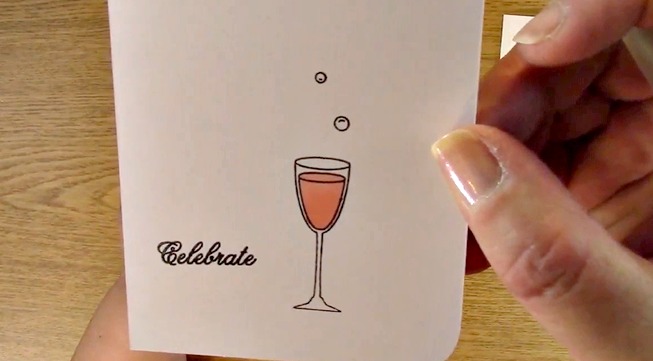
This is what it looks like once I finished coloring the liquid.

Take out your Star Dust Gelly Roll Pen. Here I have colored in one of the bubbles to show you the difference between the coloring and not. I prefer it with the glitter, what do you think?

I colored both bubbles in with the glitter pen. Now, take out your adhesive and place adhesive and apply adhesive to the card mat. Do this in case your gelly roll glitter is still wet. Place your stamped and colored image paper onto the mat. Be sure it has adhered.

Apply adhesive to the card base and adhere the mat. This is what it looks like once this is done. If you notice, I changed the design a little bit from my first example. I moved the mat and image to the right bottom corner.

I also got an idea to add a little silver and white twine to the side of the card. Thought I would dress it up a little. I wrapped the twine around the card three times and tied a bow.

Trim off the excess twine.

Here are your finished cards! Both CAS but one with a little extra sparkle!

For this weeks giveaway we are giving away the A Creative Journey with Melissa Wedding and Celebrations Stamp Set
Winners announced next week so be sure to check back!
To qualify to win, you must be BOTH:
A public follower on YouTube, subscribe to our mailing list/blog posts and you may also comment on this blog post for an additional entry to win! Winners will be announced next week on our Mondays with Melissa blog post!
BE SURE TO check to see if you are a winner EVERY WEEK. If you do not contact me within two weeks of the your name being picked, you will forfeit your prize. Thank you for your understanding.
Subscribe to BOTH with MATCHING NAMES to be eligible. If I am unable to match you with your subscription to both the email list and the YouTube Channel, you will miss your chance to win a prize. If I can’t decipher if you are a matching subscriber (if your profile doesn’t show publicly who you subscribe to) and I can’t confirm you have subscribed to both, you will not be eligible.