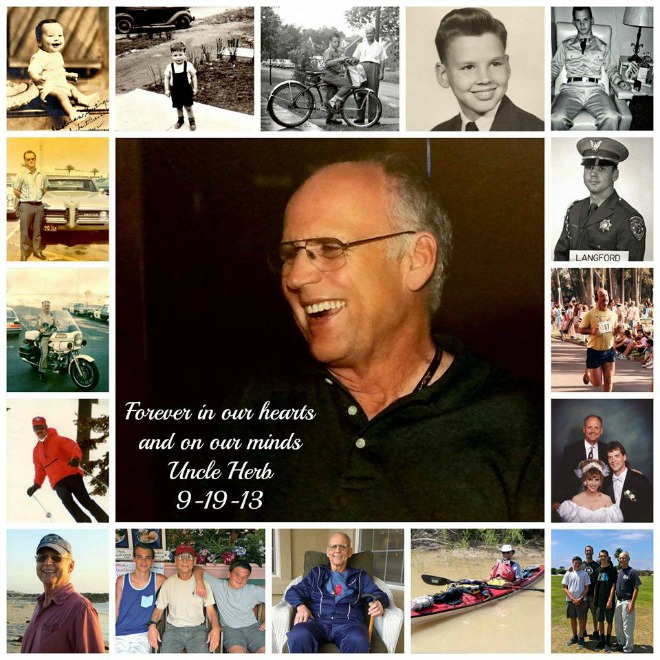
It really has been three years…Remembering Uncle Herb
I think that really says it all.
While remembering Uncle Herb, I can’t believe how time has flown by but yet stood still at the same time. So much has happened. So many things have changed and yet so much has stayed the same all wrapped up in 1065 days.
Uncle Herb was my dad’s brother. He moved to California in the 60’s from Chicago. He lived closer to us than anyone else in our family. We moved from St. Louis to Los Angeles and he was in San Diego. While remembering Uncle Herb… we didn’t see him as often as we would have liked.
Uncle Herb retired when he was 55.
Something that he would recommend to everyone if it is possible. He was a retired Police Sergeant and with his job, he had seen way too much of things he would prefer to forget. He retired early and really enjoyed life by traveling, kayaking and really experiencing the world that we live in. Now he was enjoying the world around him. When we did see him, he always had a story to tell from one of his traveling excursions. Boy did he have stories! Whether it was a story from a kayak trip, traveling or just stories of things that were important to him. He really loved life. The legacy he left behind was great… one of the many life lessons he taught my boys was live life to the fullest.
Uncle Herb lived what he preached.
Uncle Herb was an amazing example and a man who will forever be remembered with love, fondness and gratitude. Fondness because he always accepted me for who I was and who I wasn’t. He listened without judgment. We are grateful for the time we had with him although forever wouldn’t have been long enough. I am honored that he always believed in me even when I didn’t believe in myself.
We all have a dream…
I always wanted to start my own stamp line. Honestly, I never thought I would it was just a pipe dream that really wouldn’t ever come to fruition. That was until I talked to him. He was diagnosed with cancer in August of 2012. As a result of one of our talks during his treatment he basically said, “Miss, if not now, when?” (Missie was a nickname when I was younger and he was one of the VERY FEW that are still allowed to call me that. Funny enough my husband doesn’t even know who she is! LOL 😉
His statement basically stopped me in my tracks.
Well, considering he was going through radiation at the time I thought I really need to LISTEN to what he was saying. He has always lived life to the fullest although uncertain of what lie ahead. So I called around, did all of the leg work and started creating drawings for my stamps. I wrote down ideas and after quite some time, some mistakes mistakes mistakes. (Did someone say mistakes?) Of course there were even more mistakes.. I had my stamps manufactured, organized an awesome group of fabulous supportive creative women that made up the Creative Crew (design team) and was well on my way to beginning my journey of my stamp line release.
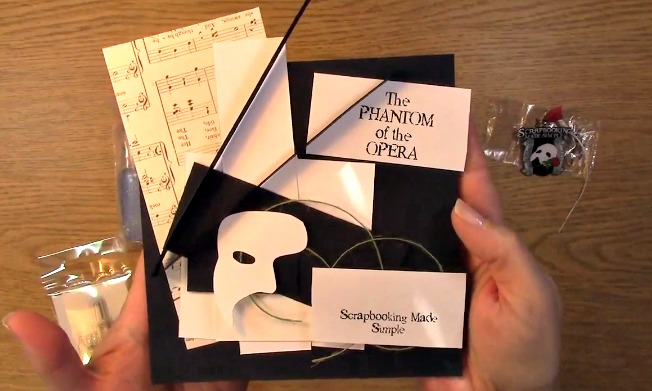
My stamp line grand opening release was on September 18, 2013.
The first release included the stamp sets that were inspired by Uncle Herb.
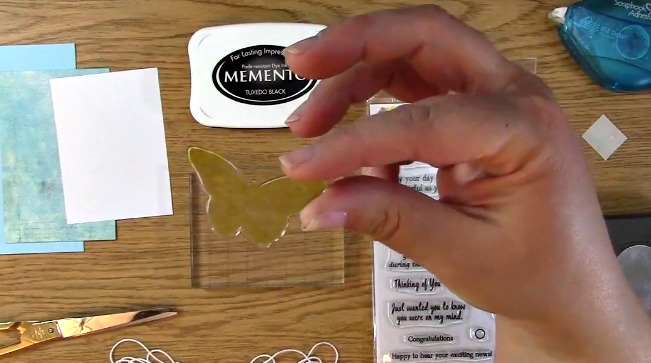
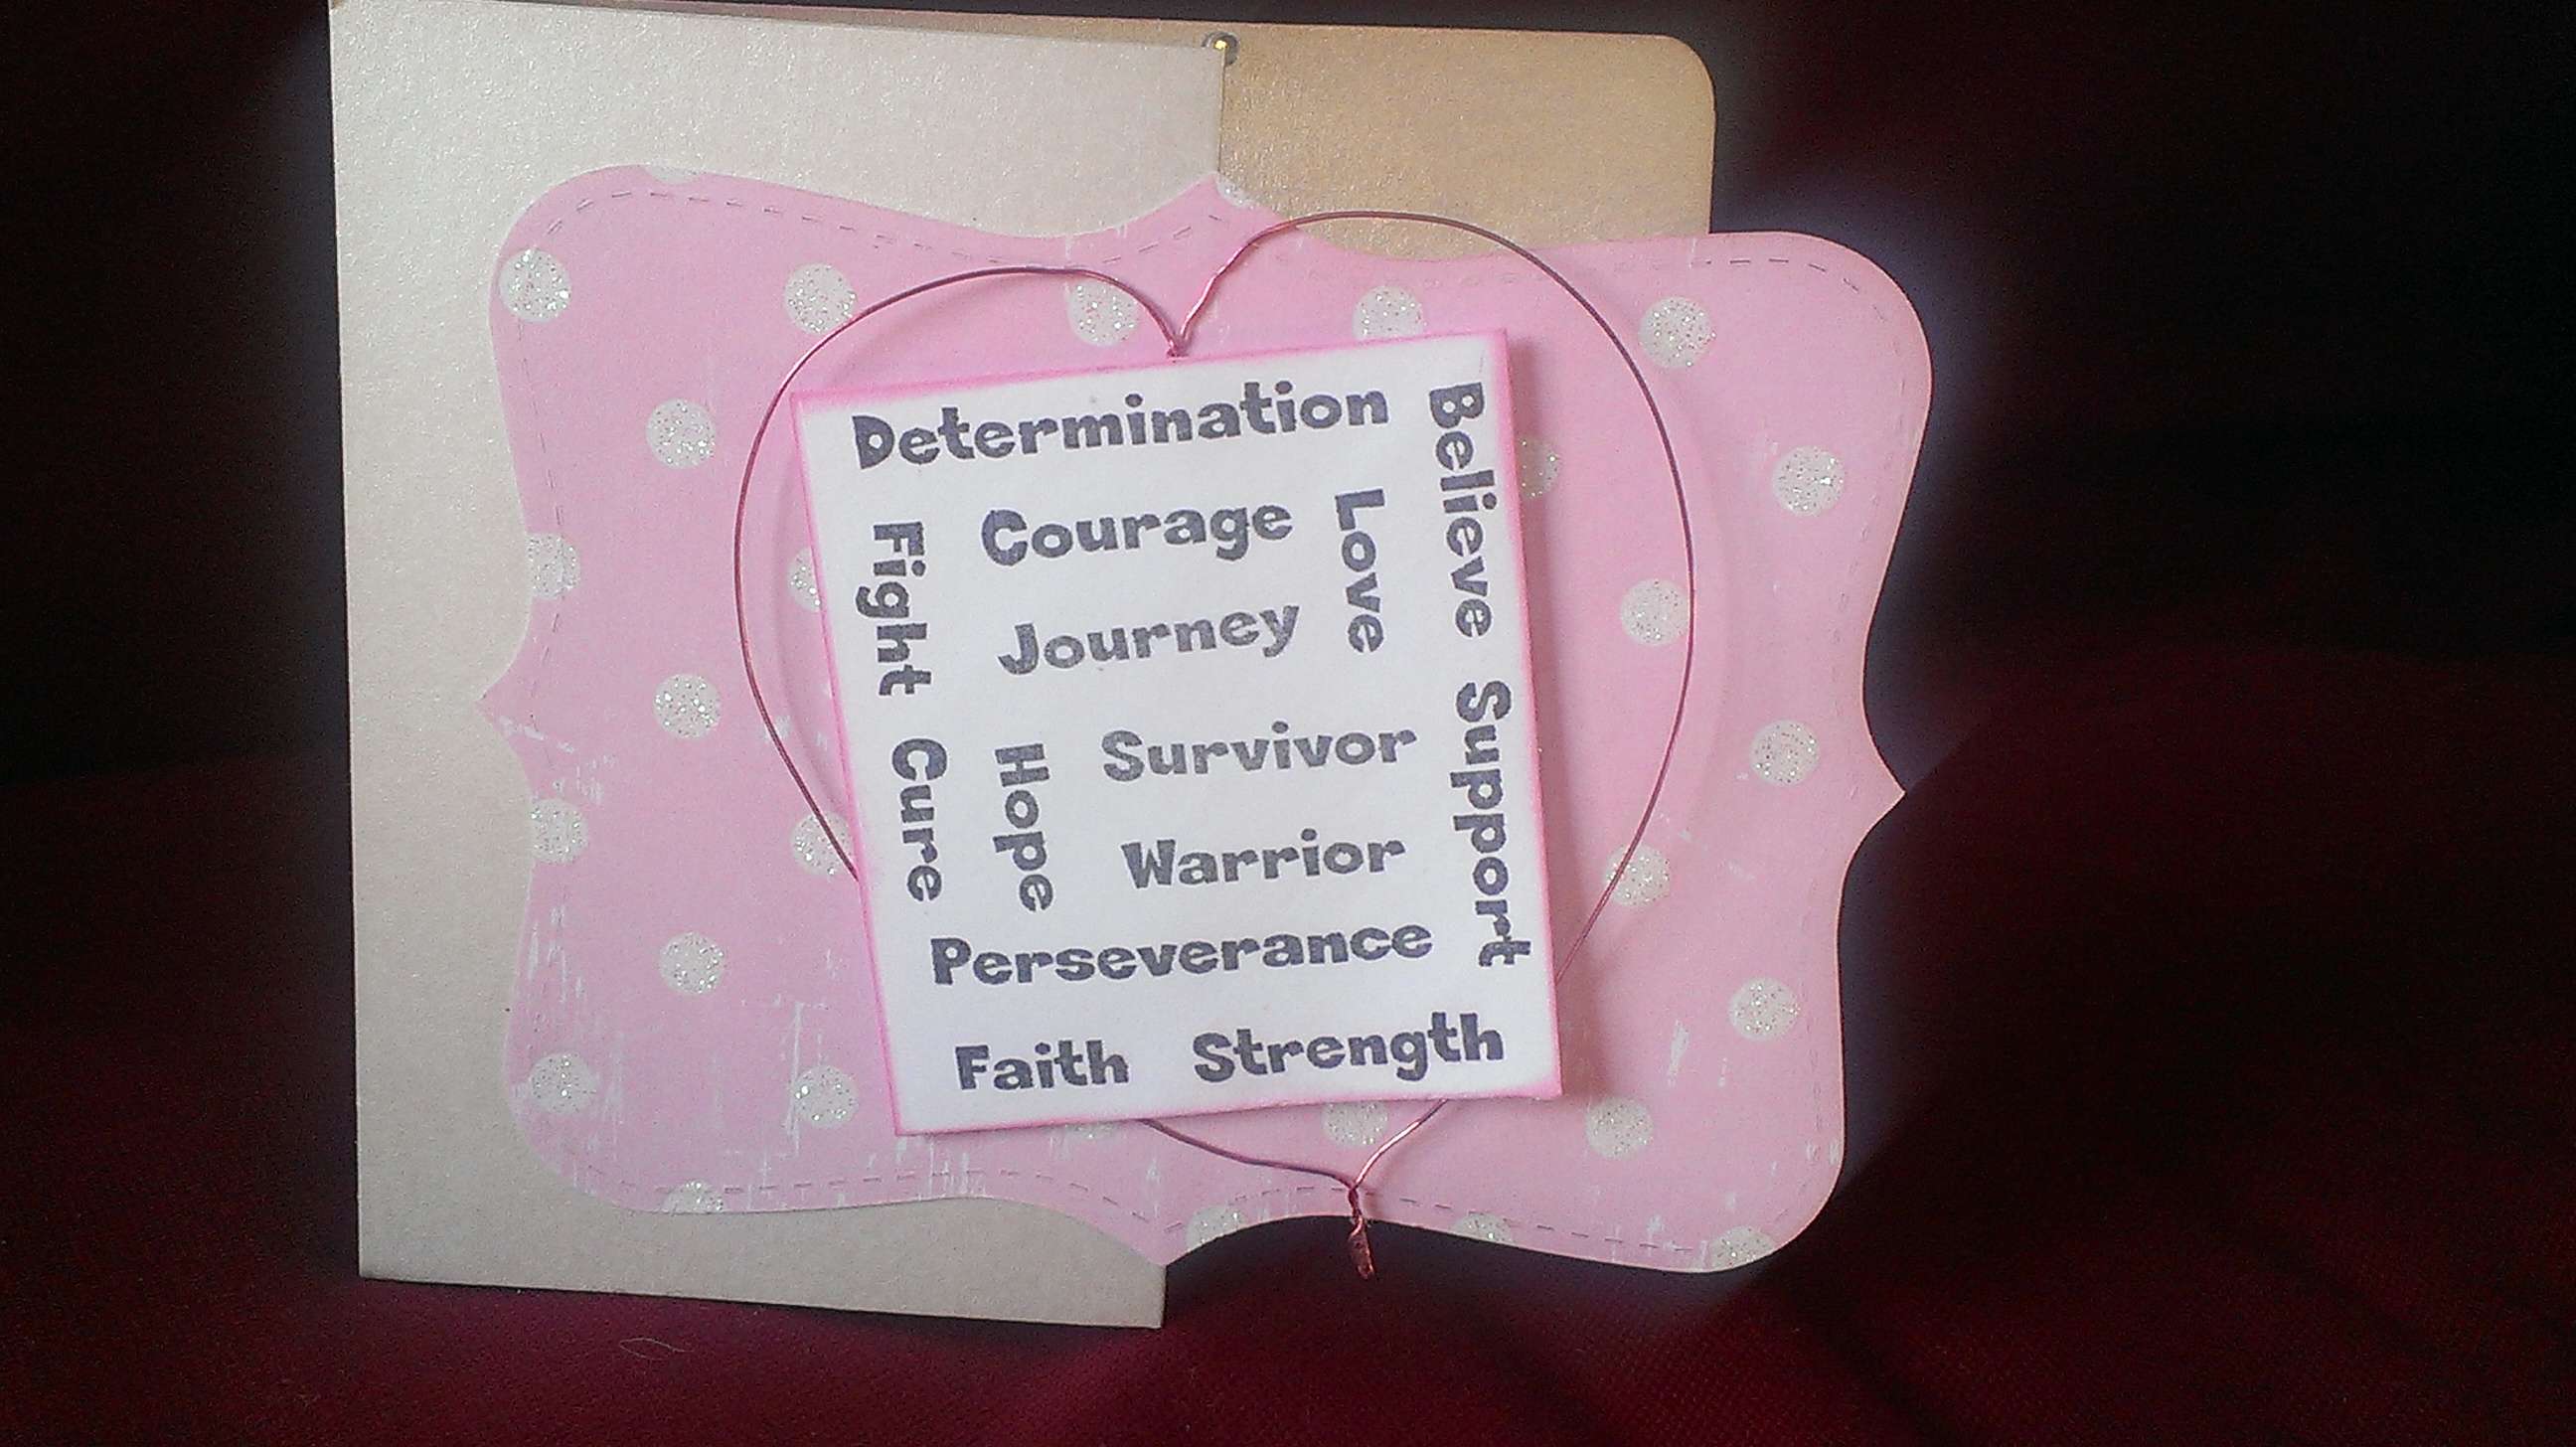
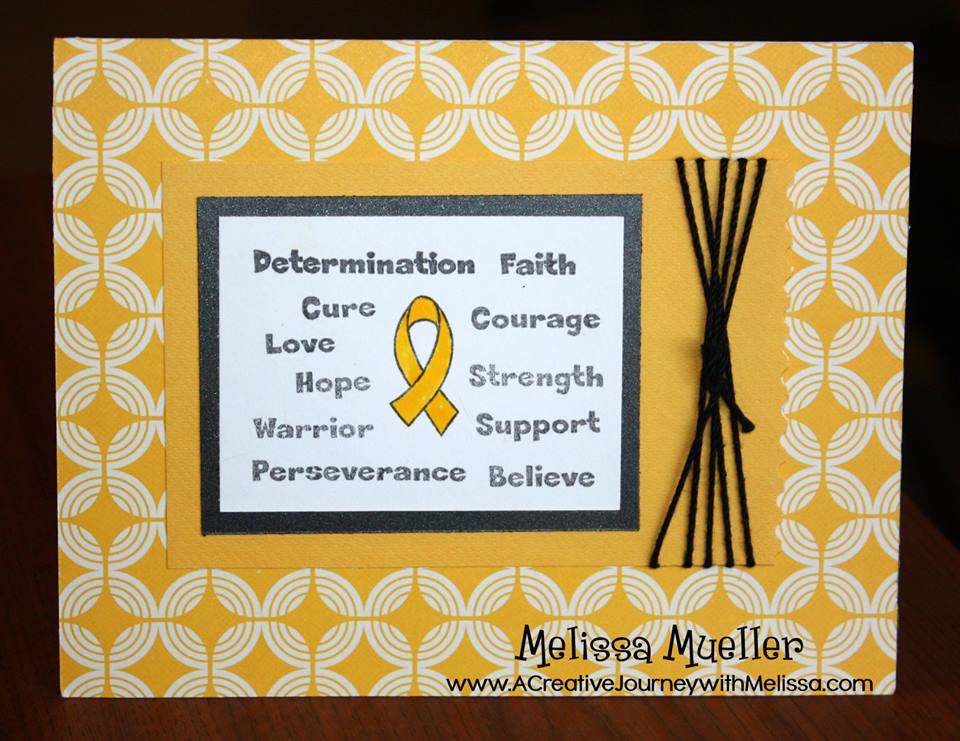
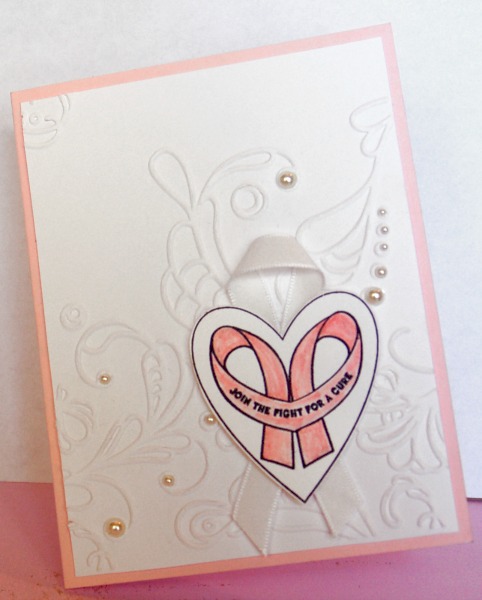
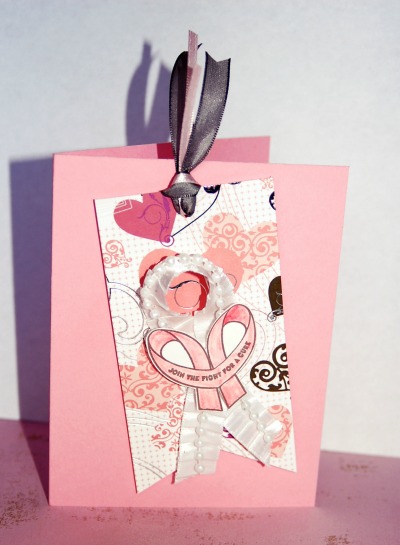
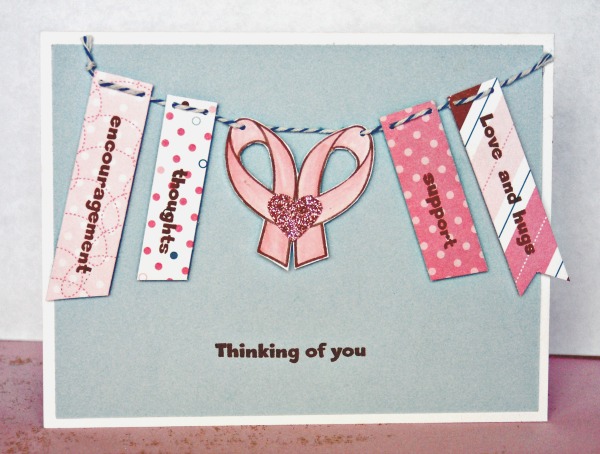
The first two stamp sets were Awareness Ribbon stamp set #1 and Awareness Ribbon Stamp Set #2.
Awareness Ribbon Stamp Set #1 Awareness Ribbon Stamp Set #2
All of my Awareness Ribbon stamp sets have been in honor of my Uncle Herb and his fight against cancer.
Specifically, the Awareness Ribbon Stamp Set #2 .
He wasn’t doing well and had called me September 17th. As I always did, I asked him if he needed me to come to San Diego. He said Yes. I knew it wasn’t good because he rarely said he needed help and asked me if I would come to San Diego. We (my boys and I-including my husband of course!) often came whether he wanted help or not! Well, with tears in my eyes and a very shaky voice I called my husband at work. He really is my rock. Without skipping a beat he left work, picked the kids up from school asI packed up everything I needed for my release as well as my undetermined extended stay and we were on the road in less than two hours. Although he wasn’t feeling well,
Uncle Herb was very excited about my stamp release!
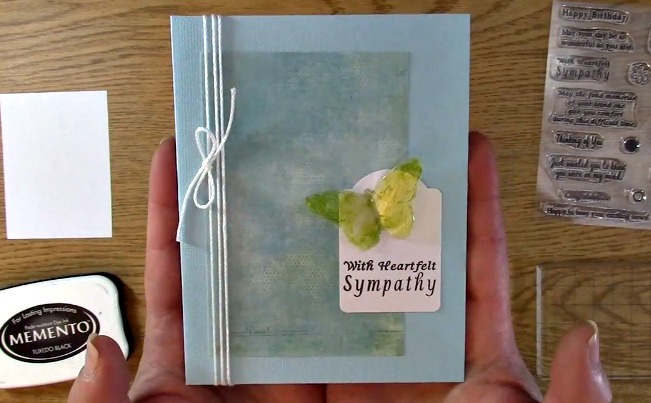
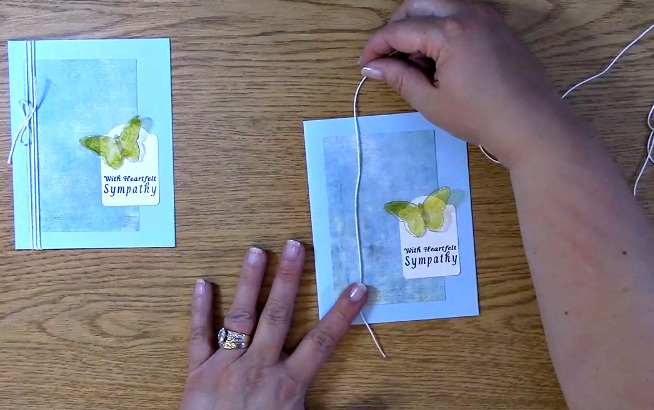
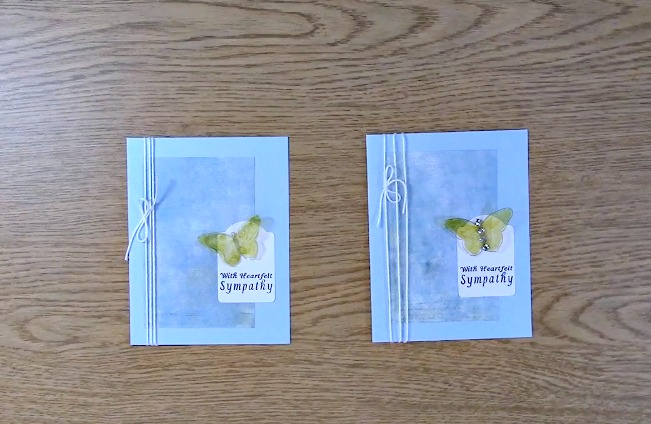
These were created with Awareness Ribbon Stamp Set #1
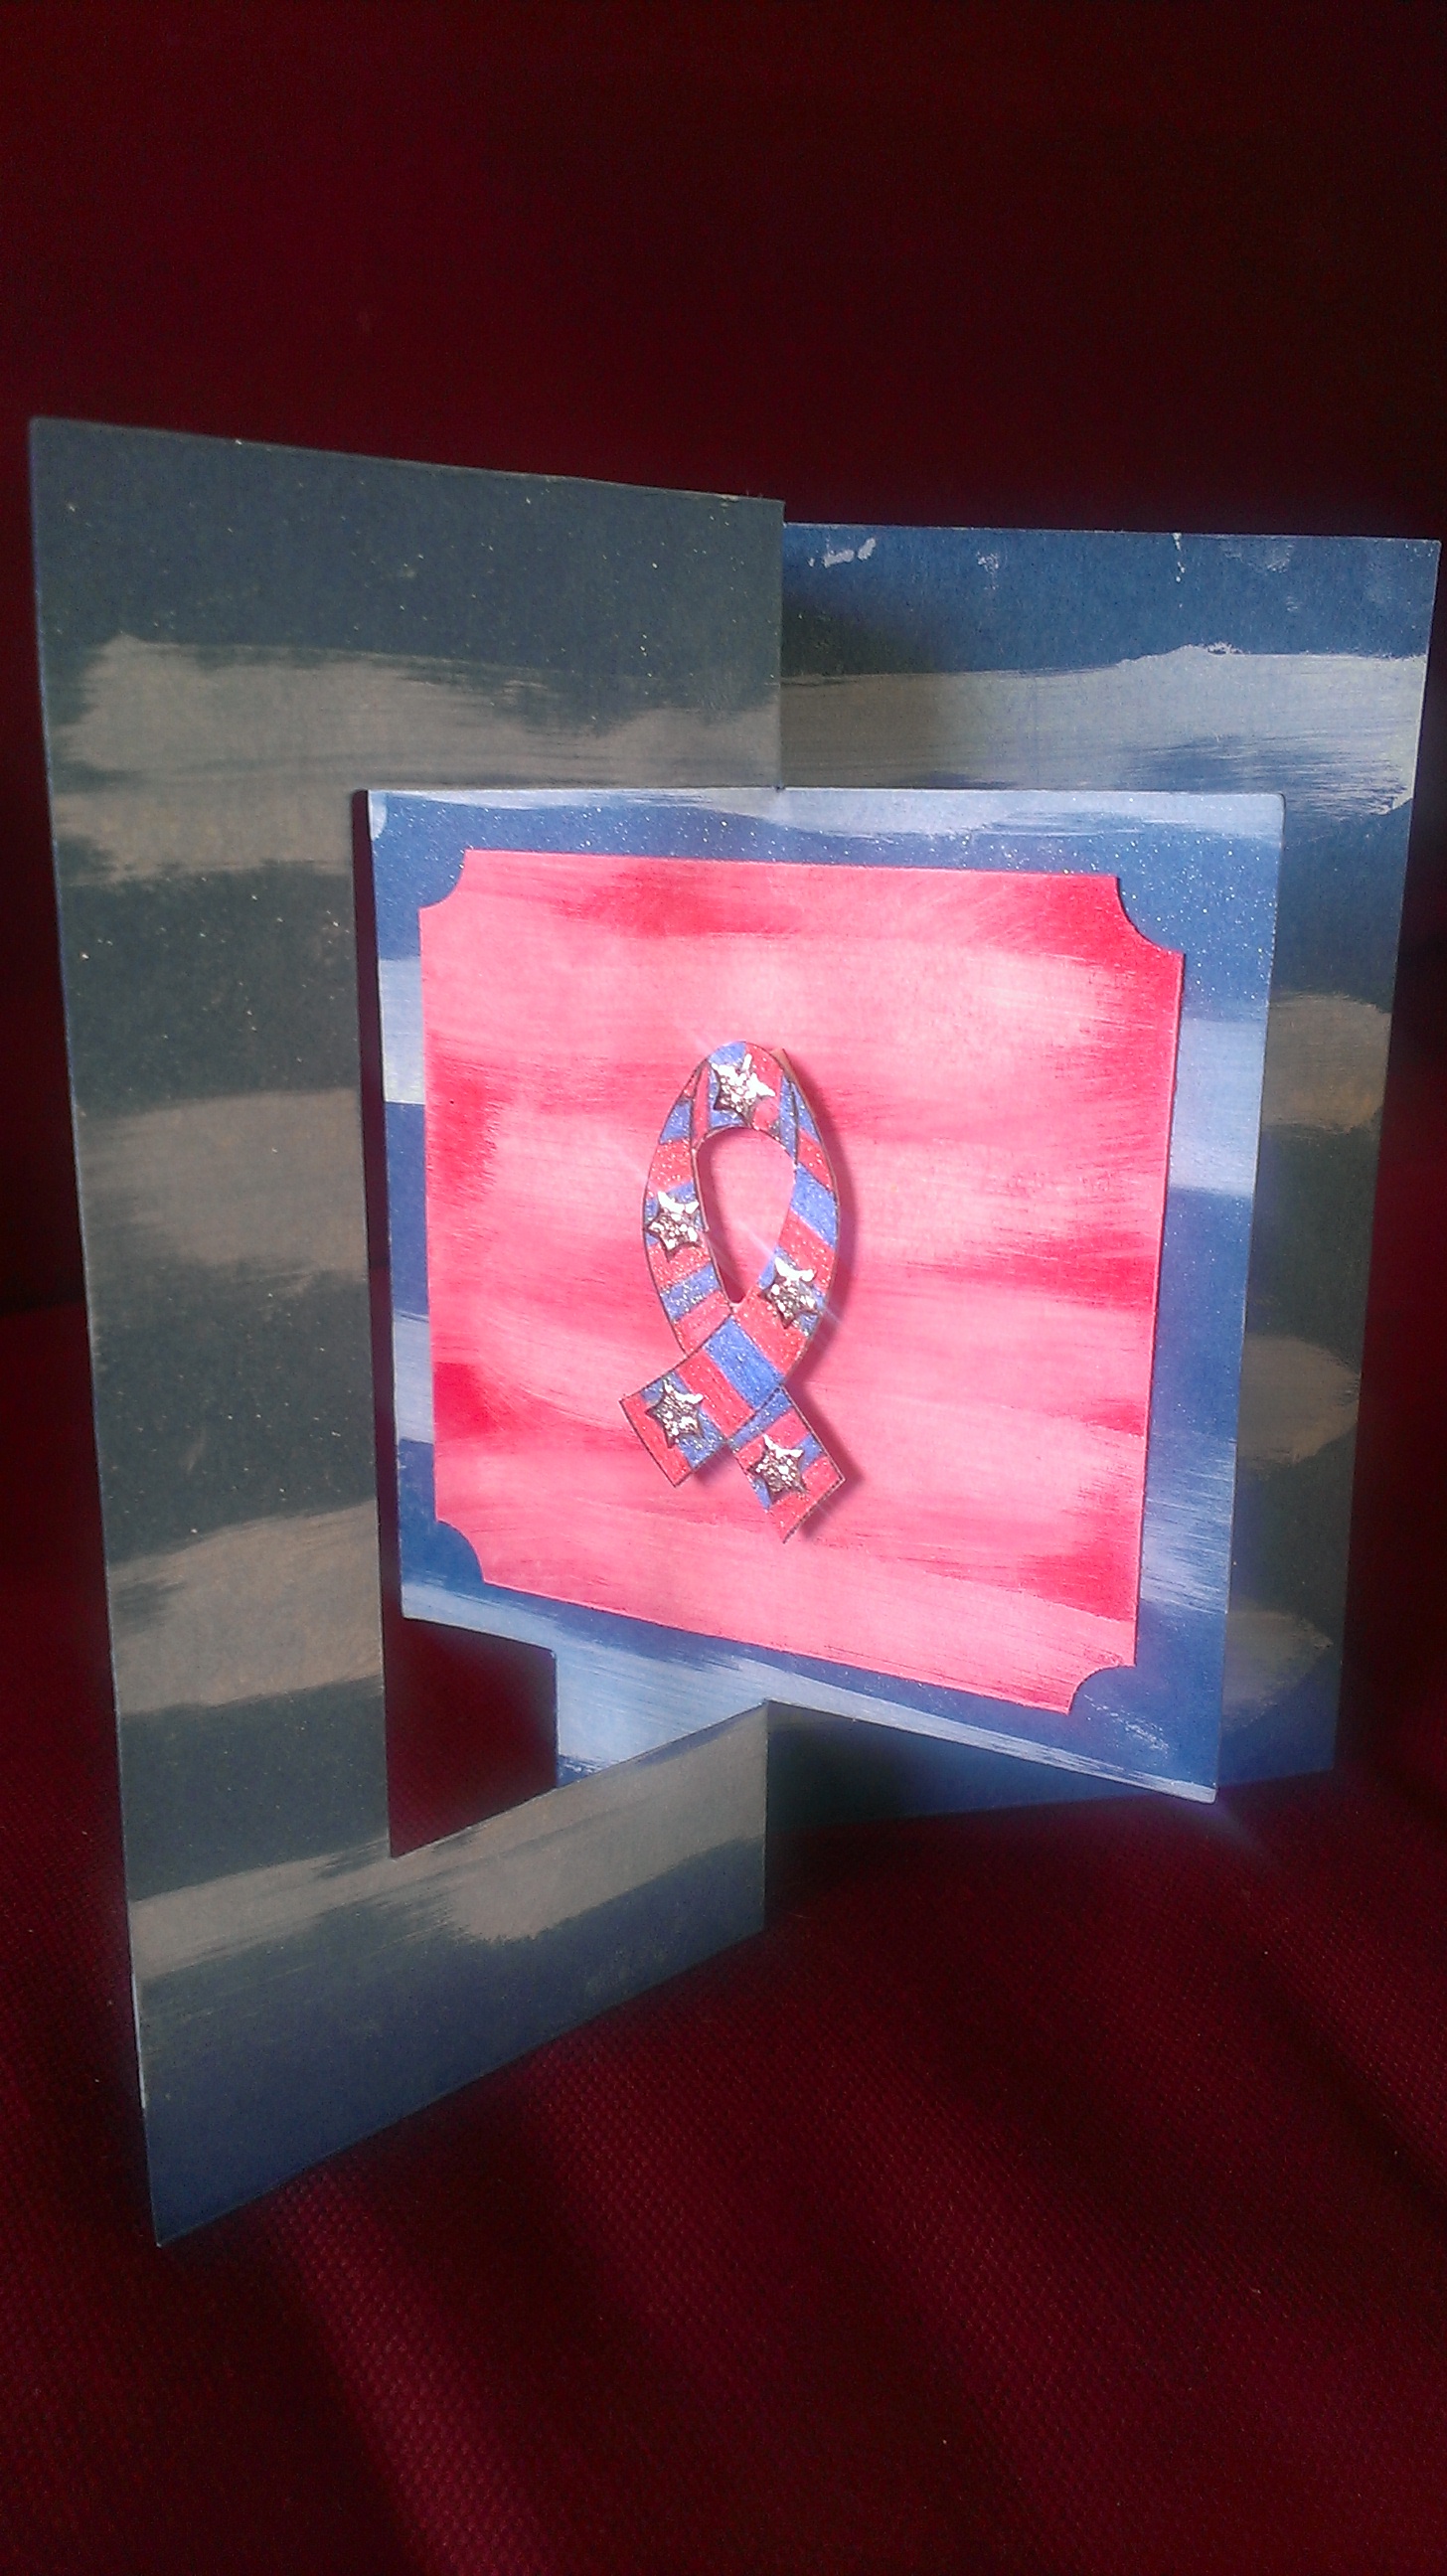
These were created by Sharon with Awareness Ribbon Stamp Set #2

He watched me get prepared for my release, package my items for sale and get everything organized even though he wasn’t feeling well. When the stamp release day came, he watched me accept orders and prepare them for shipment from San Diego where he lived. He really shared in the excitement that day and I was ever so grateful for him to be able to share this with me.
Sadly, he passed away September 19, 2013. This being the day after my stamp release and stamp business grand opening.
Much of the time within the last year of his life was spent with him while he wasn’t feeling well, under treatment or recovering from surgery, I learned so much from him during our time together. The stories, wisdom, unbelievable courage, strength and perseverance. I am so grateful that he was able to enjoy his support and influence for me come to fruition and watch the first day grand opening of my stamp business.
 When remembering Uncle Herb…
If there is anything I have learned from the loss of Uncle Herb it is remember what is important. When we are remembering Uncle Herb weather happy or sad, we share. We talk about it. We share stories. He would never want us to live in sadness. Life was too precious and if we were living in regret or sadness, we weren’t living life to the fullest.
Remember what matters to you most.
Whatever that is, live your life with that which is instrumental in happiness and success in your life. Surround yourself with people that support you and lift you up. Be selective with those that don’t. Your time is valuable. Tell those friends, family and loved ones you have in your life that you love them. Hug your kids. LAUGH. A LOT. Tell them they are important. BE PRESENT. Be grateful. Listen more. Talk less. Live and Love to the fullest. Tell the people that you love how much they mean to you because tomorrow is never promised.
While remembering Uncle Herb the biggest thing I want to do is not be sad but do what he would have wanted and
Celebrate Uncle Herbs life!
He would not want us to live in sorrow. What better way to celebrate Uncle Herbs life than have a coupon for the stamp sets he inspired me to start! All Stamp Sets are 25% off! This would exclude bundles and items already on sale.
Enter in coupon code UncleHerb at check out! Coupon good until 9-22-16
We appreciate you visiting today. We hope you will share your story of inspiration, hope and courage. Thank you for going on A Personal and A Creative Journey with Melissa.

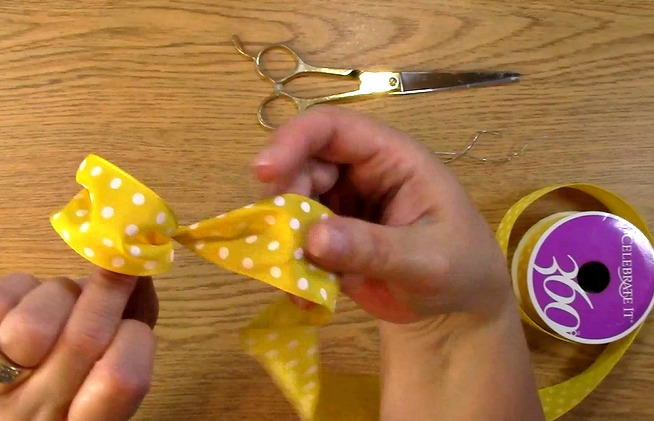
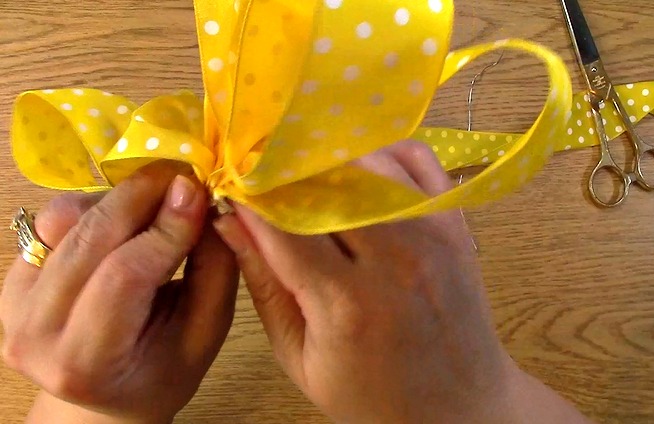
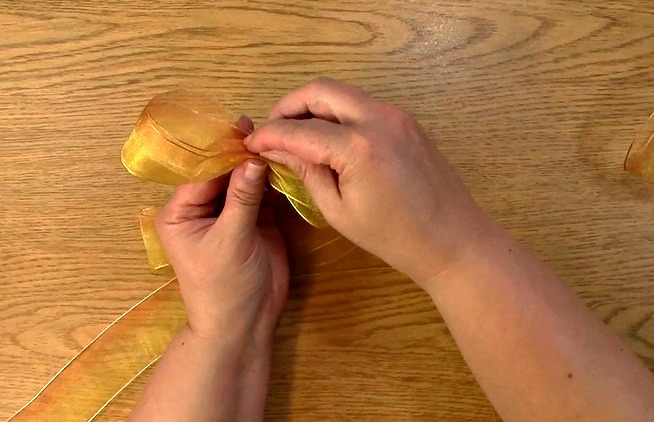
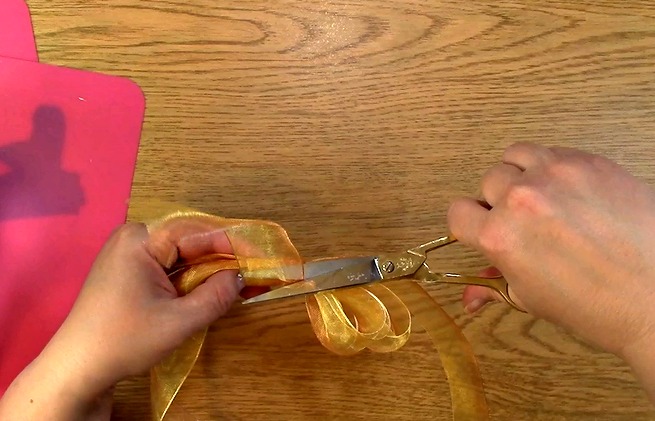
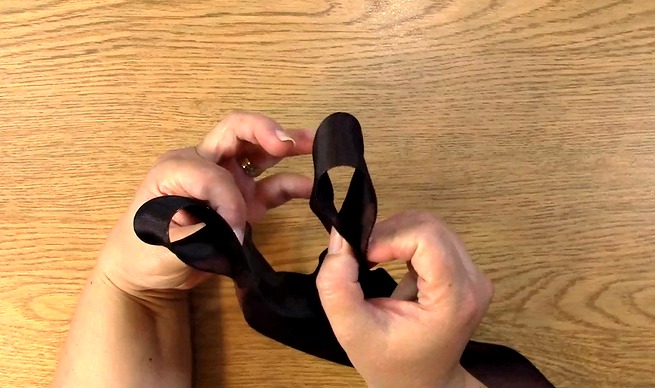
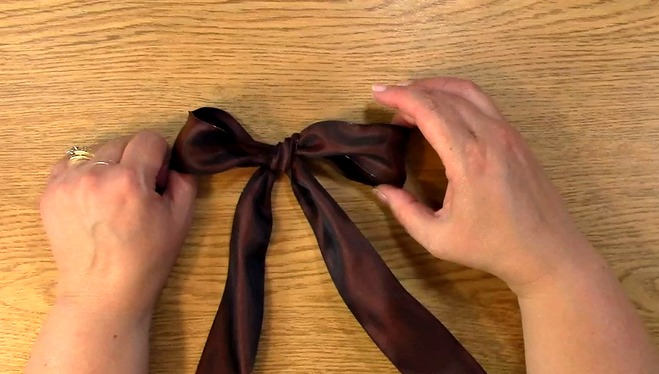
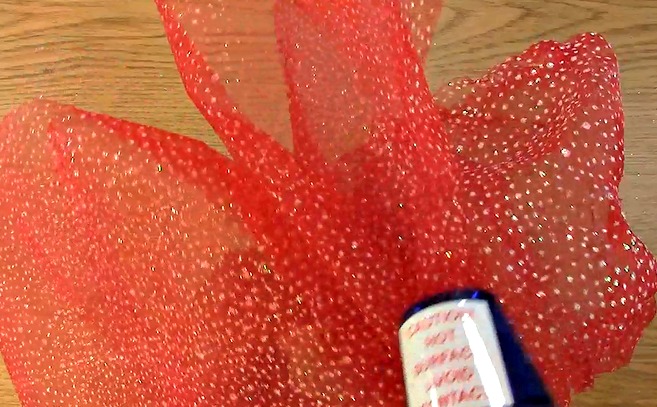
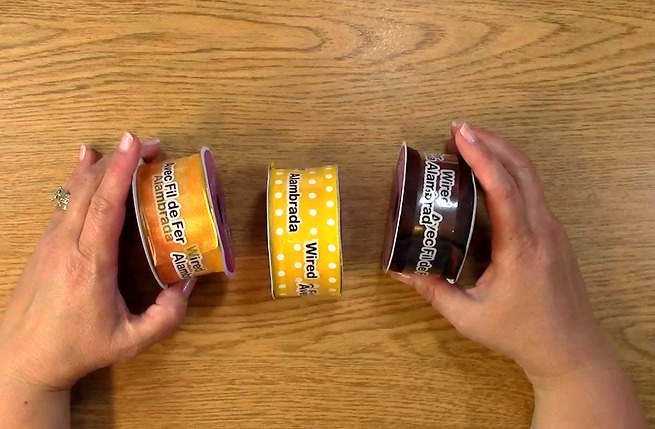 There are a number of bows you can make. Here I am going to just show you three of them and another technique with mesh ribbon. Here are three of the ribbons I am using for my project.
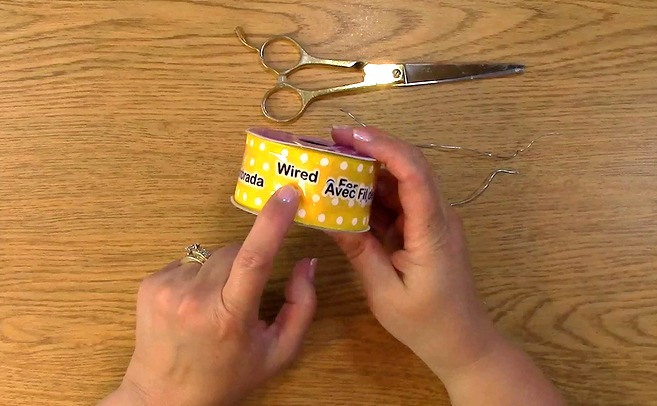
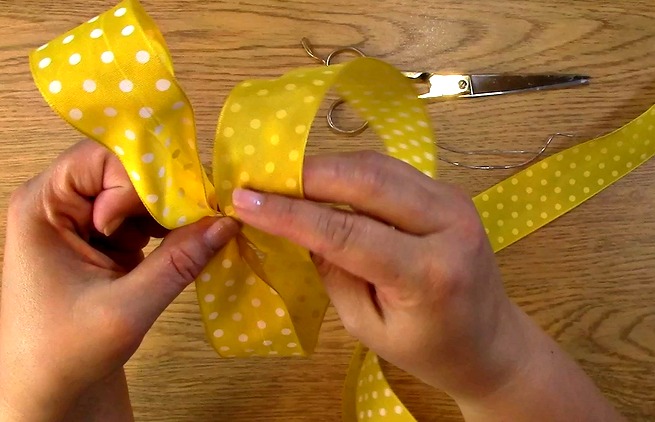

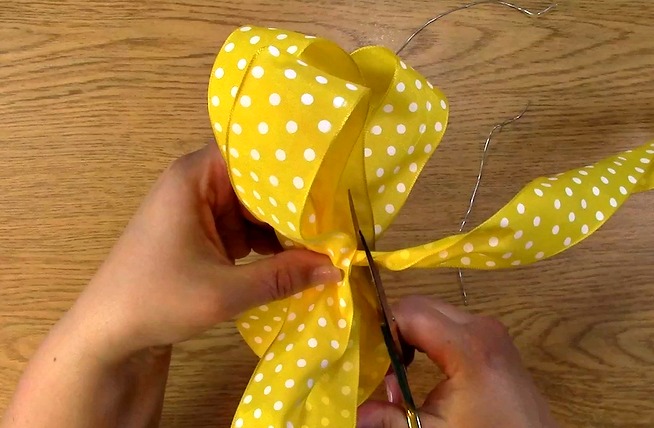
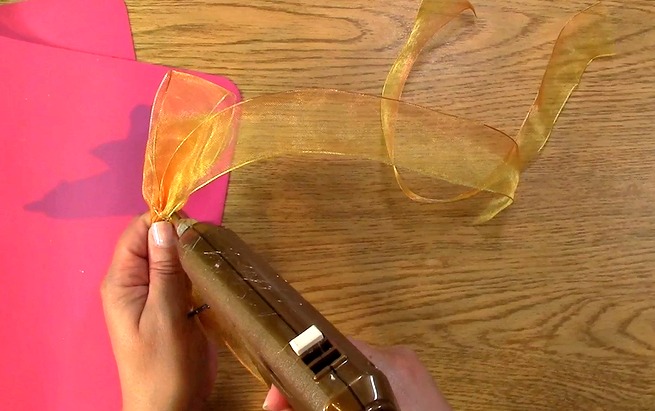
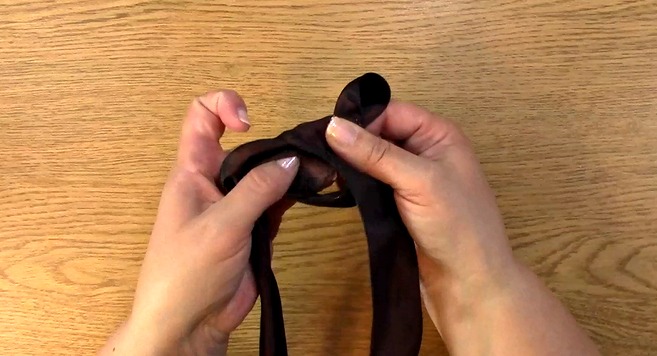
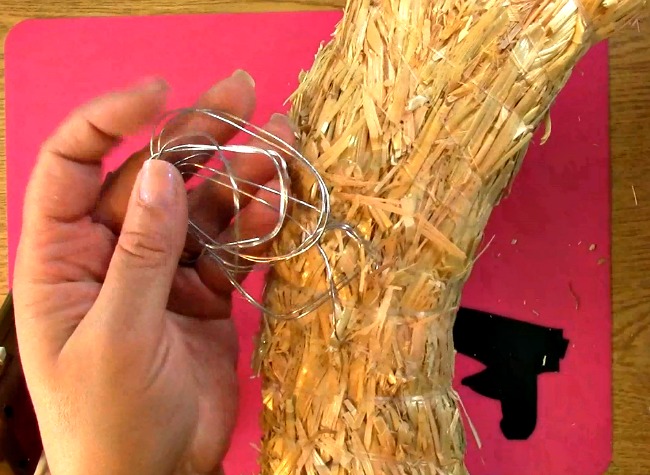
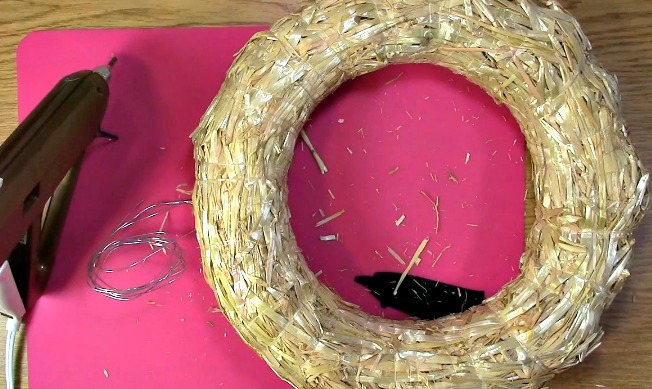
 While still grabbing the ribbon, you will want to place some floral wire or wire around the area in which I am gripping to keep the ribbon bow in place.
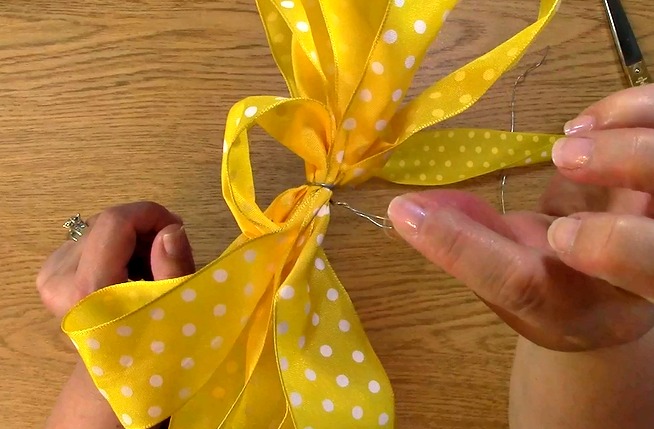
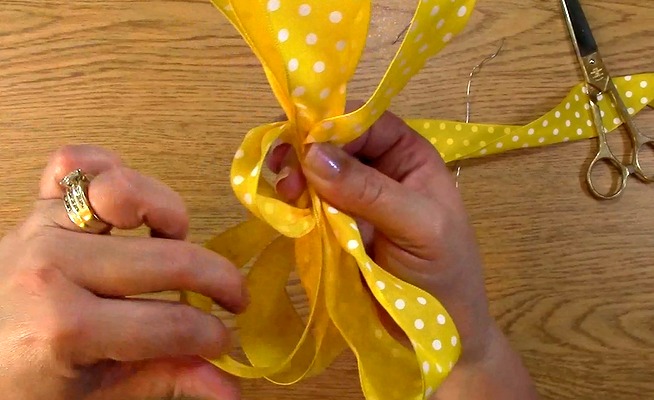
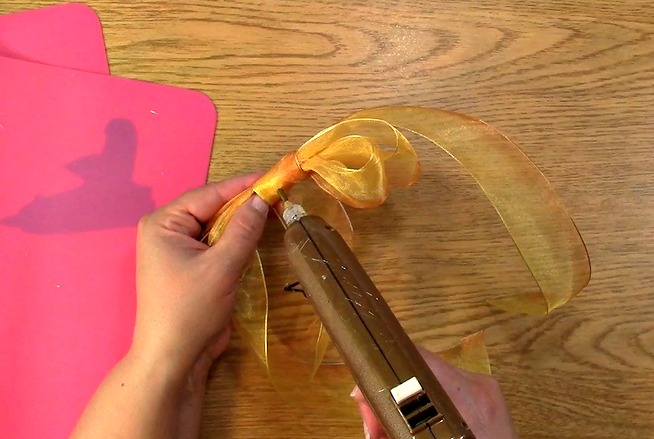
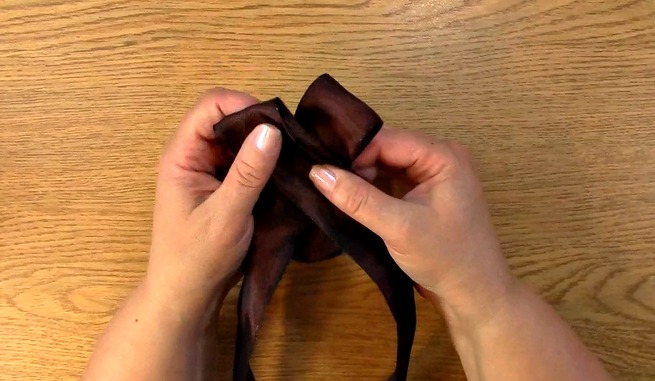
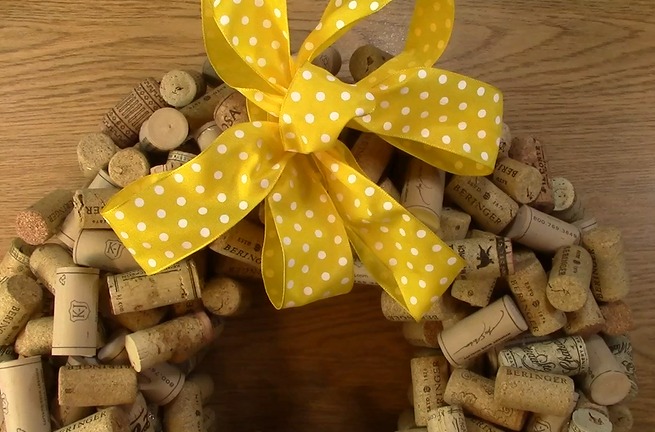 Now for the fun stuff! You get to fix the bow to make it fancy! You can puff it out or adjust it to your liking.
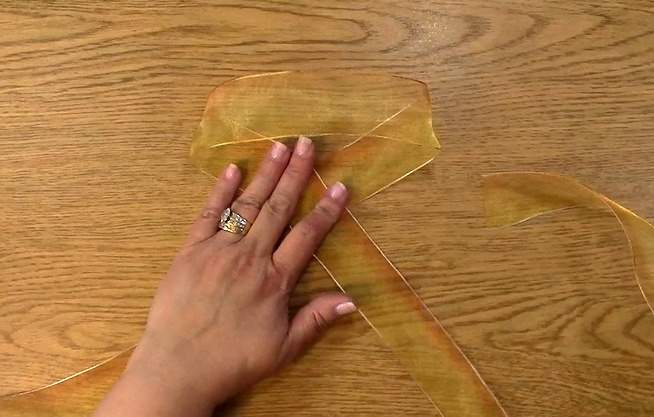

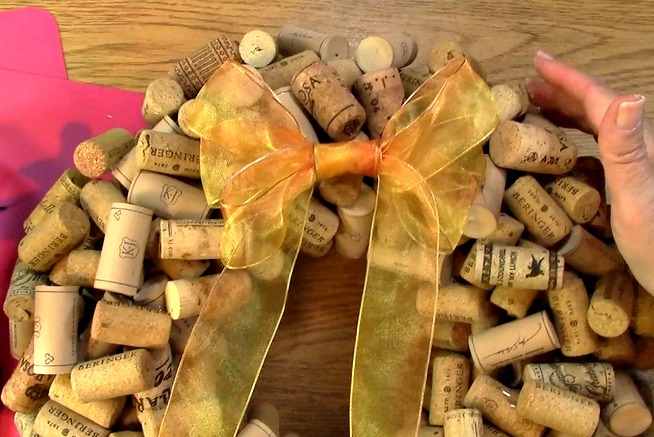
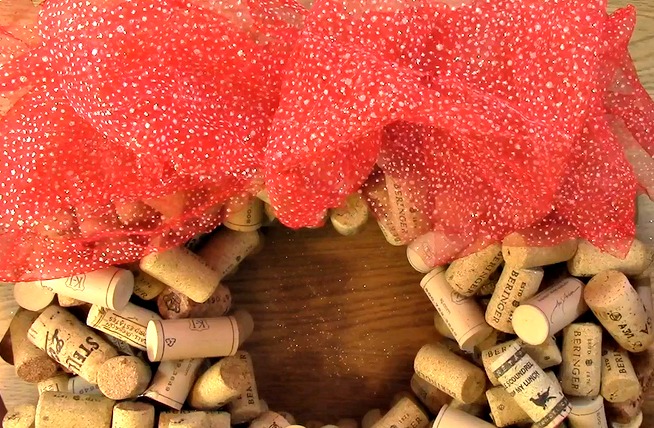
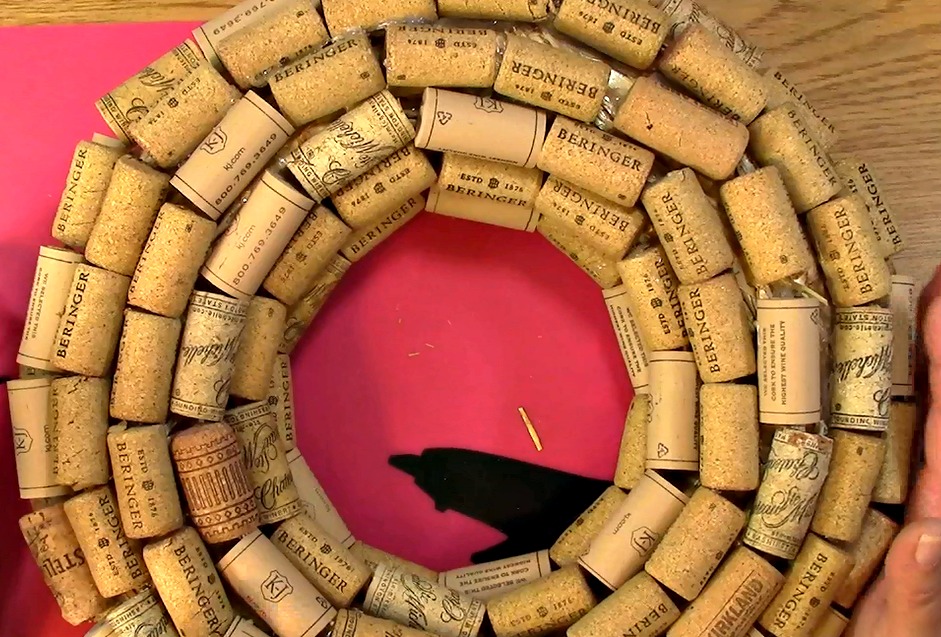
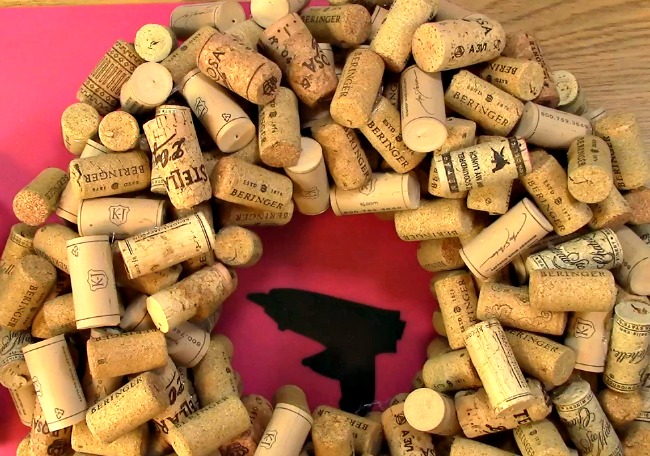

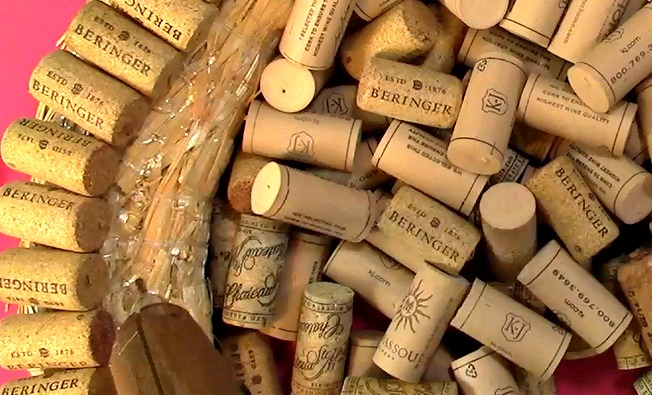
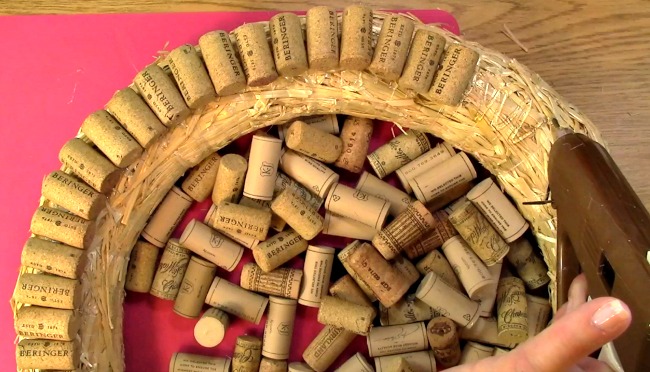
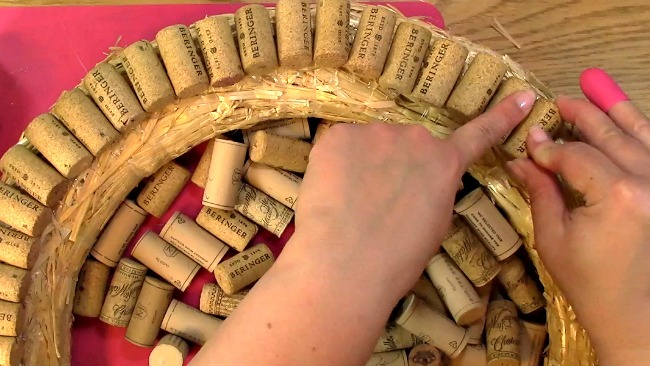
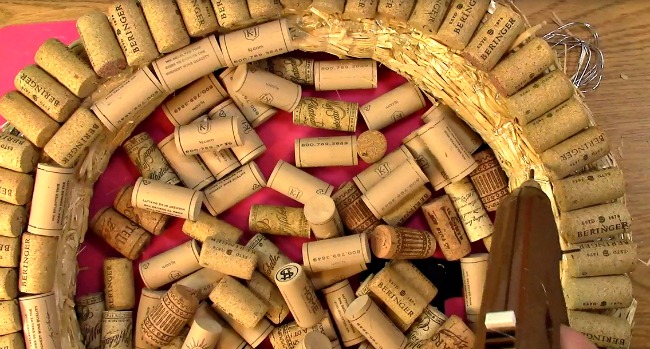

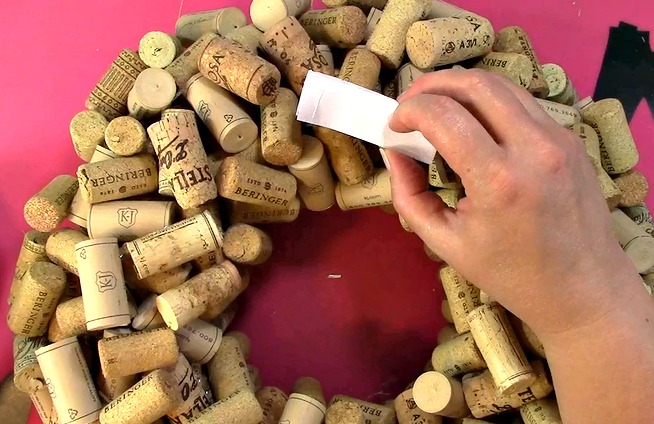
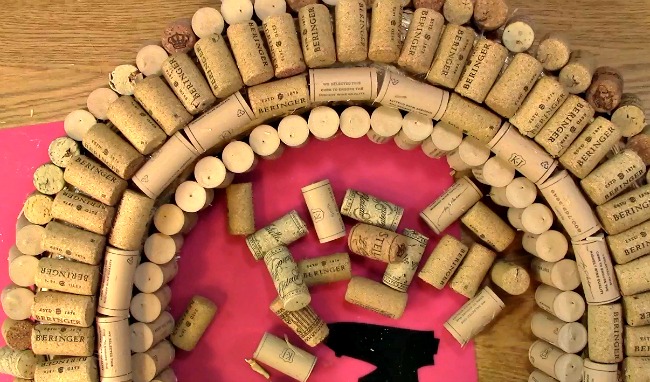
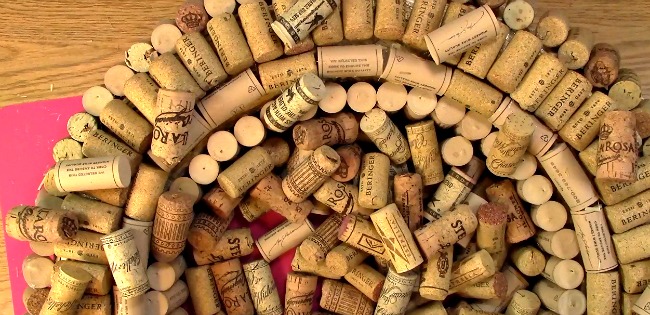
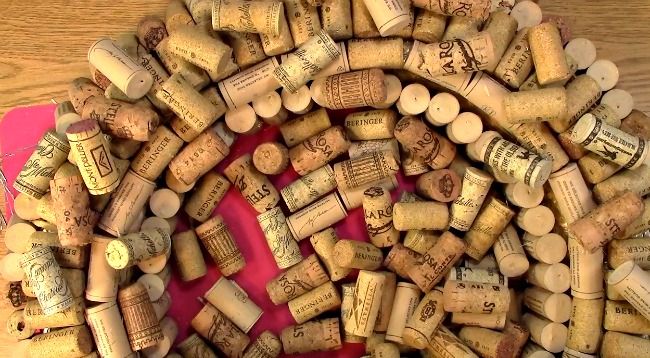
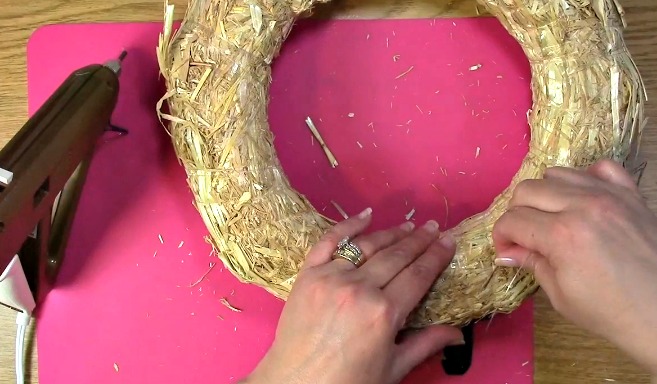
 You will then place your corks vertically along the inside of the wreath as shown.
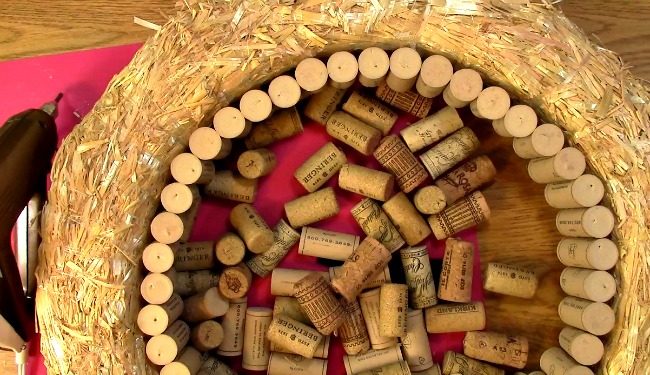

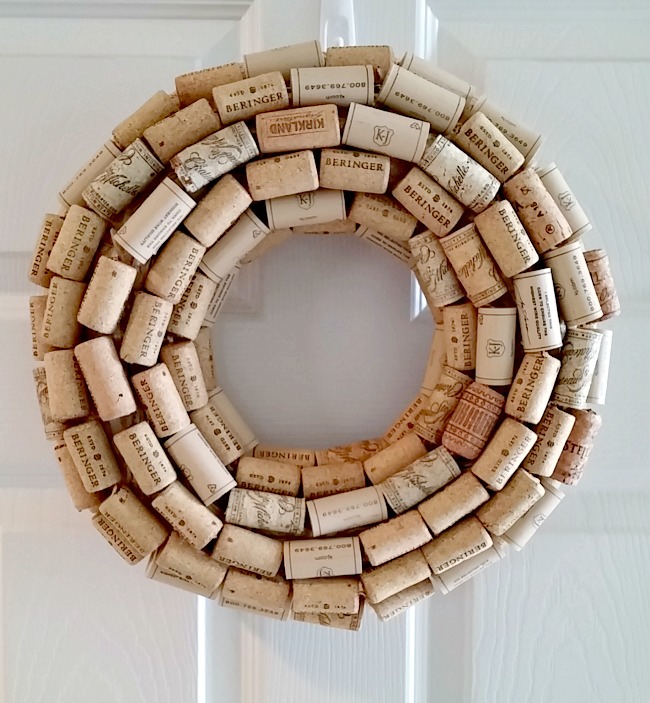

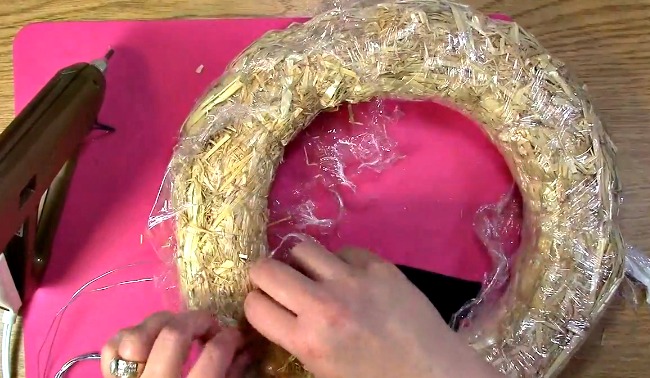
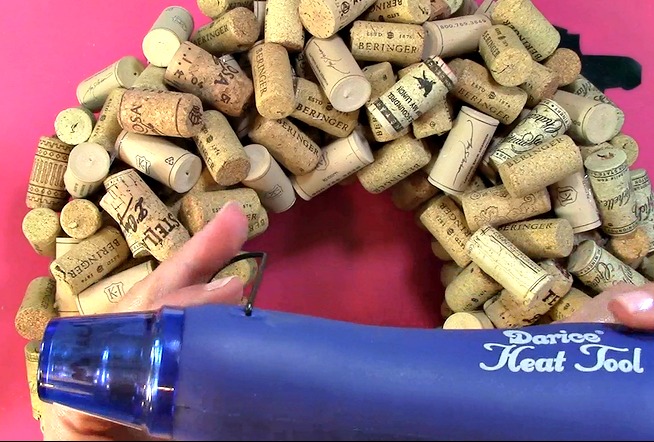
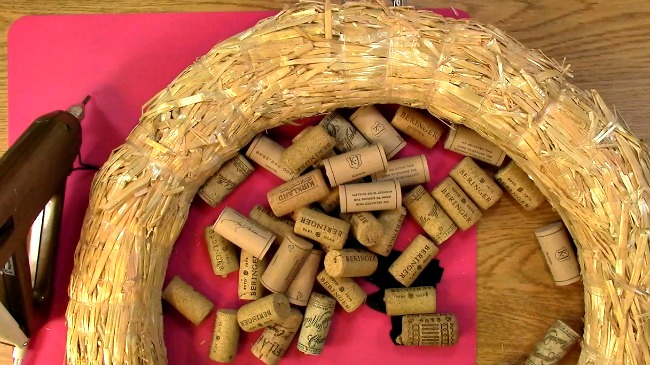
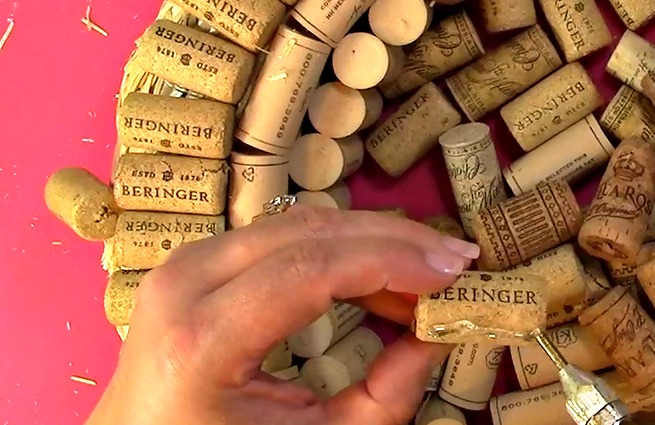
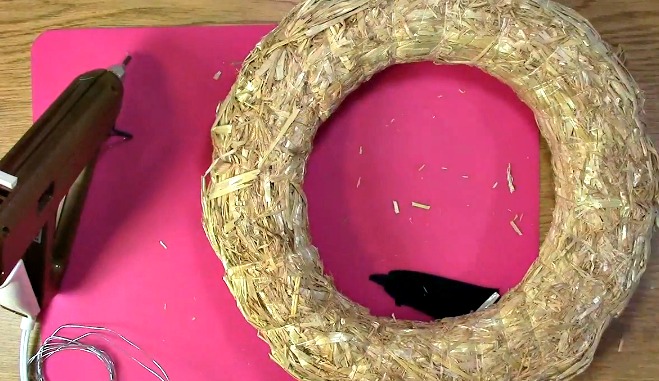
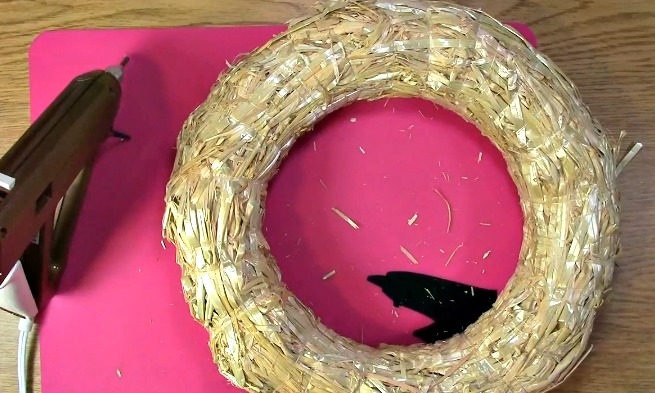
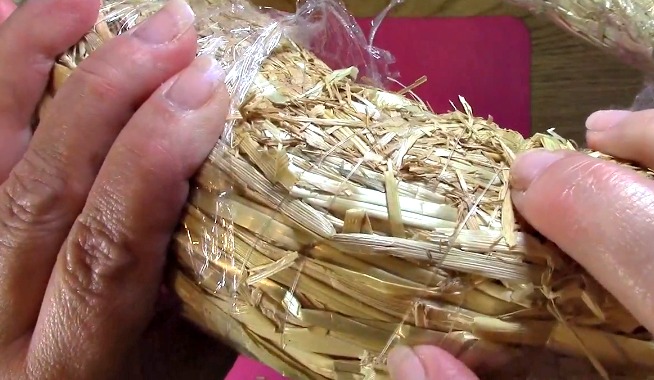 To Create your own Cork Wreath, you DO NOT want to cut the plastic/ clear string that looks like fishing line. If you do, the straw wreath will fall apart.
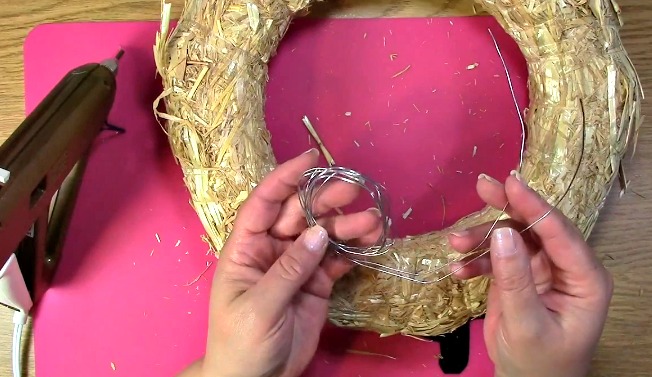

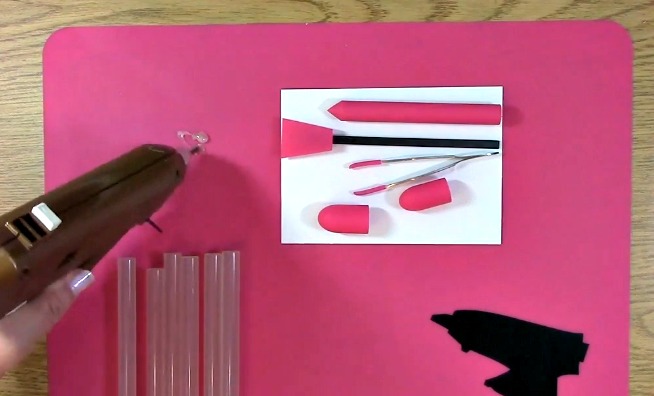
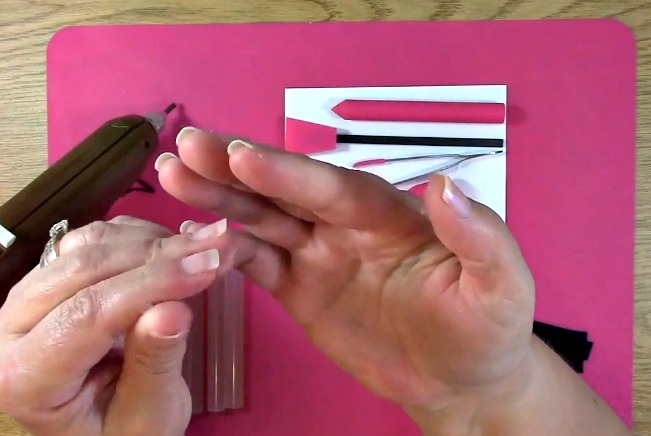
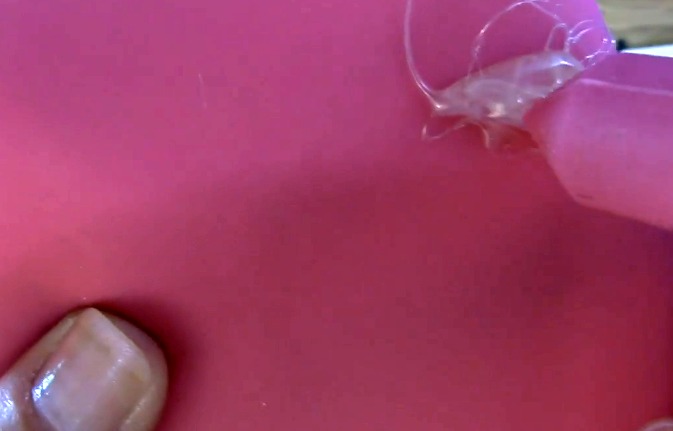
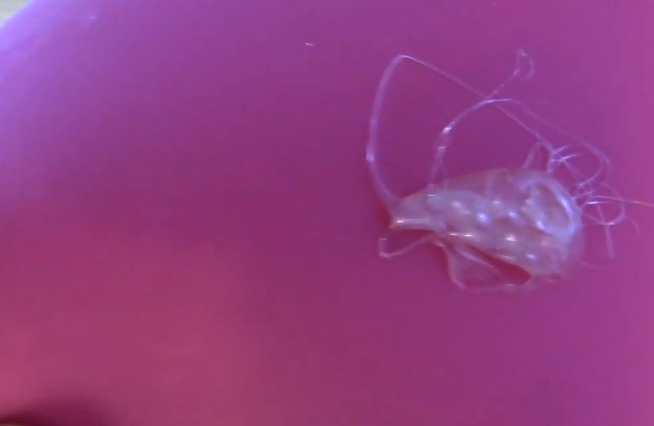
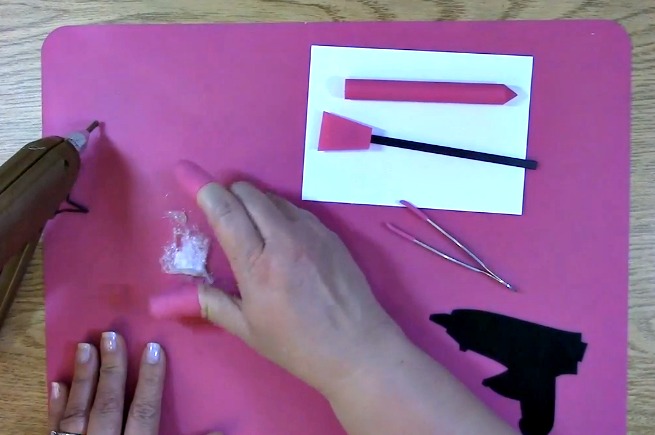
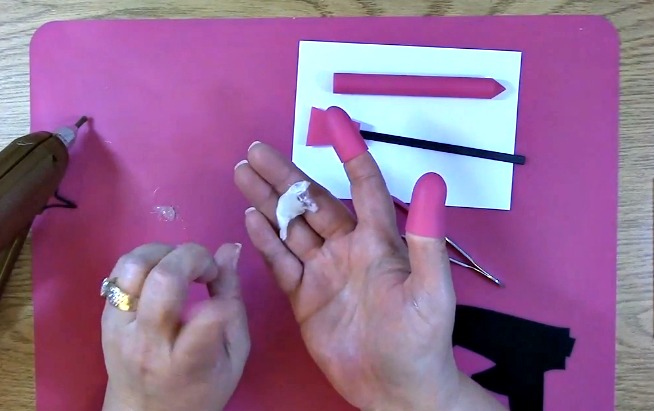
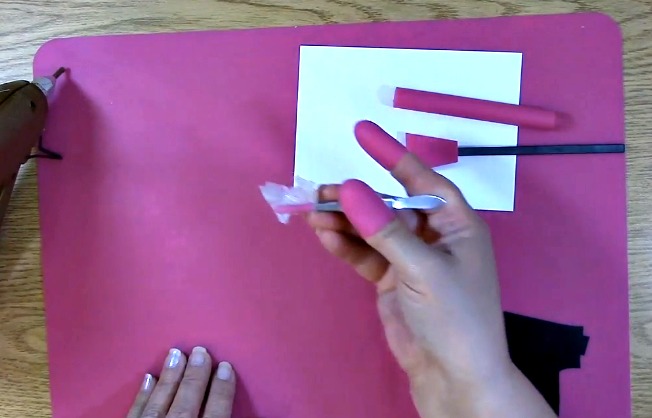
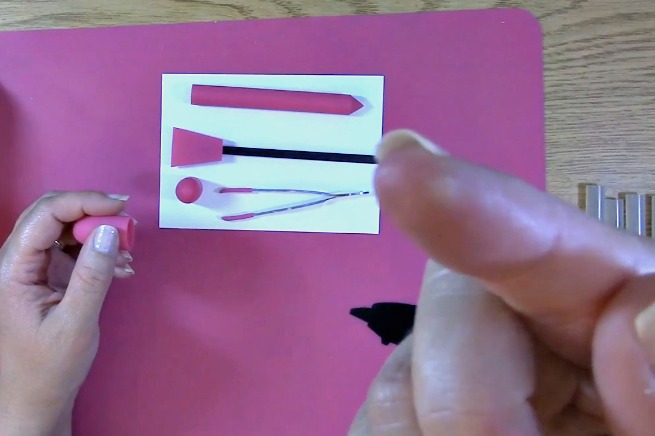
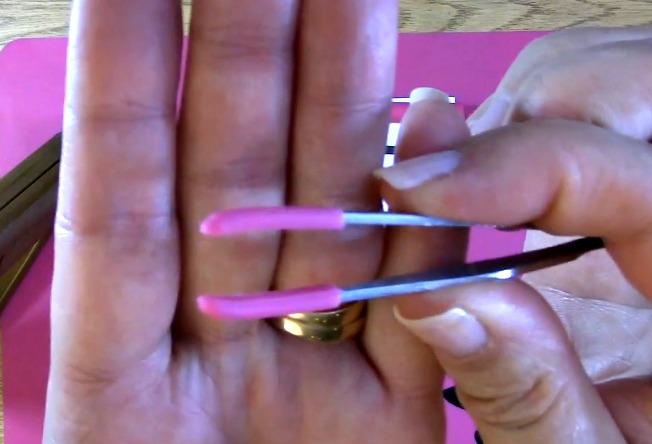
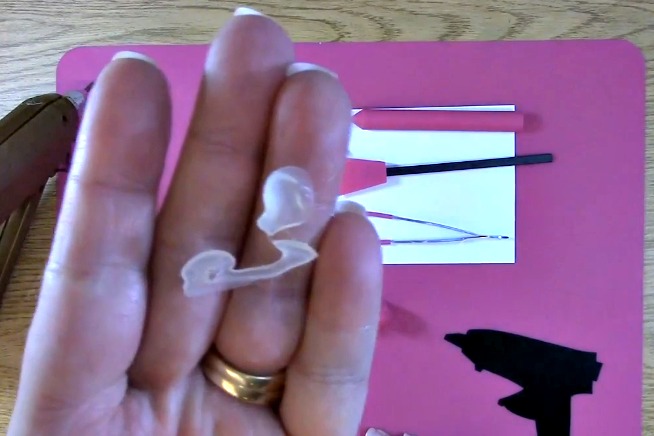
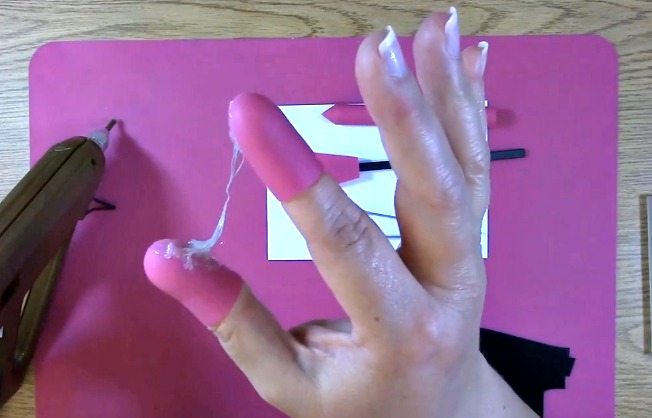
 Two finger Caps
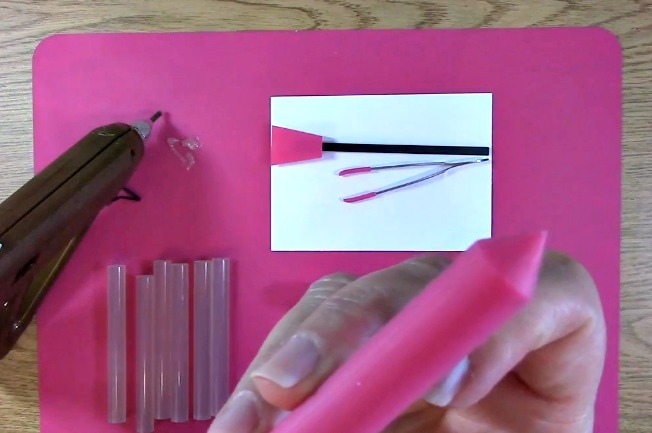
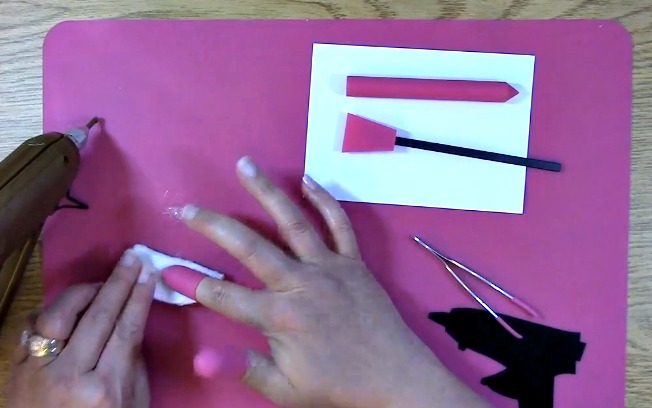
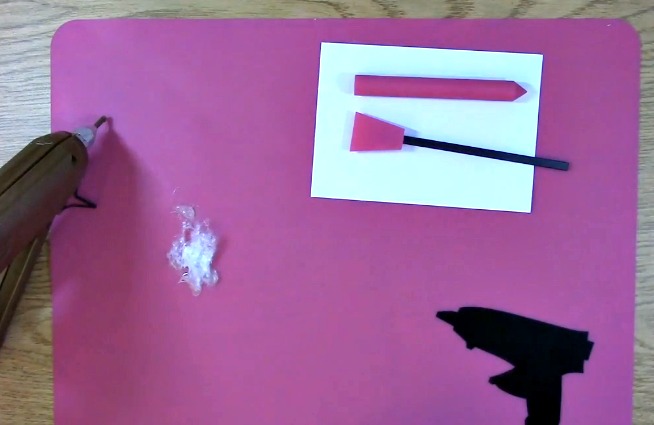
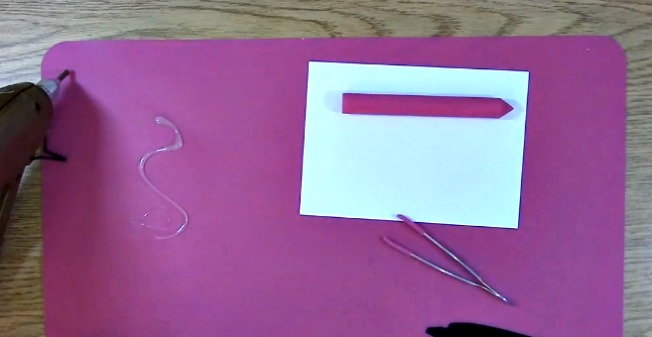
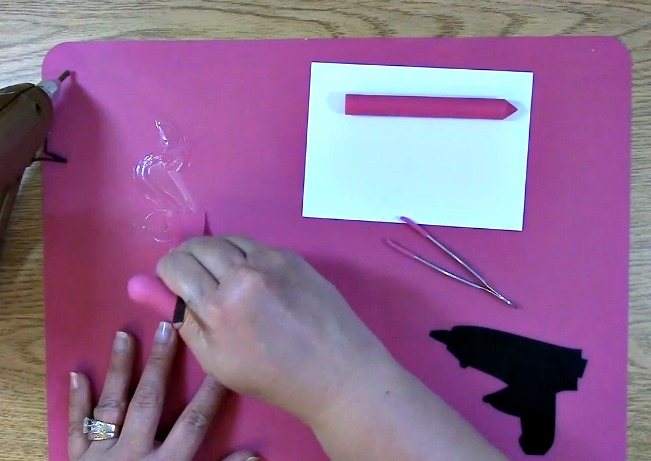
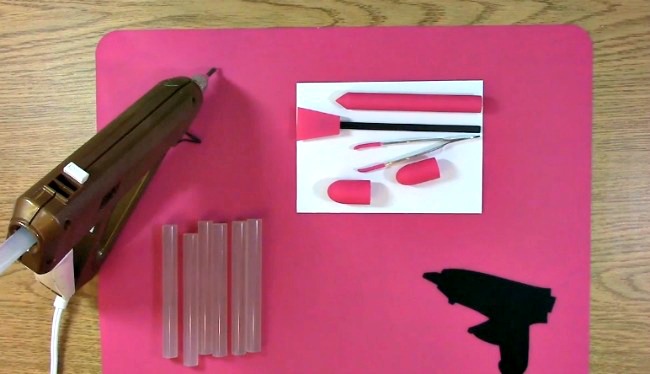
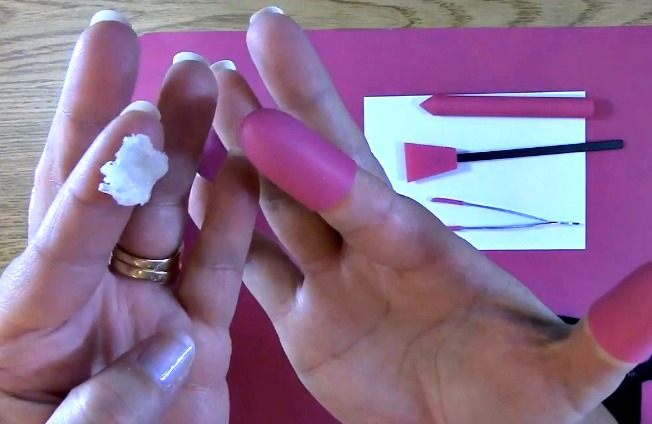
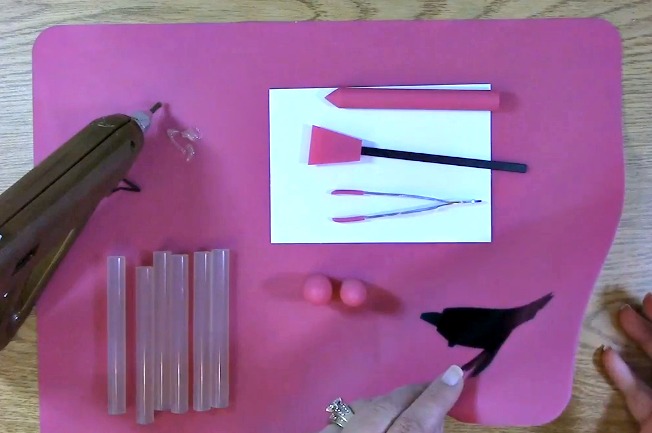 Non Stick Mat
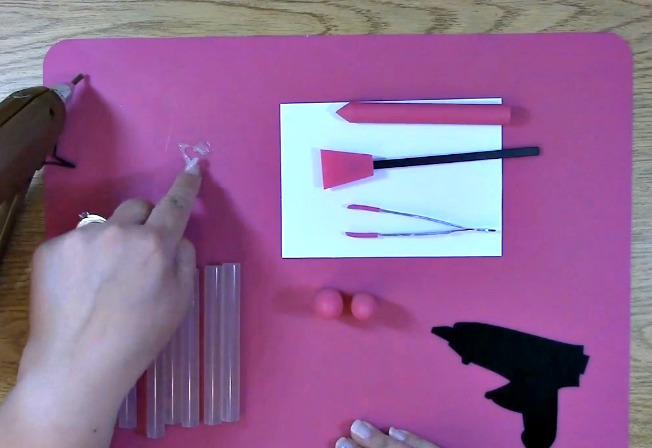
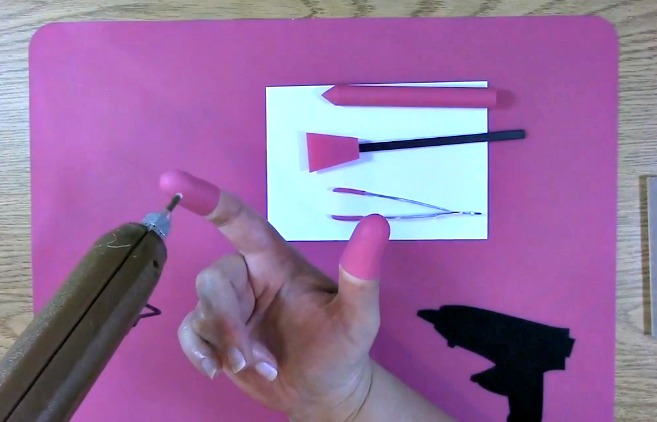
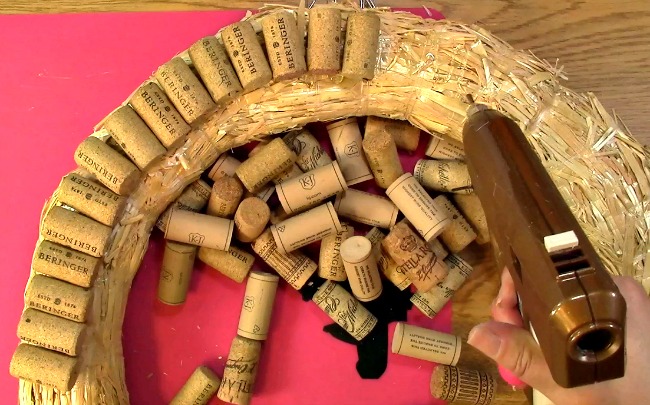
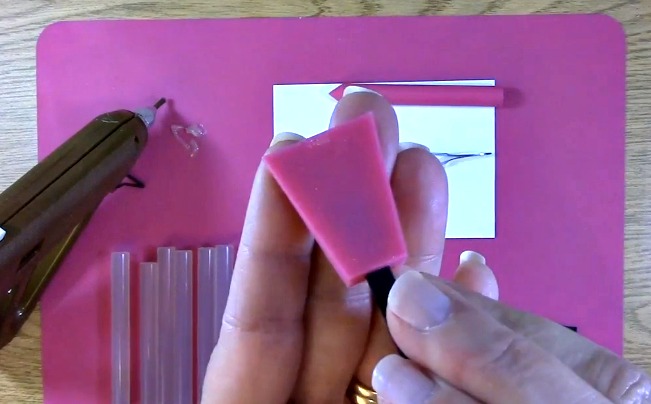
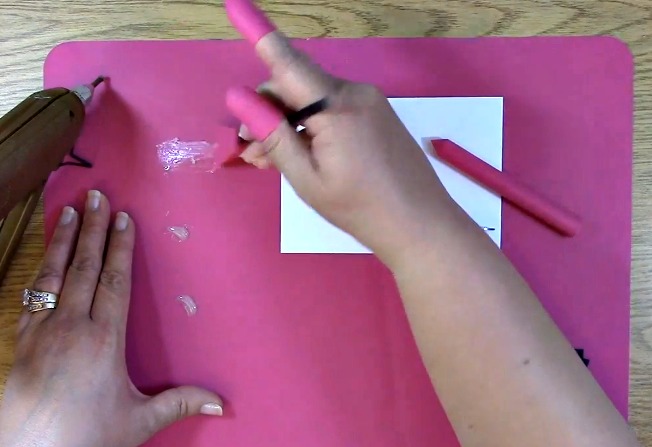 You can use the pointed paddle to spread the hot glue in various areas you may need more coverage than the hot glue gun tip allows!