Breast Cancer Awareness Creation with Custom Colored Rhinestones
By Melissa Mueller

Breast cancer runs on both sides of my family. Both of my paternal and maternal Grandmother’s had breast cancer. PLEASE go get it done. NOW! A little bit of discomfort is better than hours of radiation, chemo or worse.
OK, off of my soap box… now do you want to see a cool card and custom colored rhinestones? Let’s do this!

A Creative Journey with Melissa Awareness Ribbon Stamp Set 2
PK3 Chameleon Pen
Black Ink (preferably Memento as it works well with alcohol inks)
Clear Rhinestones
Adhesive
Scissors
Punch
3-D Adhesive
Card Base
Decorative Paper
Paper to stamp your image on
Colored paper to punch out

This is the Breast Cancer Awareness Creation with Custom Colored Rhinestones Project. I really love the decorative paper!

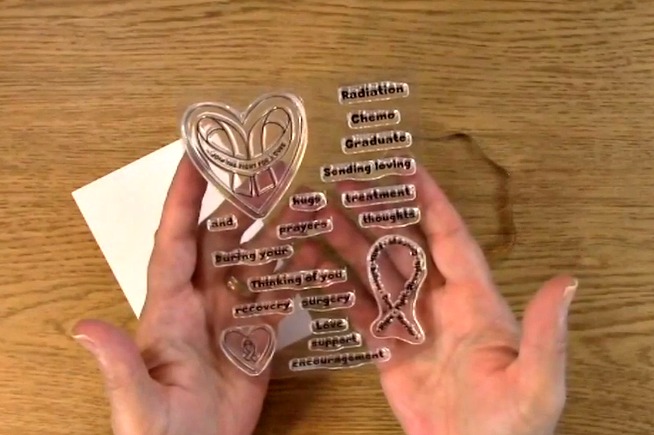
For the Breast Cancer Awareness Creation with Custom Colored Rhinestones Project, take out your A Creative Journey with Melissa Awareness Ribbon Stamp Set 2.

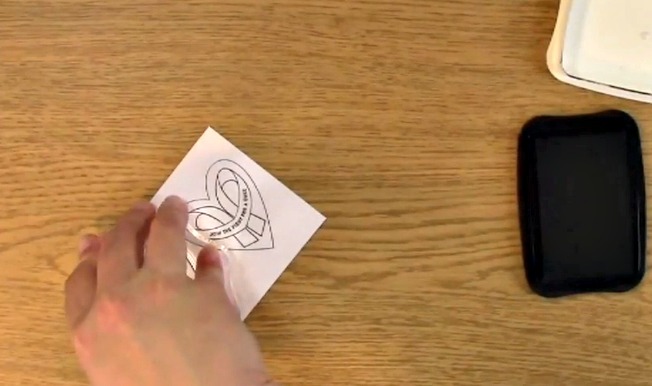
Peel off your image off of the stamp sheet. Place your stamp on the acrylic block and ink your stamp.

Sometimes when you stamp your image, it doesn’t come out exactly the way you want it to. That’s what happened to me here. I didn’t ink it properly the first time and the second, I leaned too much to the left so it didn’t do a very clear image. What do you do when that happens? Keep doing it until you are happy with your image.

When I was originally designing this project, I was going to use the clear rhinestones and have it look like it does above. I really thought it was a little too bright for what I wanted. What do you do when you need a custom color rhinestone?

YOU COLOR THEM YOURSELF! Take out your PK3 chameleon pen and your clear rhinestones.
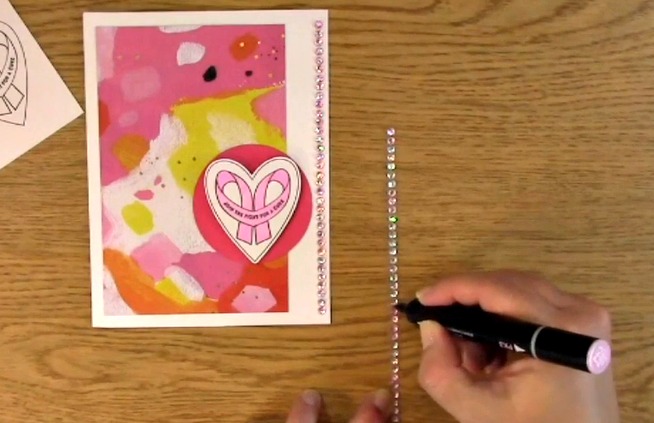
Color the top of your rhinestones.


Take out your stamped image. Color the inside of the ribbons.

This is what the image looks like once it is colored.


Take out your decorative paper and card base. Place adhesive on the back of your decorative paper.
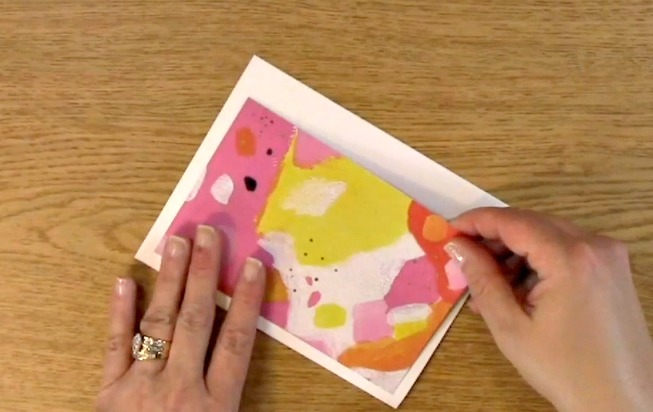
Put your decorative paper on the front of your card base.
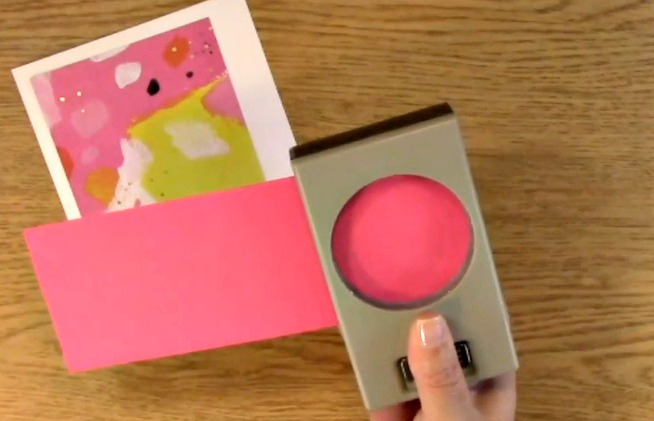

Punch out your circle.

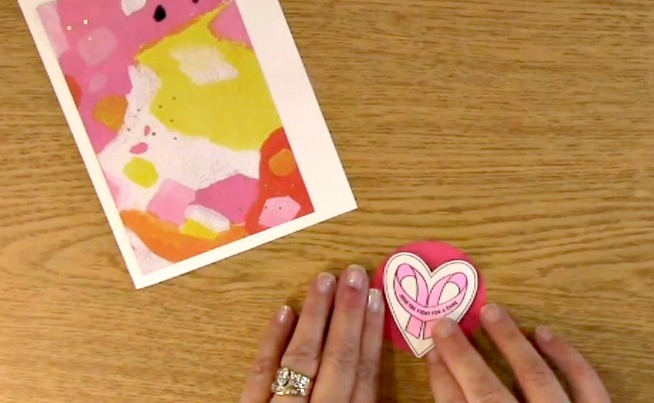
Place your stamped image on your punched out circle.

Apply adhesive to either the card base decorative paper or the back of the circle. Adhere the circle with the stamped image to the card base.


Trim any excess rhinestones off if necessary.


Winner, please send me an message HERE and I will get your prize out to you!
Thank you for joining us and we hope you enjoyed going on A Creative Journey with Melissa.
