Tag Archive for: card making

3-D butterfly Thinking of You Card

3-D butterfly Thinking of You Card is what we are creating today.  I have a lovely crafting friend that is going and will be going through some rough times the next couple of weeks. I thought it would be the perfect time to send a bright and cheerful card with a butterfly. Perfect, right? That’s what I thought! Let’s get started!

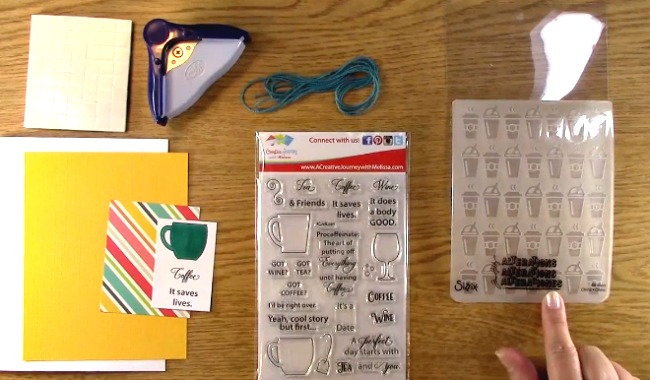
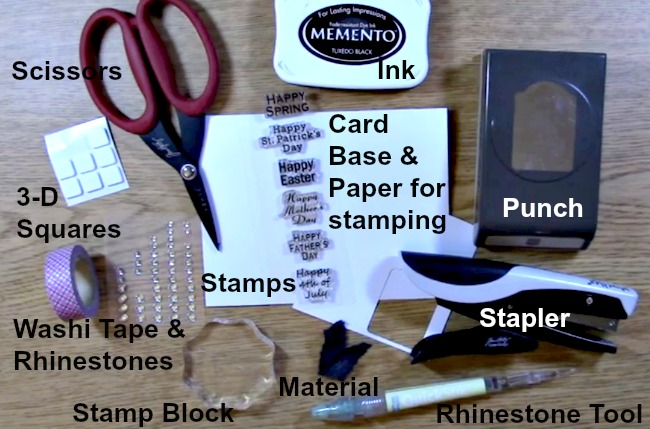
Supplies Needed for the 3-D butterfly Thinking of You Card 

A Creative Journey with Melissa Weather Related Stamp Set

Acrylic Block

Black Ink

Card Base

Decorative Paper for mat and strip of paper

Paper to punch and stamp for butterfly

3-D tape

adhesive

butterfly punch

Pen with cap

Quicker poker picker upper tool

Rhinestones

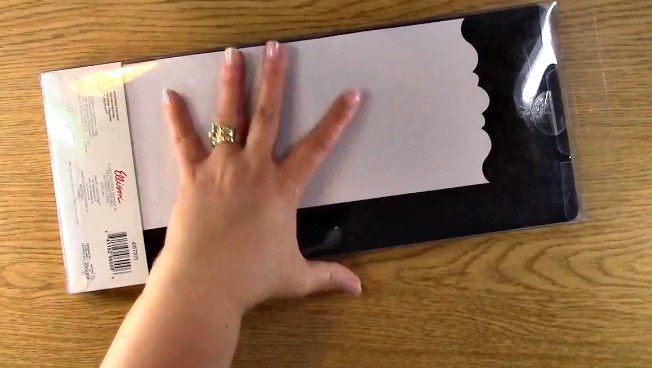
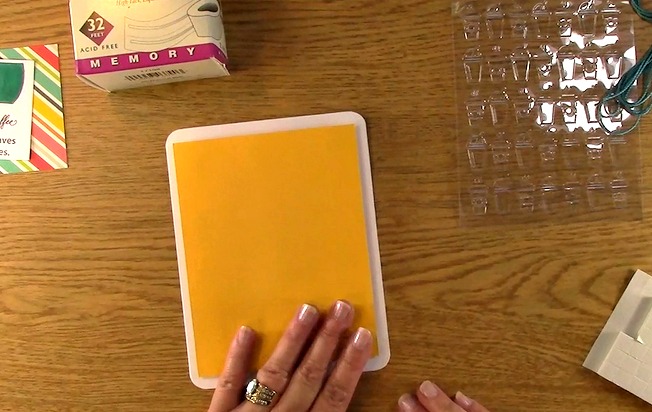
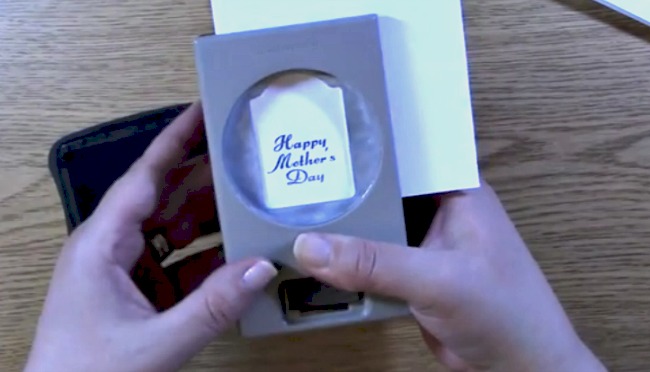
First step for the 3-D butterfly Thinking of You Card, take out your decorative paper and your butterfly punch.

Punch out your butterfly.

When creating this, I really wanted to have more than just a flat butterfly as you can see.

I think it looks better when it has a little 3D look as well as bling! Bling is ALWAYS GOOD! LOL

This is exactly what I DID NOT WANT so I am going to show you what to do so this doesn’t happen to you!

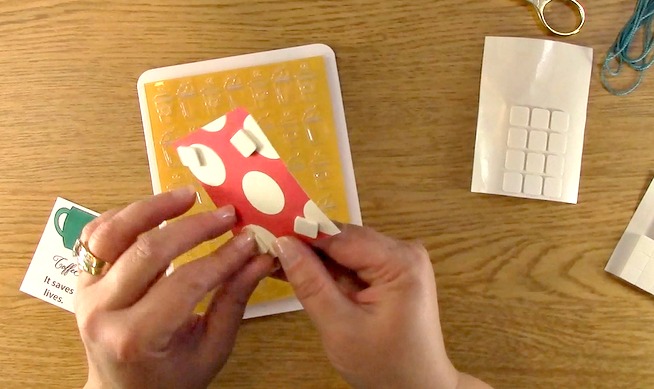
Take a pen that has a cap with a little extension on it like shown above. You know the perfect pens to put in your pocket. Place your butterfly in it

Carefully roll it around the pen.

I use my nail for the middle part to make a fold for the wings to be more 3D.

This is what it will look like with the side view.

I much prefer the rounded look of the butterfly, don’t you?

Do on the left and don’t on the right… LOL!

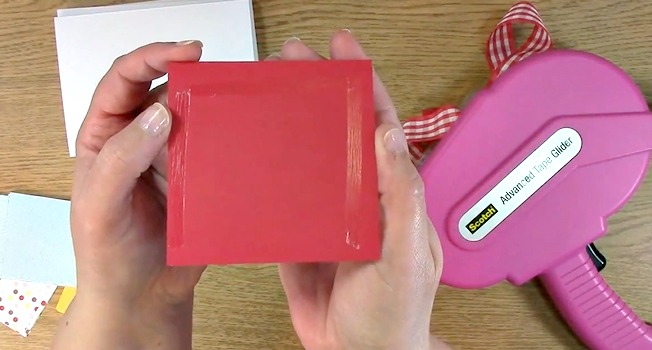
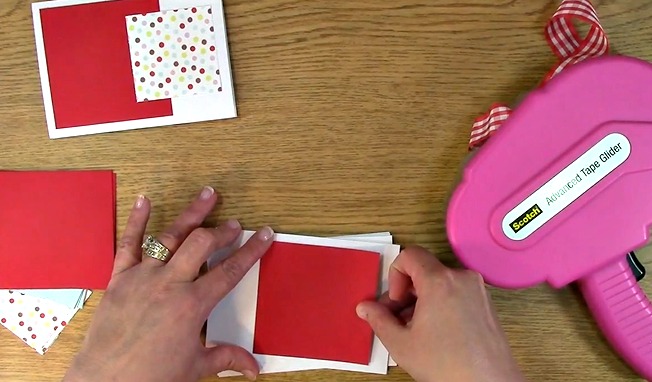
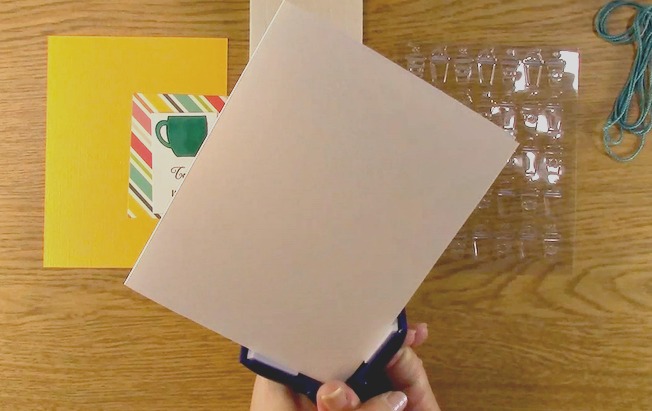
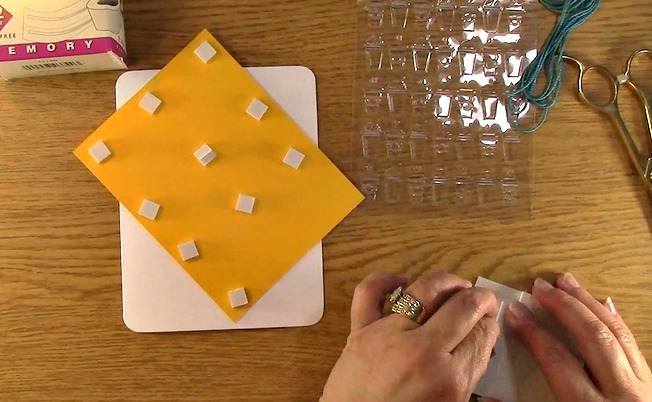
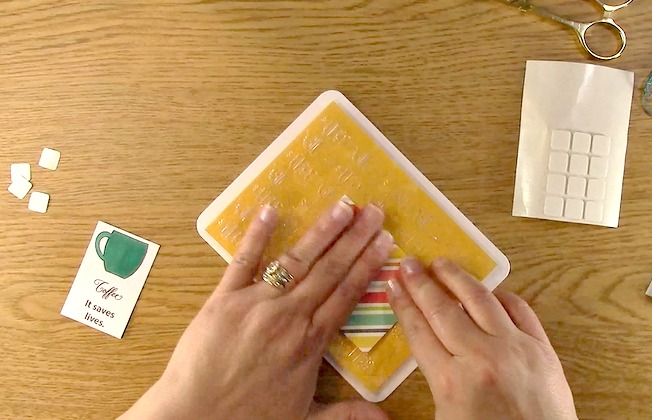
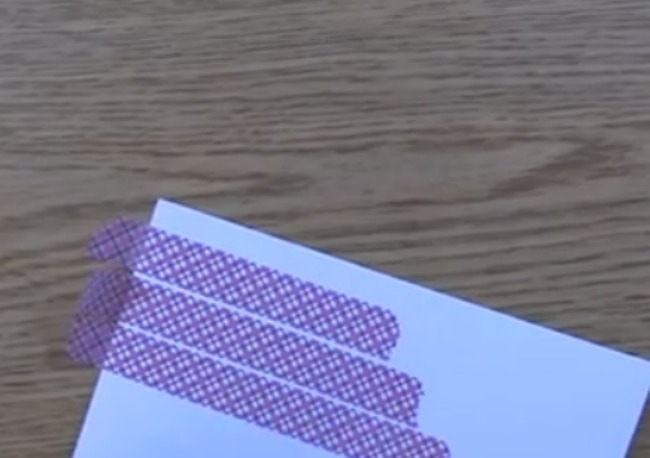
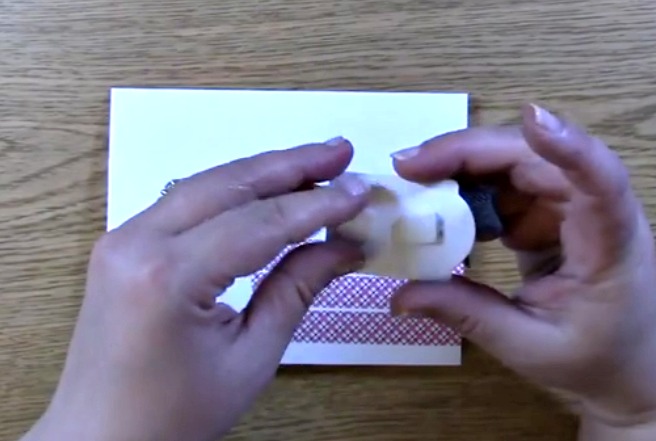
For the background of the 3-D butterfly Thinking of You Card, place adhesive to your decorative paper and place on your card base.

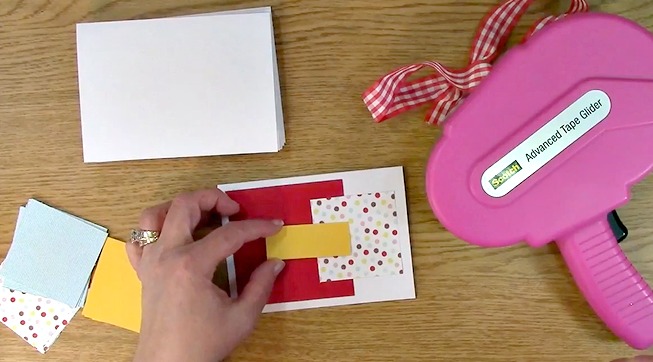
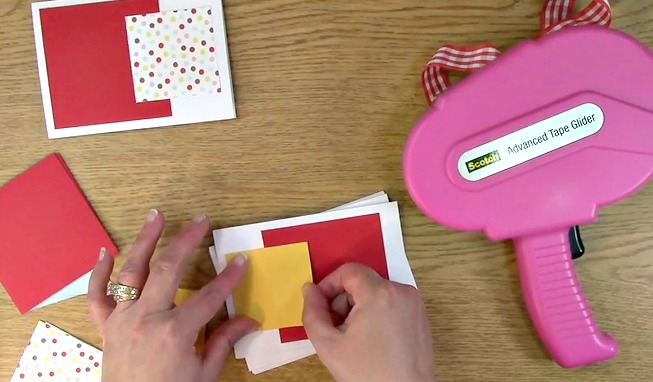
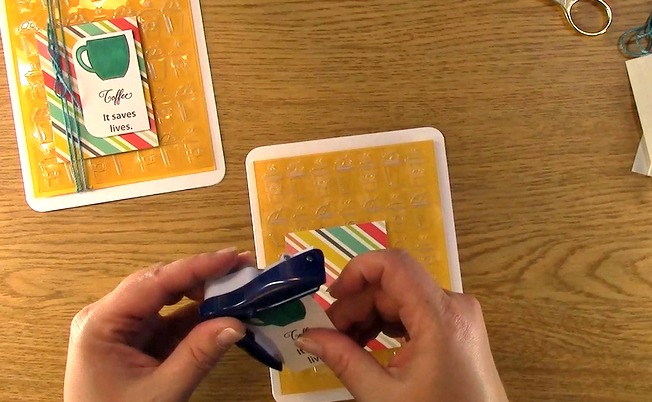
Place adhesive on your strip of paper and adhere to the front of the card base.

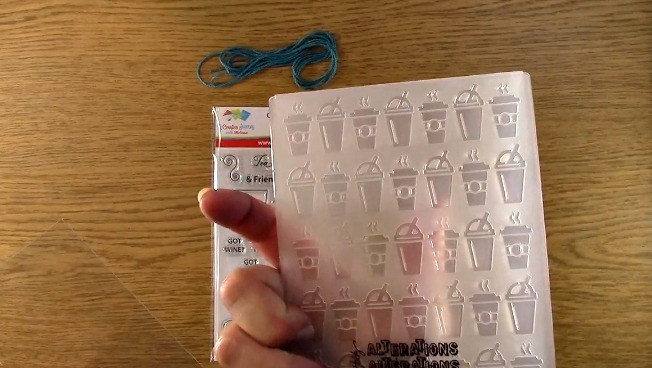
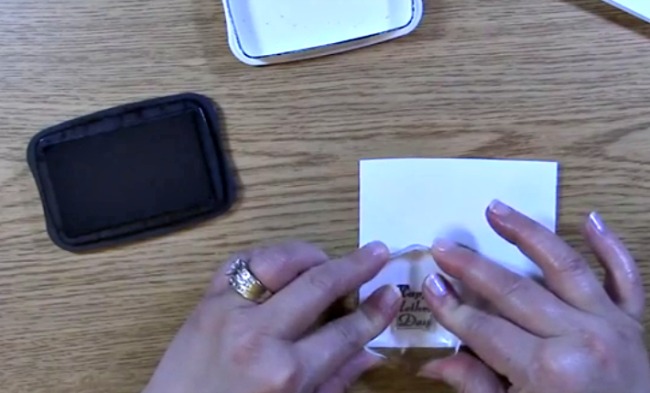
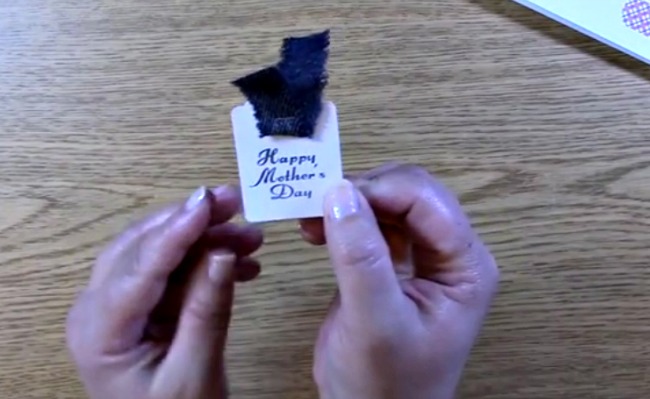
Take out your A Creative Journey with Melissa Weather Related Stamp Set , ink and stamp block.

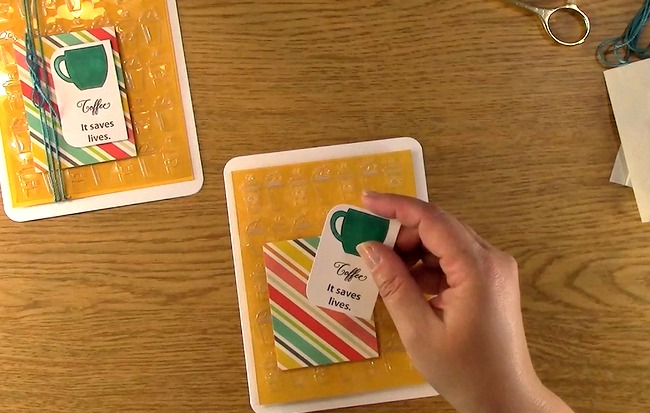
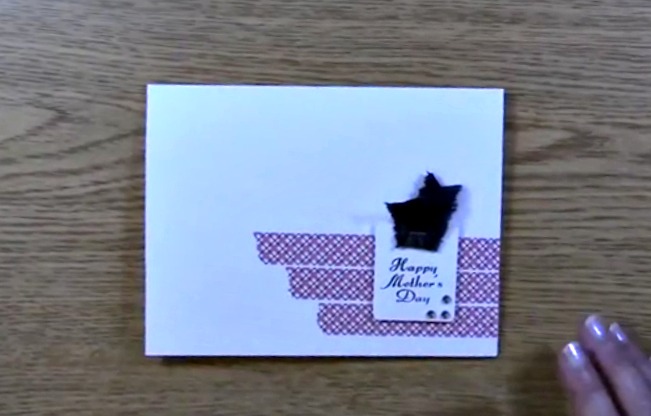
Ink your sentiment and stamp on your butterfly.

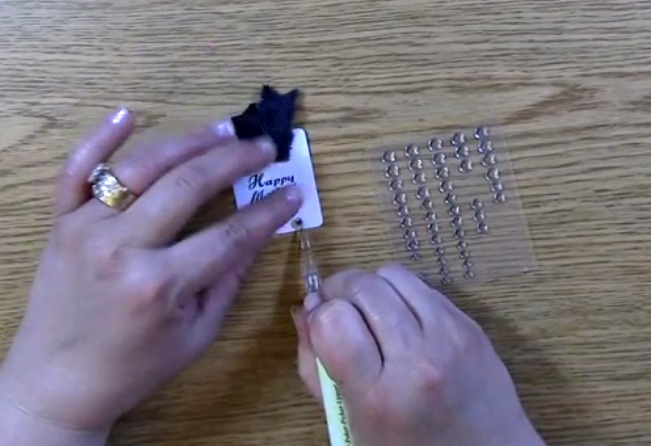
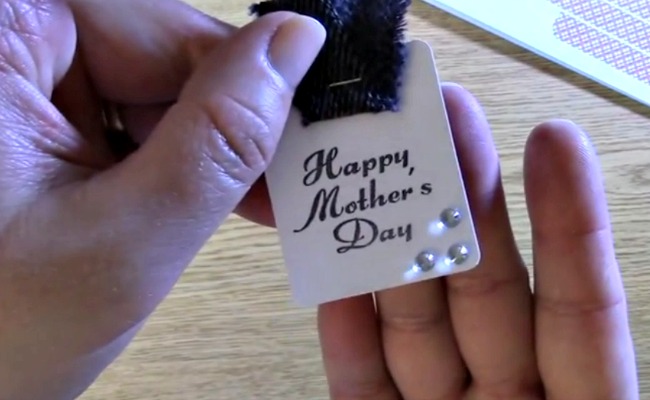
Take out your rhinestones, rhinestone tool and your butterfly. Pick up your rhinestone and place them on your butterfly.

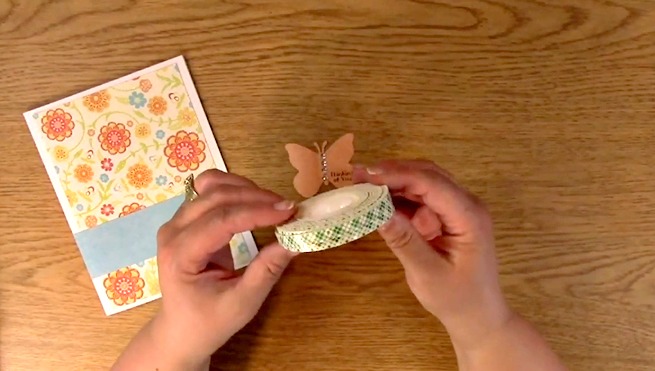
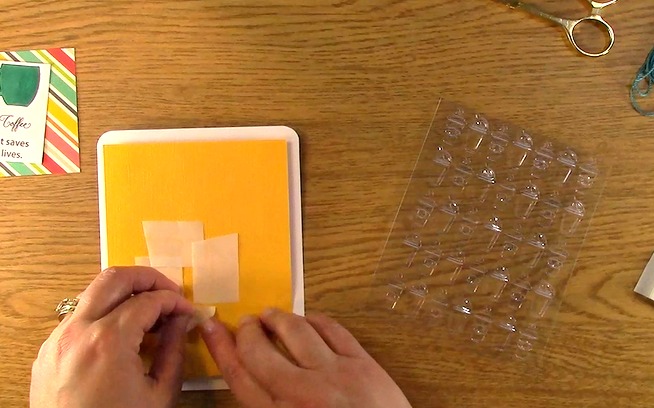
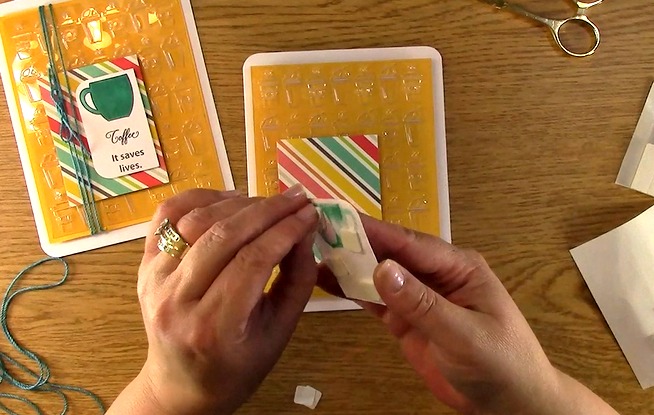
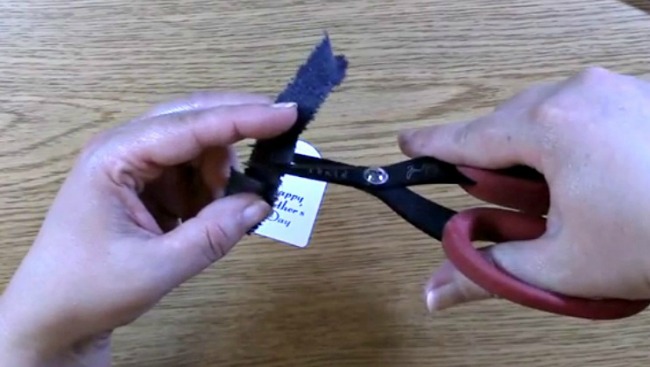
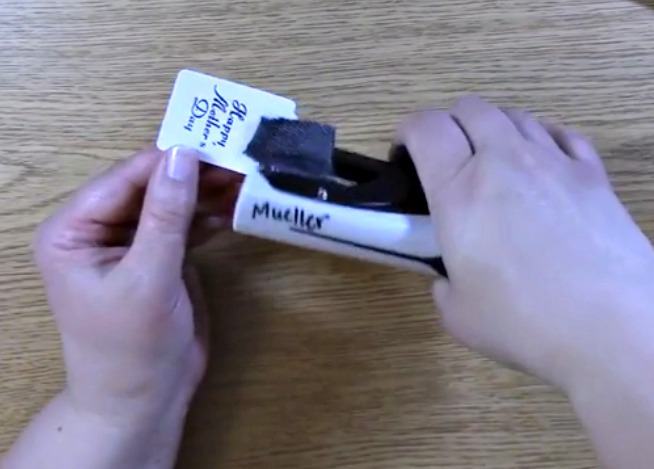
Take out your 3-D adhesive.

Quick Tip: I cut my 3-D tape in half so that I can use it for thinner smaller projects and so I have twice as much!

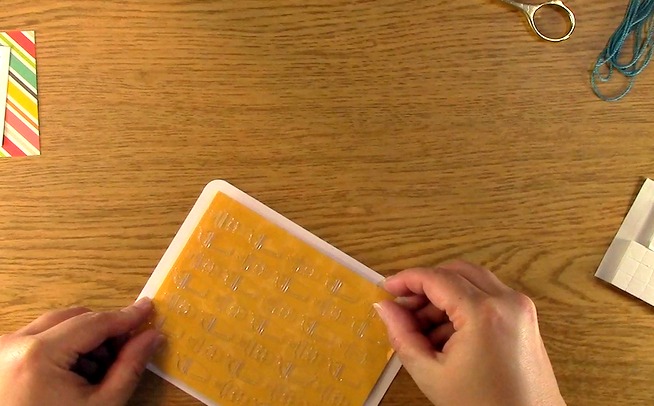
Place your 3-D tape on the back of your butterfly and adhere to your card front.

Take out your pen again if you need to fix the rounding of the butterfly.

See how the butterfly sticks out and looks like the wings are in flight? LOVE IT!

For this weeks giveaway we are giving away the A Creative Journey with Melissa Weather Related Stamp Set.

For all of our giveaways including this one, in order for you to qualify for an entry to win, you would need to be a follower on YouTube, subscribe to our mailing list/blog posts (found on our blog page) and you may also comment on this blog post for an additional entry to win! When you subscribe, you will receive an e-mail on Mondays with our latest blog post. BE SURE TO READ IT to check to see if you are a winner EVERY WEEK. If you do not contact me within two weeks of the announcement of winning,you will forfeit your prize. NO EXCEPTIONS. Thank you for your understanding.

NOTE: If you are subscribed with two different names and I am unable to match you with your subscription to both the blog and the YouTube Channel, unfortunately you will be ineligible to win as I can’t decipher if you are a matching subscriber to both. Thank you for your understanding.

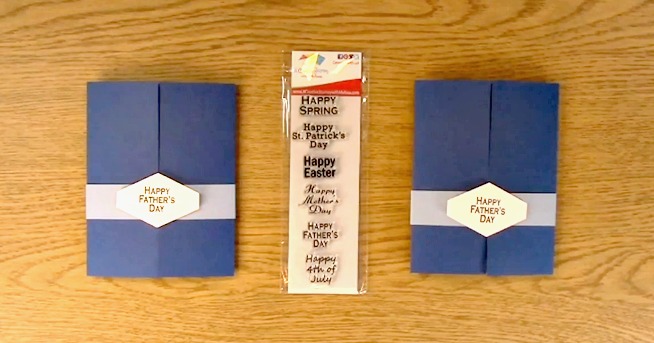
For last weeks giveaway we are giving away the A Creative Journey with Melissa Spring and Summer Holiday Celebrations Stamp Set

The winner is Lisa B !

Winner, please send me an message HERE and I will get your prize out to you!

We hope you will subscribe to our YouTube Channel, Blog/Newsletter updates and check out our website!

Thank you for joining us and we hope you enjoyed going on A Creative Journey with Melissa.

melissa-written-signature


BE PREPARED – Make Cards Ahead Sentiment Ready

BE PREPARED – Make Cards Ahead Sentiment Ready is what we have for you today. Not only are you going to love this, you are going to use some of your scraps too! Yes, I too have tons of scraps that I keep because I love the pattern of the paper so why not make it into a card read for a sentiment?! What a great idea right? This week I am trying to get you to think outside of the box, use your scraps, think ahead be prepared for when you need a card and don’t have time to make one.

Supplies needed for the BE PREPARED – Make Cards Ahead Sentiment Ready Project

2.5″ squares solid & patterned – 10

3.5″ squares – 5

A2 Cards – 5

Adhesive

Matching Twine or ribbon

The point of these cards are to use up your scraps, build up your cards on hand and make these quickly to not take away from other things you need to do.

The cards are CAS (Clean and Simple) cards so that you Make Cards Ahead Sentiment Ready. You can customize your card with a sentiment and you are ready to send it or give it!

Take out your adhesive and apply the adhesive to only three sides of the square. The reason for this is so you are ready in case you want to give this card with a gift card in it. This allows for a little pocket for a gift card. Better to be safe than sorry, right?

Make sure you apply your paper so that you enable an opening for your gift card if you are going to use it.

For this card, I am not going to use the gift card opening so I am placing a square on top of the opening for a different design.

Remember, we are using up our scraps so here is a perfect piece of paper I could adhere to my card for a sentiment that can be stamped on later.

Here I am making another card with of course only three sides having adhesive.

I am applying a square on the opposite side of the opening so that I can add some color to my card.

Here, I added the square on the top with the pattern by just turning it so it looks like a diamond. Just a little something different. It works, right?

Again, make sure that you are checking the opening for the gift card or else you may put it down upside down and it may not work. Yes, this is a lesson from experience. PERSONALLY LOL

Here, the opening for the gift card is at the top of the red paper. We are just moving the placement of the square to the bottom.

See how different it looks even with just using a small piece of paper to the top of the patterned paper? Perfect for a sentiment or focal point.

Want to dress it up a little? Pull out some coordinating colored twine.

Whether you tie a bow or a knot, it will add a little bit of flair to your creation.

This is what it looks like just with adding a little twine and a bow. Dressed it up a bit, right?

Here are the cards I created. You can use them in basically any direction. Be sure when you are creating them, you try to do that. That way it will work with whatever theme you plan to use it for!

For this weeks giveaway we are giving away a $15 store credit for anything in the store, including sale items! Winners announced next week so be sure to check back!

To qualify to win, you must be BOTH:

A public follower on YouTube, subscribe to our mailing list/blog posts and you may also comment on this blog post for an additional entry to win! Winners will be announced next week on our Mondays with Melissa blog post!

BE SURE TO check to see if you are a winner EVERY WEEK. If you do not contact me within two weeks of the your name being picked, you will forfeit your prize. Thank you for your understanding.

Subscribe to BOTH with MATCHING NAMES to be eligible. If I am unable to match you with your subscription to both the email list and the YouTube Channel, you will miss your chance to win a prize. If I can’t decipher if you are a matching subscriber (if your profile doesn’t show publicly who you subscribe to) and I can’t confirm you have subscribed to both, you will not be eligible.

For this weeks giveaway we are giving away another $15 store credit for anything in the store, including sale items!!!

 The winner is  Cheryl G !

Winner, please send me your contact information via contact page on our website, which post you are a winner from and I will get your prize out to you! Thank you so much for being a YouTube follower and subscribing to our mailing list/blog posts!

Thank you for joining us for the tutorial BE PREPARED – Make Cards Ahead Sentiment Ready Project. CHECK BACK NEXT WEEK TO SEE IF YOU ARE A WINNER!

Have a wonderful week and thank you for going on A Creative Journey with Melissa.


SAVE MONEY and Reuse Packaging for an AWESOME EMBOSSED LOOK

SAVE MONEY and Reuse Packaging for an AWESOME EMBOSSED LOOK is what we have for you today.

If you are looking for the amazing 2016 Summer Coffee Lovers Blog Hop, You will want to click here for my post. If you would like to see how I created the second card on my post, you have come to the correct place! Get ready to get your creative on! I can’t wait to show you how easy this is! You can even mass produce this card for numerous uses! I LOVE IT! Let’s get started!

SAVE MONEY and Reuse Packaging for an AWESOME EMBOSSED LOOK g

Supplies Needed

Coffee, Tea and Wine – OH MY! Stamp Set

Acrylic Stamping Block

Chameleon Alcohol Pens

Manual Die Cut Machine

Die Cut Platforms

Embossing Folder

Clear Packaging

Adhesive

Glue strips/Glue Dots

Card base

Mat for card base

Decorative paper

Twine

Paper for stamped image

Memento Ink

Scissors

Corner Rounder

SAVE MONEY and Reuse Packaging for an AWESOME EMBOSSED LOOK d

Today we are going to  SAVE MONEY and Reuse Packaging for an AWESOME EMBOSSED LOOK! What I used for the embossed part of this card was the packaging from a Sizzix die. I took the packaging and trimmed it into pieces that would be easier to store and more user friendly to use.

SAVE MONEY and Reuse Packaging for an AWESOME EMBOSSED LOOK e

This is what it looks like once I trimmed the edges off.

SAVE MONEY and Reuse Packaging for an AWESOME EMBOSSED LOOK h

I then trimmed it so it would fit within the embossing folder that would work perfectly for the card I was making.

SAVE MONEY and Reuse Packaging for an AWESOME EMBOSSED LOOK f

Take out your embossing folder.

SAVE MONEY and Reuse Packaging for an AWESOME EMBOSSED LOOK i

Place your pre-cut packaging and place it inside the embossing folder.

SAVE MONEY and Reuse Packaging for an AWESOME EMBOSSED LOOK j

Close your embossing folder.

SAVE MONEY and Reuse Packaging for an AWESOME EMBOSSED LOOK k

Place your embossing folder on the sizzix platform sandwiched between the clear platforms. Then place the combination in the sizzix die cut machine.

SAVE MONEY and Reuse Packaging for an AWESOME EMBOSSED LOOK l

Turn the handle so that the embossing folder runs through the die cut machine.

SAVE MONEY and Reuse Packaging for an AWESOME EMBOSSED LOOK m

This is how AMAZING it looks! Remember, this is SAVE MONEY and Reuse Packaging for an AWESOME EMBOSSED LOOK!! YES!! RECYCLED PACKAGING!! YES IT REALLY IS! Set your embossed material aside.

SAVE MONEY and Reuse Packaging for an AWESOME EMBOSSED LOOK n

Take out your card base and use the corner rounder on all four sides.

SAVE MONEY and Reuse Packaging for an AWESOME EMBOSSED LOOK o
This is what it will look like once it has been completed.

SAVE MONEY and Reuse Packaging for an AWESOME EMBOSSED LOOK p

Take out your paper that you will use as a mat on your card. Place your foam squares on the back of the colored paper and remove the backing of the foam squares.

SAVE MONEY and Reuse Packaging for an AWESOME EMBOSSED LOOK q

Place your colored paper on the card base.

SAVE MONEY and Reuse Packaging for an AWESOME EMBOSSED LOOK r

Take your glue strips or glue dots out. Place them on your colored card stock in an area where it will be covered with your mat and sentiment. Remove the backing from the glue strips.

SAVE MONEY and Reuse Packaging for an AWESOME EMBOSSED LOOK s

This is what it looks like once the backing was removed.

SAVE MONEY and Reuse Packaging for an AWESOME EMBOSSED LOOK t

For this part of the SAVE MONEY and Reuse Packaging for an AWESOME EMBOSSED LOOK tutorial, place the clear embossed material on your colored card stock.

SAVE MONEY and Reuse Packaging for an AWESOME EMBOSSED LOOK v

Take out the patterned paper mat for the sentiment. Place glue squares on the back of the paper. Remove the backing paper.

SAVE MONEY and Reuse Packaging for an AWESOME EMBOSSED LOOK w
Adhere the patterned mat to the clear embossed sheet.

SAVE MONEY and Reuse Packaging for an AWESOME EMBOSSED LOOK x

Stamp your sentiment and image. Use Chameleon Pens to color the coffee cup.  Once this is done, Using the corner rounder, round the corners of only two sides of the sentiment.

SAVE MONEY and Reuse Packaging for an AWESOME EMBOSSED LOOK y

This is what it will look like once that has been completed.

SAVE MONEY and Reuse Packaging for an AWESOME EMBOSSED LOOK z

Place foam squares on the back of the sentiment. Remove the paper backing from the foam squares.

SAVE MONEY and Reuse Packaging for an AWESOME EMBOSSED LOOK za

Adhere the sentiment to the patterned mat.

SAVE MONEY and Reuse Packaging for an AWESOME EMBOSSED LOOK zb

Take out the twine. Leave enough for you to make a bow on the front of the card. Start to wrap the twine around the card.

SAVE MONEY and Reuse Packaging for an AWESOME EMBOSSED LOOK zc

Wrap the twine around the card front three times.

SAVE MONEY and Reuse Packaging for an AWESOME EMBOSSED LOOK zd

Tie a bow in the front of the card.

SAVE MONEY and Reuse Packaging for an AWESOME EMBOSSED LOOK ze

Trim the excess twine.

SAVE MONEY and Reuse Packaging for an AWESOME EMBOSSED LOOK zf

Your project is complete! As you can see, I did the second one differently. I realized after I had already adhered the card front that I had wrapped the twine around the colored card stock before adhering it.

Since I do the videos live without editing, I found a compromise to my error and just wrapped the twine around the entire card front. Not only was this a great solution, it also gives you two different looks and two different ways to do the front of the card!

Thank you so much for joining us today for. We hope you enjoyed this creation and can’t wait to hear how you incorporate this technique into your next creation! Thank you for joining us today and we hope you enjoyed going on A Creative Journey with Melissa.

melissa-written-signature

Quick Card Using Washi Tape and Jeans! YES REALLY!

Quick Card Using Washi Tape and Jeans? YES REALLY! Today we are going to be creating a quick card using some washi tape and a piece of jean material. I always love to add a little texture or a different element with my creations. Keeps me on my toes and adds some character to my creations. Above you will see the video with instructions. If you prefer to learn by a pictorial, continue reading and we have you covered too! Let’s get started!

Supplies 4-20-15

Here is a list of supplies you will need:

Scissors

Ink

Punch

Card Base

Paper for stamping sentiment

3-D squares

Washi Tape

Rhinestones

Stamp Block

Jean Material

Rhinestone tool

Stapler

To get started, you will want to take out your card base and your washi tape. Create a pattern on your card base. I used three strips in varying length. Trim the excess washi tape.

Take out your piece of paper for your sentiment, ink, stamping block and sentiment. Stamp on paper.

Punch out your sentiment with desired shape punch.

Get jean material out and trim a piece that will fit nicely on the punched out sentiment.

Adhere jean material to punched out sentiment with a stapler.

This is the result

Adhere rhinestones to the tag

This is the result

Screenshot 2015-04-20 13.32.30

Take out 3-D foam squares, adhere to the back of the punched out sentiment.

Place sentiment onto the card base. You are DONE!

I hope you enjoyed this quick and easy card creation today! What other materials will you try on your future creations? We would love to hear about them!

Thanks for joining us today and we hope you enjoyed going on A Creative Journey with Melissa.

signature

Use Your Paper Scraps, Favorite Embossing Folder & Make Quick and Easy Cards

Here is a great tutorial on how to use up your scraps as well as give a little texture to your creation! Use Your Paper Scraps, Favorite Embossing Folder & Make Quick and Easy Cards is a quick video to give those visual learners (I am one too) a short and sweet tutorial that can help you use up your stash. I learned this technique from one of my best friends Sharon. She is amazingly creative and always inspires me! She taught this in a class a number of years ago but I have always loved the result and wanted to share it with you. The video has more detail or you are welcome to check out the instructions below. You are also getting a sneak peek at ONE of the FOUR stamp sets that we will be releasing on Wednesday-Spring and Summer Holiday Celebrations Stamp Set.

Supplies

Coordinating color/designed craps

Your favorite punches

Card Bases

Trimmer

Adhesive

Foam squares

Manual die cut machine and appropriate platforms

Embossing folder

Spring and Summer Holiday Celebrations Stamp Set (Coming out this WEDNESDAY!)

Ink

Directions:

Pick out the card base you would like to use for this creation.

Decide what color mat you would like for your design on your card base.

Cut out a size that will look good on the card base you have chosen. I used an A2 card base and cut my paper mat at 3.5 x 4″ Some were varied a little due to the size of the scrap.

Punch out your favorite shapes.

Arrange and adhere your punched shapes on your selected color base piece of paper.

Place your colored mat piece of paper with the adhered shapes inside your embossing folder. DO NOT EMBOSS THE CARD BASE.

Emboss it with your manual die cut machine.

Take out your creation and adhere it to the card base.

Stamp your sentiment on a piece of scrap paper that will coordinate nicely with your creation.

Cut or punch out your sentiment using a complimentary cut or shape to the creation. I used a dog tag punch and cut out a rectangle with my trimmer for mine.

Use your 3-D foam squares to adhere the sentiment to your card.

Your creation is complete! Now you have created some Quick and Easy Cards using your scraps!

I hope you have enjoyed this tutorial featured on Mondays with Melissa. Please be sure to check back for our new releases on Wednesday and for more projects!