

BE PREPARED – Make Cards Ahead Sentiment Ready
BE PREPARED – Make Cards Ahead Sentiment Ready is what we have for you today. Not only are you going to love this, you are going to use some of your scraps too! Yes, I too have tons of scraps that I keep because I love the pattern of the paper so why not make it into a card read for a sentiment?! What a great idea right? This week I am trying to get you to think outside of the box, use your scraps, think ahead be prepared for when you need a card and don’t have time to make one.
Supplies needed for the BE PREPARED – Make Cards Ahead Sentiment Ready Project
2.5″ squares solid & patterned – 10
3.5″ squares – 5
A2 Cards – 5
Adhesive
Matching Twine or ribbon
The point of these cards are to use up your scraps, build up your cards on hand and make these quickly to not take away from other things you need to do.
The cards are CAS (Clean and Simple) cards so that you Make Cards Ahead Sentiment Ready. You can customize your card with a sentiment and you are ready to send it or give it!
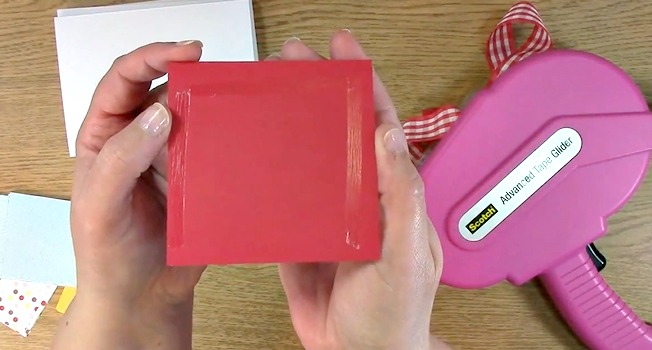
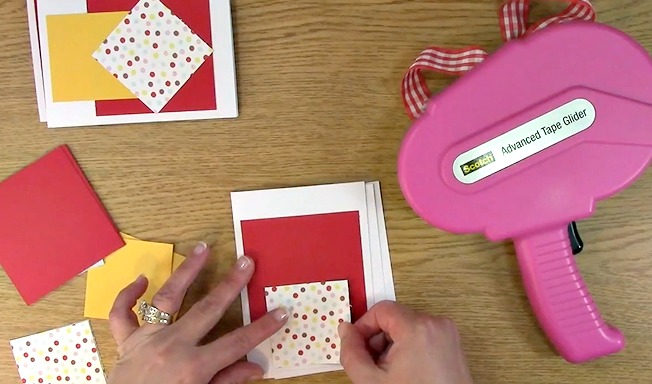
Take out your adhesive and apply the adhesive to only three sides of the square. The reason for this is so you are ready in case you want to give this card with a gift card in it. This allows for a little pocket for a gift card. Better to be safe than sorry, right?

Make sure you apply your paper so that you enable an opening for your gift card if you are going to use it.

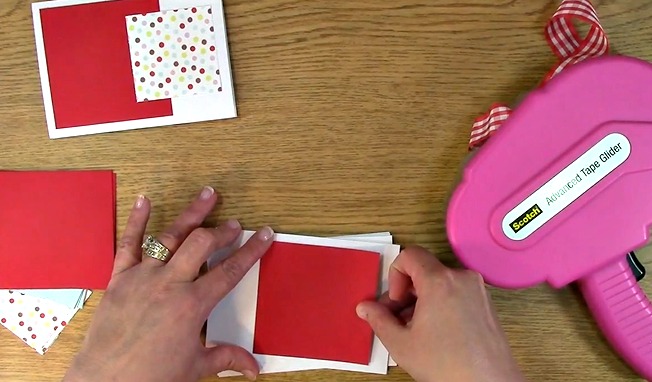
For this card, I am not going to use the gift card opening so I am placing a square on top of the opening for a different design.
Remember, we are using up our scraps so here is a perfect piece of paper I could adhere to my card for a sentiment that can be stamped on later.
Here I am making another card with of course only three sides having adhesive.
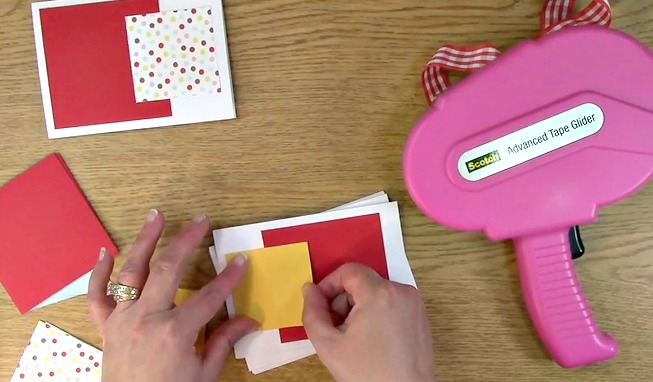
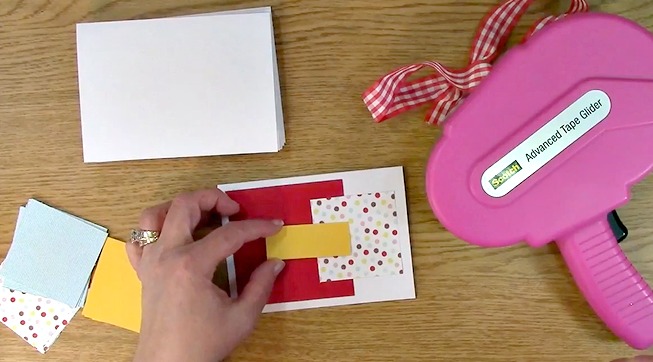
I am applying a square on the opposite side of the opening so that I can add some color to my card.

Here, I added the square on the top with the pattern by just turning it so it looks like a diamond. Just a little something different. It works, right?

Again, make sure that you are checking the opening for the gift card or else you may put it down upside down and it may not work. Yes, this is a lesson from experience. PERSONALLY LOL
Here, the opening for the gift card is at the top of the red paper. We are just moving the placement of the square to the bottom.

See how different it looks even with just using a small piece of paper to the top of the patterned paper? Perfect for a sentiment or focal point.

Want to dress it up a little? Pull out some coordinating colored twine.

Whether you tie a bow or a knot, it will add a little bit of flair to your creation.
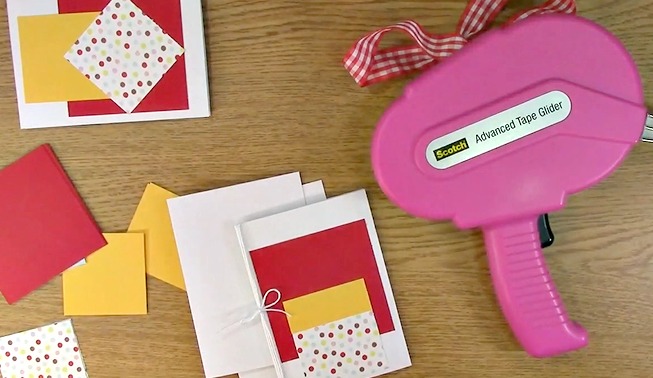
This is what it looks like just with adding a little twine and a bow. Dressed it up a bit, right?
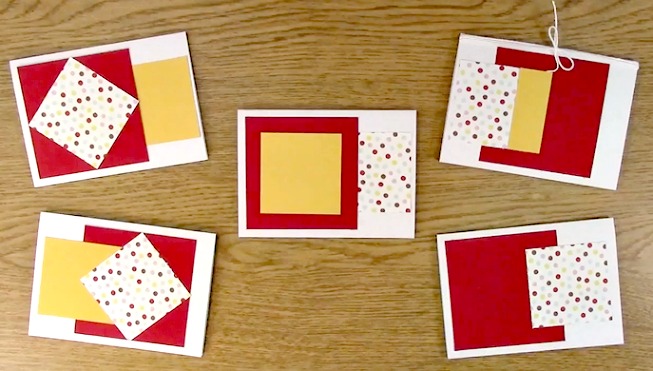
Here are the cards I created. You can use them in basically any direction. Be sure when you are creating them, you try to do that. That way it will work with whatever theme you plan to use it for!

For this weeks giveaway we are giving away a $15 store credit for anything in the store, including sale items! Winners announced next week so be sure to check back!
To qualify to win, you must be BOTH:
A public follower on YouTube, subscribe to our mailing list/blog posts and you may also comment on this blog post for an additional entry to win! Winners will be announced next week on our Mondays with Melissa blog post!
BE SURE TO check to see if you are a winner EVERY WEEK. If you do not contact me within two weeks of the your name being picked, you will forfeit your prize. Thank you for your understanding.
Subscribe to BOTH with MATCHING NAMES to be eligible. If I am unable to match you with your subscription to both the email list and the YouTube Channel, you will miss your chance to win a prize. If I can’t decipher if you are a matching subscriber (if your profile doesn’t show publicly who you subscribe to) and I can’t confirm you have subscribed to both, you will not be eligible.
For this weeks giveaway we are giving away another $15 store credit for anything in the store, including sale items!!!
The winner is Cheryl G !
Winner, please send me your contact information via contact page on our website, which post you are a winner from and I will get your prize out to you! Thank you so much for being a YouTube follower and subscribing to our mailing list/blog posts!
Thank you for joining us for the tutorial BE PREPARED – Make Cards Ahead Sentiment Ready Project. CHECK BACK NEXT WEEK TO SEE IF YOU ARE A WINNER!
Have a wonderful week and thank you for going on A Creative Journey with Melissa.


