Quick and Easy! Coffee Cup Embossed Recycled Packaging Gift Card Holder
Quick and Easy! Coffee Cup Embossed Recycled Packaging Gift Card Holder is what we have for you today. I love to reuse packaging for my crafts. This is a tutorial on how to do just that!
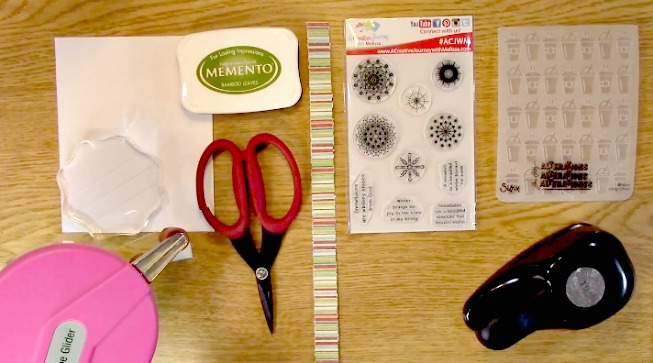
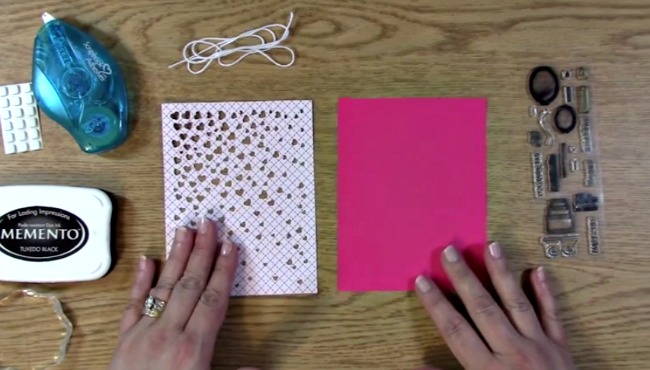
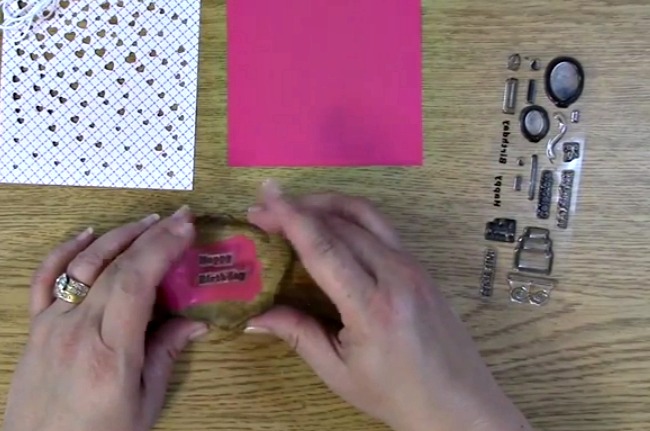
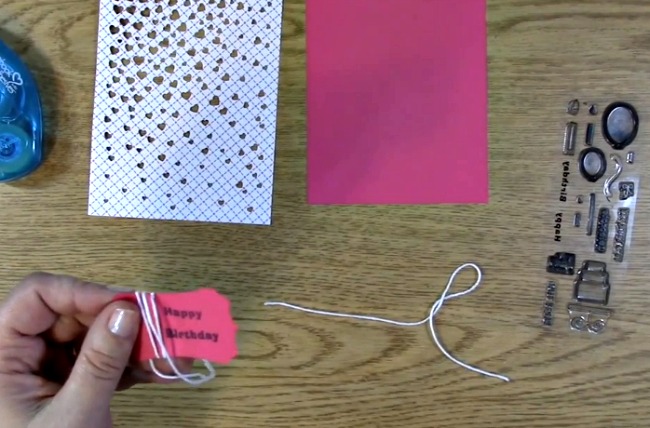
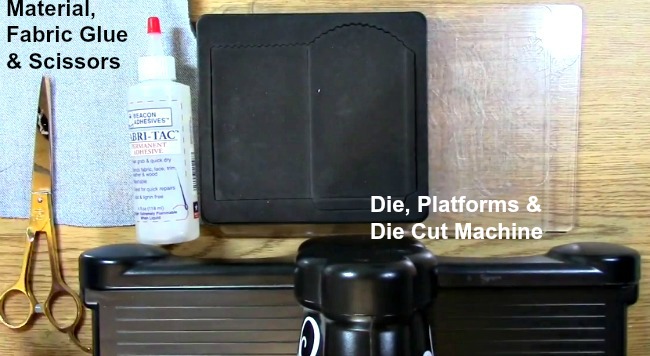
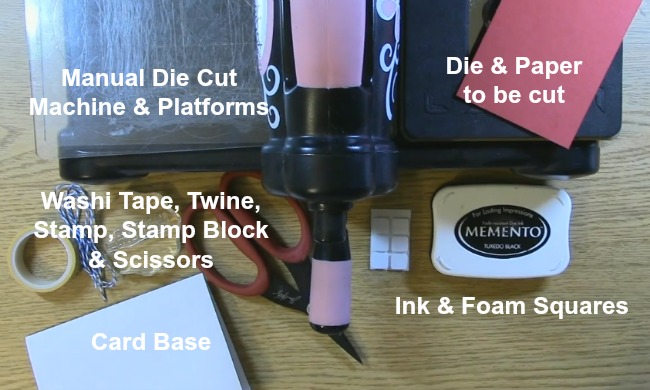
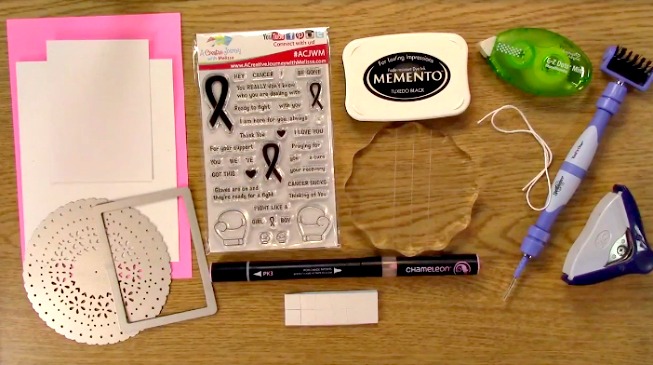
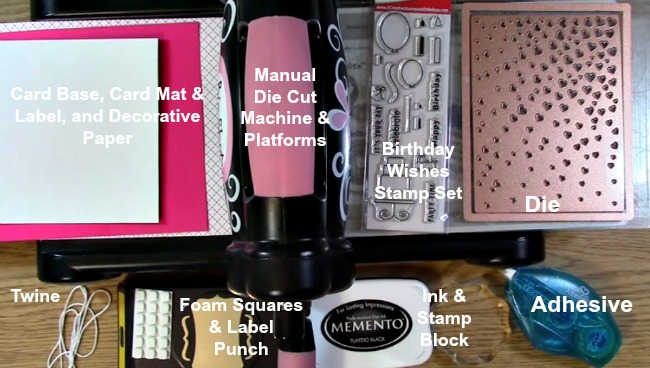
Supplies Needed for the Quick and Easy! Coffee Cup Embossed Recycled Packaging Gift Card Holder Project
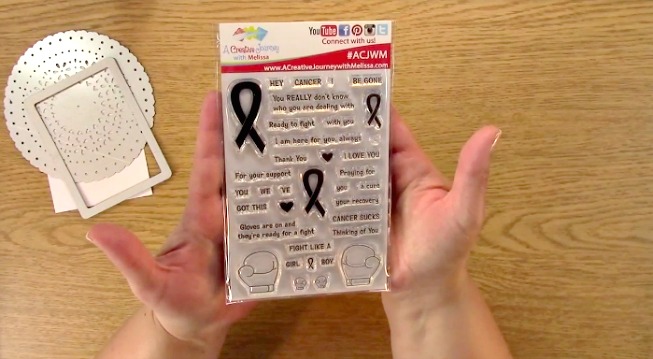
A Creative Journey with Melissa Snowflake Beauty Stamp Set
1.25″ Circle Punch
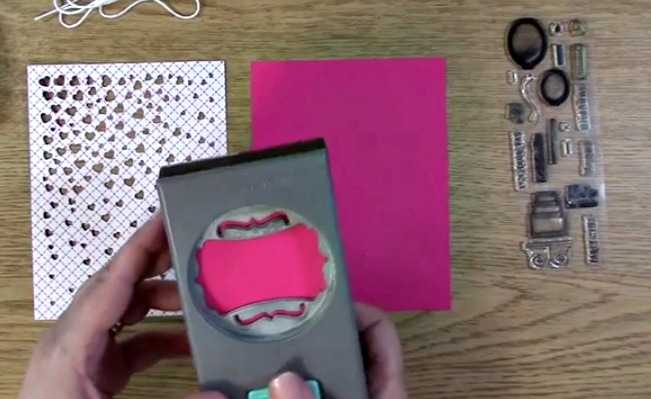
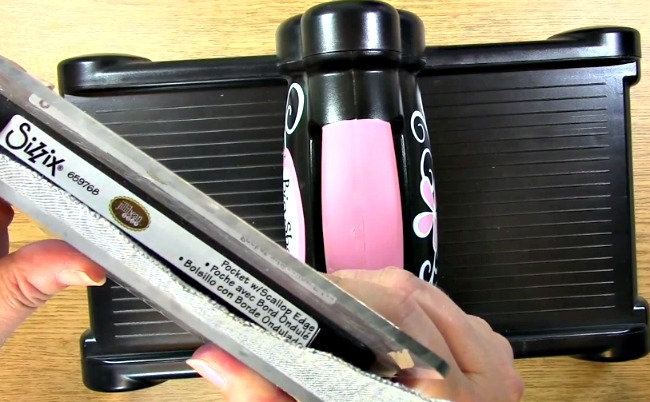
Sizzix Die # 660281 Box and Card Die
Sizzix or manual die cut machine
Scissors
Paper to stamp image on
Green Ink
.75″ x 12″ strip of patterned paper
Tim Holtz Coffee Cup Embossing Folder
Red Tape – Strong adhesive for the packaging
Adhesive for adhering paper to the box
IF YOU ARE HERE FOR THE 2017 WINTER COFFEE LOVERS BLOG HOP PLEASE CLICK HERE. You are of course welcome to check this post out too and enter to win the prize on this post as well! If you aren’t.. Be sure to check it out as you can see lots of coffee project inspiration as well as win a number of prizes from some great sponsors!
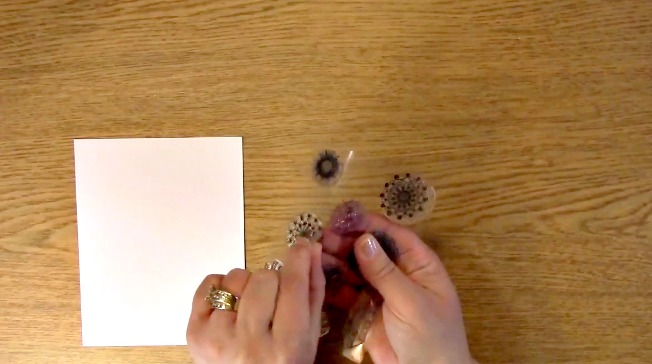
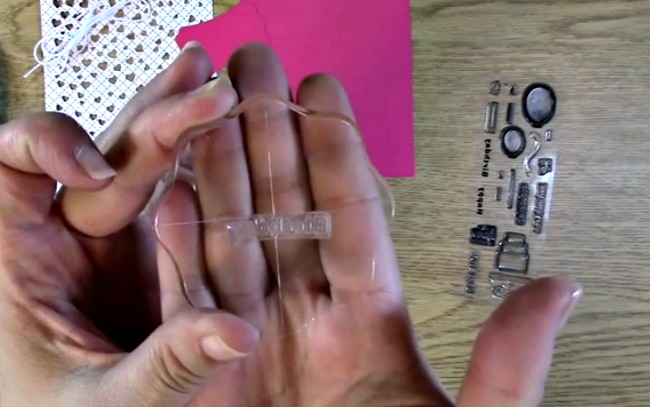
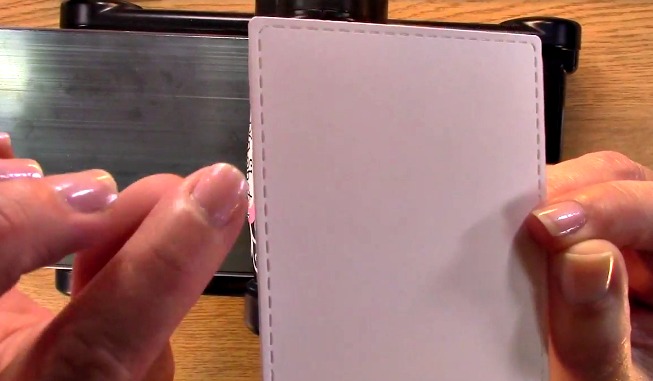
To begin the Quick and Easy! Coffee Cup Embossed Recycled Packaging Gift Card Holder project, Take out your paper to stamp on, your acrylic block and your A Creative Journey with Melissa Snowflake Beauty Stamp Set.

Adhere your stamp to your acrylic block. Take out your green ink.
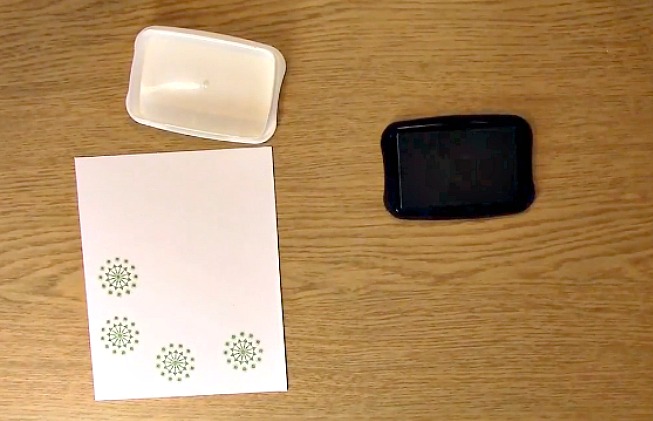
Stamp your snowflake onto your paper. I made a few extra so I can have them on hand in case I need to create an extra card.

Punch your snowflake images out with your circle punch.

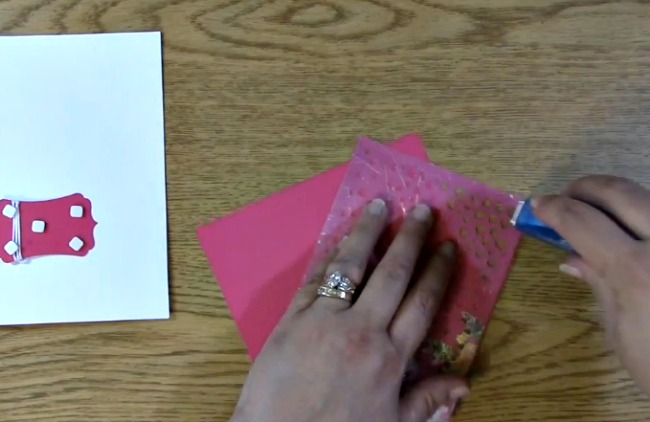
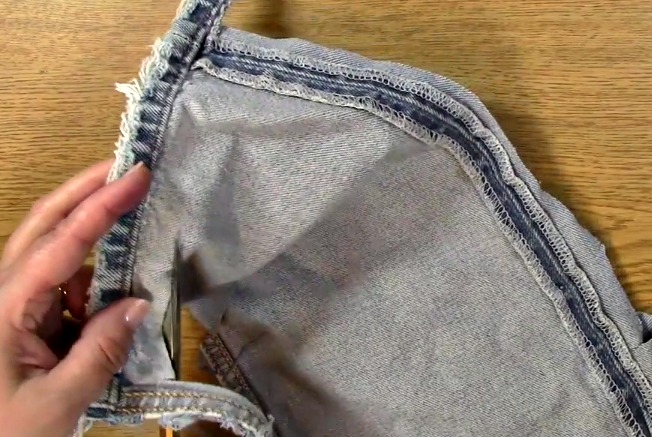
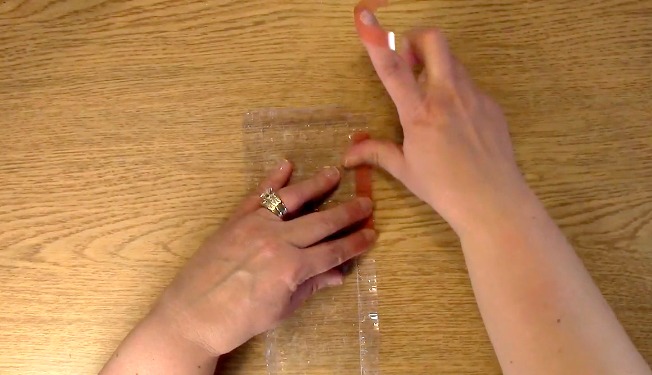
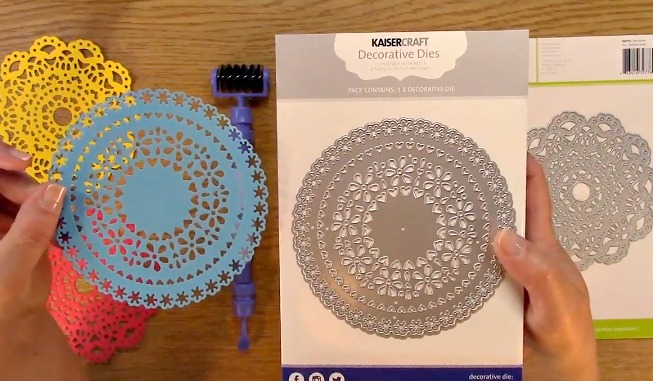
This is a die inside it’s clear plastic packaging. When I get dies like this, I take them out of their packaging and cut the parts of the packaging that could be used in a die cut machine at a later time and set them aside. You would be amazed at how many times I have used them on my projects.
If you haven’t heard of this before, search in the box above or click on the menu for the icon and search for packaging and you will find a few tutorials for some other ideas.

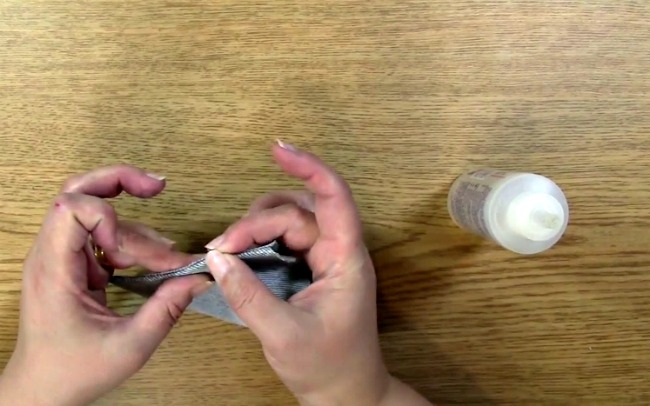
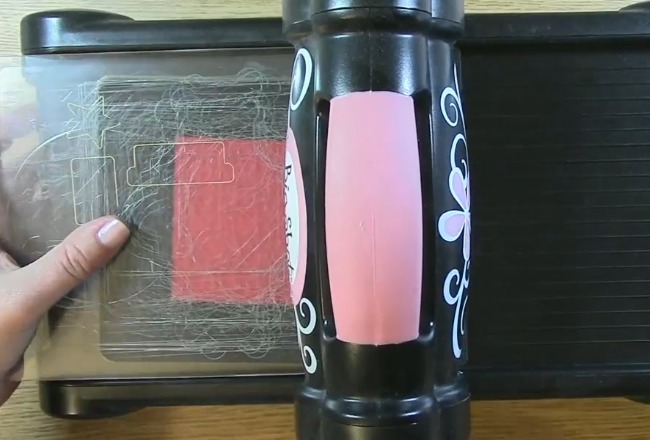
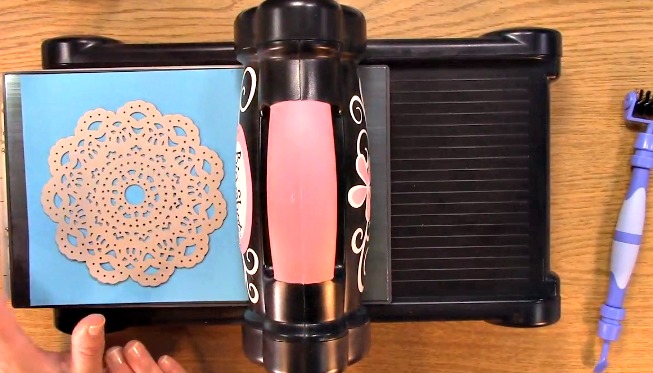
Here is a piece from a longer die that I have kept. This is what we are going to use to die cut our Quick and Easy! Coffee Cup Embossed Recycled Packaging Gift Card Holder Project. Sometimes you may have some blemishes on the packaging. You can solve that issue by embossing it!

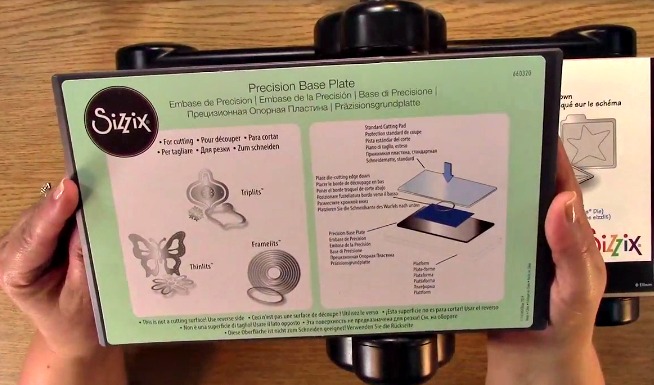
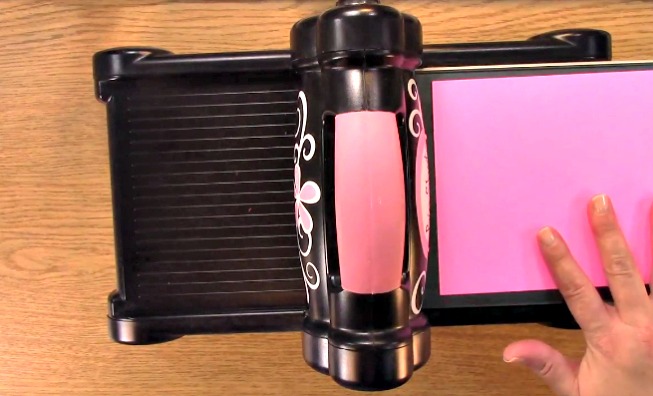
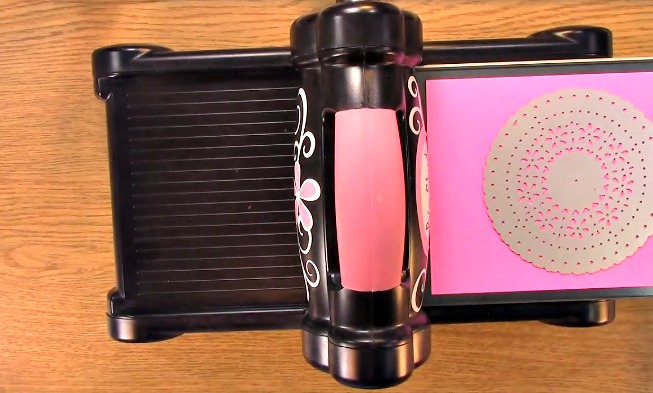
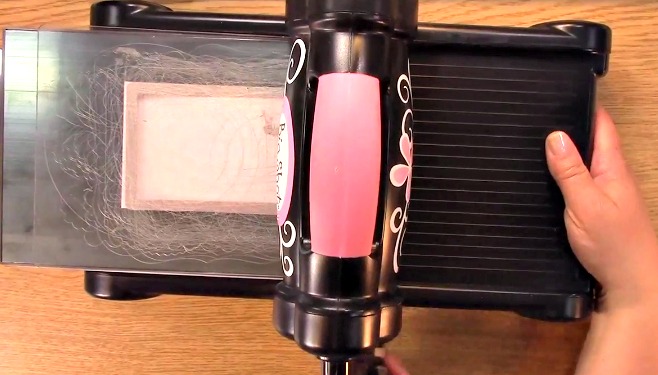
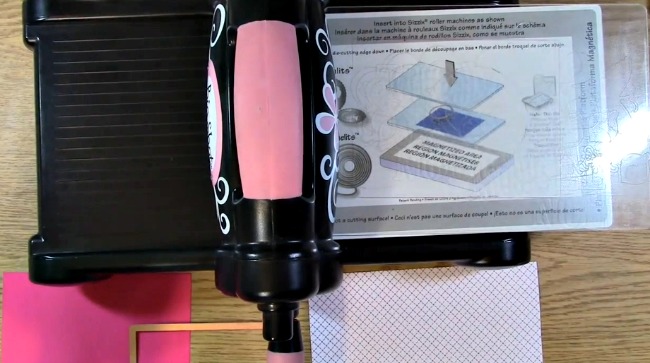
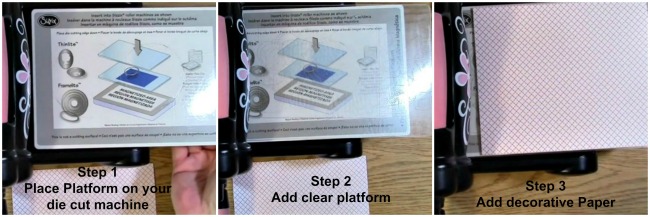
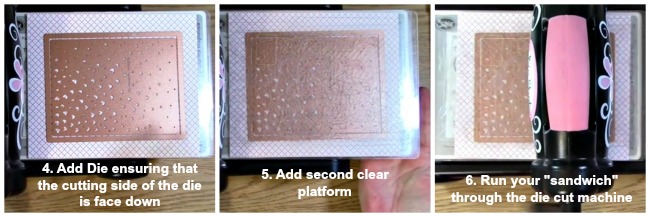
Take out your manual die cut machine, two clear platforms and your die. Place a clear platform down on the base of the die cut machine. You will then place your die, clear recycled sheet of packaging and then your second clear platform. Using the handle, run your packaging through the die cut machine.

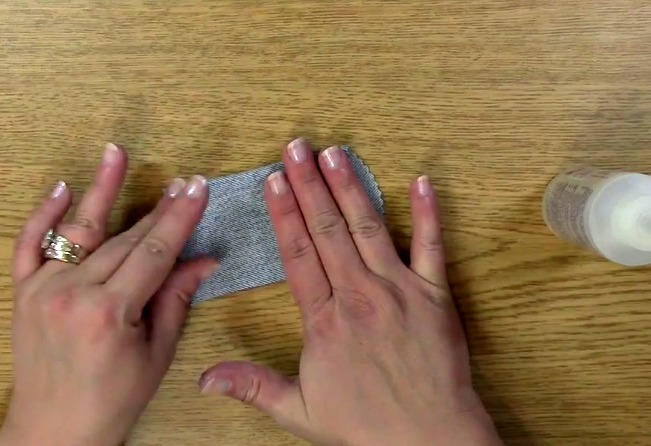
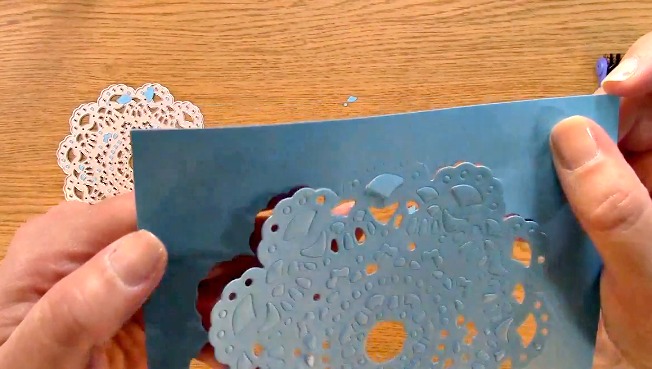
This is what it will look like once you have done that.

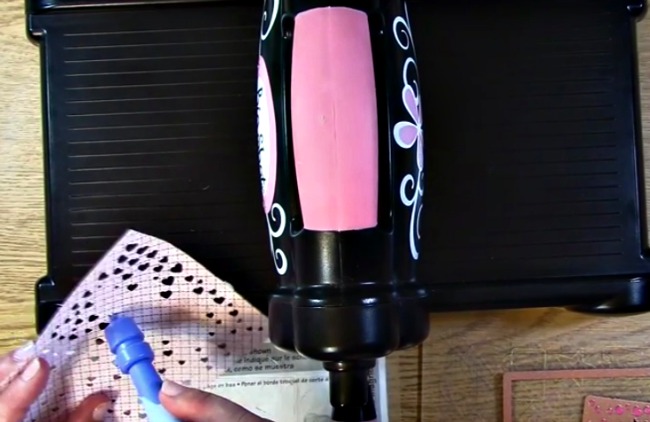
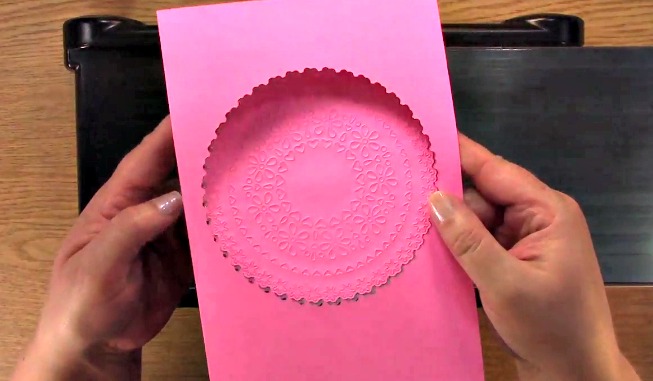
Take out your coffee cup embossing folder, regular platform, two clear platforms and your die cut machine. You can emboss just one side of your box like shown or you can do the entire box by folding your clear sheet in half and placing it in the folder.

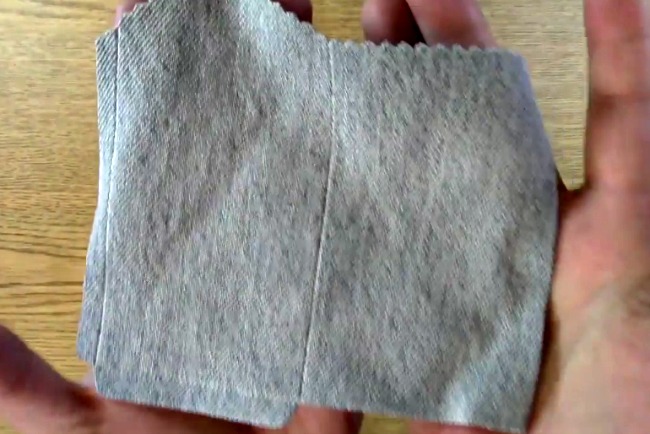
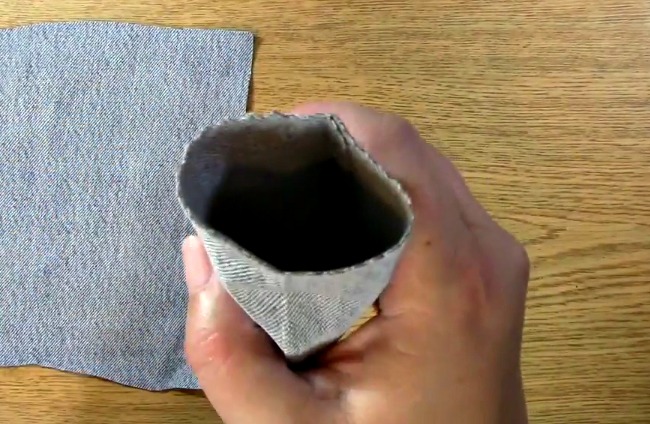
This is what it looks like once it has been embossed!

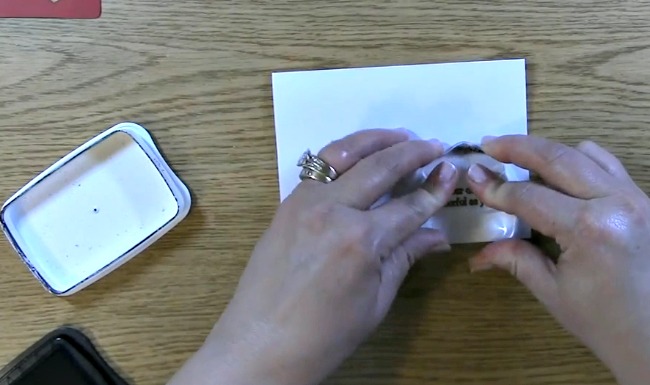
Fold your box where all of the creases are from the die cut.
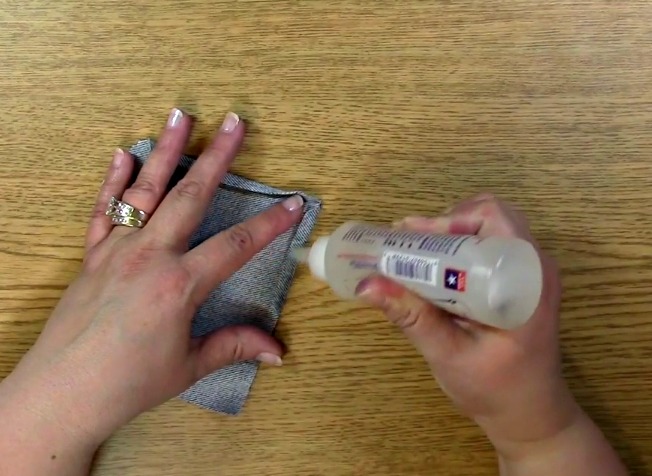
Take out your red tape or other strong adhesive.
Cut two pieces and adhere the two pieces of adhesive to the side of the box.

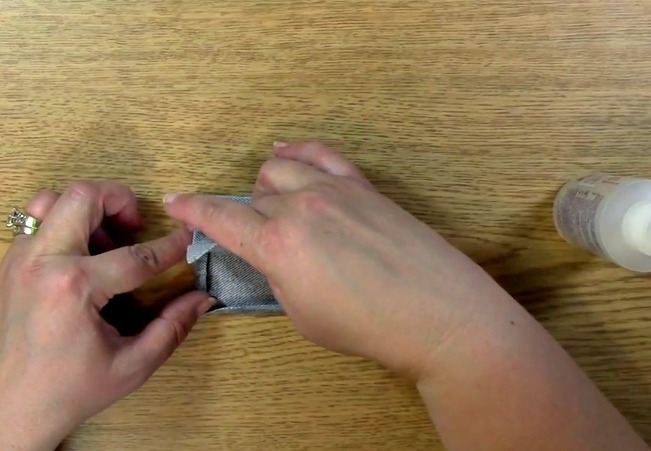
Remove the red protective piece revealing the adhesive.

Press firmly on the side of the box to the adhesive side ensuring its adhesion creating the box. You may lightly see some of the adhesive. If you do not care for that look, you can place paper on the outside of the box to cover it if you think it is too obvious. I personally thought it looked fine.

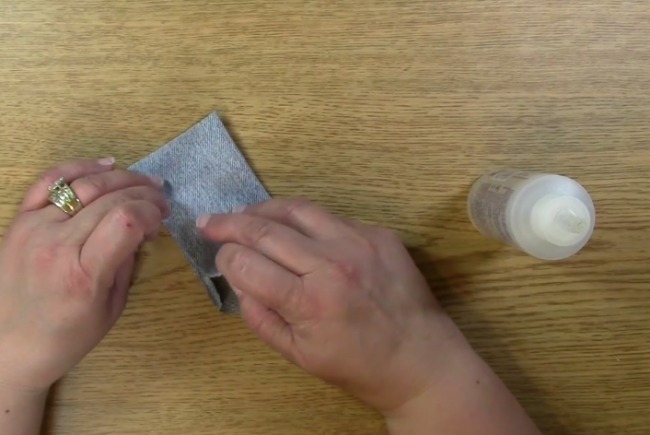
This is the die cut and embossed box before it has been put together completely and decorated.

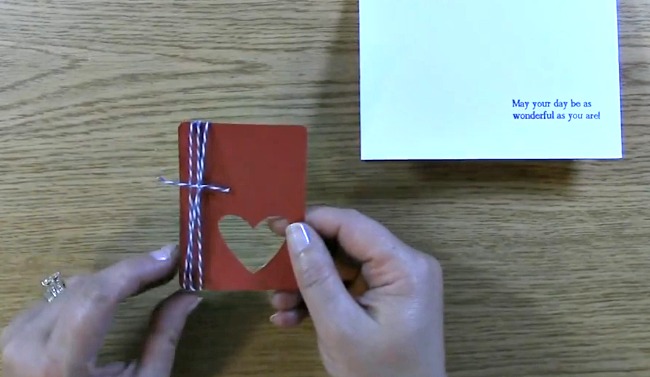
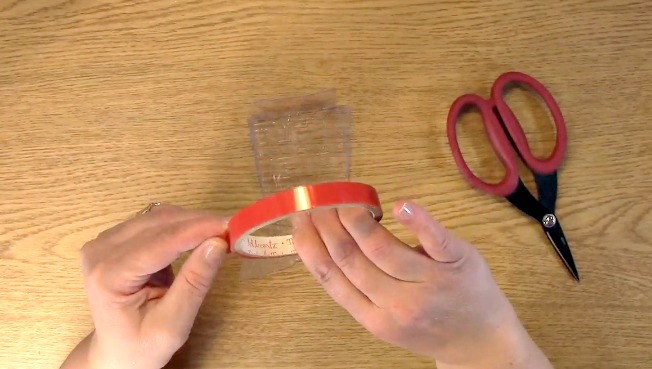
Take out your strip of paper.

Using the gift card holder, measure how large of a piece you will need to wrap it around so it overlaps a little bit.

Trim excess paper off of your creation.

Apply adhesive to the back of the decorative paper.

Wrap your paper around the box ensuring the paper has adhered to the gift card holder.

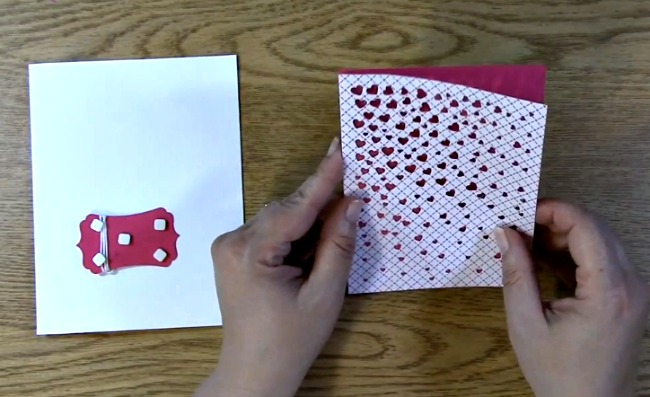
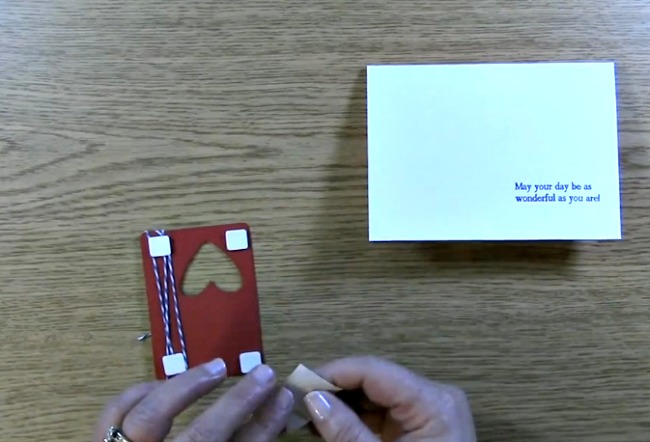
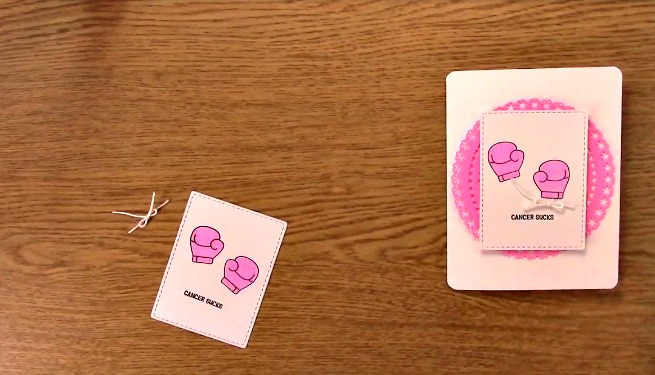
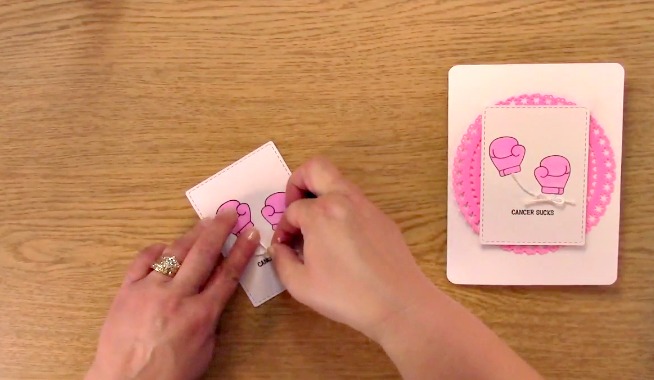
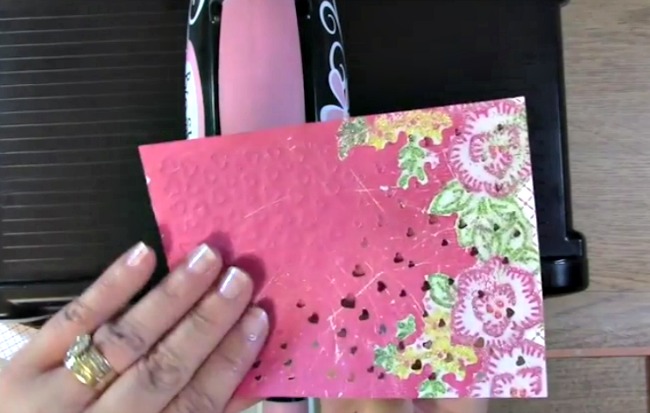
Take out your stamped image, 3-D foam piece and box. Remove the adhesive back to the foam piece.

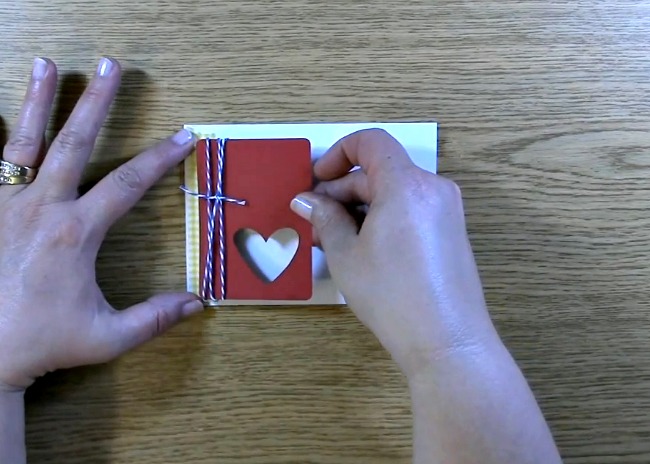
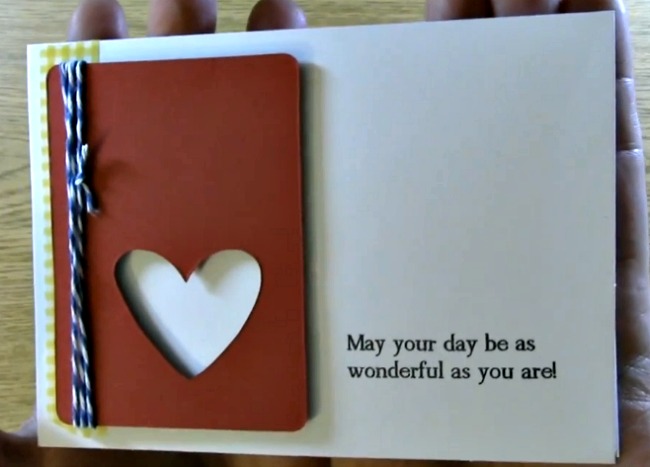
Place the foam piece on the back of the stamped image. Place the stamped image on the Quick and Easy! Coffee Cup Embossed Recycled Packaging Gift Card Holder Project.

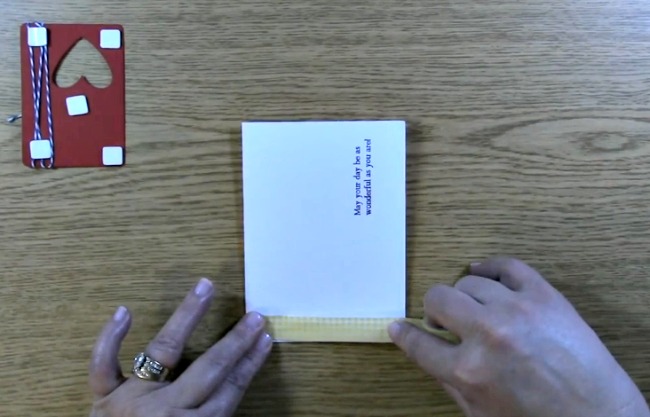
Your Quick and Easy! Coffee Cup Embossed Recycled Packaging Gift Card Holder Project is complete!
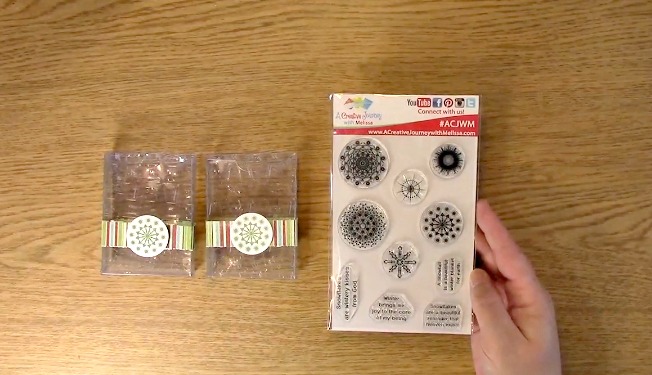
For this weeks giveaway, we are giving away the above A Creative Journey with Melissa Snowflake Beauty Stamp Set.
To qualify to win, you must be BOTH:
A public follower on YouTube, subscribe to our mailing list/blog posts and you may also comment on this blog post for an additional entry to win! Winners will be announced next week on our Mondays with Melissa blog post!
BE SURE TO check to see if you are a winner EVERY WEEK. If you do not contact me within two weeks of the announcement of winning, you will forfeit your prize. Thank you for your understanding.
Subscribe to BOTH with MATCHING NAMES to be eligible. If I am unable to match you with your subscription to both the email list and the YouTube Channel, you will miss your chance to win a prize. If I can’t decipher if you are a matching subscriber (if your profile doesn’t show publicly who you subscribe to) and I can’t confirm you have subscribed to both, you will not be eligible.

Now for last weeks GIVEAWAY we are giving away the A Creative Journey with Melissa Coffee, Tea and Wine – Oh My! Stamp Set.
Jaratzed. you are the winner! Please send me your contact information via contact page on our website, which post you are a winner from and I will get your prize out to you! Thank you so much for being a YouTube follower and subscribing to our mailing list/blog posts!
Thank you for joining us for the Quick and Easy! Coffee Cup Embossed Recycled Packaging Gift Card Holder Project. I hope I have inspired you to create something that can be a tradition and keepsake for years to come! We will be announcing the winners from the 2017 Winter Coffee Lovers Bloghop as well as this weeks giveaway next Monday. BE SURE TO CHECK BACK!
Have a wonderful week and thank you for going on A Creative Journey with Melissa.


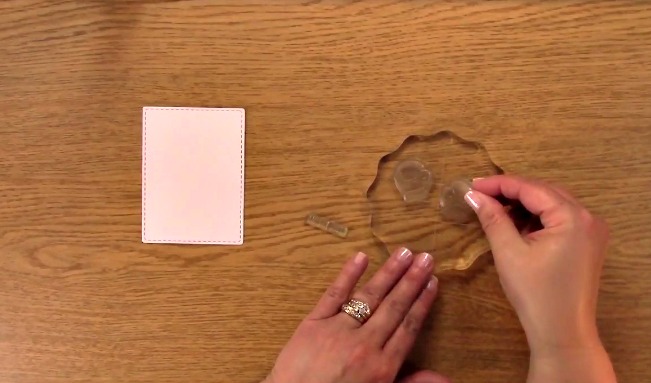


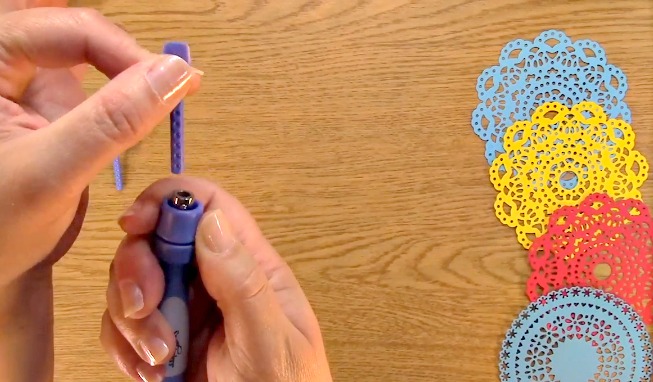


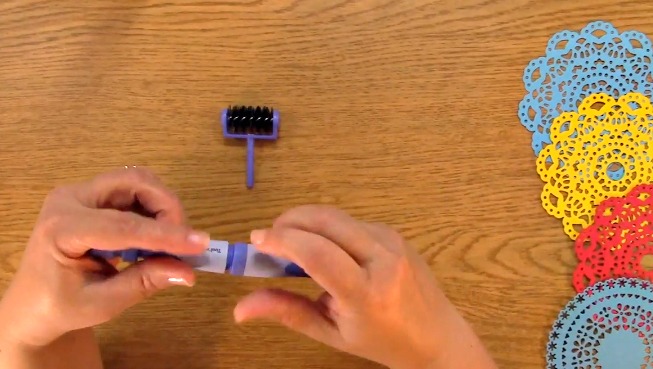

 Punch out any pieces that have not come off when removing. You can use the spellbinders tool as shown or really anything that has a point to it – but not too sharp of a point. Even a pen cap! Set aside.