Go Green! Reuse Jeans for an ADORABLE Pocket using a Die Cut!
If you are here for the Summer Coffee Lovers Blog Hop, Please go HERE
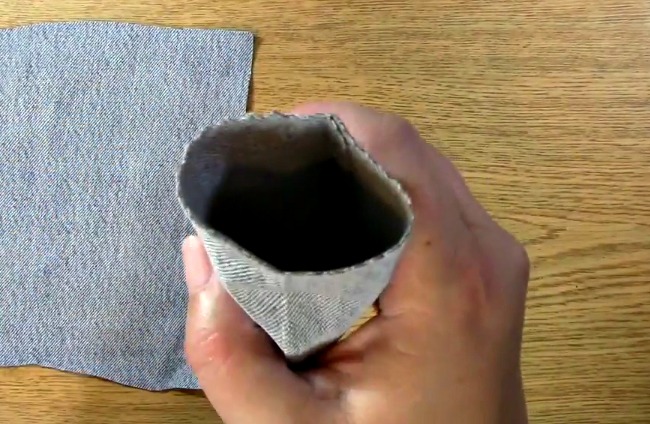
Go Green and reuse jeans for an adorable pocket using a die cut? Did you really see that? YES YOU DID! Who doesn’t love to create something cool and with texture? I know I sure do! In this video I will show you how you can use your everyday old pair of jeans through your manual die cut machine! Yes you really can AND you can create this adorable pocket which would work perfect for a gift card, business card or so many different things! I love how this came out and wanted to show you how cute it was not decorated and just plain all by itself. If you are anything like me, you are looking at this thinking of all of the wonderful things you can make with it!
Now whether you learn better by video or pictorial, we have you covered so let’s get started!
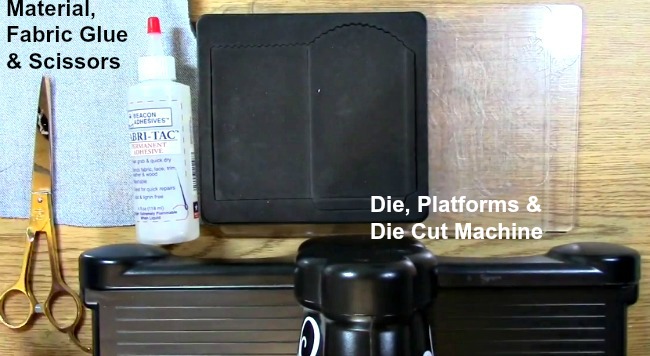
The supplies you will need are:
Jean material (or your material of choice)
Manual die cut machine and platforms
Die (Sizzix Die #659768 Pocket with Scalloped Edge by jillibean soup)
Fabric Glue (I use Fabri-Tac by Beacon)
Scissors
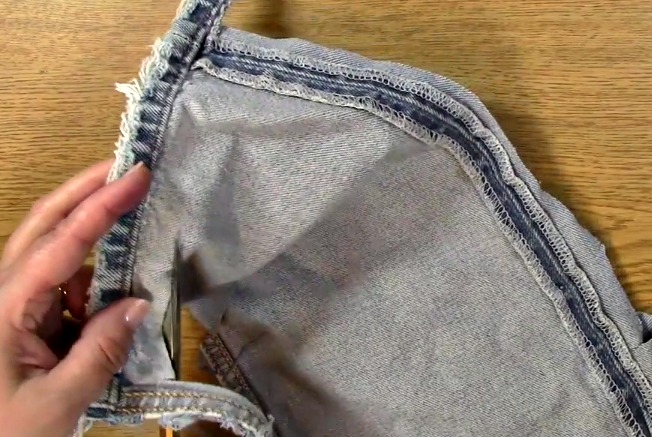
Take out your jean material and scissors. Cut the material on the inside of the seams so that you have a piece of material that will fit on your chosen die.
Take your material, die cut machine, die and platforms out. Starting with the bottom going up place items in this order:
platform
die
material
platform
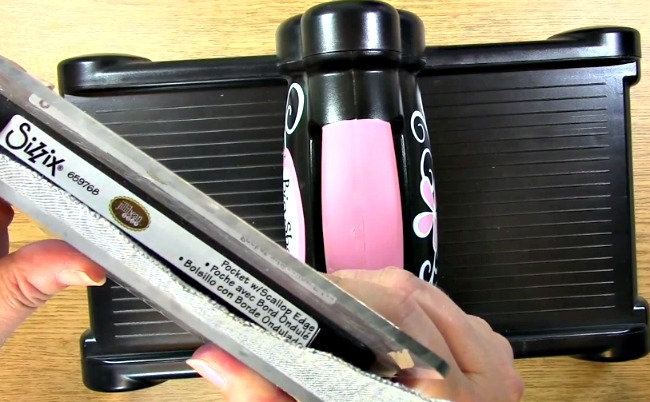
Run the “sandwich through your manual die cut machine.

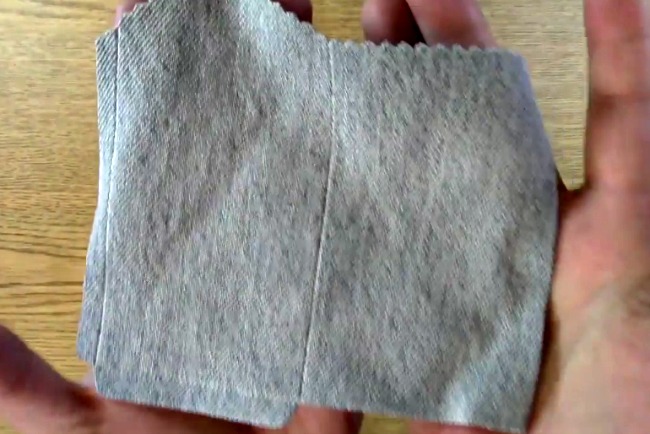
Take out your die cut material. Notice the creased lines from the die. This is where you will fold your material. I personally fold it in the opposite way of the fold as I feel it gives a better crease. so for this picture, you would fold your creases to the back.
Fold the material on the three crease lines.
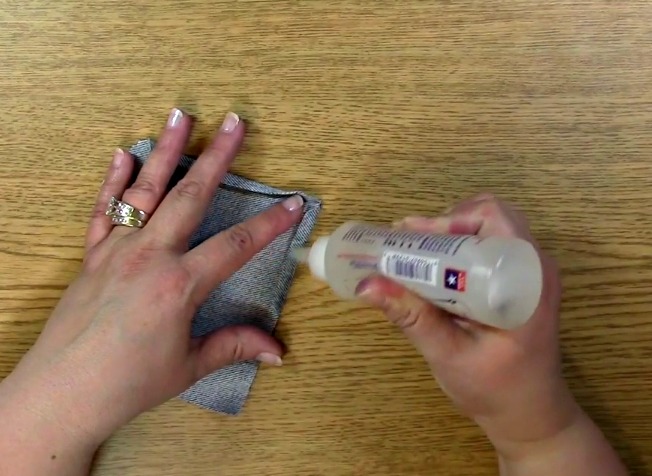
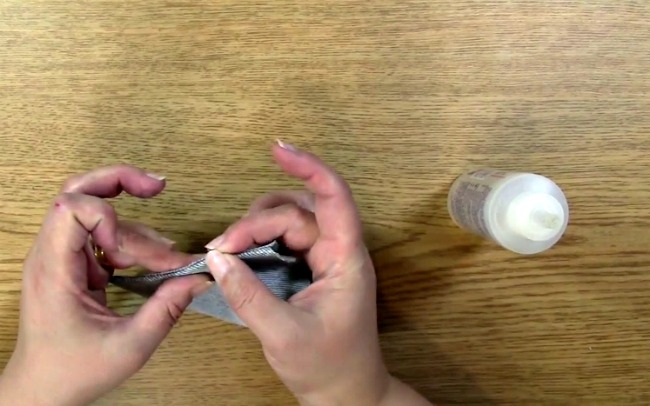
Take out your fabric adhesive (Fabri-Tac) and glue on the two folded in edges.
Fold over the flap and press the edges to make the envelope paying close attention to the corners so that they are folded in.
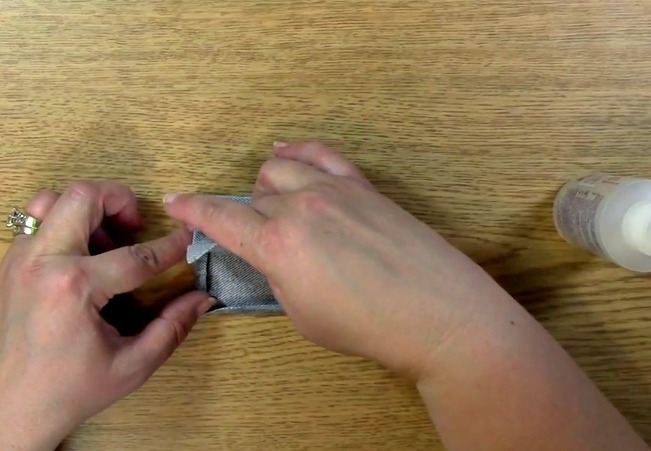
Press down on the edges squeezing out excess glue. Remove excess glue.
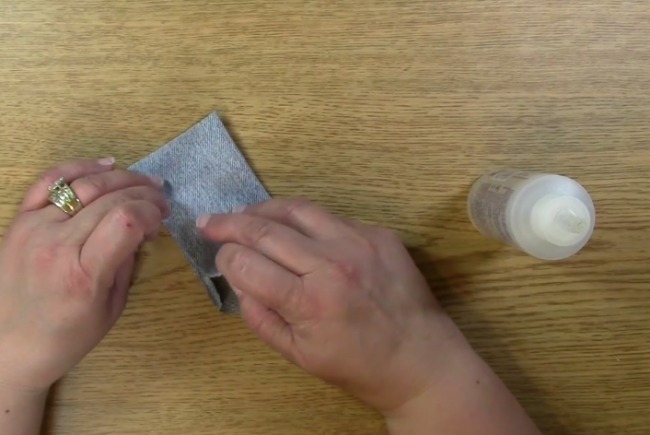
Place on flat surface reinforcing the edges by pressing firmly down on the folded areas.
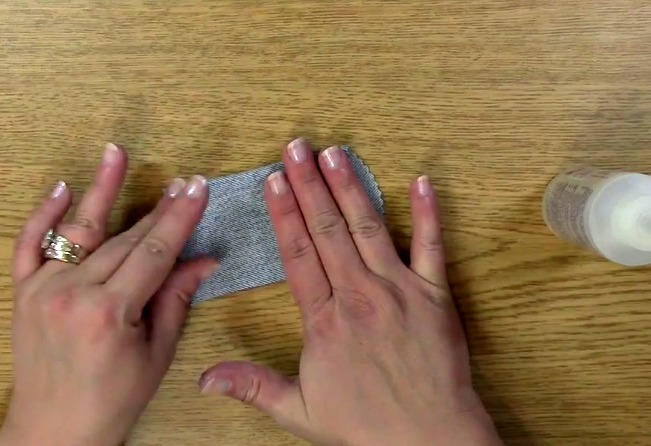
Set aside and let the pocket dry. Now your pocket is complete!!