
You’re my Superhero Autism Awareness Project
You’re my Superhero Autism Awareness Project is what we have for you today. Did you know Autism Awareness month is April? What better way to bring awareness than to create the You’re my Superhero Autism Awareness project! This is such a cool card. Like last weeks it is a slider card however this one is a little EASIER! I am really excited to show you this project and I love the way it highlighted the stamp image in the creation.

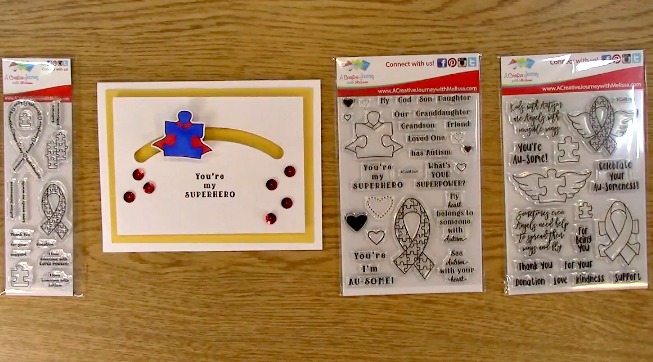
Supplies Needed for the You’re my Superhero Autism Awareness project
Manual Die Cut Machine (Sizzix Big Shot)
A Creative Journey with Melissa’s Awareness Ribbon Set #5 – See Autism with your Heart Stamp Set
Stamp Block
Ink
Card Base
Yellow Card Mat
White Card Front Cover
Glue Dots
Adhesive
Red Sequins
Circle Pop Dots
3-D Adhesive lines or Squares
Two Pennies or Washers
Stampin Up Sliding Star Framelit Die

This is the You’re my Superhero Autism Awareness Project we are creating. I love the way it moves and is such a motivating energized card. Exactly what you would want to bring awareness, right?

To start the You’re my Superhero Autism Awareness Project you will need to take out your A Creative Journey with Melissa’s Awareness Ribbon Set #5 – See Autism with your Heart Stamp Set your ink, stamp block and stamping paper.

Ink your stamp thoroughly.

Stamp your image on the stamping paper. You can make a few extra so you have them on hand for your next project.

Take out your Chameleon Pens RD4 and BL6. Using the BL6 color in the puzzle piece in your image.
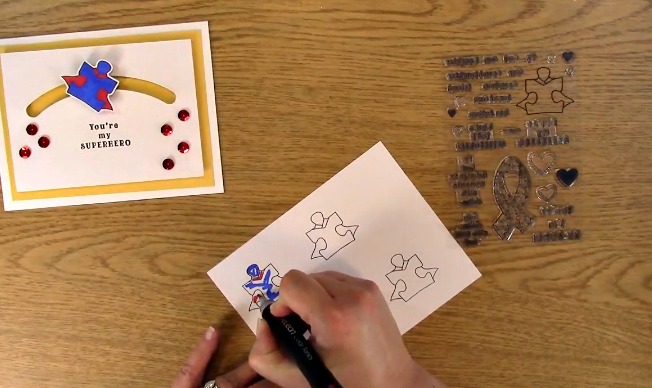
Using your RD4 Chameleon Pen, color in the cape on the image.

This is what your image will look like once it has been colored in.

You will now be cutting out the front of the card where you will be creating your slider. Take out your white piece of paper and manual die cutting machine for the for the front of the card.

Place your base platform, clear platform, paper and die on the die cut machine.

Be sure to center your die where you want it on the card so that it cuts properly.

Place your clear platform on top of the paper and die.

Run your die and paper through the die cut machine.

This is what it will look like once you have done this.

Take out your stamp sentiment, ink and stamp block. Stamp the sentiment as shown above.

Using your Glue dots, place your sequins on the glue dots.

Place your sequins on your card front for decoration.

This is what it will look like once you have done this. You don’t have to do it exactly as I have, this is just for a reference for placement. It’s your creation so make it your own!

Take out your circular pop dot. Be sure that it fits in the channel for your slider card. If not, be sure to trim it down and round the edges. This will help with the flow of the slider card.

Place your pop dot on your penny as shown above.

Take your other penny and place it on the top of the penny like a sandwich with the pop dot in between both pennies.

Put adhesive on the back of the colored image. Place the colored image on the back of the penny.

This is what it will look like once you have done this.

Carefully place one side of the penny on one side of the channel as shown.

Place the other half of the side under the other side of the paper like shown.
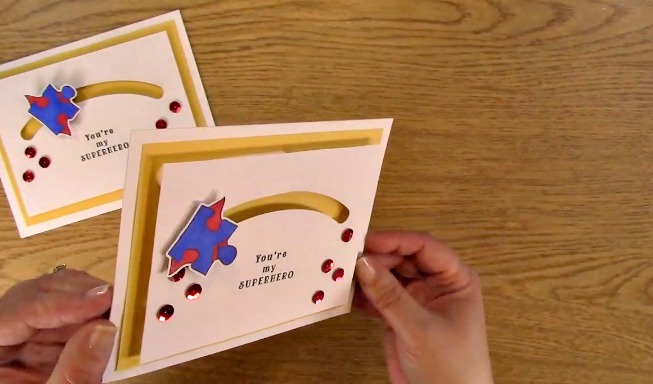

Moving your card left to right, watch your image flow across your card. If you are having issues with it. Guide your image back and forth a few times in the channel to ensure it’s ease of movement.

This is what your You’re my Superhero Autism Awareness Project will look once it is done!

Now, for the GIVEAWAY!
This week for our Giveaway, we are giving away a $15.00 gift certificate for our store!!
To qualify to win, you must be BOTH:
A follower on YouTube, subscribe to our mailing list/blog posts and you may also comment on this blog post for an additional entry to win! If you do not contact me within two weeks of winning, you will unfortunately, forfeit your prize. Thank you for your understanding.
NOTE: Be sure you are not subscribed with two different names. If I am unable to match you with your subscription to both the blog and the YouTube Channel, you will miss your chance to win a prize. If I can’t decipher if you are a matching subscriber (if your profile doesn’t show publicly who you subscribe to) and I can’t confirm you have subscribed to both, I won’t be able to enter you in for the prize. **DO NOT COMMENT WITH YOUR ENTIRE EMAIL ADDY. Only give me the first 6 NOT INCLUDING YOUR HOST. Just enough for me to match your name will work perfectly. Your understanding is appreciated. 
Now for last weeks WINNER of the Chameleon Pastels 5 Pack of pens shown in the video above valued at $24.99!!!
The WINNER IS T. Hall !!
For the Coffee Lovers Blog Hop the winners are:


