

Coffee Spinner Slider Card
Coffee Spinner Slider Card is what we have for you today. This Coffee Spinner Slider Card is a fun moving card that ANYONE would love to receive! It is super easy and you will have so much fun creating it! I am so excited and inspired and hope to do the same for you!
If you are here for the 2017 Spring Coffee Lovers Blog Hop, go here but be sure to read this post because this coffee card is too awesome to miss!
Are you ready? Let’s get started!

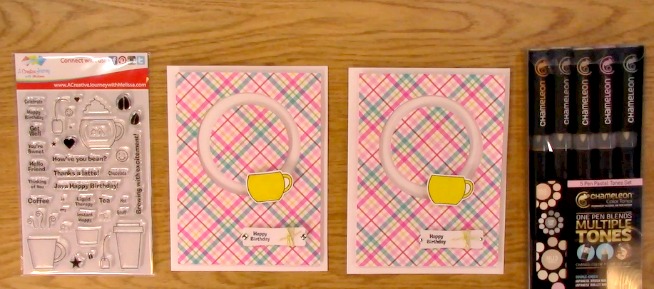
Supplies Needed for the Coffee Spinner Slider Card
A Creative Journey with Melissa Coffee is my Liquid Therapy Stamp Set
Manual Die Cut Machine
Adhesive
3-d Foam Squares and small dots
Paper to stamp sentiment on
Twine
Two pennies or washers
Ink
Scissors
Punch
Jelly Roll Clear Star Pen
Rhinestones
Glitter Pen
141820 Big Shot Framelits Sliding Star Die Set *
Patterned Paper
Card Base
*If you are interested in purchasing the Stampin Up Sliding Star Die set to create this Coffee Spinner Slider Card, please go to Brandie’s Website HERE and I KNOW she will take very good care of you!
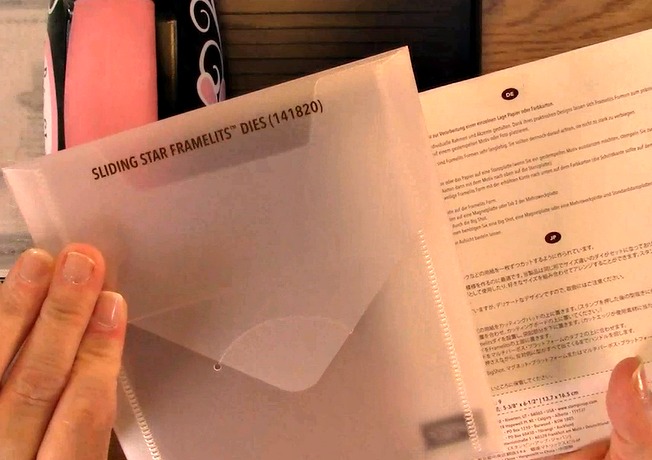
For the spinner card, you will need to take out your Stampin Up Sliding Star Framelits Die Set.

Using the circle die as shown above in the set, be sure that the cutting part of the die is face down on the paper.

Put the cutting part of the die face down and centered where you would like it on your paper.

Place your paper and die on your platform and clear platform where you would like it cut.

Once you are ready to cut it, place the second clear platform on top of the die.
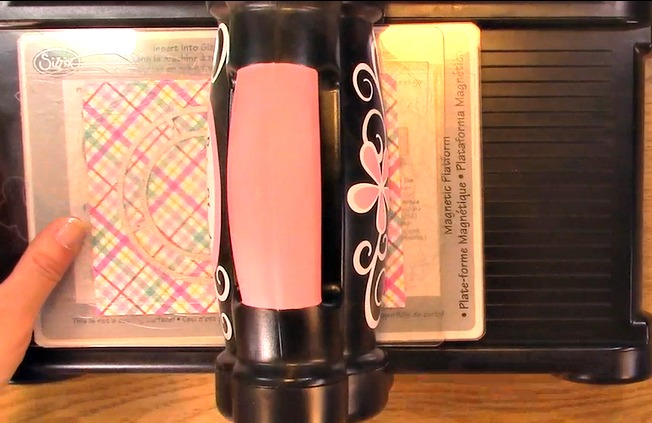
Run your die through your manual die cut machine.
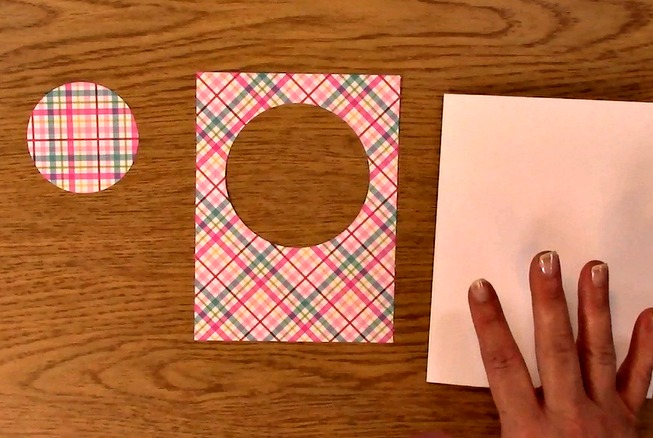
Here are the parts you keep to use for your Coffee Spinner Slider Card. Take out your card base as well.

You will need thin foam strips and foam squares for the next part to put your card together.

This is how I placed my foam squares and strips. It is important to place the thin foam strips on the top of the circle and the sides so the item that is spinning doesn’t get stuck on the adhesive strip.

Adhere the die cut patterned paper on top of your card base.

Cut one of your foam squares in half.

Place two foam squares and two halves on the back of the circle from die that was cut from your patterned paper.
Make sure the foam squares will NOT be int he way of your spinner or else it will get hung up and not spin properly.

You will place the circle in the center of the cut out circle on your card base.
BE SURE IT IS CENTERED or else it will not spin properly.
It is MUCH EASIER if you use a patterned paper for this part as you can line it up to ensure it is centered.

Take out your SMALL foam dots. I did try the larger foam dots. They did not work. They got hung up in the track for the spinner and it was not flowing properly. These foam dots work PERFECTLY so I am sticking with the smaller ones.

Place your foam circles in the middle of your penny or washer. These foam dots were thin so I stacked three together.

They aren’t exactly perfectly lined up but it still works perfectly!

Take your other penny and squish it so it is like a sandwich so it looks like a penny sandwich with your dots inside.

This is what it will look like once it is stuck together.

Now you are going to take your card base and place your penny sandwich with one side of the penny under the patterned card base and one side of the penny on top of the card base.

This is what it will look like once you have put the one side under the card base.

Now you will take the right side of the penny and inside circle and gently place it inside the penny sandwich as shown.

This will allow you to have the item around the circle spin. Move your card around to be sure that the spinner is working. If it doesn’t work check to be sure both sides are even, your foam dot isn’t too large and the penny’s are both centered. You should be good to go!

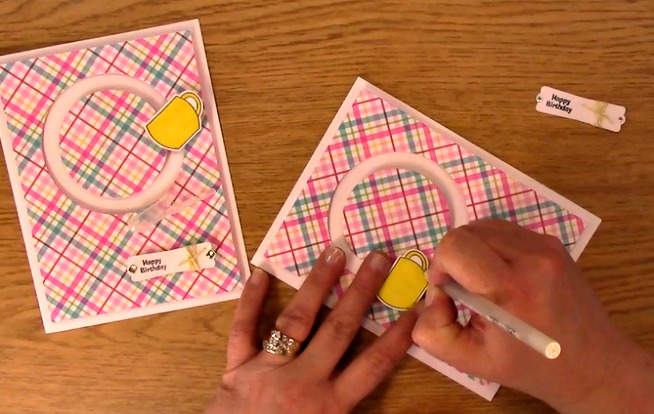
Stamp the image you want to place on your spinner. This image stamped out and had cut it out with my Brother Scan and Cut 2. HOW COOL IS THAT? I will be showing you how to use it in future posts.

Since I didn’t need to fussy cut my image, I just took out my Chameleon Pen and colored my image.

I placed adhesive on the back of my image.

You will then want to adhere your image to your penny so that your image will be the spinning part of your project.

Next, take out your A Creative Journey with Melissa Coffee is my Liquid Therapy Stamp Set.

You will also need your stamp block, ink and paper to stamp sentiment on out. Stamp your sentiment.
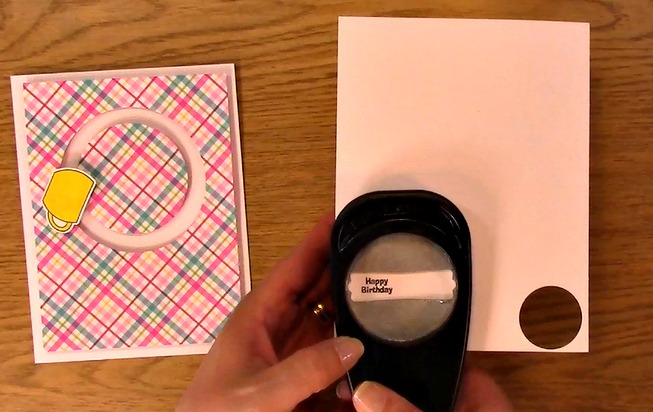
Punch out your sentiment.

Using your twine, wrap your sentiment and tie it in a knot.

Cut off your excess twine.

Take out your rhinestones and place one on either side of your sentiment as shown.

Take out your Jelly Roll Clear Star pen.
Using your Jelly Roll Clear Star pen, outline your coffee cup stamped image to give it a little bling.

Using the pen gives a subtle glimmer effect to your image.

Place foam squares or dots on the back of your sentiment to give a 3-D effect.

Adhere your sentiment to your card.
Your card creation is COMPLETE! YOU DID IT!!


