
Mat Board Embellishments Using Your Sizzix Die Cut Machine
Mat Board Embellishments? Never heard of that before? Well, you are in for some FUN! I like to use mat board to create little books, planners, calendars and all kinds of different crafty things. I had some in my stash so I thought why not create a little embellishment for my card with it? That’s exactly what I did!
Die Cutting Mat Board
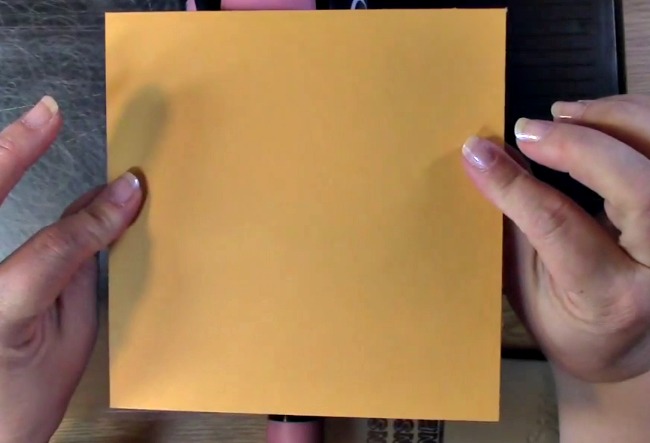
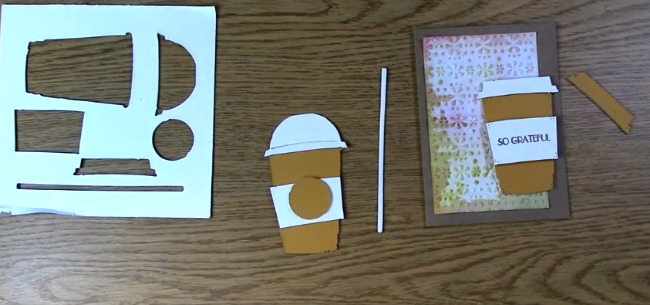
Mat board it is a pretty thick material. When you are die cutting mat board, you want to be sure you don’t use the thin dies. I use the thicker Sizzix dies which work really well with this material. What I have found that works best is to use your die a little bit sideways still ensuring it fits in the die cut machine.
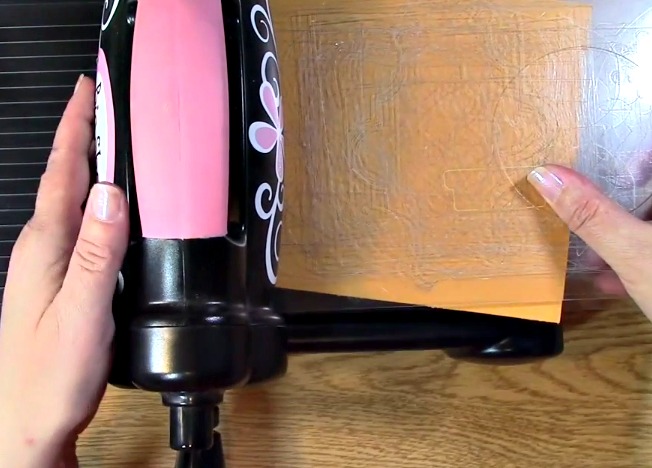
I ran my mat material completely to the left
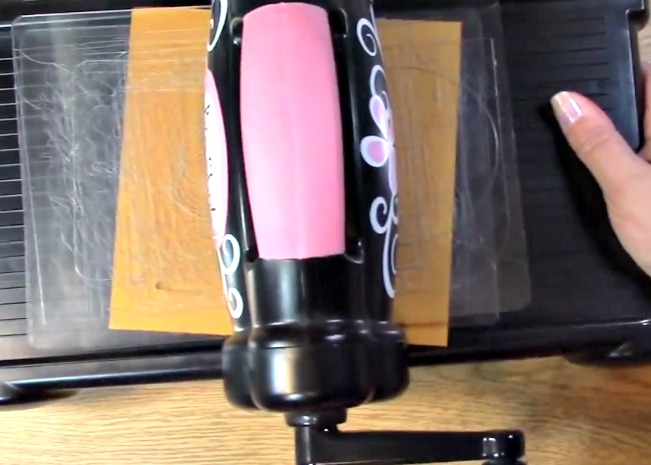
Then, I ran my mat back through to the right without ever removing it.
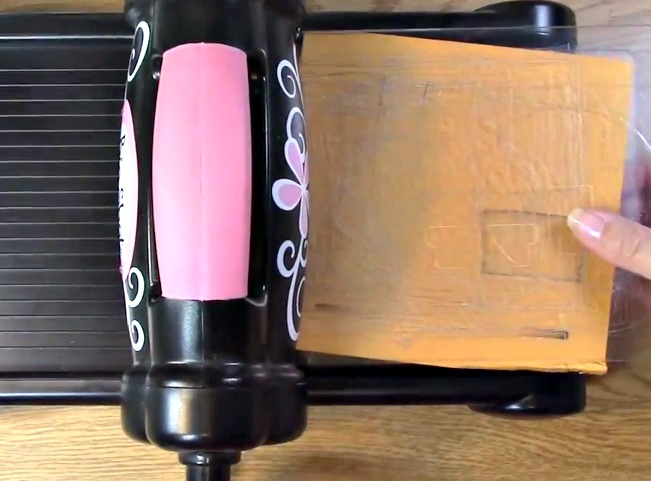
You will run it one way and then literally run it back the other way so that you can be sure it has cut through the thick material. It works!
There are SO many things you can do with this material. You can paint it, use your chameleon markers on it, ink, water color… oh the list is endless… I hope you play with this material and enjoy the versatility it has. We would love to hear what you come up with!
The Card
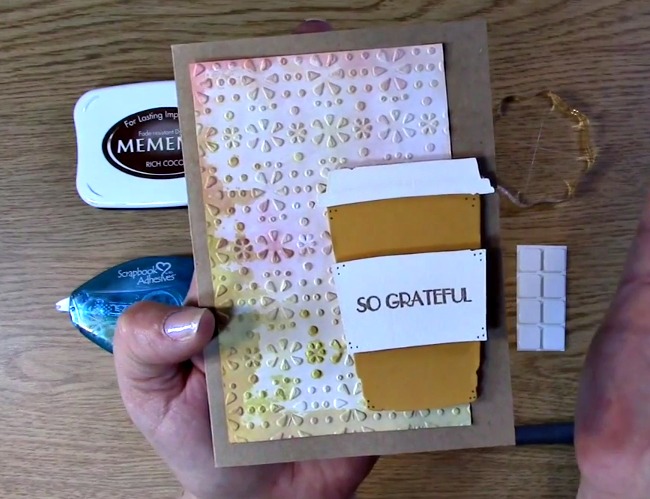
I created this card using the mat board and die cutting it for the coffee cup embellishments. I really love the sturdiness as well as the awesome fall color of the mat board itself! I love how it came out! I used kraft paper for the card base, I then glued the background paper we created in last weeks YouTube video using ink and water to create your own background paper with embossing folders. Once that was done, I stamped So Grateful on the coffee sleeve from the Fall and Winter Holiday Sentiments stamp set. I adhered 3-d foam squares for the coffee sleeve and placed them on the coffee cup. I used adhesive on the back of the coffee lid to attach it to the coffee cup. I also used adhesive on the back of the coffee cup to adhere it to the card on top of the background paper. I used my gray marker to add a few dots for design elements. Project complete!
Thank you so much for joining us today! Be sure to connect with us on our other social media platforms as well as our blog and YouTube channel. We don’t want you to miss out on some fun stuff we have coming up! Don’t forget we have a sale going on at our store up to 40% off! Yes really! Grab those items you have been waiting to get while you can! Sale ends October 7th. We hope you enjoyed going on A Creative Journey with Melissa.

If you are looking for the winners of last weeks Fall Coffee Lovers Blog Hop look HERE.


