
Sympathy Card Part 1- Custom Coloring your Embellishments
Sympathy Card Part 1- Custom Coloring your Embellishments is what we have for you today. Sadly, I needed to make a few sympathy cards due to a death in the family. In the first part of this two part series, I am going to show you how to color your clear embellishments to create a custom color for your embellishment.
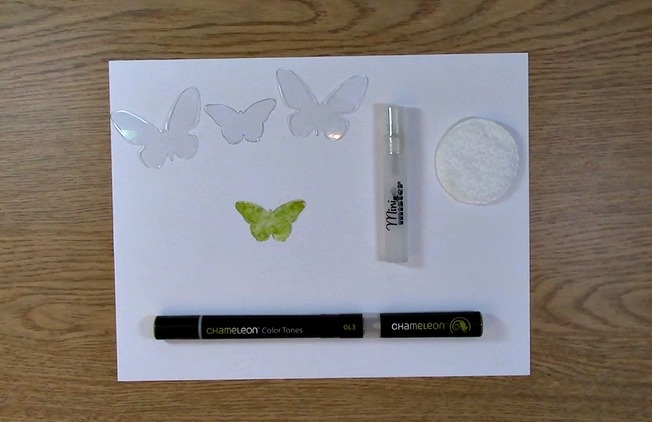
Supplies Needed for the Sympathy Card Part 1- Custom Coloring your Embellishments project
Clear Embellishments

Make up cotton pad or applicator
Alcohol Blending solution or Alcohol preferably in a small sprayer
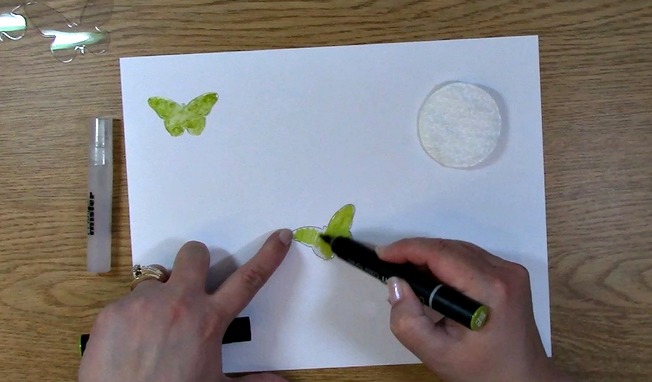
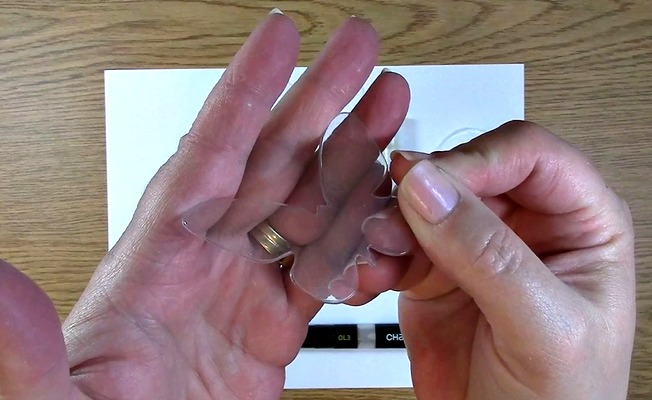
Take out your clear embellishment and your OL-3 Chameleon Pen
Color your clear embellishment with your OL-3 Chameleon Pen.
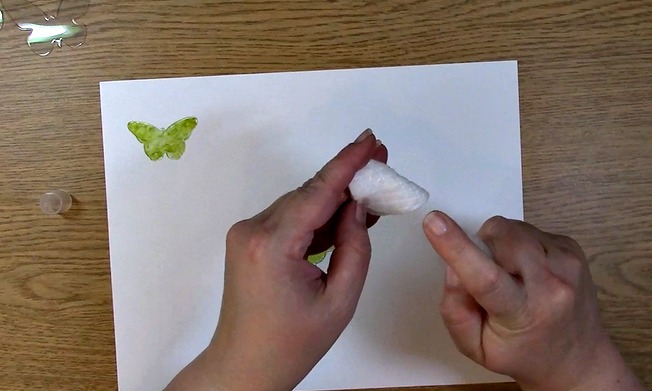
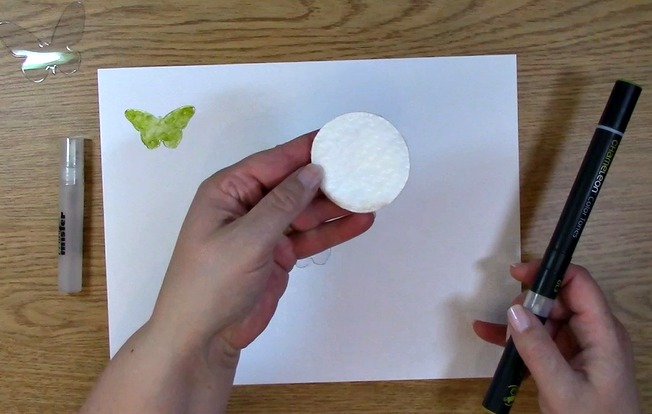
Take out your cotton make up pad and alcohol blending solution sprayer.
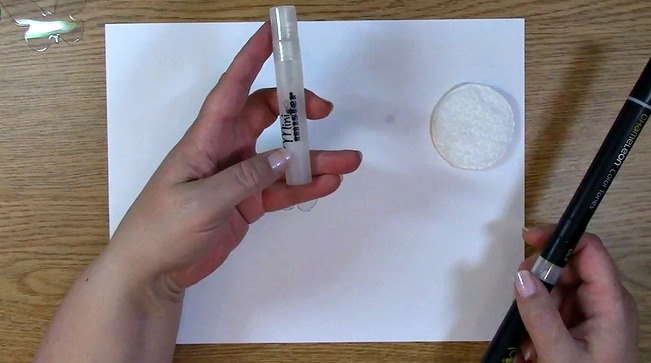
Spray the pad with the alcohol lightly.
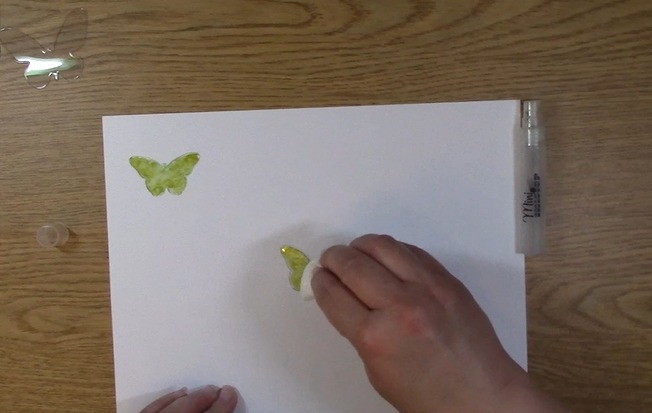
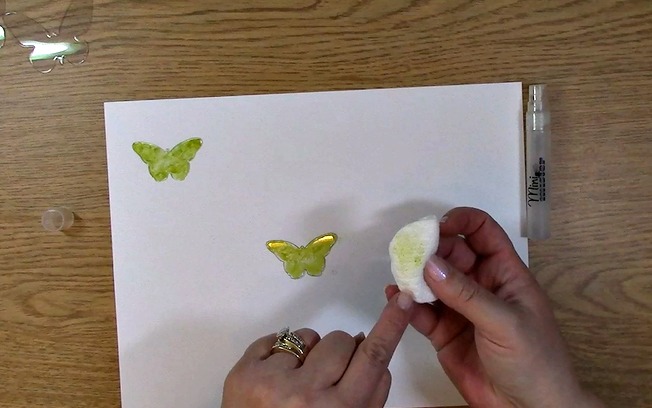
For the Sympathy Card Part 1- Custom Coloring your Embellishments, you will gently pat the colored embellishment with the alcohol sprayed cotton pad until you get the desired texture and look on the embellishment.
This is what it will look like on the pad. You are basically taking off some of the ink from your embellishment to give it texture. If you want to take more color from it, add more alcohol to the make up pad and you can continue to do so to get the desired effect.
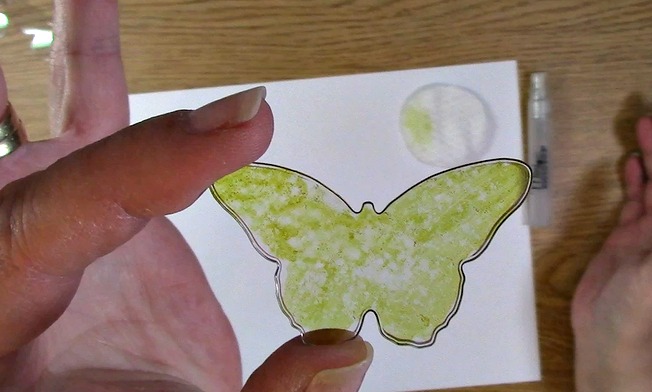
Here is a closer look of the embellishment once I applied the alcohol on the pad to the colored embellishment.
Now that I have created the embellishment be sure to stay tuned for next weeks video on creating the sympathy card that will have this embellishment on it as part of the card design.
We hope that you enjoyed this tutorial and we appreciate that you took the time to visit us today. Please be sure to subscribe to our blog and our YouTube channel for future tutorials, awesome craft hauls as well as product reviews and giveaways!
Thank you for joining us and we hope you enjoyed going on A Creative Journey with Melissa.


