
Go Green! Use Recycled Packaging and Remove Alcohol Ink with Archival Ink Technique
Go Green! Use Recycled Packaging and Remove Alcohol Ink with Archival Ink Technique is such a neat technique and I really think you will use this over and over and over again. Did you ever want a little color to your creation or wanted to use the negative space of a creation but weren’t sure how? This will show you how amazing versatile your stamps are and how you can create a negative space that you can remove ink from your creation to make even MORE of an impact! Are you ready? Let’s get started!
If you have watched my videos, I like to reuse packaging material in my creations. What better way to showcase this but with a Breast Cancer Awareness card! October is Breast Cancer Awareness Month and I thought this would be a great way to highlight this cause. WHO doesn’t love shopping, right? Well, when I shop for crafty fun stuff, I love to purchase dies. Many come in acrylic clam shells. I love to cut them up so that I can reuse them later for a project. This is EXACTLY what I did here!
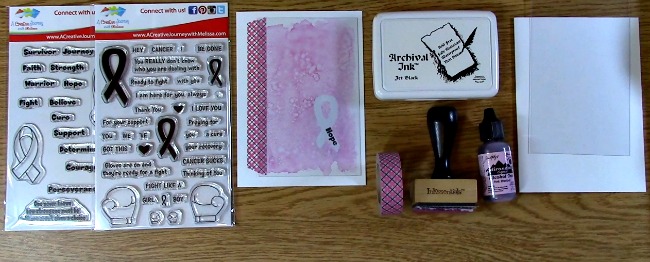
Supplies you will need:
Recycled Clear Packaging or Clear Acrylic Sheet
Ranger Alcohol Ink
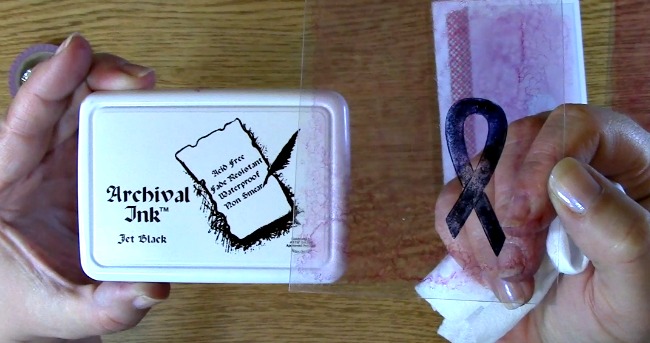
Ranger Archival Ink – Jet Black
Ink Tool and Cotton Pad (optional-you can use cotton balls or make up applicator pads)
Washi Tape
Paper Towel or DRY wipe
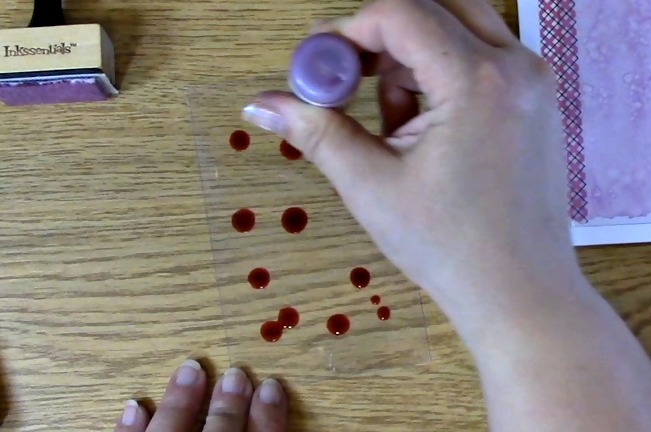
First you will want to take out your recycled packaging or clear sheet, your alcohol ink and applicator. Drip 10-12 drops of the ink onto your clear packaging.
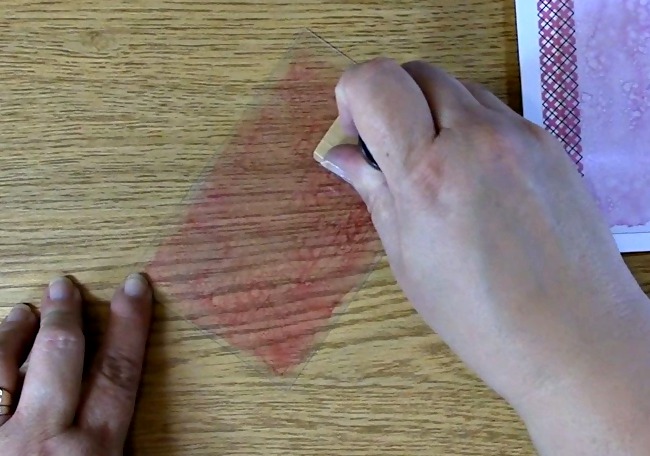
Use your applicator to move the alcohol ink around by tapping, sliding or dabbing so that you have all of the area covered in a design you enjoy.
You can stamp immediately onto the surface or you can let this dry for 3-5 minutes. If you do it while it’s wet, sometimes the stamped image can smear so be sure you don’t allow it to slip around. To add your image, put your stamp on your stamp block and ink your stamp with archival ink.
Stamp your image onto the clear packaging you have colored.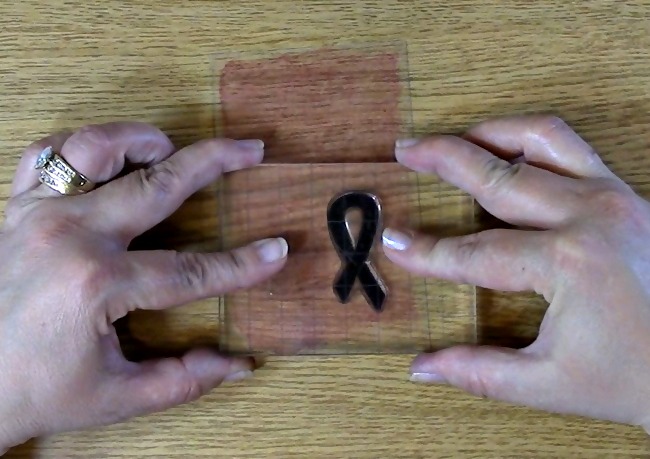
Be sure you use the archival ink for the image to ensure the ink will get the desired effect on the project.
Wait until mostly dry to completely dry (2-5 minutes) Take out your paper towel or dry wipe. Wipe off the black archival ink.
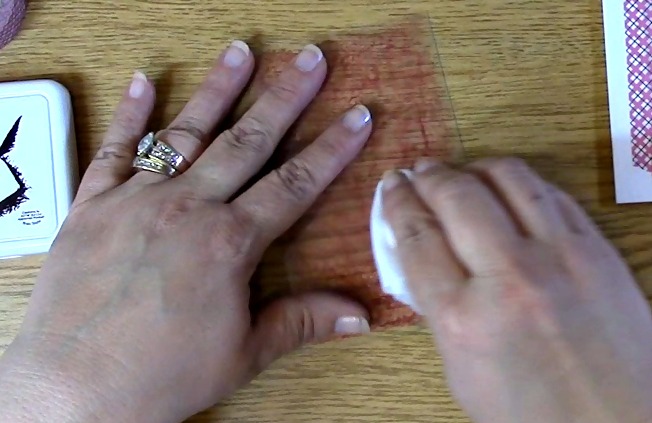
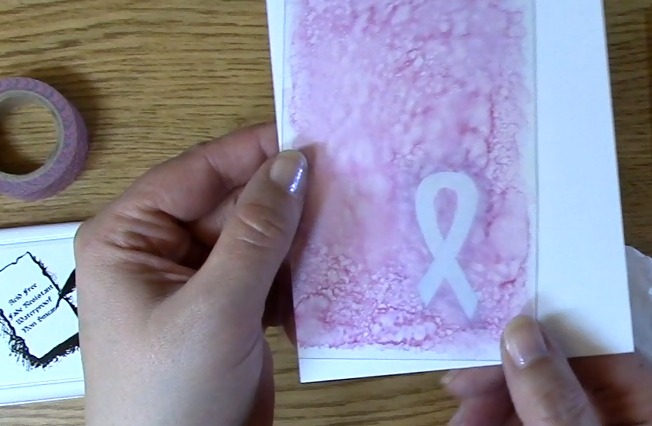
You will be left with the negative image that you stamped. This means that where you stamped your image, it is now clear and the outside colored area remains highlighting your stamped image.
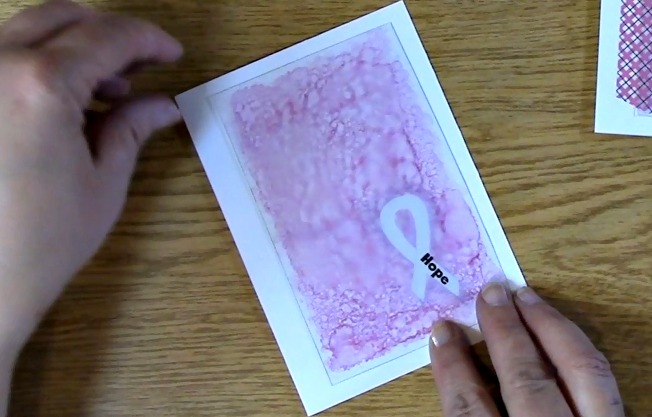
To put the card together, you will take the card base and stamp the sentiment onto the card base approximately where it will show through the clear space created by the technique.
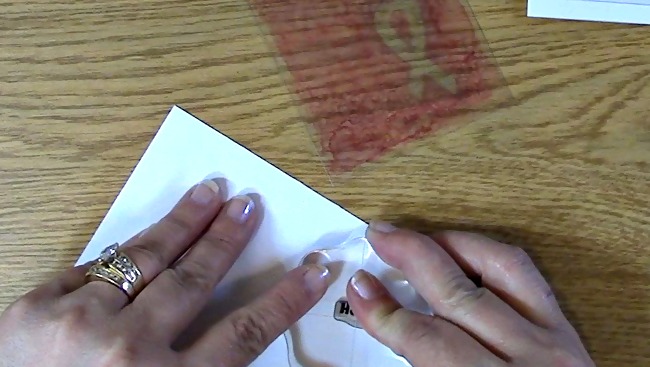
Take the completed technique clear material, place it over the stamped sentiment and line it up.
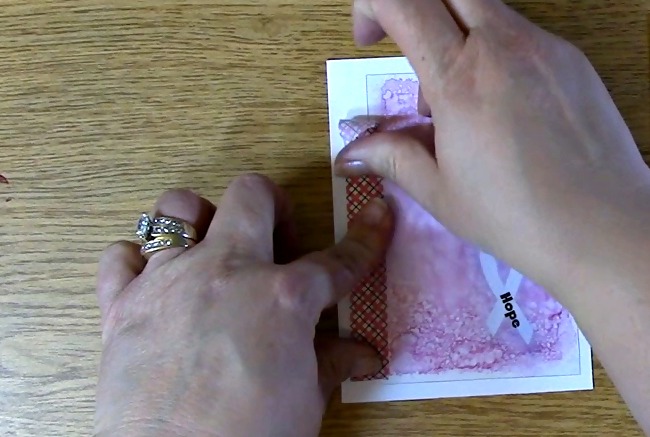
Take a piece of washi tape and adhere the washi tape to the clear packaging material. Line the material up to the card base and adhere the washi tape to the card base.
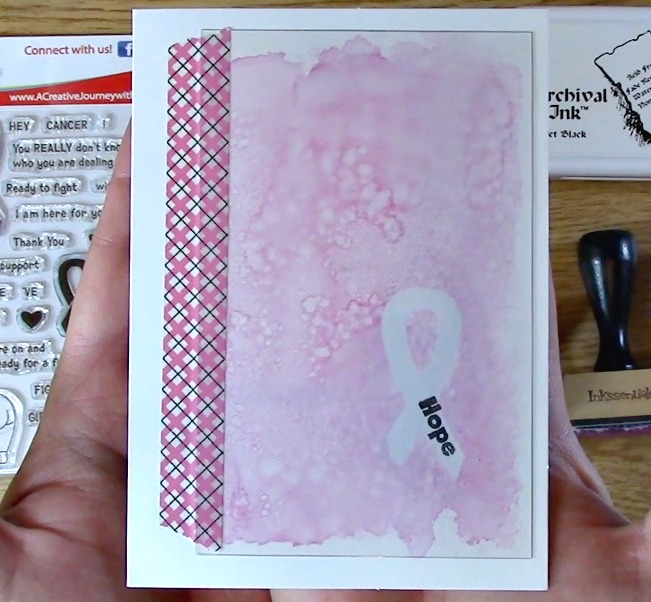
Your project is complete!
Thank you so much for joining us today. We hope we have inspired you and would love to hear what you have done using this technique. Have a wonderful day and thank you for going on A Creative Journey with Melissa.


