GO GREEN CRAFTS! Alcohol Markers and Packaging for an Embellishment
Who doesn’t like GO GREEN CRAFTS? I love to find uses for otherwise thrown out items or to repurpose items too. In this tutorial we will color with Chameleon Alcohol Markers and will reuse packaging material for an embellishment on a Father’s Day card. Whether you like to learn by video or pictorial, we have you covered! This tutorial will open up a HUGE MOUNTAIN of ideas and we hope you share what you do! Let’s get rollin’!
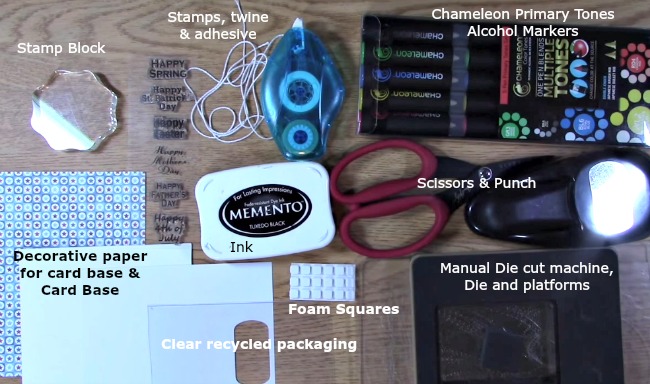
Here are the supplies you will need to create this card:
2 1/2″ Round Clear Stamp Block
Decorative Paper
Card Base
Paper to Stamp Sentiment on
Spring and Summer Holiday Celebrations Stamp Set
Adhesive
White Twine
Scissors
Punch
Manual Die Cut Machine (sizzix)
Die and Platforms
Chameleon Primary Tones Alcohol Markers
Clear Recycled Packaging
Ink
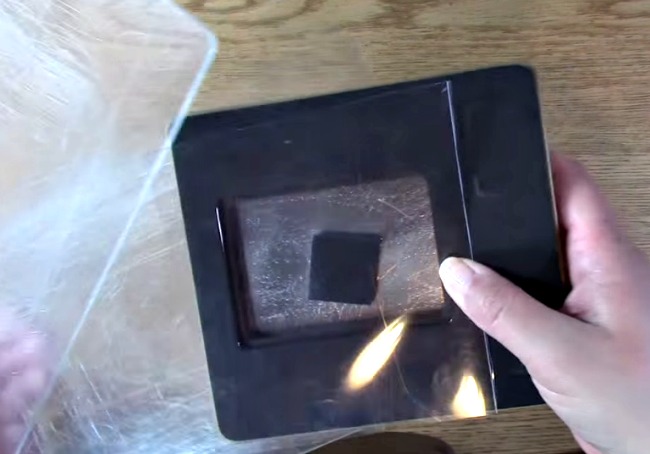
Take your recycled packaging material, die, manual die cut machine and platforms out. Place your recycled plastic material on the die where you want it to cut.
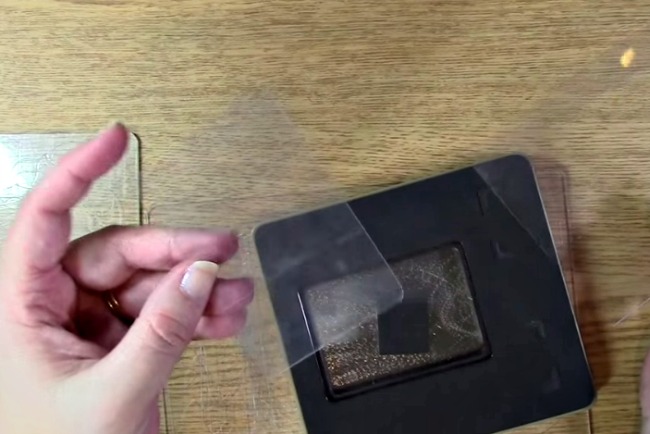
Run the die through the machine with appropriate platforms. Take out the die cut piece for your creation.
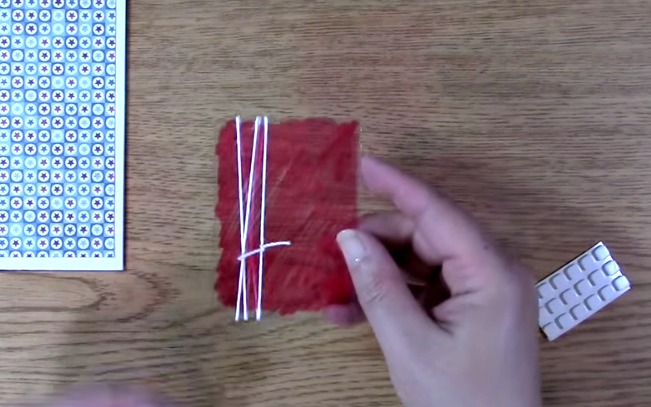
Take your crimson red out of your primary pack of Chameleon Markers. Color the recycled piece of plastic. Set aside to dry.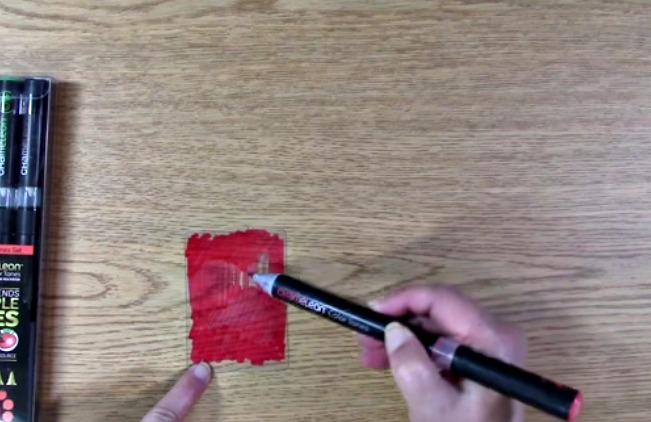
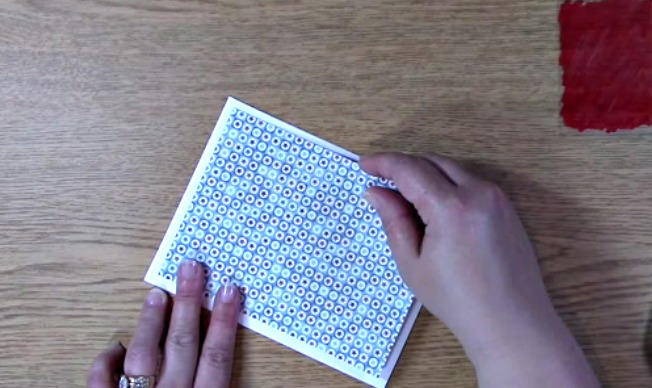
Take our your card base, adhesive and decorative paper. Place adhesive on the back of the decorative paper and adhere it to the base card. Set aside.
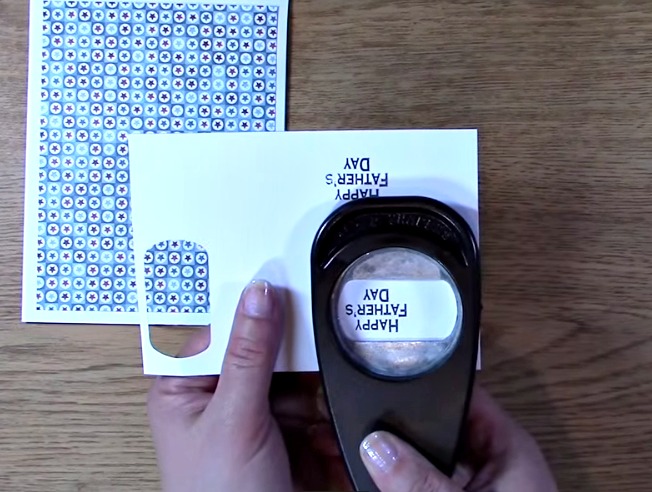
Take out your stamps, ink, stamp block and paper.
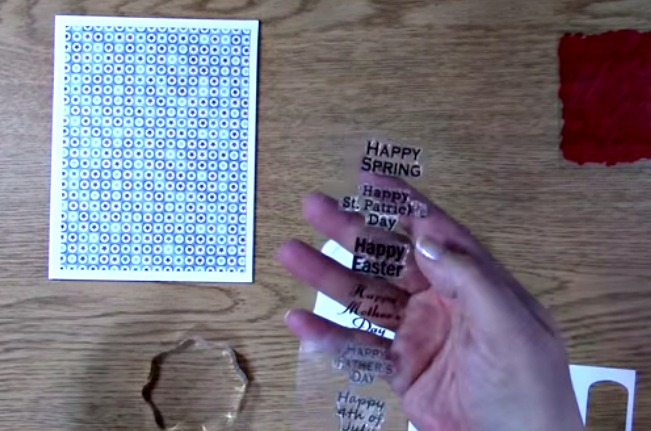
Place stamp on the block and ink your stamp.
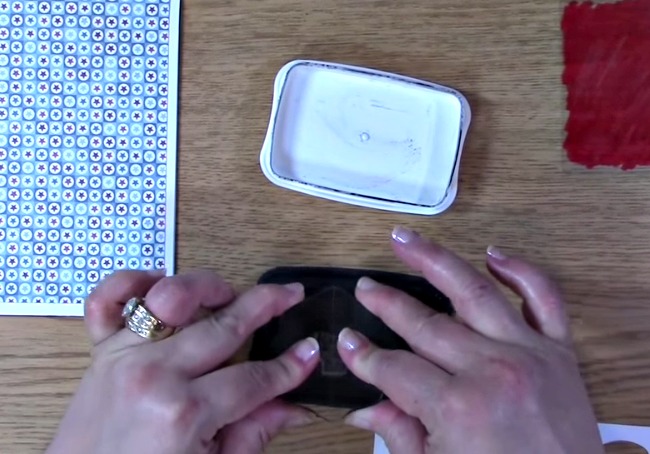
Stamp your sentiment on your paper. Take your punch out and punch out your sentiment. Set it aside.
Take your twine and wrap it around your colored embellishment three times. Tie the twine in a knot. Trim excess twine.

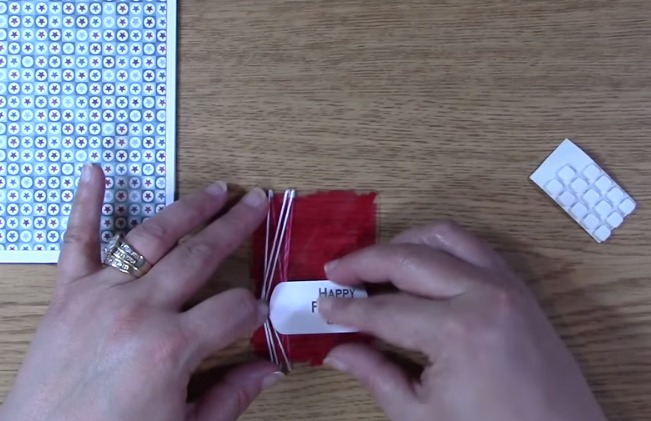
Take foam squares and place them on the back of the punched out sentiment. Adhere to the front of the colored embellishment.
Turn over the colored embellishment and place foam squares on the back of the embellishment. Be sure to take care when placing the adhesive squares so that it doesn’t show through on your creation.
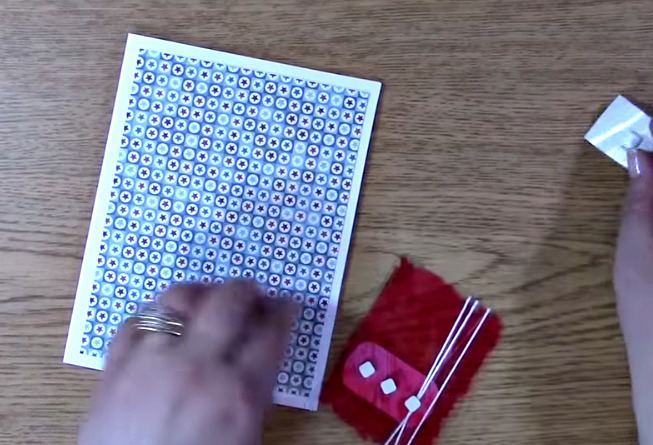
Adhere the embellishment to your card base.
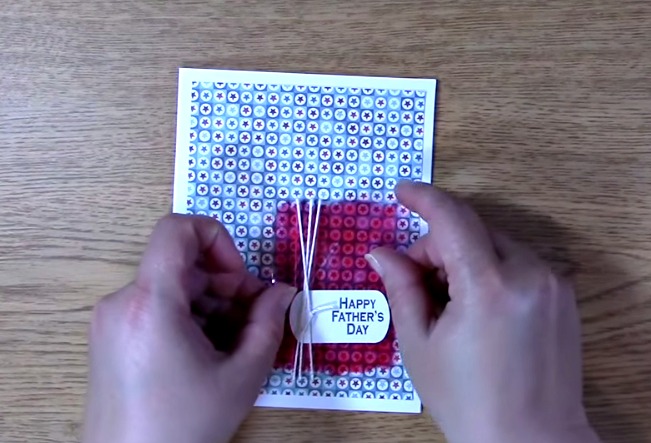
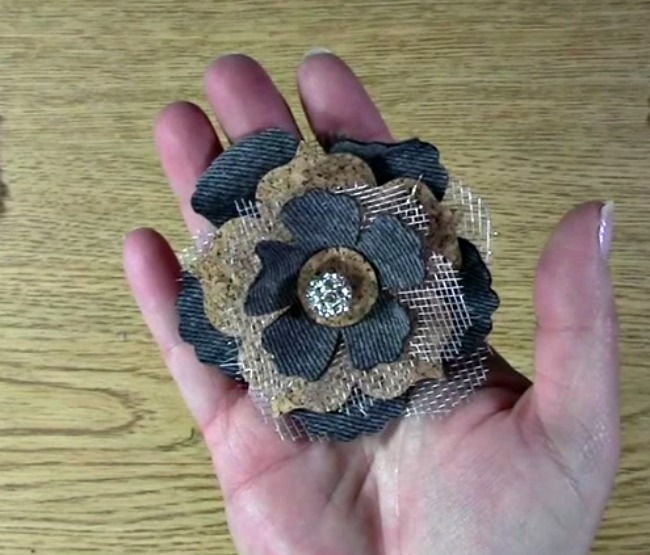
Your card is complete! Below are the examples of how your coloring can change the look of the card. One has more coloring than the other. I am not sure which one I like better. How about you?
Thank you for joining us today. We hope you enjoyed this tutorial and it opens up the options of what you can do with alcohol makers. You can use alcohol markers to color any non porous surface such as glass, plastic and even metal. You can also use them on porous surfaces like wood. Try different things and be sure to let us know what you think and share your project!