Weathered Wood Frame in Minutes using Alcohol Ink Part 2: Personalize it with Love
Weathered Wood Frame in Minutes using Alcohol Ink Part 2: Personalize it with Love is what we are doing today. If you haven’t seen our first video on how to make your own weathered wood frame please go here to check it out. Today, we are going to put the word LOVE on your frame with jute twine. If you haven’t done this before, it is easy with fabulous results! You can check out our video above or our step by step instructions below or BOTH! Let’s get started!
Supplies Needed
Frame
Jute Twine
Liquid Adhesive
Scissors
Paperclips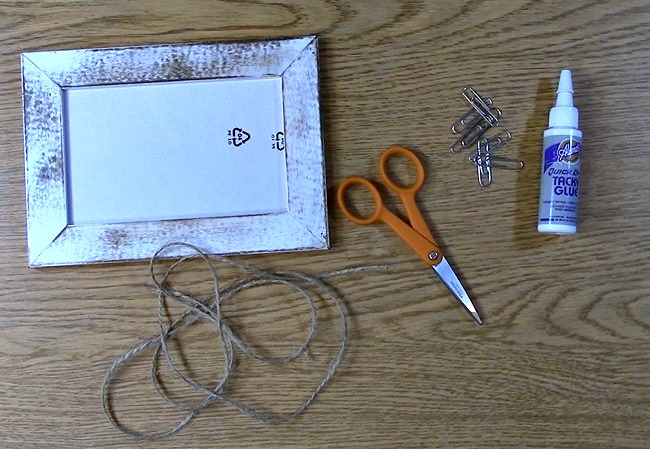
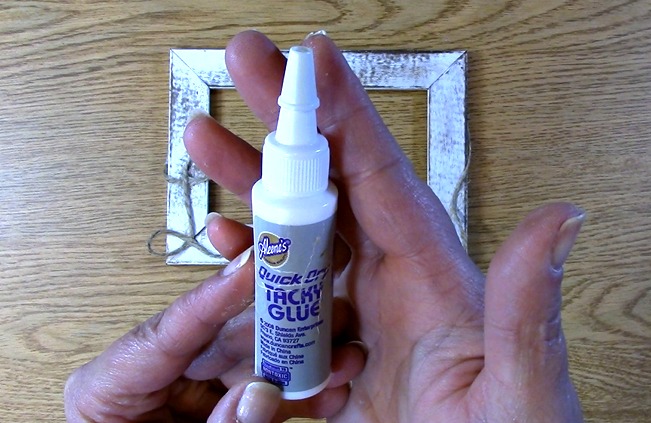
To start Weathered Wood Frame in Minutes using Alcohol Ink Part 2: Personalize it with Love, get out your jute and liquid adhesive. I used Aleene’s Quick Dry Tacky Glue.
Take your jute twine and be sure to leave enough on the ends so that you can have some play if you wish to embellish more on your frame. For every letter, be sure you do a practice run to see how it will look before applying adhesive.
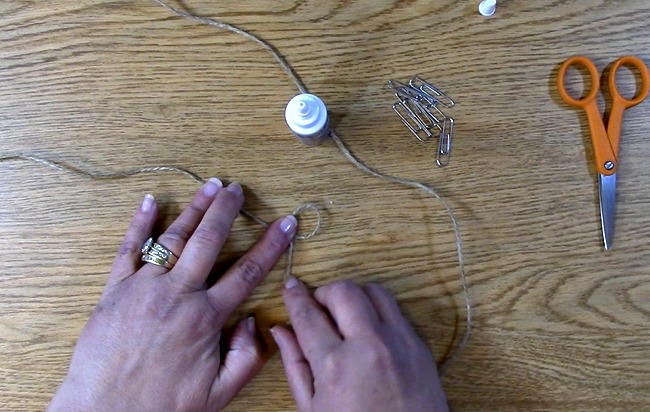 Apply your adhesive to your first letter “intersection” or where the jute crosses for the letter.
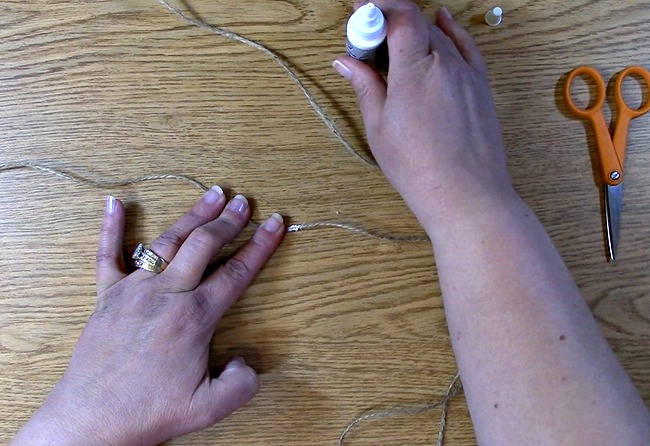 Create your letter and press down on the area where the adhesive was placed. Get out a pair of scissors or an item you can use to place pressure safely on your twine.
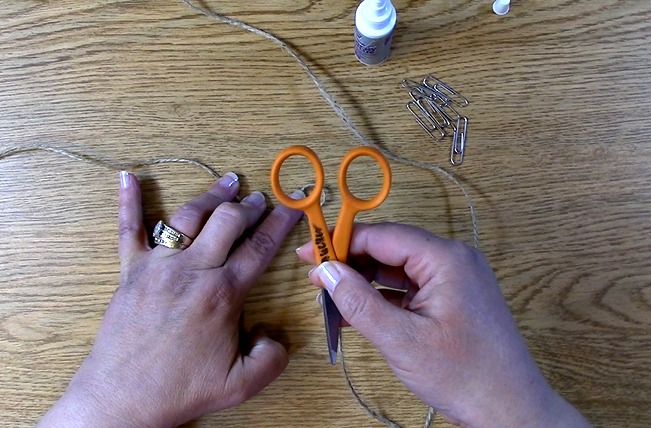 I used the back of my pair of scissors or you can use any item that you can place pressure on the area safely in which the adhesive was applied. This will help to get the adhesive in the fibers to ensure adhesion.
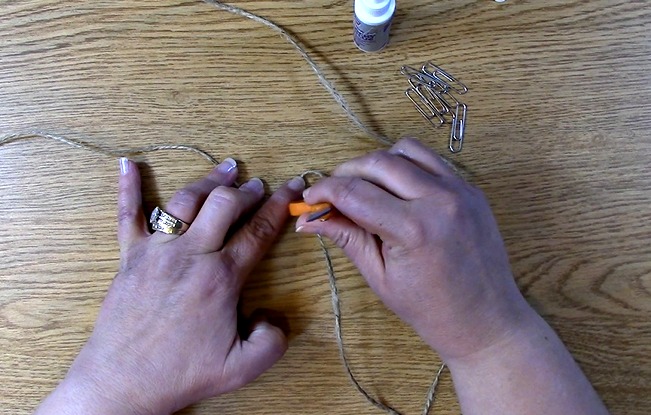
Apply adhesive to the second area of the letter “L”. Apply pressure as instructed above. This is what it looks like once that is done.
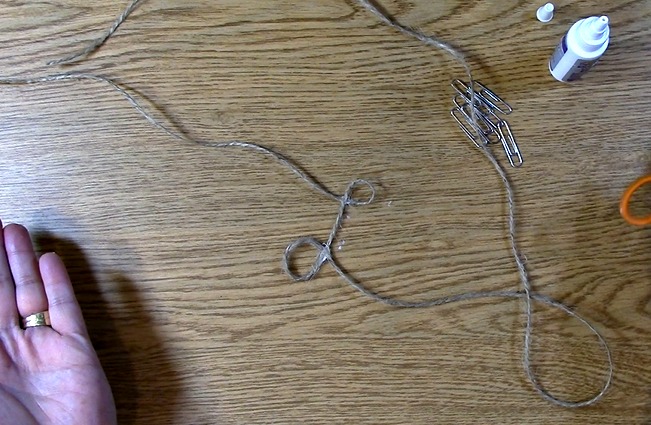
Repeat the gluing process for all of the letters.
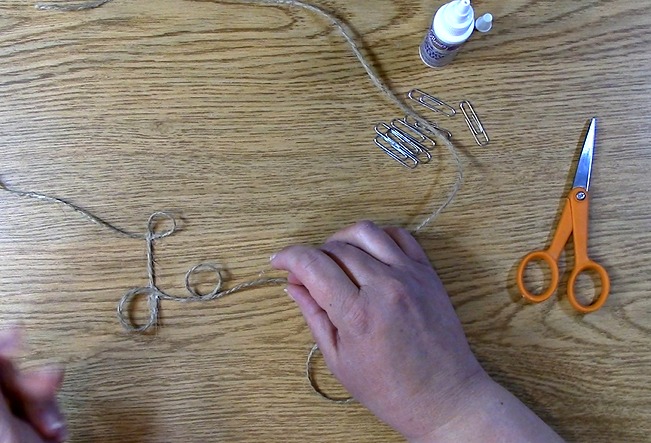
For the letter “V” I pinched the areas simply with my fingers to create the angular areas for the letter.
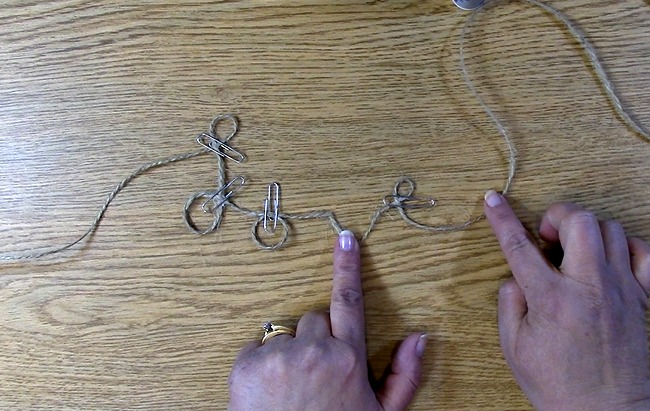
Once all of the gluing is done (or you can do this after each letter is glued) place paperclips on the areas that were glued to ensure pressure on those areas. Set aside to dry for 1-2 hours or more depending on how much glue you have used and how much time you have.
 Take out your frame. Take out all of the inside pieces and glass so that you are left with only the frame.
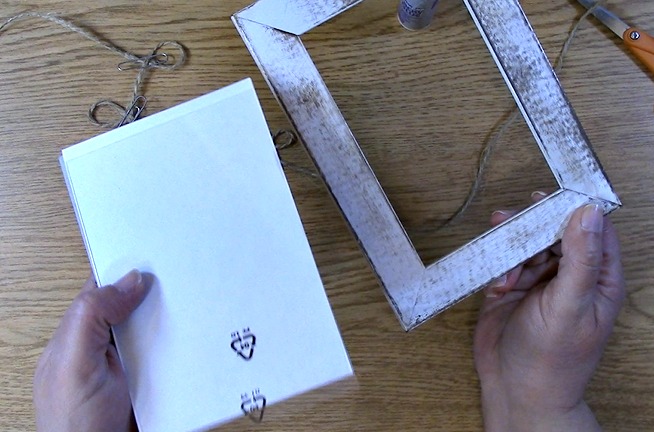
Take out your jute twine word creation. Check to see if dry. If it is, remove the paperclips from the twine.
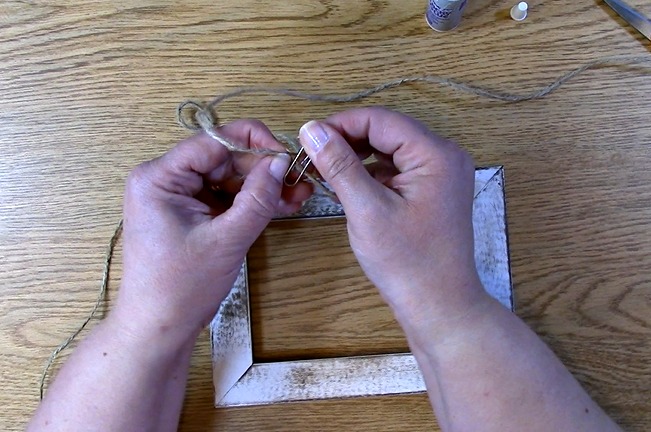
Loosely place the word on the frame to check out the placement of where it will go.
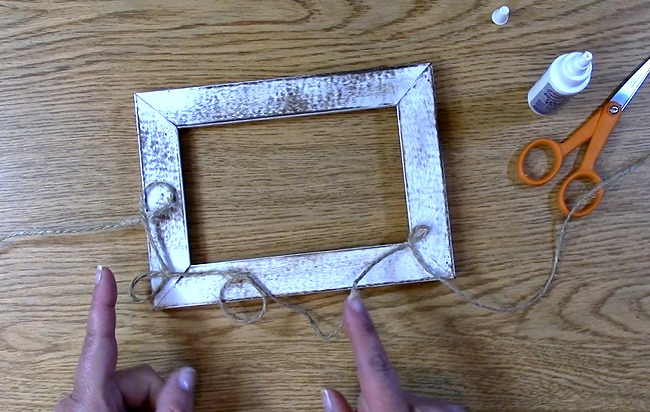
Take the adhesive and place some on the back of the word “intersections” where it had been glued previously. Press down on the letter onto the frame.
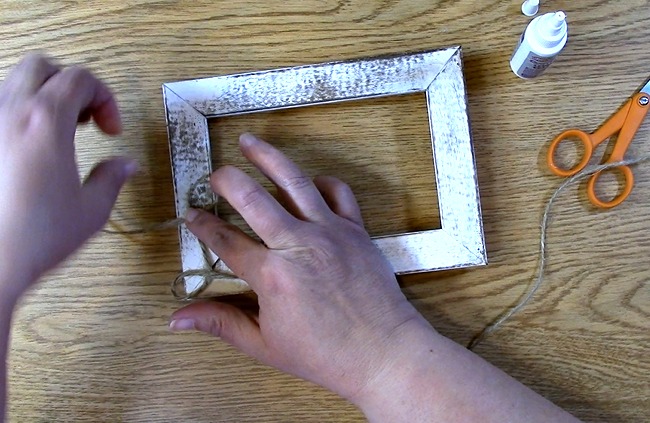
Continue to adhere the letters onto the frame holding it in place to ensure its adhesion.
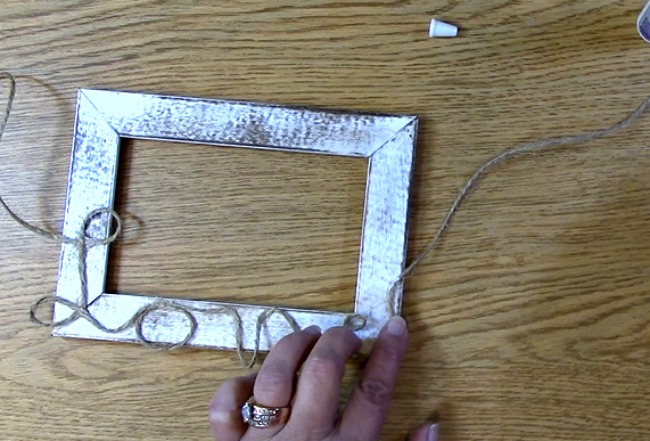
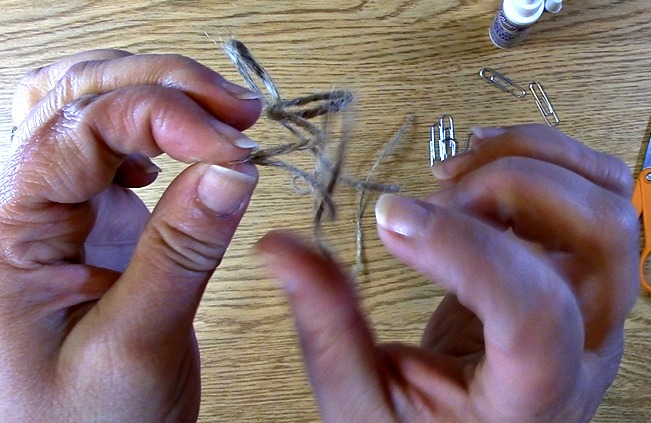
Take the ends of the twine and trim so that it fits for your end result. I wanted the word to end on the side of the frame so I trimmed accordingly. Spread the ends of the twine so that there is a little bit more for the adhesive to adhere to. Place adhesive on the first end and adhere to the side of the frame.
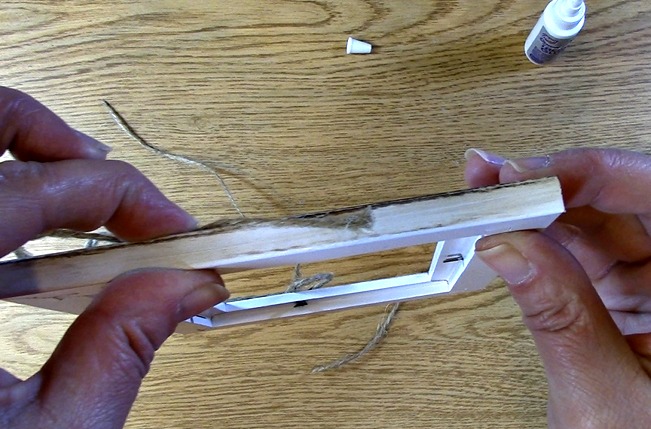
Adhere the other side of the twine to the other side of the frame.
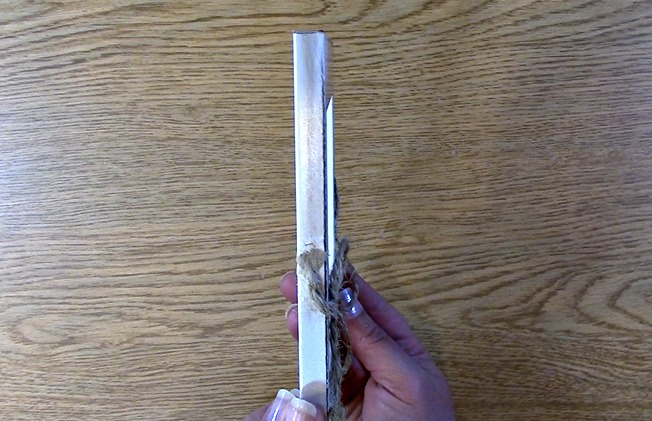
Apply pressure to any areas that may come loose. Add more adhesive where necessary. Your project is complete!
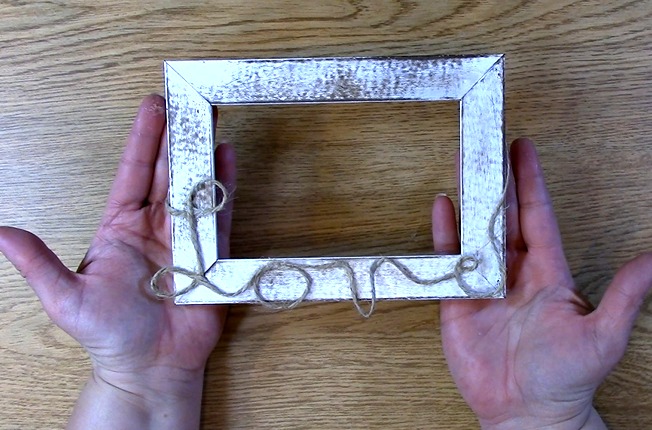
Set aside to dry for 1-2 hours or longer as you feel necessary.
Here are the frames I made for my sister. I totally forgot to take pics so she was sweet enuf to send them to me.
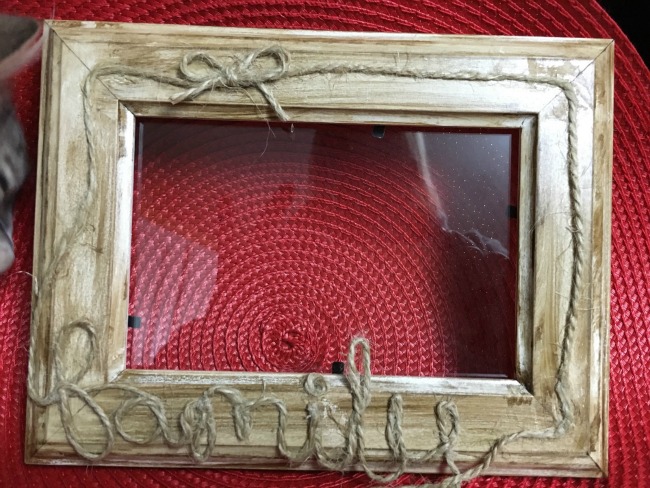
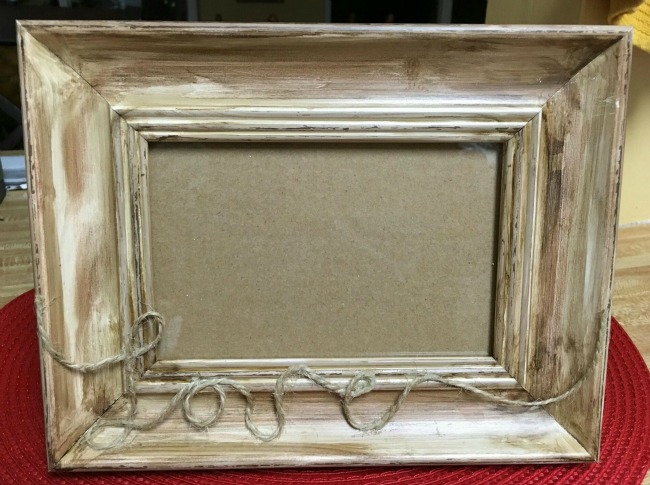
Thank you so much for joining us today for Weathered Wood Frame in Minutes using Alcohol Ink Part 2: Personalize it with Love. We hope you enjoyed the project today and be sure to subscribe to our YouTube channel as well as our blog. You will want to stay tuned as we will be reporting on our visit to CHA next week and will be having giveaways as well!
Thank you for going on A Creative Journey with Melissa 🙂


