
Inexpensive and Quick Handmade Gifts
How would you like to learn how to make inexpensive and quick handmade gifts? You have found the right place! In this video you will see how to make a super fast and adorable post it note holder that is very INEXPENSIVE! Whether you want to give a birthday, teacher, friend, grand parent or anyone a gift for any occasion we have you covered! You can make it super simple or embellish it to add a little flair to your creation!
Whether you like to learn by video or by pictorial, we have you covered so let’s get started!
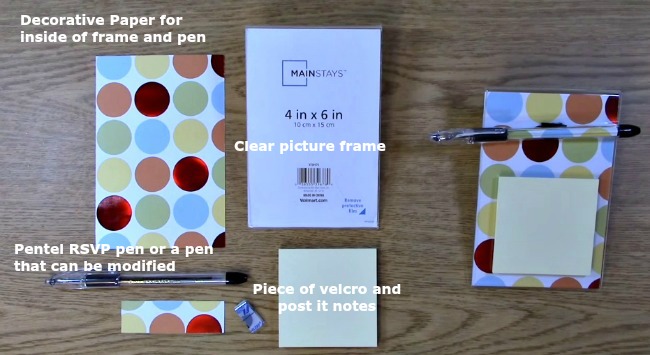
Here are the supplies you will need:
Decorative Paper (or you can stamp/design your own)
Pentel RSVP pens or pens that can be opened and modified
Piece of velcro
Clear picture frame
Post it Notes
Take out the piece of paper in the clear photo frame. Leave the protective coating on the frame to avoid scratches during the creation process.
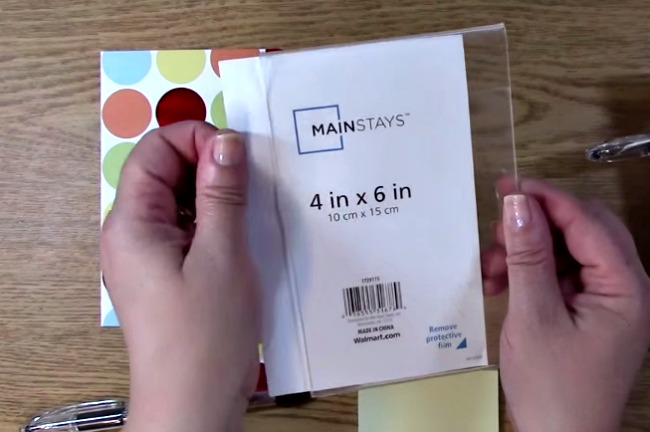
Use the paper as a guide for the paper you are placing inside there. Cut so that the pieces match. It is the easiest way to ensure a perfect fit!
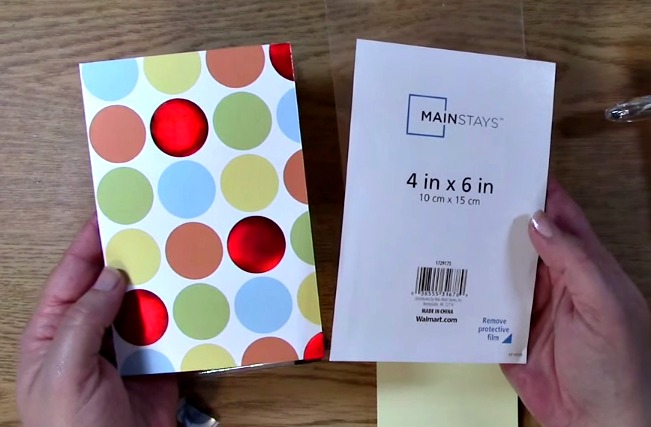
Take your frame and slide in your decorative paper. Set aside.


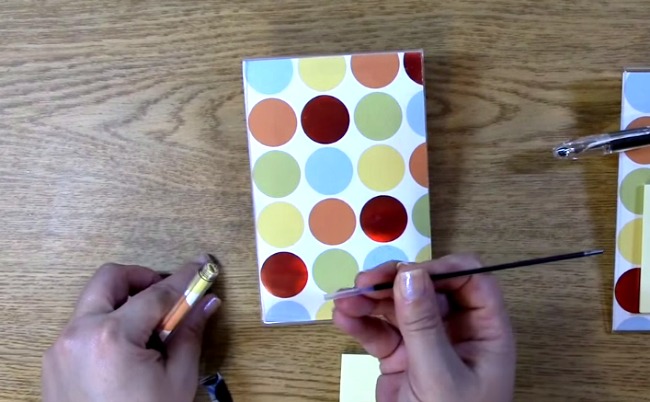
Take out your pen and paper. Remove the ink from the pen. Set aside. This will leave you with an empty pen chamber for your decorative paper.
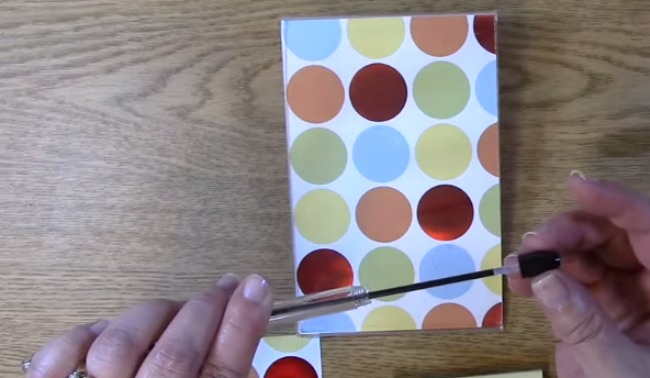
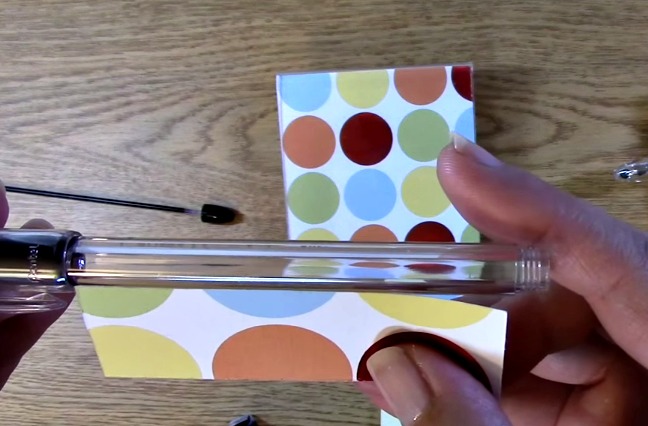
I pre-cut my paper so it would fit into the pen. I measured the length approximately a 1/4 inch less than the area in which I wanted to be covered for the pen decor. I made the paper 1″ in width and these measurements worked perfect for this pen style.
Take our your paper for the inside of the pen. Roll it so that you can get it into the shape of a tube that will fit inside your empty pen chamber.

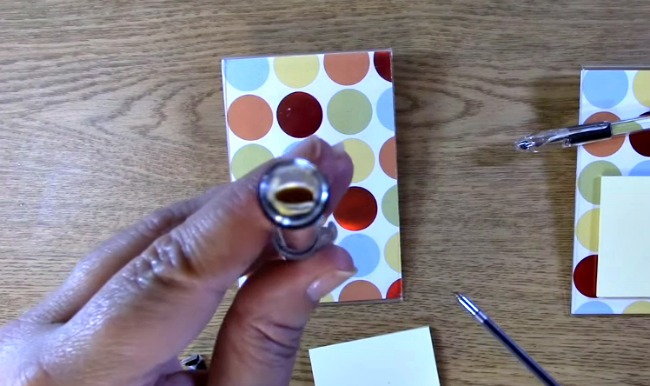
The paper will not be completely down in the pen chamber.
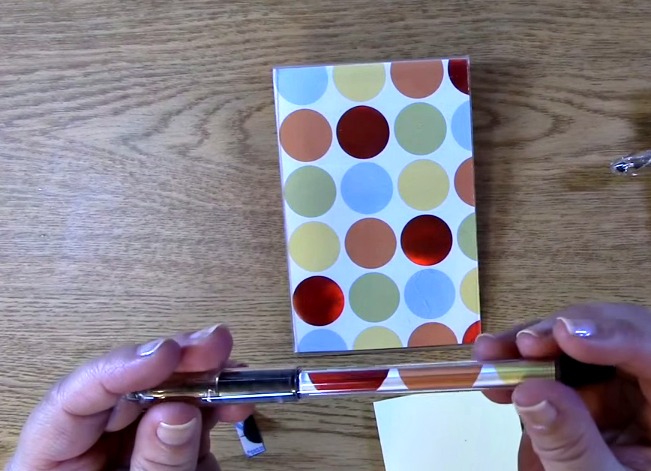
Take the cap off of the ink and use the back to carefully push the paper into the pen chamber completely. Do not do it vigorously or you will damage the paper. I use this because I know it fits, it is durable enough for the job and its already there!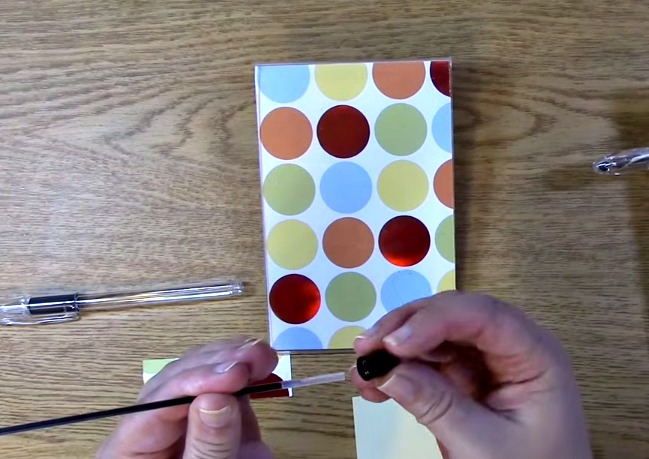
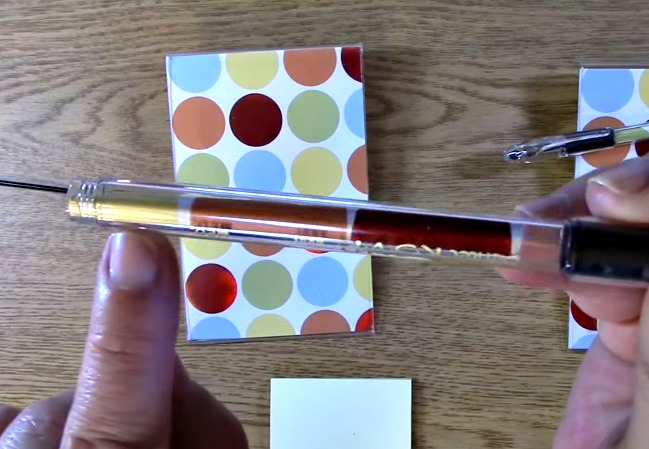
 Place your cap back on the ink, the ink inside your pen and screw the cap back onto the pen.
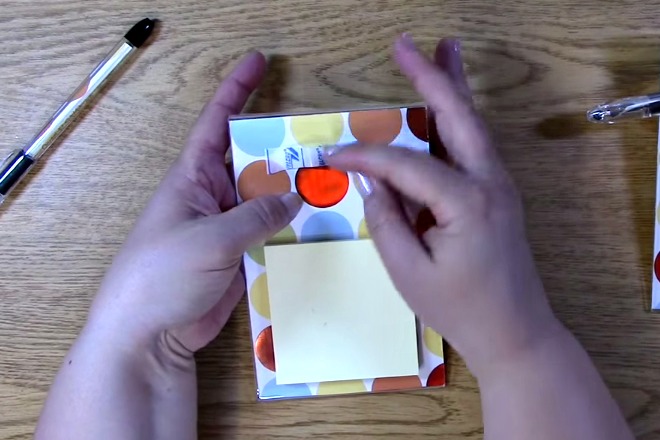
Take out your post it note pad and place it on the frame holding the back for counter presser.

Place the velcro on the frame where you would like it to be for your pen placement. If your velcro does not have adhesive on it, place an adhesive on it that works well with a slick surface. I prefer adhesive on my velcro already. Remove the backing so that the other adhesive area is visable.
Place your pen onto the adhesive of the velcro. Hold the back of the frame when doing so for good counter pressure.
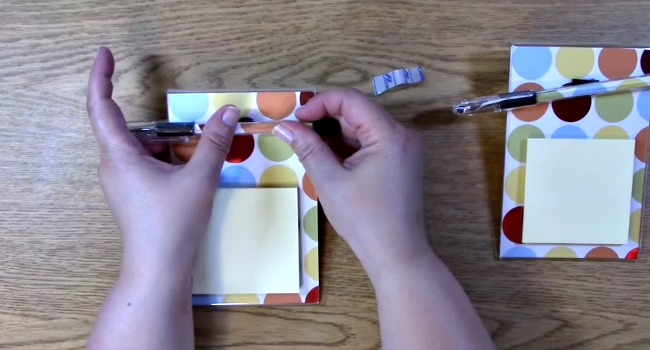
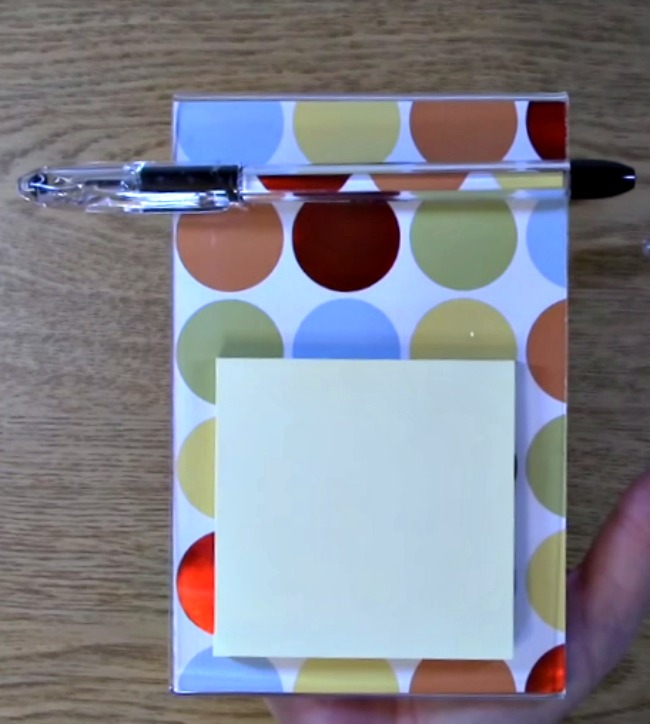
Your project is complete!
Remember you can vary any part of this tutorial to fit your needs or creativity. This is a VERY BASIC version of what can be done with this. We hope you will share with us your version of this project!
Thank you for joining us today. Be sure to subscribe to our newsletter, YouTube channel, and blog posts! We are honored that you have come to visit and we hope you enjoyed going on A Creative Journey with Melissa.


