
Creating Journal Blocks to tell the Story
Creating Journal Blocks to tell the Story is what we have for you today. This project is something you can do in mass quantity, keep on hand and decorate on an as needed basis. There are so many ways to utilize Journal Blocks to tell a story. They are perfect for trips, special occasions, experiences or just for “A Day in the Life of” to document your day! I am so excited to show this to you so let’s get started!

Supplies Needed
A Date to Remember A Creative Journey with Melissa Stamp Set
That’s the Ticket A Creative Journey with Melissa Stamp Set
Card Stock
Ink
Corner Rounder

First, when Creating Journal Blocks, you will want to take out your paper squares and use the corner rounder on the paper.

Next, take out your stamp block, ink, paper and the A Date to Remember A Creative Journey with Melissa Stamp Set.
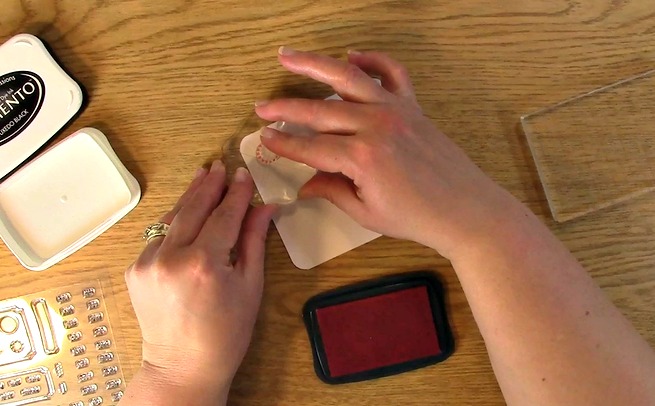
Place the dotted circle on your stamp block, ink your stamp and stamp on your paper.

This is what it will look like after stamping your dotted circle on your journal block.
Remember, when you are Creating Journal Blocks you can use whatever color ink or paper you want. Use what will coordinate best for your project. You can use Journal Blocks for a scrapbook, specific holiday or theme, event and vacation.

Take out your FEB stamp and place it on the stamp block.

Using your choice of ink color to match your project, ink your FEB stamp.

Pick out the correct date for your Journal Block, place your stamp on your acrylic stamp block and ink your stamp.

Here is a close up after stamping the month, dotted circle and date.
When Creating Journal Blocks, you can be as sophisticated or as simple as you wish.

As a design choice, I have decided to add the year to my journaling block. Take out the 20 stamp and the 17 stamp. First, place your 20 stamp on your block, ink and stamp on your paper.

Second, take your 17 (for 2017) on your stamp block, ink and stamp on your paper , lining it up to make sure it flows with the recently stamped 20.

Here is a close up of the result Creating Journal Blocks.
I love how the month and year are on the side and the date is straight. I thought it was something different to do.

We have now finished Creating Journal Blocks on the front side of our paper. Now, flip them over and we will start the journaling prompt on the back.

Take out That’s the Ticket A Creative Journey with Melissa Stamp Set and peel off the frame of your choice.

The stamps in both of these sets can be used as exact straight creations or gently move them around to create your own. The stamps that have an outline image can be made into other shapes and I love how the frame can be perfect or you can manipulate it by changing it’s shape so it looks like it is hand drawn.
Be creative!

Place your stamp on the block and ink it thoroughly.

Stamp your image onto the paper.
TIP:Be sure when Creating Journal Blocks, you double check that the paper is facing the correct way so it matches regardless of which side you are looking at because you don’t want one based horizontally and one vertically.

Pick out your favorite prompt for your journaling block. You can replicate the journaling prompt for all of your journaling blocks or you can do different ones for every day.

I chose different journaling prompts but for this one I chose MY FUTURE and since we are getting ready to look at colleges for my youngest son, it worked! Time FLIES BY!

To change the look of the outline frame stamps, we manipulated it so this normally square stamp is now placed on the block as an oval.
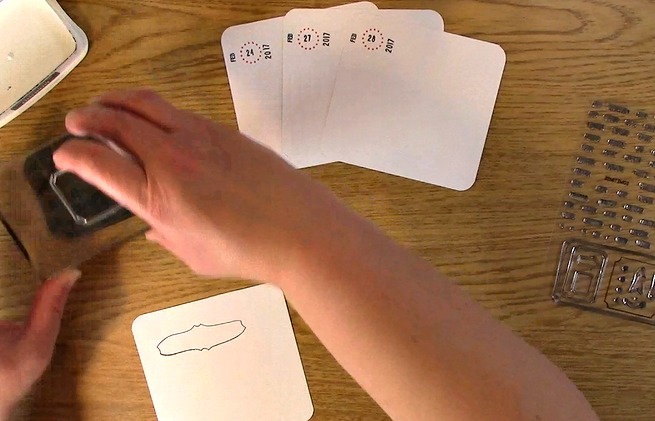
This is what it looked like once it was stamped. I thought it looks a little like the Batman logo LOL You can also use these on doodling pages!

Here are the finished creations for Creating Journal Blocks to tell the Story.

ACJwMThat’s the Ticket Stamp Set

ACJwM A Date to Remember Stamp Set
This week for our Giveaway, we are giving away the A Date to Remember A Creative Journey with Melissa Stamp Set and That’s the Ticket A Creative Journey with Melissa Stamp Set used in the video above.
To qualify to win, you must be BOTH:
A follower on YouTube, subscribe to our mailing list/blog posts and you may also comment on this blog post for an additional entry to win! If you do not contact me within two weeks of winning, you will unfortunately, forfeit your prize. Thank you for your understanding.
NOTE: Be sure you are not subscribed with two different names and I am unable to match you with your subscription to both the blog and the YouTube Channel, you will miss your chance to win a prize. If I can’t decipher if you are a matching subscriber, if your profile doesn’t show publicly who you subscribe to) and I can’t confirm you have subscribed to both, I won’t be able to enter you in for the prize. **DO NOT COMMENT WITH YOUR ENTIRE EMAIL ADDY. Only give me the first 6 NOT INCLUDING YOUR HOST. Just enough for me to match your name will work perfectly. Thank you for your understanding.
Now for last weeks WINNER!!

The winner of the I Just Love You Stamp Set by ACJwM is Barb Macaskill!
Barb, please send me your contact information via contact page on our website and I will get your prize out to you! Thank you so much for being a YouTube follower and subscribing to our mailing list/blog posts!
We hope you enjoyed our Creating Journal Blocks to tell the Story tutorial. Have a wonderful week and thank you for going on A Creative Journey with Melissa.


