
Ink & Water Play: Learning Embossing and Debossing Techniques
Today’s Monday’s with Melissa is Ink & Water Play: Learning Embossing and Debossing Techniques. If you are here to hop along on the Fall Coffee Lovers Hop go HERE but we would love it if you would stay and check out our video above or our tutorial below 🙂 Be sure to subscribe to our YouTube Channel as well as our blog and other social media platforms above so you can be “in the know” on our latest products, creations, techniques and finds!
I am focusing today on Ink & Water Play: Learning Embossing and Debossing Techniques versus going step by step through the card compilation. I did however want to include directions on how to create this card in case you were interested so I will start with that first.
Supplies needed to create the card
Coffee is my Liquid Therapy stamp set
Chameleon Marker to color Coffee Cup
Water based ink in various colors
Memento ink
Embossing folder
Manual die cut machine and platforms
Paper for embossing
Water filled spray bottle
Card Base
Paper towels or wipes
Twine
Needle or tool to poke holes for threading twine
Adhesive
Foam Squares
Directions for the card
For the card you will need to create the colored background with the directions below first. This will allow time for it to dry. One that is done, you will
1. Stamp your coffee cup and sentiment
2. Color your stamped image with your Chameleon Marker
3. Cut out your image and set aside
4. Place your inked background paper on your card base and adhere
5. Poke holes where you would like to have the twine on your creation
6. Thread your twine through your creation
7. Stamp your coffee beans on the side of your background paper as shown
8. Add foam square to the back of your stamped image
9. Adhere your stamped image to the card base
YOU ARE DONE!
Here is a close up of the finished card.

Now… onto the tutorial for Ink & Water Play: Learning Embossing and Debossing Techniques.
For this you will need
Water based ink in various colors
Paper
Embossing Folder
Manual die cut machine and platforms
Water filled spray bottle
Paper Towels or wipes
First you need to decide whether your creation will be using the embossing or debossing side of the folder.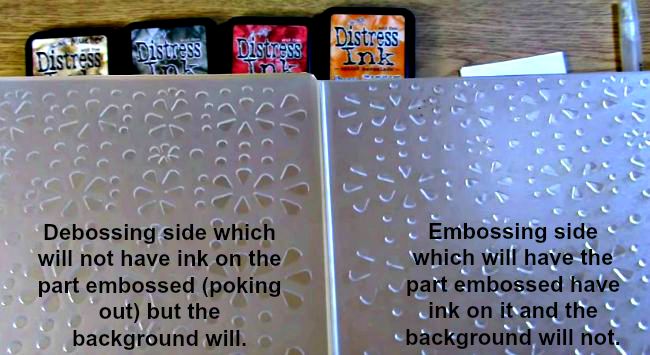
One you have that decided, ink the embossing folder on the appropriate side with the color combination you have chosen. For this one, it is the debossed side I have inked.
I ran it through the manual die cut machine and this is the result
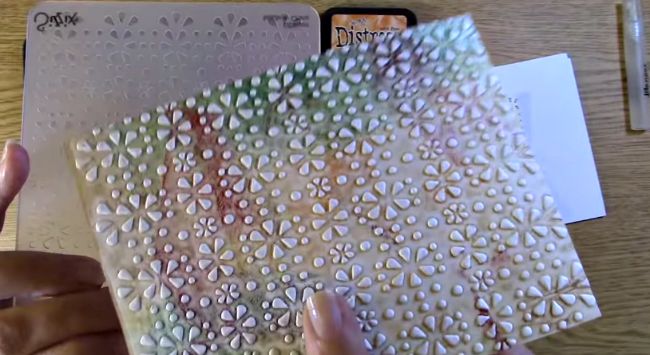
For this one I used the embossed side, inked it and ran it through the manual die cut machine.
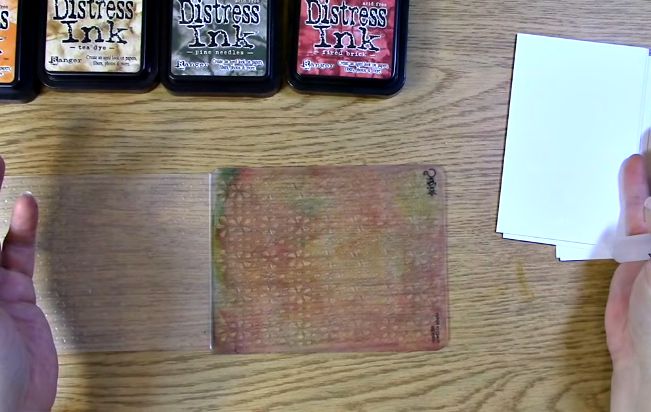
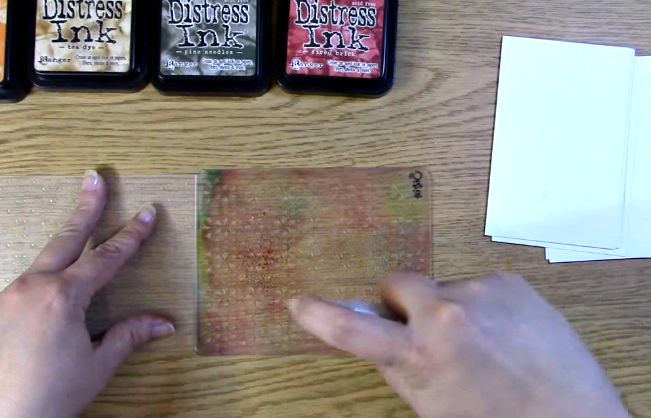
For this type of effect you can ink whichever side. I chose to ink the debossed side so that more color would show in the background on my background paper. Ink the embossing folder side you wish to use

I then added one spritz of water
Then a second spritz
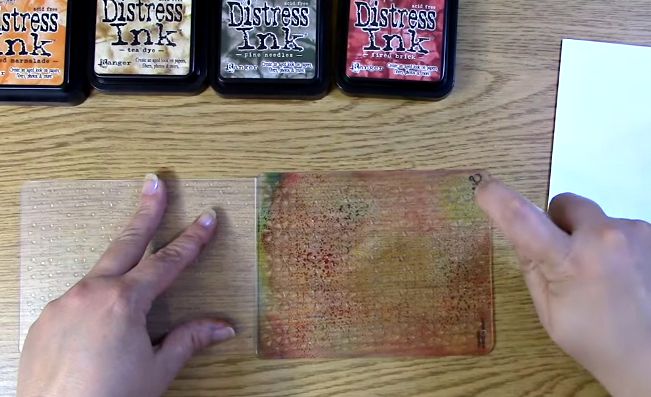
And finally a third. You can do as many or as little spritzes or amounts of water you wish.
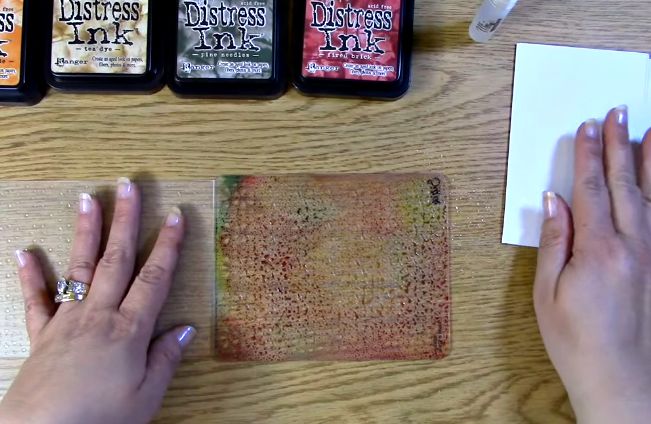
I then ran it through my manual die cut machine and this was the result
 I love how it looks like a watercolor effect. Really quite stunning. You can use this technique for any theme or creation you wish my adding the coordinating colors you need for your creation.
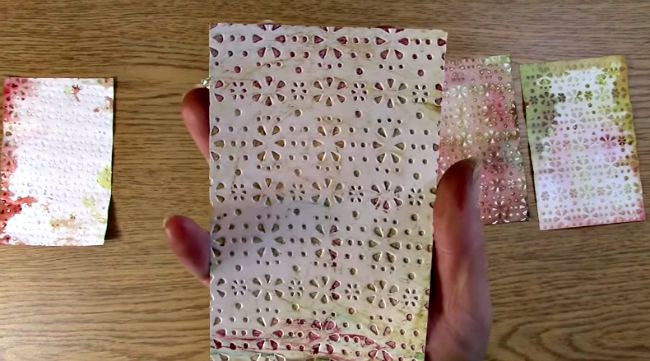
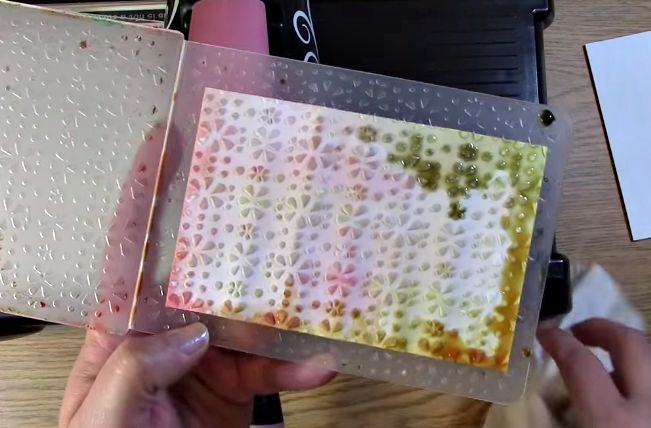
If you happen to have some ink left over on your folder like I did in this case, grab another piece of paper add a little more water if you wish and emboss another piece. This is great to do for your stash so you can have something in case you are in need of a card background on the fly! It has less ink on it but really gives a wonderful look to the paper for a future creation!
If you do not wish to have your colors mixed or wish to start fresh, be sure to wipe your embossing folder clean with a paper towel or wipe. This will keep the colors from getting muddled looking.

If you are finished using your folder, I recommend washing your embossing folder off with warm water and mild soap to ensure the residue has been cleaned.
Thank you so much for stopping by and we hope you enjoyed going on A Creative Journey with Melissa. Have a wonderful day!


