
Sympathy Card Part 2 – Creating Your Card
Sympathy Card Part 2 – Creating Your Card is what we have for you today. This is part two in a two part series. If you would like to see the first part, please go here. Today we are going to create a sympathy card with the embellishment we made in our last video. Let’s get started!

Here are the supplies you will need to create this project.
Card base
Paper for sentiment
Patterned Paper
Scissors
White Twine
Stamp Block
Tag punch
Adhesive
Memento Ink
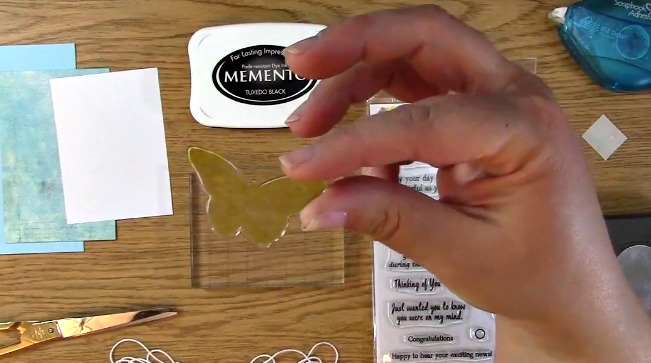
This is the butterfly we colored in Part 1. This will be placed on the front of the sympathy card we are making.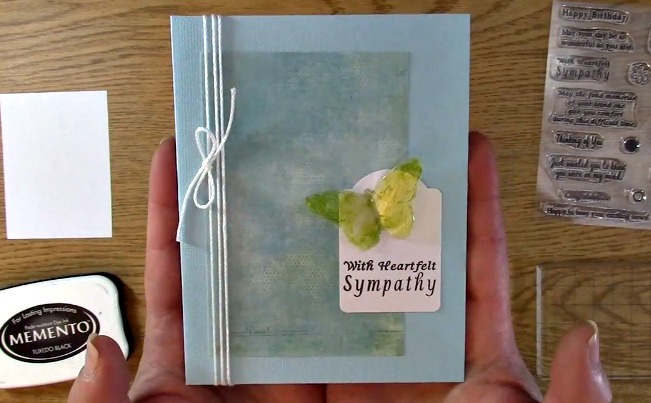
Sympathy Card Part 2 – Creating Your Card is what will be making today using the butterfly we colored with Chameleon Pens in part one of our video.

First, you will want to take out your Outside and In stamp set.
I love this set because not only does it have the outside sentiment, it also has the one for inside which is why it is named Outside and In.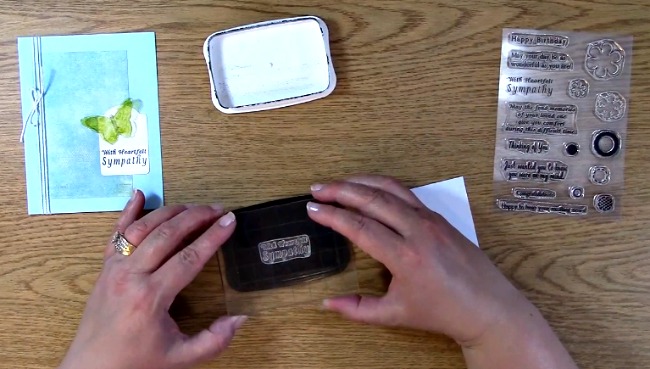
Take out the sentiment you want to use for your card and place it on a stamp block. Ink your stamp.
Using the Outside and In stamp set
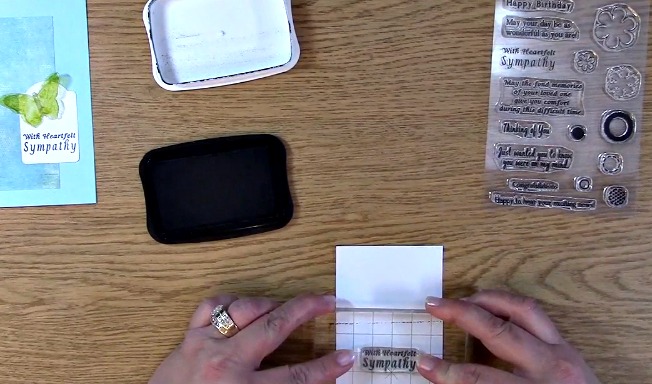
stamp your sentiment on your paper. Set aside.

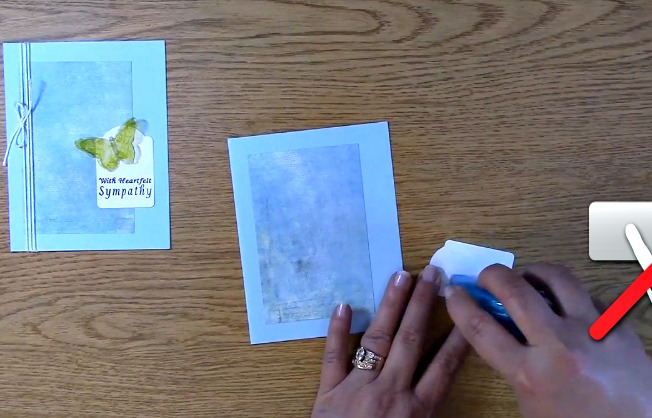
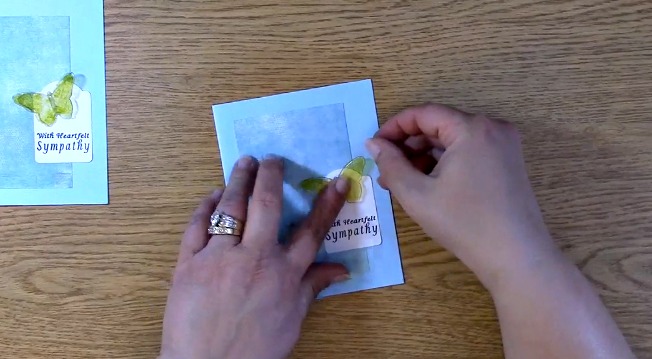
Apply adhesive to the back of your patterned paper.

Place it on the front of your card base more toward the left side of the card.

Take out the paper with the stamped sentiment and punch it out.
Apply adhesive to the back of your punched out tag.

Adhere your tag to the front of the card offset to the right side.
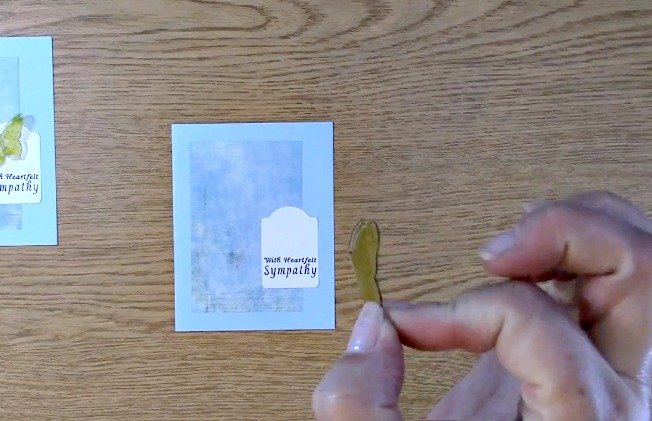
Take out the colored butterfly
Bend the butterfly so it has a slight curve looking like a real butterfly.

Take out your glue line or rolled glue dot.
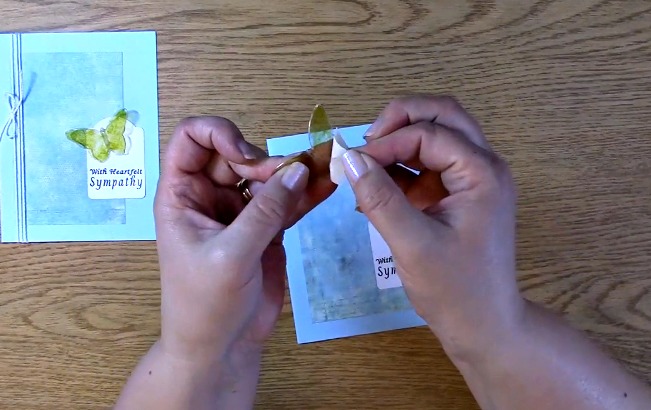
Place the adhesive down the middle of the butterfly.
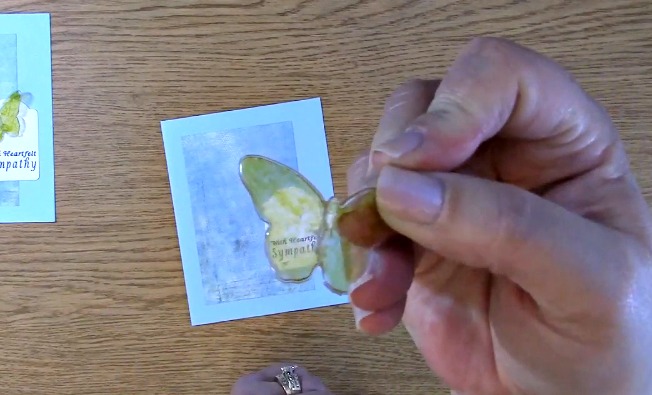
Here is a close up shot of what it will look like.
Place the butterfly on the sentiment tag on the front of your card.
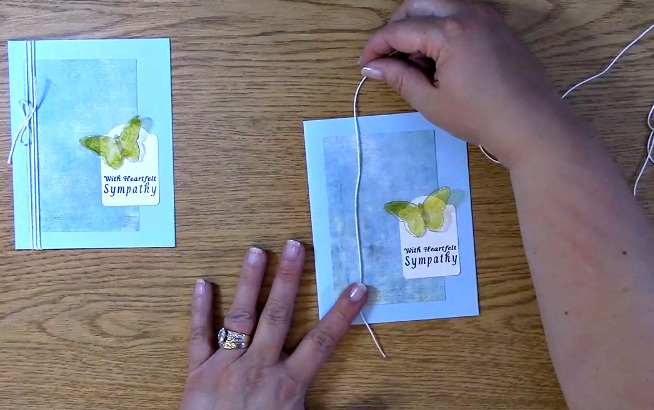
Take out your white twine.
Wrap the twine three times around the front of the card.
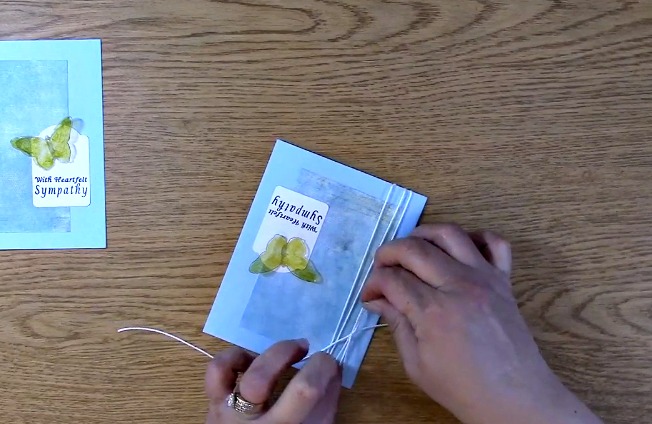
Tie a bow where you would like it to go on the front of the card with the twine.
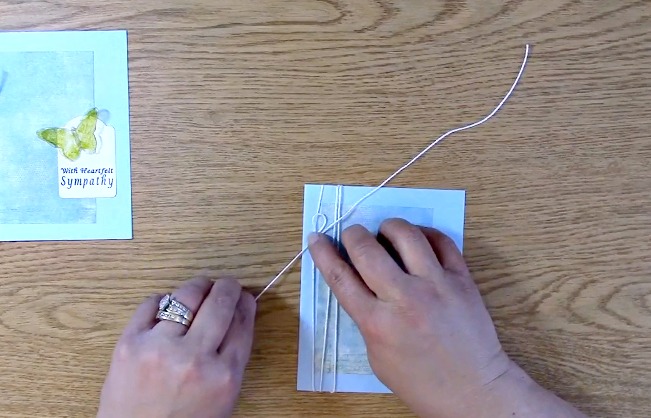
If the bow is too large,
hold the middle of it and gently pull both sides of the string to where it is the size you prefer.

Trim off excess twine.

In the video, I decided to add a little flair to the card by adding some rhinestones to the middle of the butterfly.
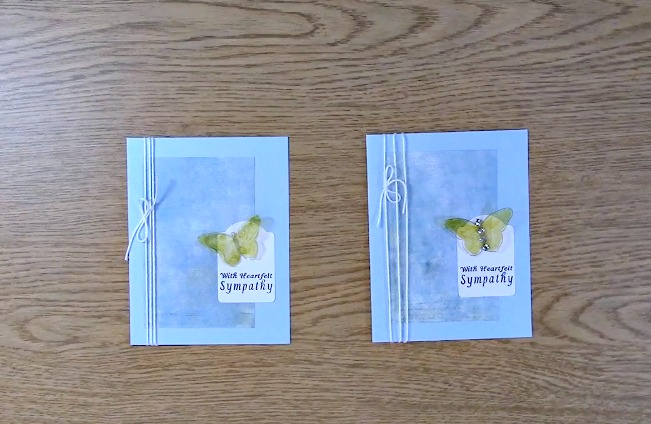
Here are your finished cards two ways.
One with and one without rhinestones. I really like them both.
We hope you enjoyed Sympathy Card Part 2 – Creating Your Card and we hope you will subscribe to our YouTube channel and blog for some great creations, giveaways and more! Thank you for joining us and for going on A Creative Journey with Melissa.


