
5 cards in 15 minutes using Sign Language Stamps
Would you like to create 5 cards in 15 minutes using Sign Language Stamps? In this video, I will give you step by step instructions to do just that! If you like to learn by watching a video (above) or by looking at a pictorial (below) we have you are covered? Ready, Set, Let’s Get Started!!
The supplies you will need:
Sign Language Sentiment Stamps
Ink
Card Base
Patterned Paper
Paper for sentiment
Scissors
Twine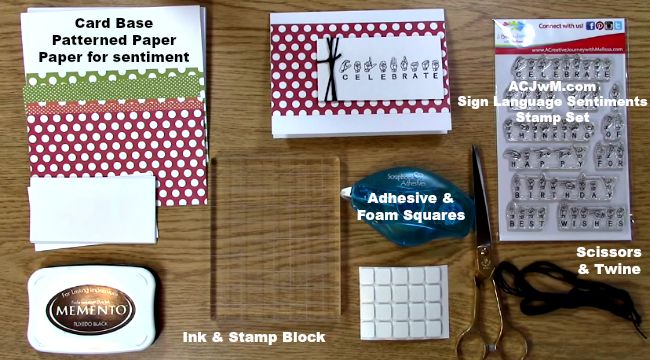
I have created these cards in an assembly line. You will repeat everything five times or as many times as you need to for the number of cards you are making. Take out your ink, paper for your sentiment, stamp block and Sign Language Sentiments Stamp Set.
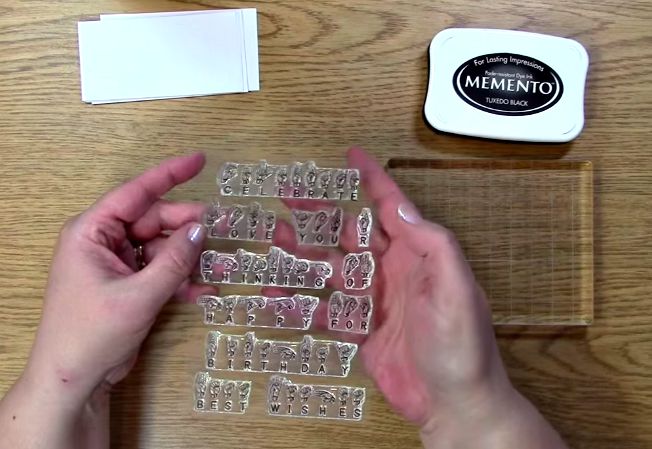
Place your sentiment on your stamp block.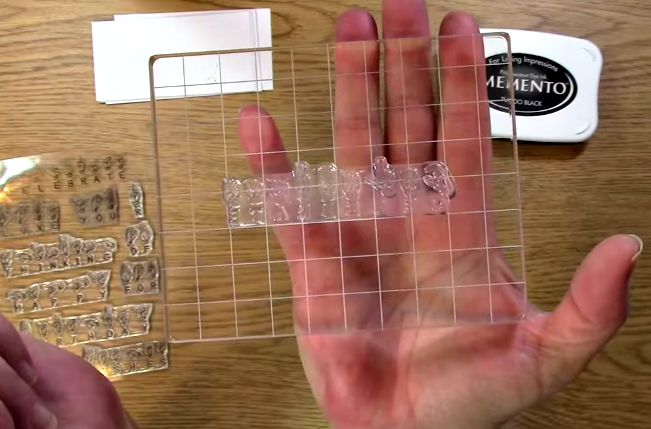 Ink your sentiment
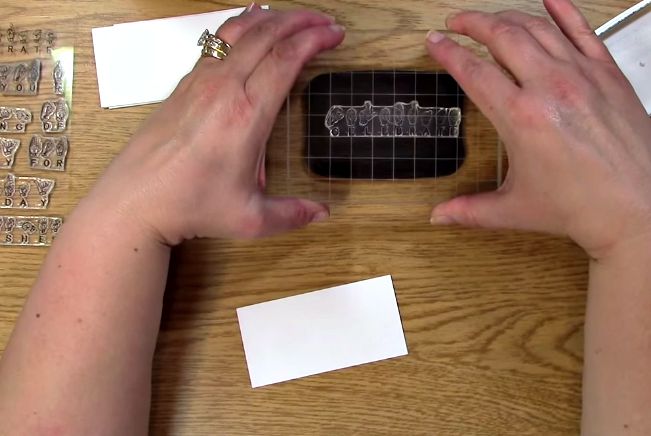 Stamp your sentiment on your paper. Repeat inking and stamping your sentiment five times.

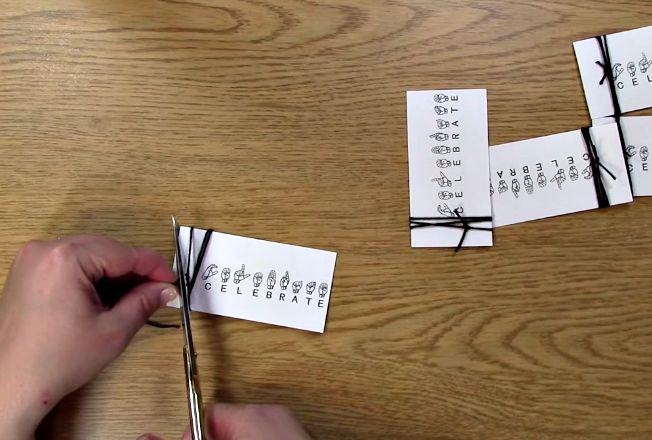
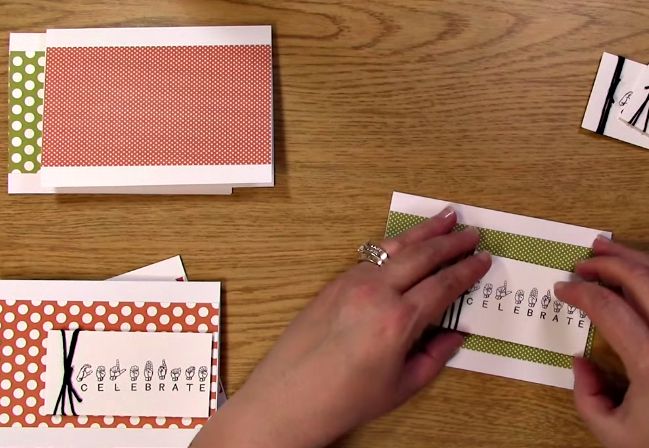
Take your twine, wrap it around your sentiments and tie a knot. Repeat five times.
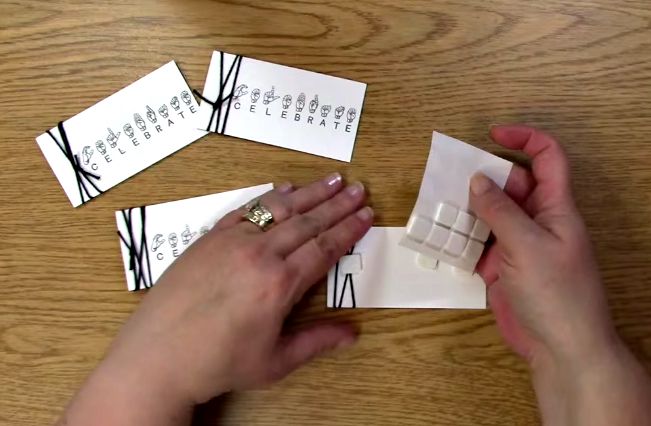
Place 3-D foam squares to the back of the sentiments. Repeat five times.
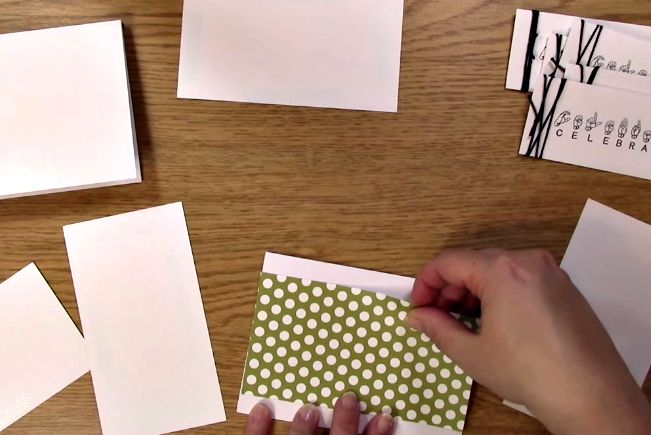
Place adhesive on the back of the patterned paper. Repeat five times.

Adhere patterned paper to card base. Repeat five times.
Remove foam square backings from your stamped sentiment papers. Repeat five times.
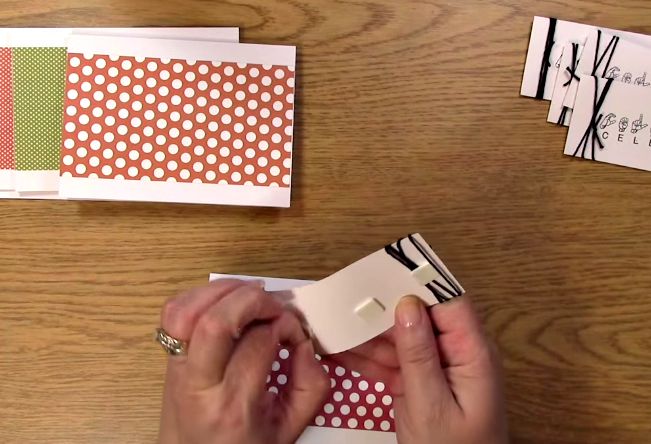
Place sentiment on card base. Repeat five times.
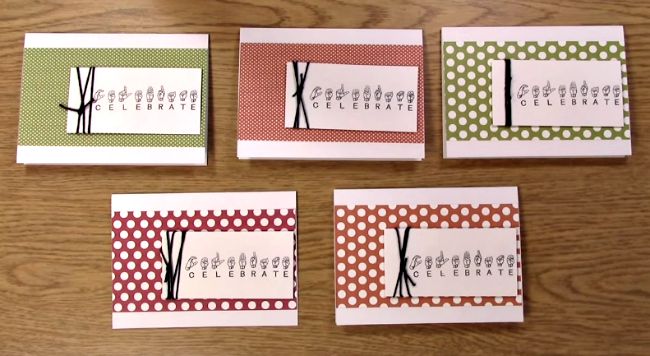
Here are the five card creations! Including all explanations this took 15 minutes! You can do it too!
Please be sure to share your creations with us!
Thank you for joining us today and we hope you enjoyed going on A Creative Journey with Melissa.


