
Snowflake Stamped Card with Giveaway
Snowflake Stamped Card with Giveaway is what we have for you today. I wanted to do a different take on snowflakes from the norm. I love the color purple so why not add it to a snowflake card? Its perfect for any holiday card and the stamp set we are using has different sentiments that can be used for any winter holiday or celebration!
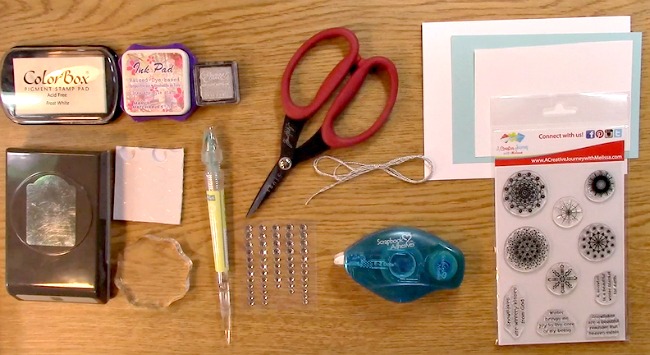
Here are the items you will need for the Snowflake Stamped Card card creation:
White, Purple and silver ink
Tag punch
Stamp block
Rhinestones & rhinestone quick stix tool
Adhesive
3-D pop dots
Scissors
Silver twine
Card
Card Mat
Paper to stamp sentiment on
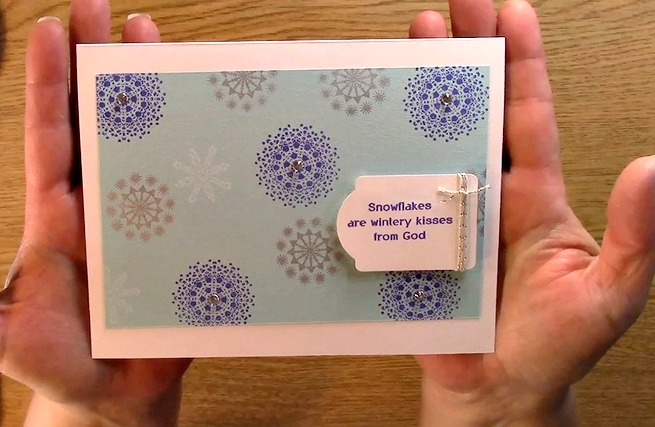
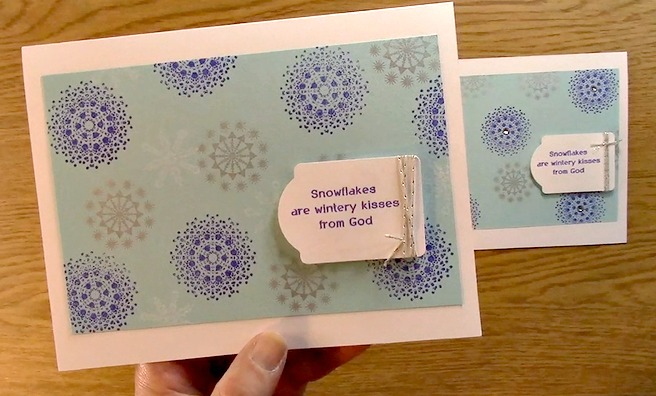
This is the Snowflake Stamped Card I created.
Notice the bling on the purple snowflakes. I think it gives a little pop to the creation along with the silver twine.
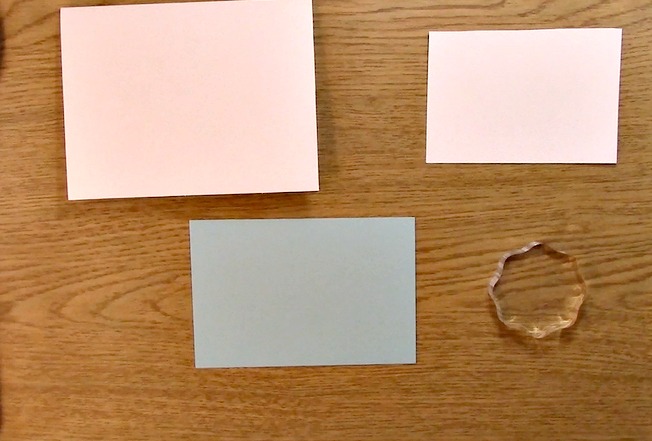
To start creating your Snowflake Stamped Card, take out your card base, mat, stamp paper and stamp block.
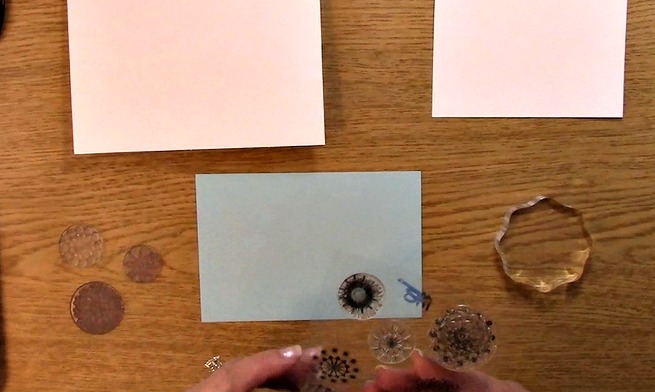
Take out your Snowflake Beauty stamp set and remove the stamps you are going to use on this project.
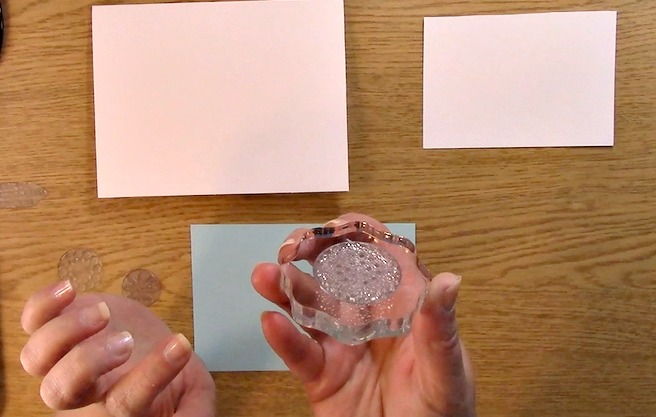
Add the snowflake stamp to your stamp block.
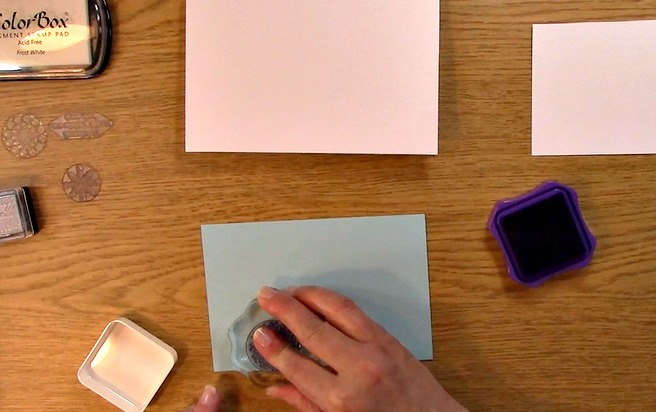
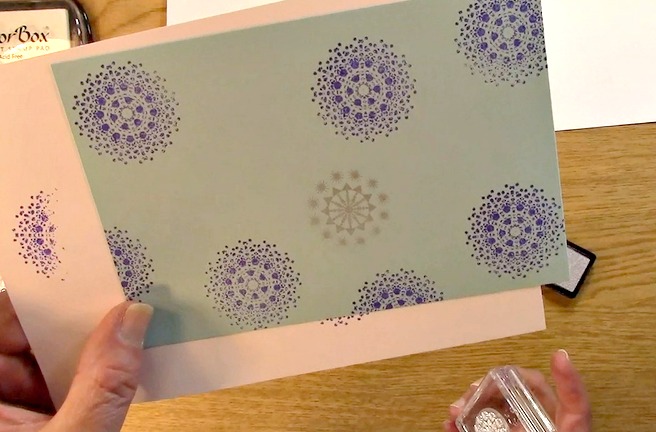
Take your purple ink pad out. Stamp your snowflake stamp on your Snowflake Stamped Card base. Re-ink your stamp for every image you stamp on your paper to ensure clarity and consistency.

This is what the base will look like once you have stamped the purple snowflakes.
Clean off your stamp and place it back on your stamp sheet.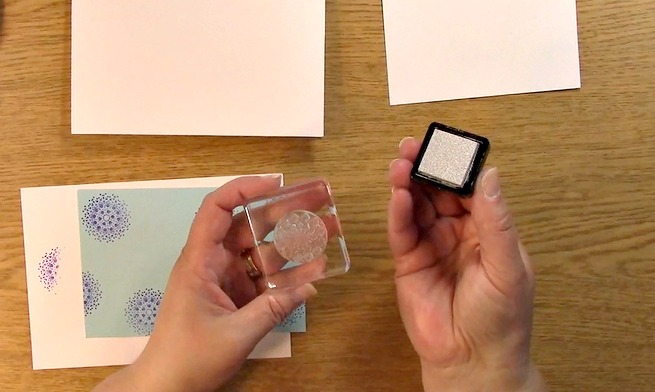
Take out the next snowflake you wish to use for your Snowflake Stamped Card. Place it on your stamp block
Take your silver ink and ink your stamp. Stamp your card mat for your Snowflake Stamped Card.
This is a close up of the silver stamped image. Now you will want to re-ink your stamp for every image you stamp on your paper to ensure clarity and consistency for your Snowflake Stamped Card.
Clean off your stamp and place it back on your stamp sheet.

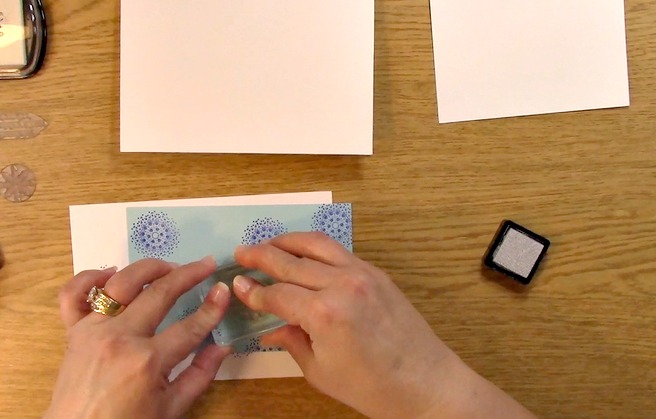
For the Snowflake Stamped Card, you want to take out your last snowflake stamp, white ink and ink pad. Place your stamp on your stamp block. Be sure you are re-inking your stamp for every image you stamp on your paper to ensure clarity and consistency for your Snowflake Stamped Card.
Clean off your stamp and place it back on your stamp sheet.
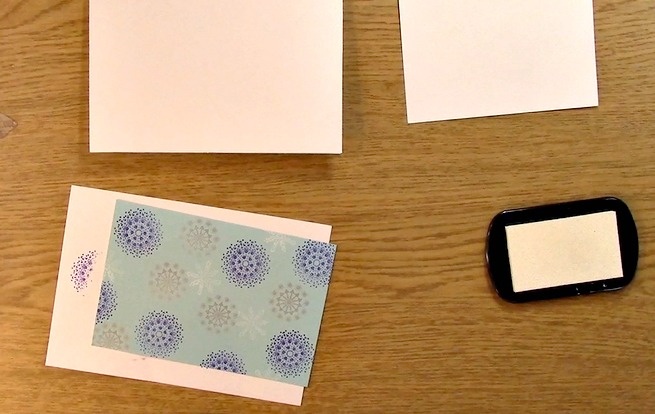
This is what the card mat looks like once it has been stamped. I love how the white snowflakes are barely visable almost as if they are a watermark.
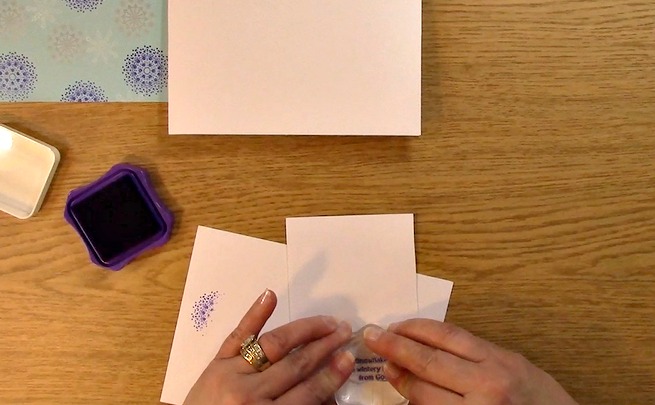
Decide which sentiment you want for the card. Take off the sentiment, place it on your stamp block and ink the stamp. Stamp the sentiment on the paper.
Clean off your stamp and place it back on your stamp sheet.
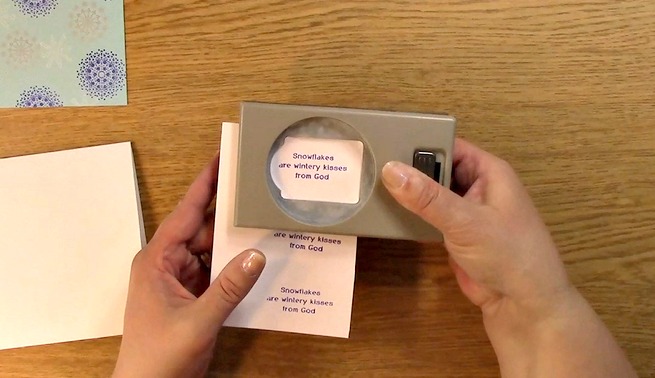
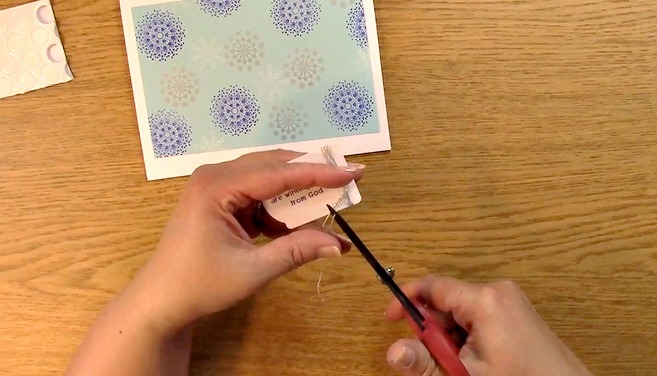
Using your tag punch, punch out your sentiment for your Snowflake Stamped Card.

Apply adhesive to the back of the stamped mat paper. Place the snowflake stamped paper on the card base for your Snowflake Stamped Card.
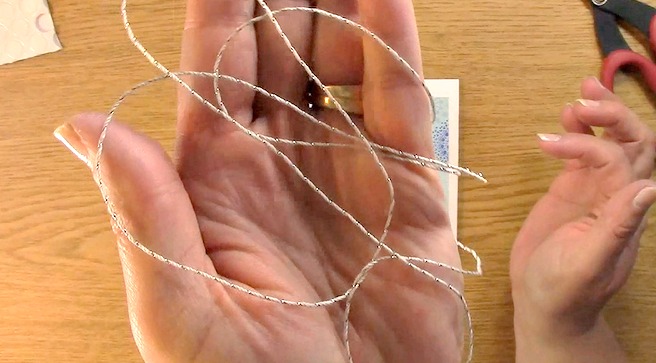
Now you will need your silver twine. This is something that can be really versatile for any celebration!
Wrap your silver twine around your punched out tag three times (or whatever you prefer) and tie a knot.
Take out your 3-d dots.
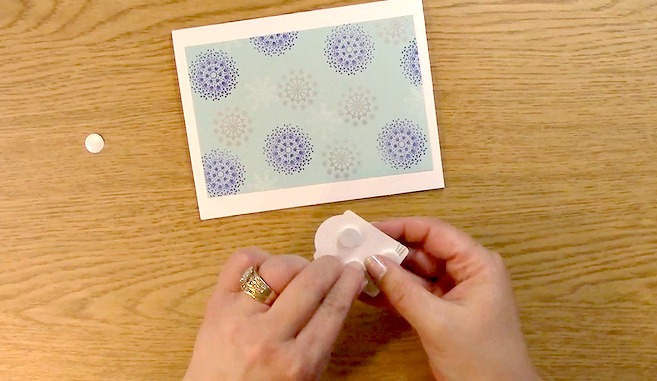
Apply three (or however many you feel you need) 3-d dots. Remove the paper on the back of the dots to expose the adhesive.
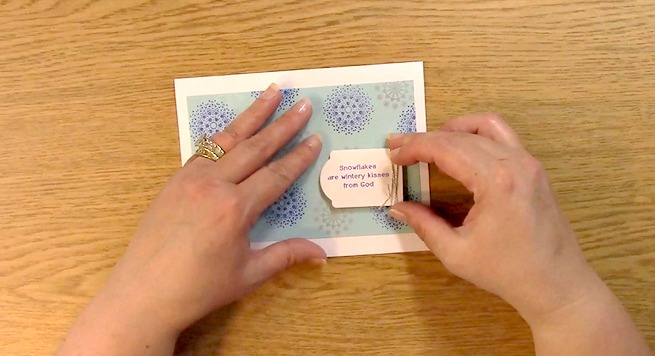
Place the tag to the card base.
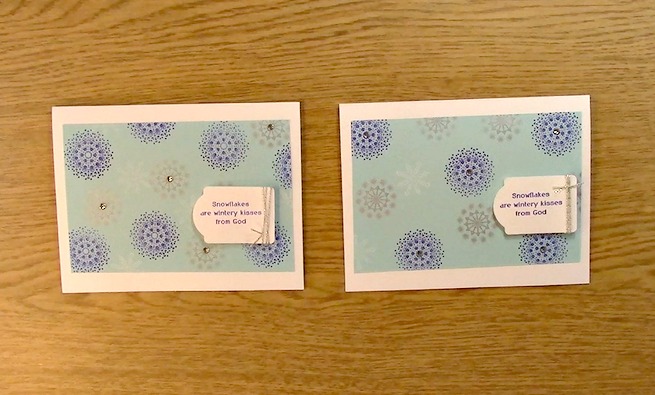
This is what the card looks like once it is finished. Although it looks great like this, I would prefer a little bit more bling to add that pop to your Snowflake Stamped Card.
Pull out your rhinestones and your quick stix tool.
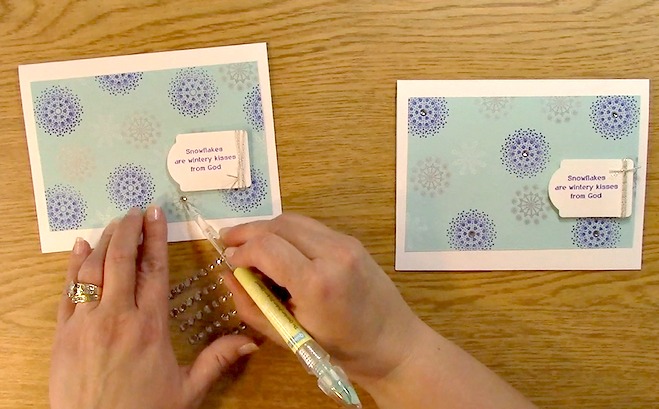
Remove a rhinestone from the sheet by using the quick stix tool. Place the rhinestone on the stamped card mat. For my original Snowflake Stamped Card, I chose to place it on the purple snowflakes. For this Snowflake Stamped Card, I decided to use the rhinestones on the silver snowflakes.
Your creation is complete! On the left is the card I just made here in my video and on the right is the example I made before I created my video.
Now for the giveaways!
The winner of last weeks blog giveaway is Jean Bullock!
Jean said:
I still don’t like my handwriting but your video and blog post has me thinking about others loving the handwriting because it’s the handwriting of someone we love. That’s rather a profound thing.
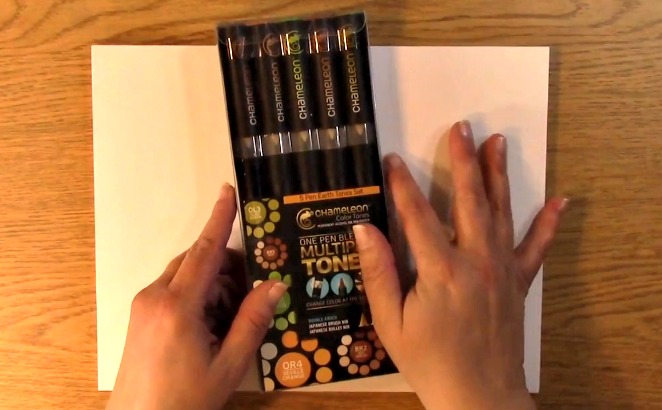 Jean you are the winner of last weeks giveaway of a set of 5 Chameleon Pens – Pens Earth Tone Set.
Jean, please send me your contact information via contact page on our website so I can get your set out to you! Thank you so much ????
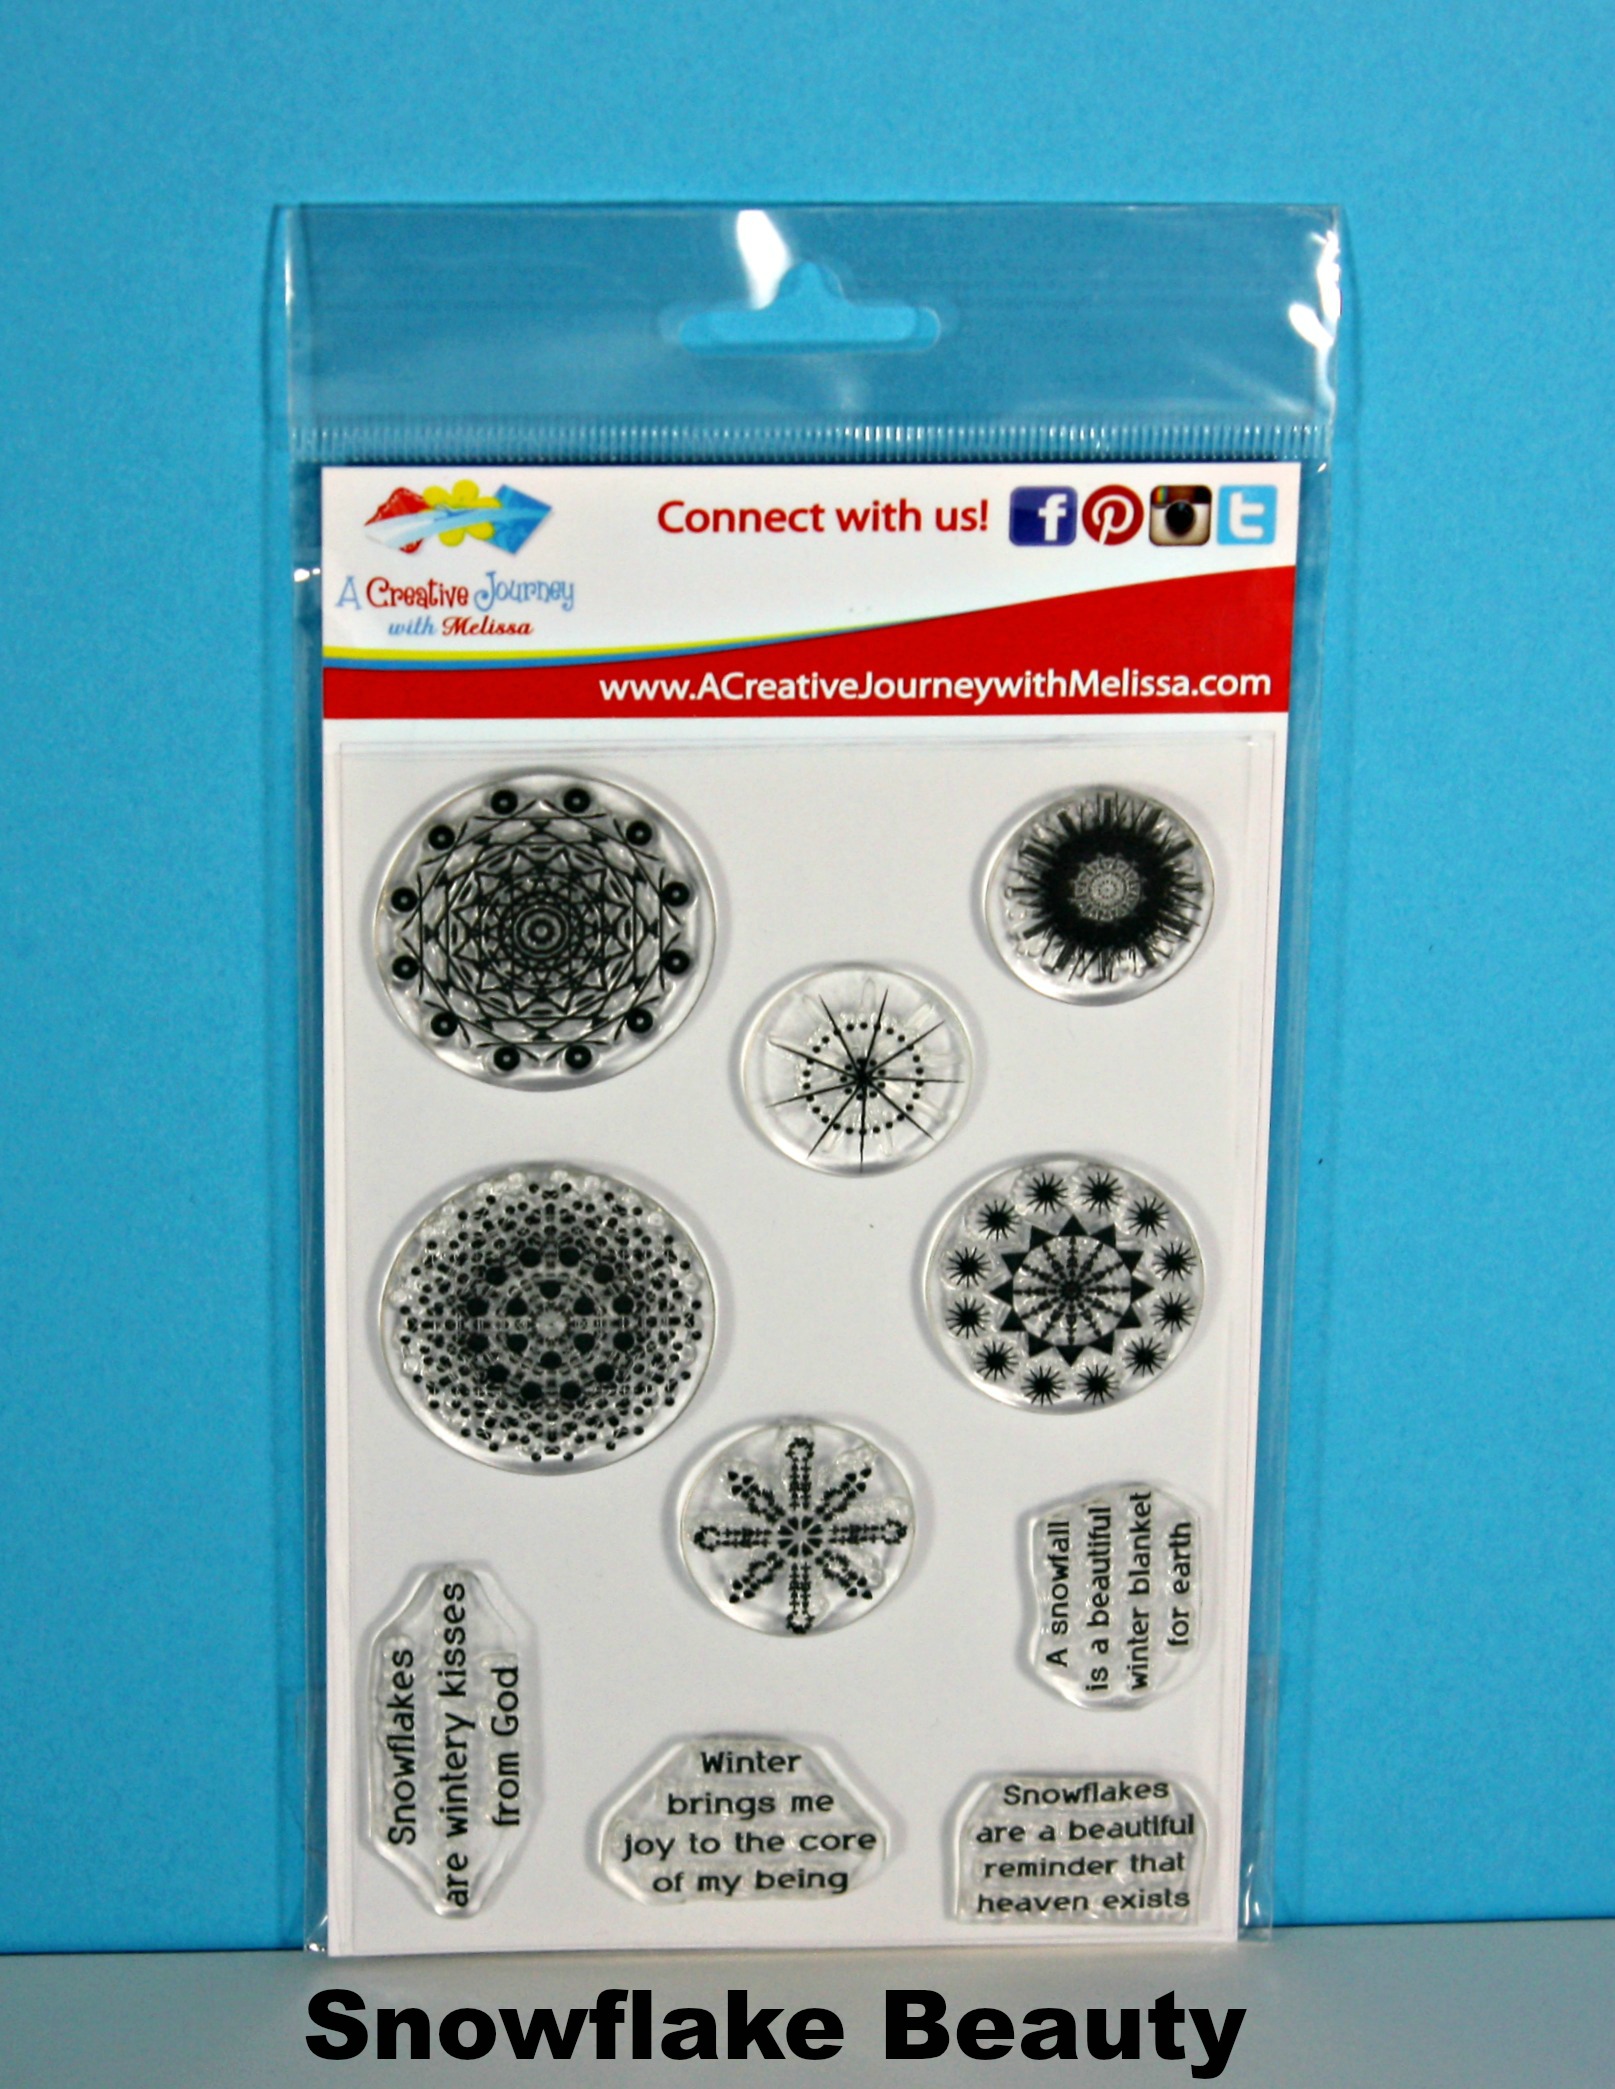
This week we are giving away the Snowflake Beauty stamp set. This stamp set is very versatile with religious and non religious sentiments. You can even use the snowflakes for a background design.
To qualify you must be a follower on YouTube, subscribe to our mailing list/blog posts and you may also comment on this blog post for an additional entry to win!
We hope you enjoyed this creation and show us how you used our creation to inspire one for you!
Thank you so much for joining us and for going on A Creative Journey with Melissa.


