
Stamp Masking Technique, Breast Cancer Awareness Support Card and MORE!
Would you like to create using a Stamp Masking Technique and create a Breast Cancer Awareness Support Card? Have you ever wanted to use two stamps in a creation but didn’t know how to make the stamping looked layered? Well, you have come to the right place! In this video I am going to show you how to mask your stamps so that you can layer until your heart is content and have it look realistic! This can be done with any stamped image and we can’t wait to see how you use this so be sure to share your creations! We have both the video above or a pictorial below so we have you covered! Let’s get started!
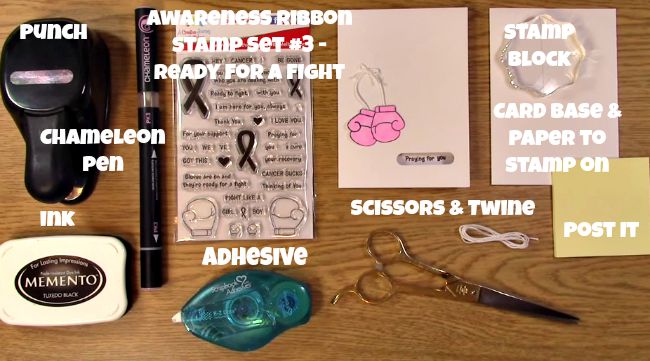
Here are the supplies you will need:
Awareness Ribbon #3 – Ready For A Fight Stamp Set
Punch
Ink
Scissors
Twine
Adhesive
Card Base & Paper for Sentiment
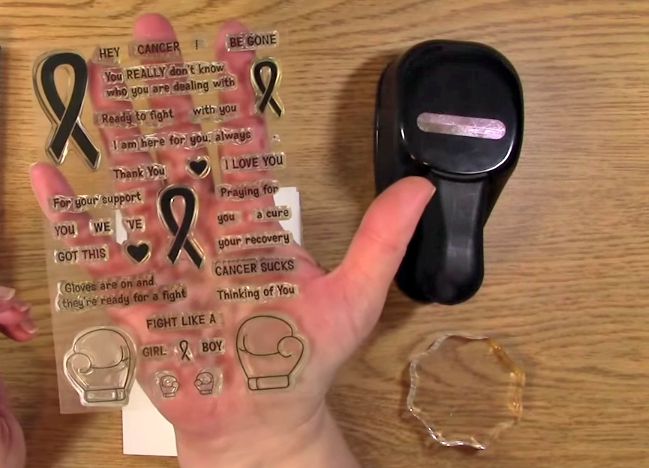
First you will take out your card base, punch, stamps, ink and stamp block.
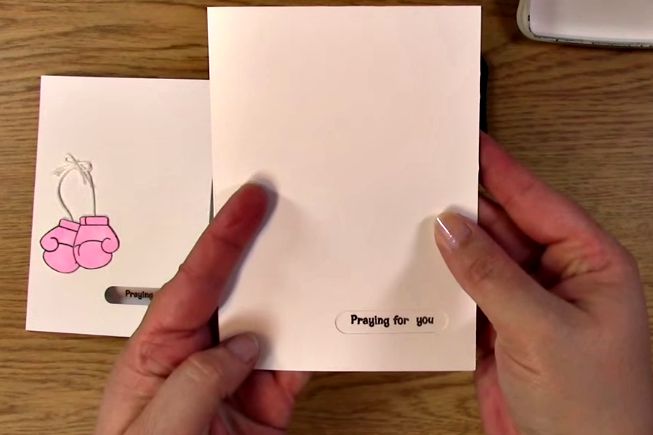
Take your card base and punch. Punch out the area in which you want to put your sentiment on the front of the card.
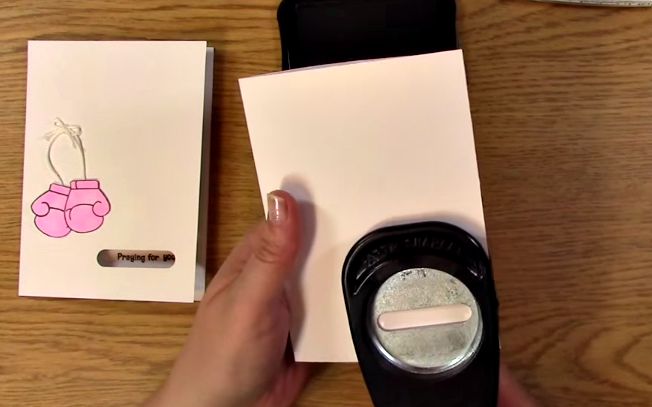
Take your chosen sentiment, place it on the stamp block and ink it. Stamp your sentiment inside the window on the front of the card.
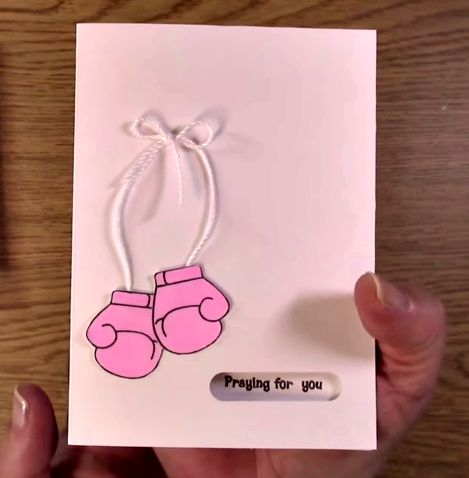
This is the result once stamped. You can use whatever punch you would like to create this effect whether it be a heart, star or whatever you wish to convey the message on your creation.
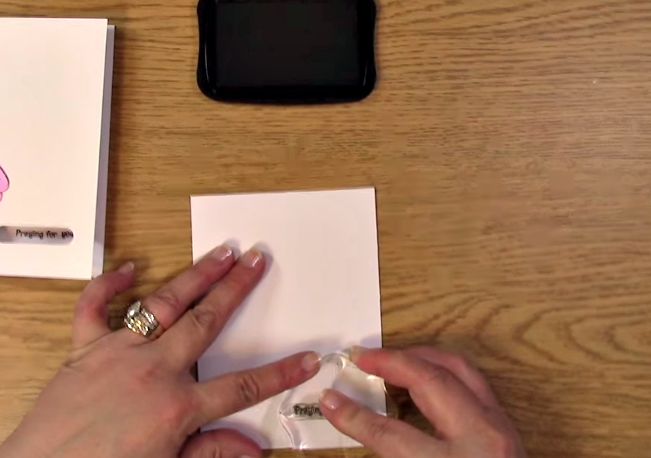
 Take out the paper to be stamped on, the glove stamps, stamp block and ink. Place glove on stamp block, ink and stamp on paper.
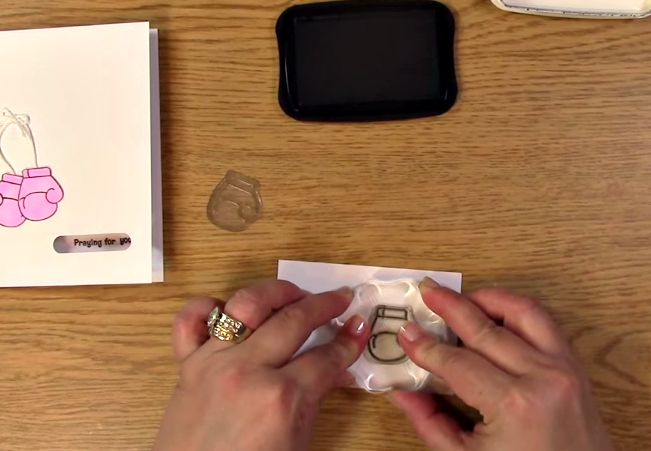
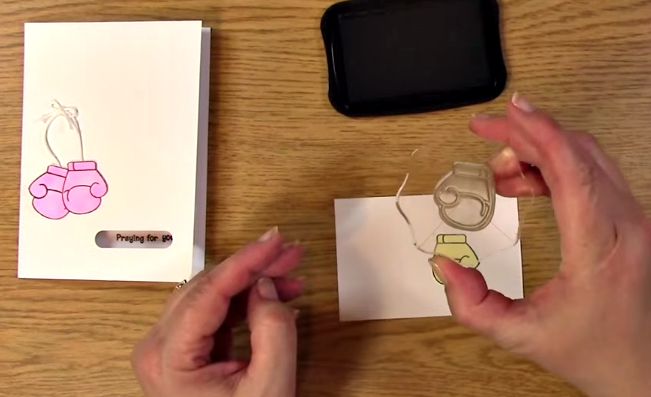
Take out the post it notes. Stamp the image you want to mask (or protect from the layered image) onto the post it note ensuring that the sticky part of the post it note is under the image being stamped. This will help with the masking process on your creation.

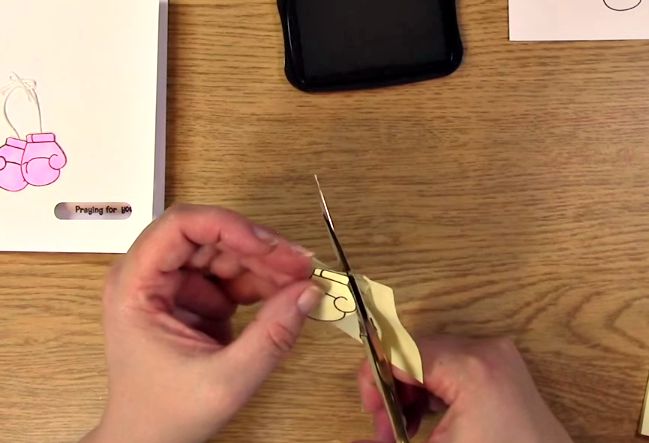
Cut out the post it note image. Be sure to cut as close to the image as possible without going into the image or else it will not give you the masking effect you will want.
Place your mask on top of the image you stamped. Notice how closely the image is cut to emulate the stamped image for the mask.
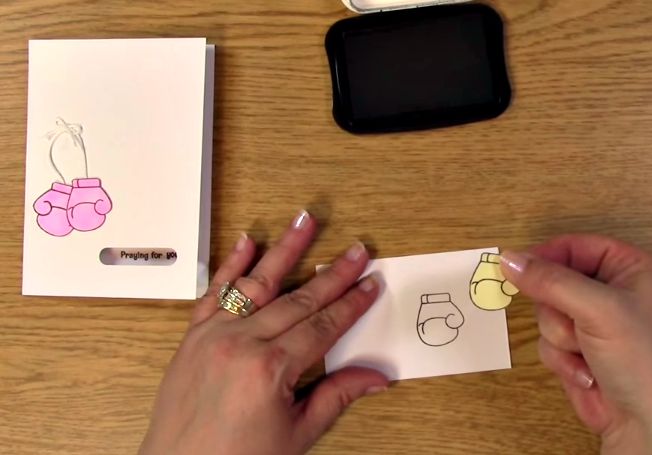
Place the second glove on your stamp block.
Ink your stamp and stamp on top of the mask.

This is what it looks like once the image is stamped on top of the mask.
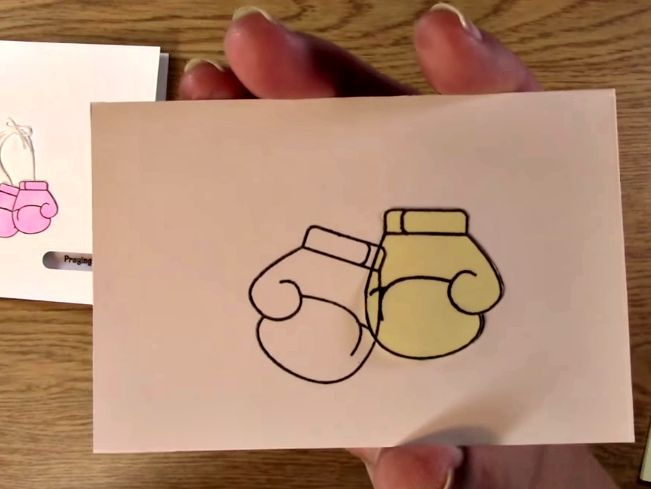
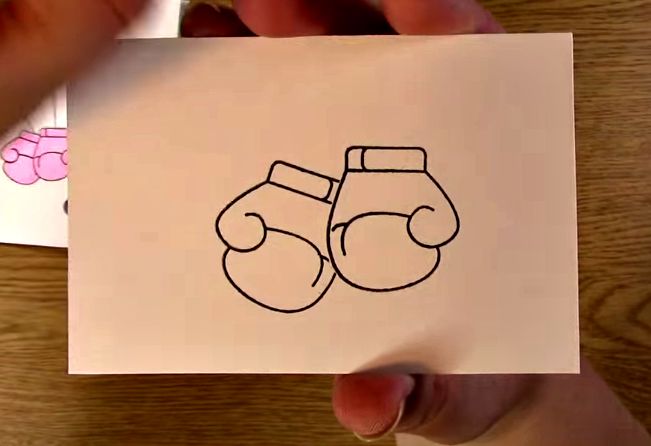
This is what the image looks like once the mask is taken off. See how the image was blocked by the mask? This gives the dimensional look of one glove behind the other.
Once you are done with your mask, I suggest you place it with your stamp set. This way they are kept together and it can be used over and over again and would save some time for future creations. The post it note adhesive will wear after a while so you may need to repeat the above process for the mask at some point.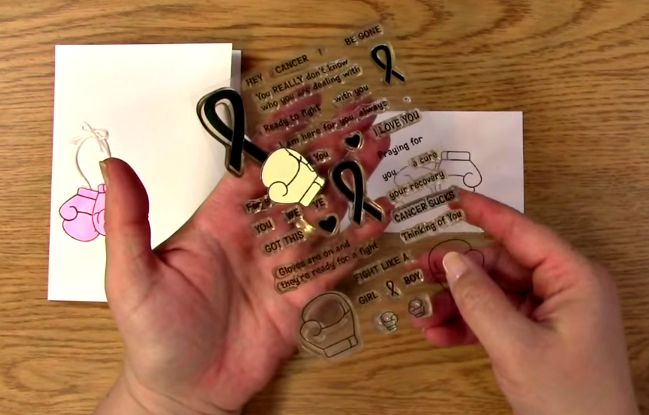
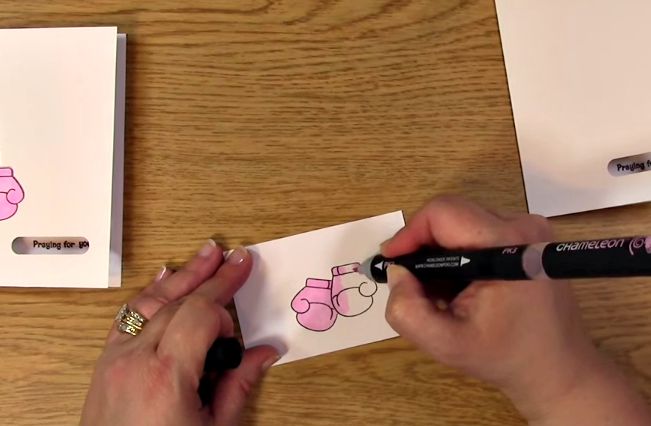
Take out your PK3 Chameleon Marker. Color in your gloves. When coloring, I did not use the blending solution. I just colored in the image with the brush tip. I colored over some areas more than others and I really love how it gave a water-color look to the image.
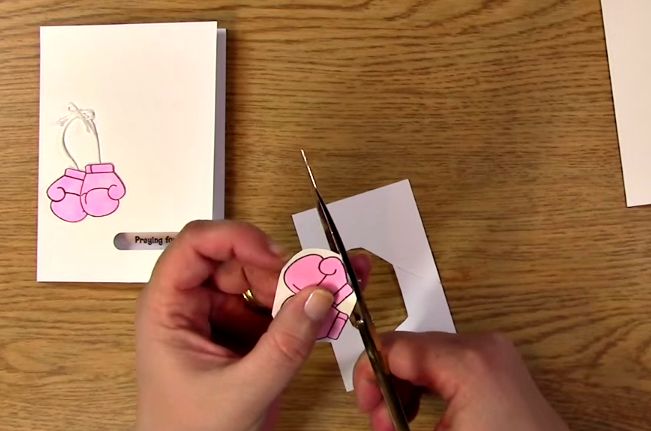
 Cut out the gloves. Be sure to cut them out closely to give a more finished and clean look to your creation.
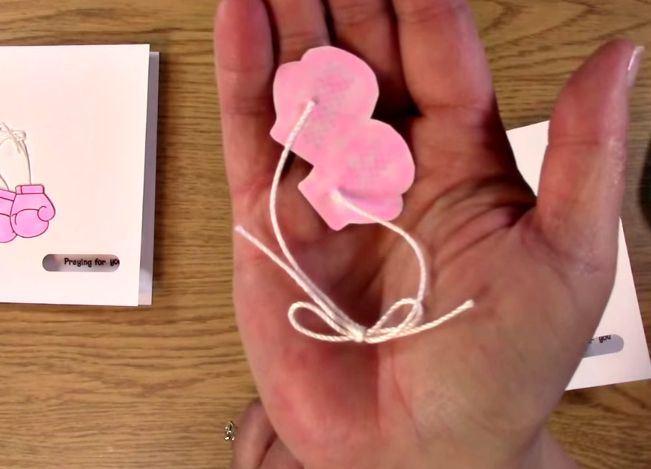
Take out your twine and adhesive.
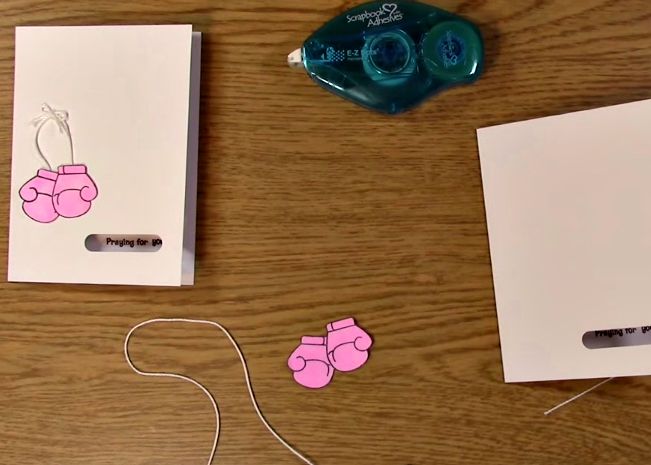
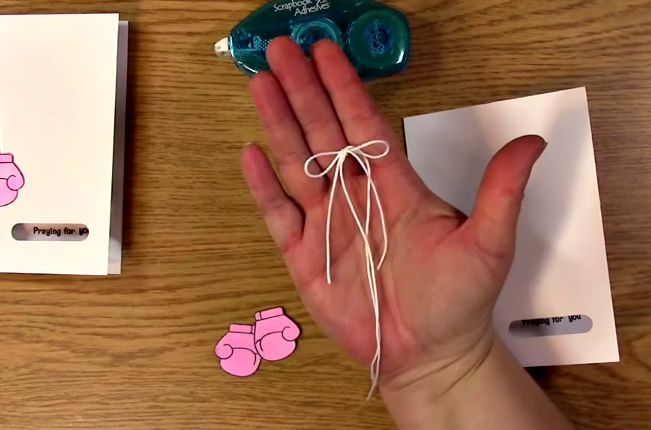
Create a bow with your twine. Adjust the bow size for your needs. Trim the excess ends of the bow. Place your twine and gloves on the card for placement and measuring of twine. Cut twine accordingly.
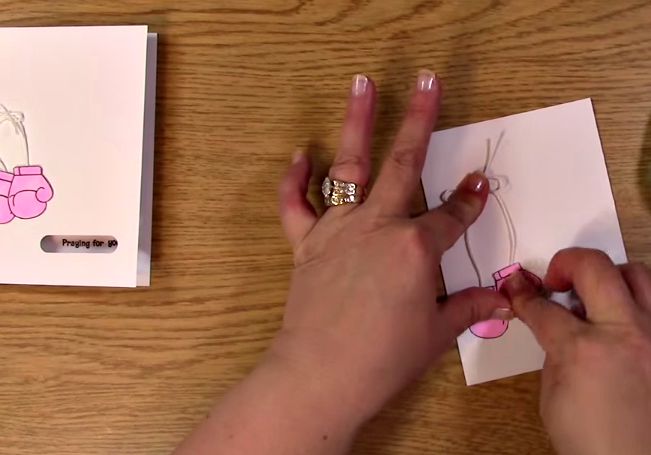
Take out your adhesive. Apply adhesive to the back of the gloves as well as the knot on the bow.
Adhere gloves and twine to your card creation.
Your creation is complete!
Thank you for visiting us today! We hope you enjoyed the creation as well as the two techniques we showed you. Please be sure to follow us on social media and check out our website for awesome clear stamps and crafting products! Thank you for going on A Creative Journey with Melissa.


